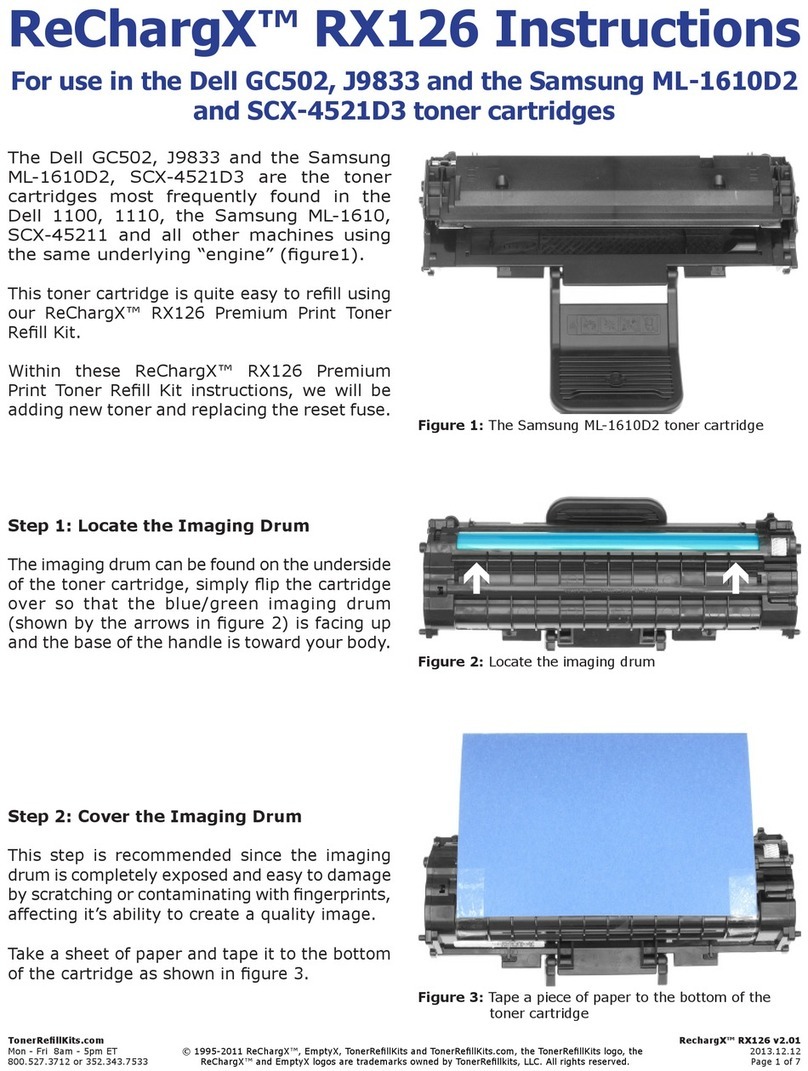
Fotospeed Tubeless InkFlow Mounting instructions


INSTALLATION INSTRUCTIONS AND USER GUIDE
Thank you for purchasing one of our Fotospeed ink systems. You have just taken the first step to
enjoying the cost saving and superior performance benefits of using Fotospeed 4K ink. Our refill systems
are simple to set up, easy to fill and will provide you with many years of trouble free printing and
significant savings. Please follow these instructions thoroughly and make yourself familiar with the
supplied components before you begin to install our 3800/3880 ink system. You must remember that
you will now be in contact with our bulk ink as opposed to sealed cartridges that you may be used to.
During installation, be aware that if ink is spilled it can stain your work surface. Have a roll of paper handy
as accidents are always possible!!!
What you should expect within you box.
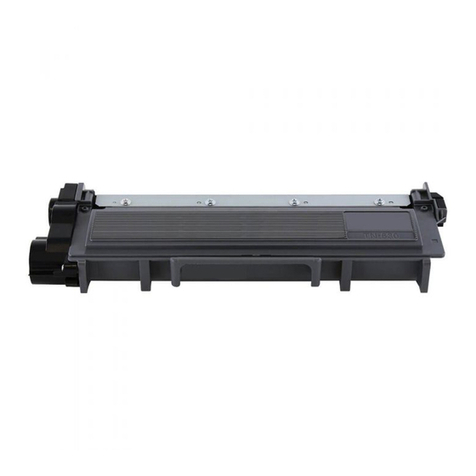
9 X Refillable Cartridges with Fotospeed chips
9 X Refilling Syringes with metal probes
1 x Priming Syringe
A full set of 125ml Fotospeed Pigment Inks
1x Screwdriver

Preparing the printer
STEP 1
Before starting the installation, using your existing inks, make sure you have a perfect nozzle check. The
utility for producing a nozzle check can be located under “Maintenance” or “Utilities” tab of the Epson
print driver software supplied with your printer. A good nozzle check should look like this:-
STEP 2
Ensure that you are using genuine Epson inks before proceeding, and that your status monitor shows a
reading of more than 10% full in each Epson cartridge (as below). The Fotospeed chips will only function
correctly when reading Epson chips with more than a 10% status. (If they are less than 10% full we may
be able to reset them for you –call us on 01249 714555 for more info)
STEP 3
Open your Epson 3800/3880 cartridge lid by holding down the arrow that points upwards and hold the
button for 3 seconds (see pic below).

STEP 4
Arrange your empty Fotospeed refillable cartridges in the same order as your Epson brand cartridges
within your printer (see below). Swap one colour at a time (once filled and chipped). For example. take
out your Epson Yellow cartridge,
and replace with your filled
Fotospeed cartridge. Close the
lid and wait for the printer to
accept. Then repeat this with
each of the remaining cartridges.
N.B. It is very important to make sure that you change one cartridge at a time rather than all at once.
Preparing you Fotospeed Cartridges
STEP 1
You will notice that there are small orange bungs on all of the cartridges
(as below). These can be taken off from all of the cartridges (these are
only needed during shipping to prevent ingress of dust).
STEP 2
Remove the first Epson brand cartridge from your printer
and remove the chip as below using the screw driver
provided

STEP 3
Remove the cartridge reader chip with assembly from your refillable cartridge using your flat-head screw
driver supplied with the kit (see below).Place your Epson chip into your Fotospeed cartridge. Once you
have completed this, place the Fotospeed chip and assembly on top of the Epson chip as shown in
Dig.4. It is important to make sure you put the correct chip into the correct cartridge as they are not
transferrable from one cartridge to another.
1. Lever out the Fotospeed chip with 2. Take out the Fotospeed chip and surrounding
Holder with the supplied screwdriver. . holder.
3.Place the Epson chip in the space provided. 4. Replace Fotospeed chip on top as above.

STEP 4
Once you have completed step 3, your cartridge is
now ready to be filled with our Fotospeed pigment
inks from the supplied bottles. First position your
cartridge on end so that the filling cap is pointing
upwards. Remove the filling cap from your
Fotospeed refillable ink cartridge and carefully fill
your cartridge, one syringe-full at a time until your
cartridge is almost full (leave 10mm at the top of the
cartridge –do not over-fill) See Below and right:
STEP 5
Once you have filled the cartridge with ink you will need to prime it.
To pierce the cellophane, insert the cartridge into the correct slot and take it out again.
Once you have done this insert your syringe into the hole in the bottom of the cart and pull
back the plunger until ink appears as right.
.

STEP 6
Once you have completed the above, insert the cartridge you have been working on into the correct slot
in your printer alongside the Epson cartridges, close the lid and wait till the cartridge has been
recognized. Once it has been recognized, repeat the process of steps 1-4 with the remaining 8
cartridges.
STEP 7
Once you have completed steps 1-4 with all the Fotospeed Cartridges, close the lid down and your
status monitor should read “full” on all colours (see below).
STEP 8
Allow the cartridges to settle for at least 10 minutes, this will allow any air bubbles to disperse. Perform
one power clean to ensure a smooth transition from the Epson cartridges to the Fotospeed cartridges.
First press the right arrow. Choose MAINTENANCE
Then POWERCLEAN ...and finally press the middle button to EXECUTE

STEP 9
As in STEP 1 you should now do a nozzle check to make sure all colours are coming through. Once you
are happy with a perfect nozzle check you can begin to enjoy the large cost savings on your inks that our
system offers you.
__________________________________________________________________________
We offer a Free of charge ICC profiling service with all our papers.
For more info please phone: 01249 714555 or Email: [email protected]
Table of contents