SUN12
3
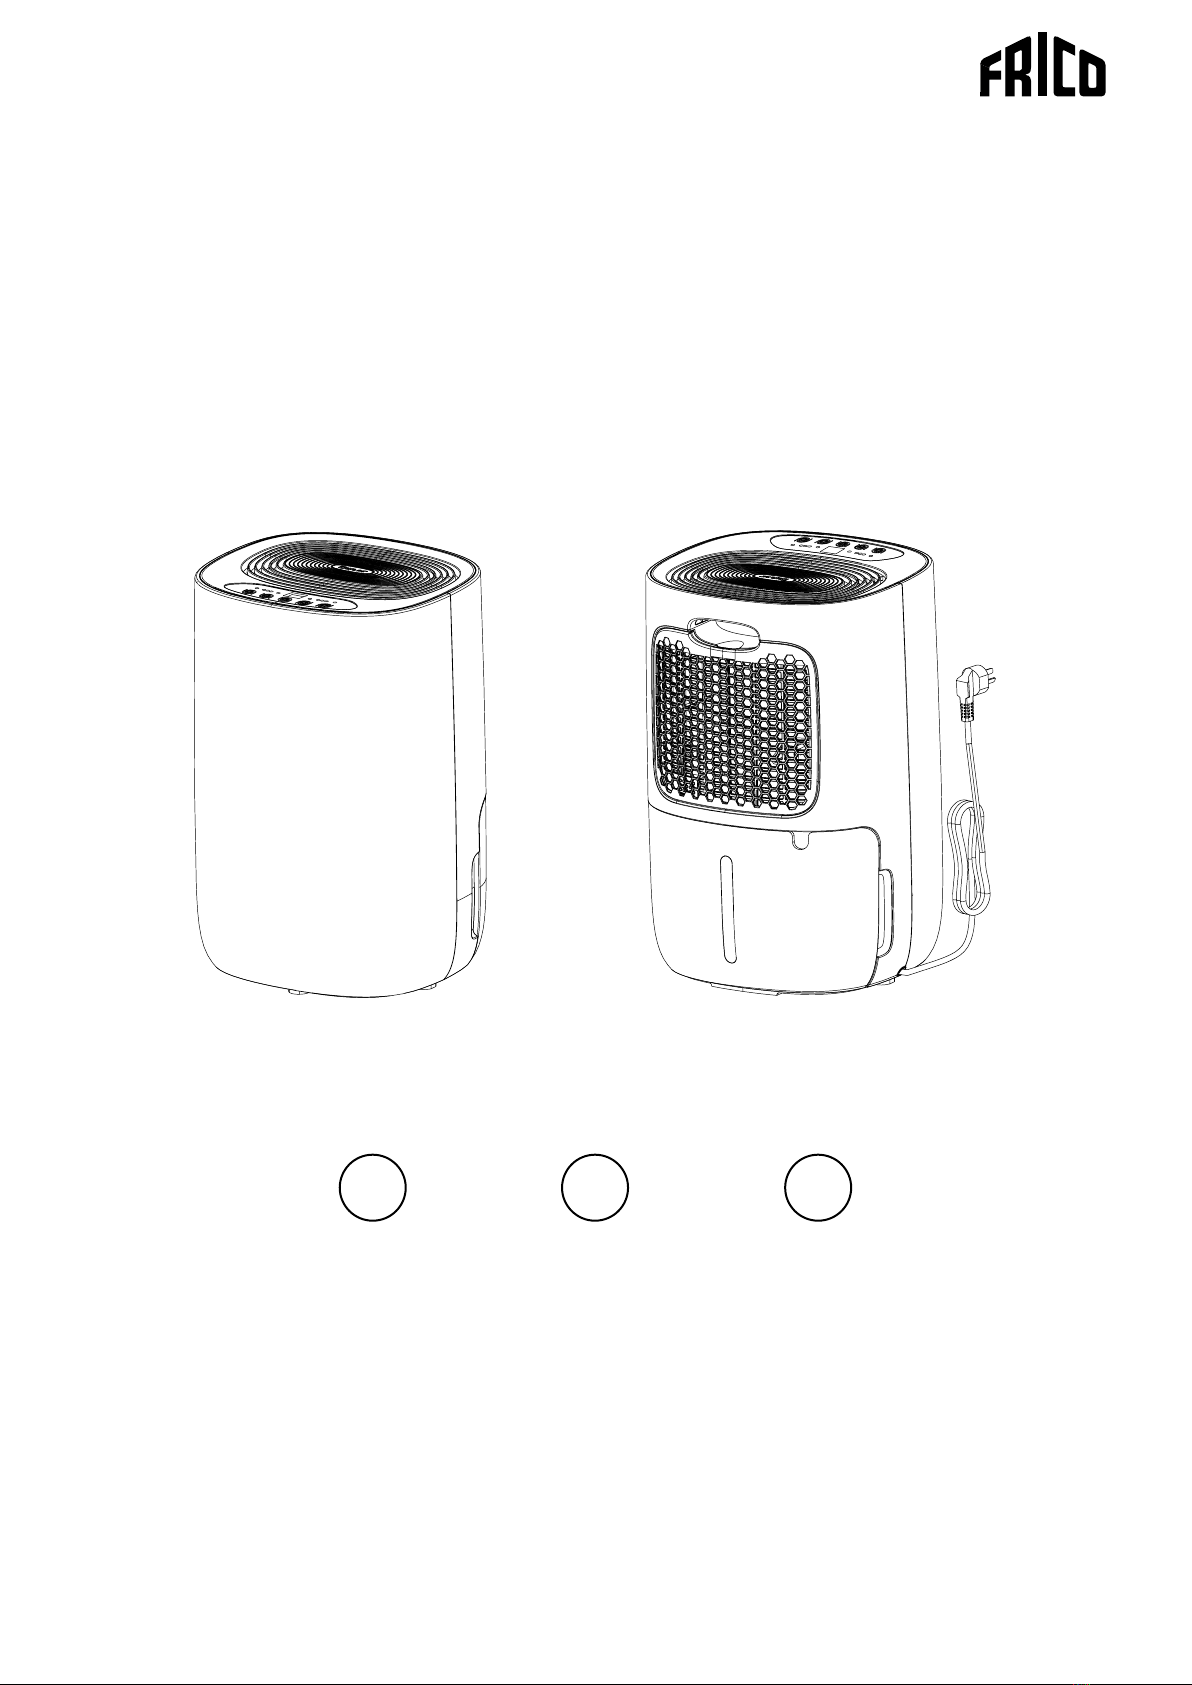
Product Instructions
The dehumidier is used to remove excessive
moisture from the air. The resulting reduction
in relative humidity protects buildings and their
contents from the adverse effects of excess
humidity.
The environmentally friendly R290 is used
as the refrigerant. R290 has no damaging
inuence on the ozone layer (ODP), a negligible
greenhouse effect (GWP) and is available
worldwide. Because of its ecient energy
properties, R290 is highly suitable as a coolant
for this application.
Special precautions must be taken into
consideration due to the coolant’s high
ammability. The dehumidier is CE marked
and approved by TüV according to EN 60335-1,
EN 60335-2-40, EN 62233, EN 55014-1, EN 55014-
2, EN 61000-3-2 and EN 61000-3-3.
Safety Instructions
• This appliance can be used by children
aged from 8 years and above and persons
with reduced physical, sensory or mental
capabilities or lack of experience and
knowledge if they have been given
supervision or instruction concerning use of
the appliance in a safe way and understand
the hazards involved. Children shall not
play with the appliance. Cleaning and user
maintenance shall not be made by children
without supervision.
• Children of less than 3 years should be kept
away unless continuously supervised.
• Children aged from 3 years and less than 8
years shall only switch on/off the appliance
provided that it has been placed or installed
in its intended normal operating position
and they have been given supervision or
instruction concerning use of the appliance
in a safe way and understand the hazards
involved.
• Children aged from 3 years and less than 8
years shall not plug in, regulate and clean
the appliance or perform user maintenance.
• The unit is designed only for use with
R-290(propane) gas as the designated
refrigerant.
• The refrigerant loop is sealed. Only a
qualied technician should attempt to
service.
• Do not discharge the refrigerant into the
atmosphere. R-290 (propane) is ammable
and heavier than air.
• It collects rst in low areas but can be
circulated by the fans.
• If propane gas is present or even suspected,
do not allow untrained personnel to attempt
to nd the cause.
• The propane gas used in the unit has no
odor.
• The lack of smell does not indicate a lack of
escaped gas.
• If a leak is detected, immediately evacuate
all persons from the store, ventilate the
room and contact the local re department
to advise them that a propane leak has
occurred.
• Do not let any persons back into the store
until the qualied service technician has
arrived and that technician advises that it is
safe to return to the store.
• No open ames, cigarettes or other possible
sources of ignition should be used inside or
in the vicinity of the units.
• Component parts are designed for propane
and non-incentive and non-sparking.
Component parts shall only be replaced
with identical repair parts.
• If the supply cord is damaged, it must be
replaced by the manufacturer, its service
agent or similarly qualied persons in order
to avoid a hazard.
• The appliance shall be disconnected from its
power source during maintenance.
• Ensure the unit is far away from re,
inammable, or explosive objects.