manuals.online logo
Brands
  1. Home
  2. •
  3. Brands
  4. •
  5. Frigidaire
  6. •
  7. Air Conditioner
  8. •
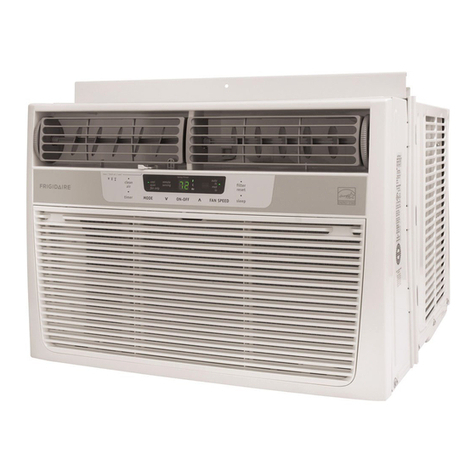
  9. Frigidaire FAC102P1A4 User manual

Frigidaire FAC102P1A4 User manual

This manual suits for next models

3

Other Frigidaire Air Conditioner manuals

Frigidaire FAS254J2A4 User manual

Frigidaire

Frigidaire FAS254J2A4 User manual

Frigidaire FFRH1122U1 User manual

Frigidaire

Frigidaire FFRH1122U1 User manual

Frigidaire CRA103BT13 User manual

Frigidaire

Frigidaire CRA103BT13 User manual

Frigidaire 66129904886 Owner's manual

Frigidaire

Frigidaire 66129904886 Owner's manual

Frigidaire FAA062P7AA User manual

Frigidaire

Frigidaire FAA062P7AA User manual

Frigidaire FAA055P7 User manual

Frigidaire

Frigidaire FAA055P7 User manual

Frigidaire FRS18PYS2 User manual

Frigidaire

Frigidaire FRS18PYS2 User manual

Frigidaire FAH12EN2T User manual

Frigidaire

Frigidaire FAH12EN2T User manual

Frigidaire FAS184P2A User manual

Frigidaire

Frigidaire FAS184P2A User manual

Frigidaire FRA126CT116 Owner's manual

Frigidaire

Frigidaire FRA126CT116 Owner's manual

Frigidaire 819042236-01 User manual

Frigidaire

Frigidaire 819042236-01 User manual

Frigidaire CRA084KT711 Owner's manual

Frigidaire

Frigidaire CRA084KT711 Owner's manual

Frigidaire FAS155M1A1 User manual

Frigidaire

Frigidaire FAS155M1A1 User manual

Frigidaire FAS25EQ2 User manual

Frigidaire

Frigidaire FAS25EQ2 User manual

Frigidaire FRA053XT7 Installation instructions

Frigidaire

Frigidaire FRA053XT7 Installation instructions

Frigidaire Home ComfortFRA08PZU1 User manual

Frigidaire

Frigidaire Home ComfortFRA08PZU1 User manual

Frigidaire FRA086HT110 Owner's manual

Frigidaire

Frigidaire FRA086HT110 Owner's manual

Frigidaire FRA122CV1 User manual

Frigidaire

Frigidaire FRA122CV1 User manual

Frigidaire FAX054P7A6 Quick start guide

Frigidaire

Frigidaire FAX054P7A6 Quick start guide

Frigidaire LRA257ST217 Owner's manual

Frigidaire

Frigidaire LRA257ST217 Owner's manual

Frigidaire FRA052XT726 Owner's manual

Frigidaire

Frigidaire FRA052XT726 Owner's manual

Frigidaire FAH086S1T - Through The Wall Room Air... User manual

Frigidaire

Frigidaire FAH086S1T - Through The Wall Room Air... User manual

Frigidaire FAC124P1A - Compact II 12,000-BTU Room Air... User manual

Frigidaire

Frigidaire FAC124P1A - Compact II 12,000-BTU Room Air... User manual

Frigidaire FAS187P2A User manual

Frigidaire

Frigidaire FAS187P2A User manual

Popular Air Conditioner manuals by other brands

Fujitsu ASYG 09 LLCA installation manual

Fujitsu

Fujitsu ASYG 09 LLCA installation manual

York HVHC 07-12DS Installation & owner's manual

York

York HVHC 07-12DS Installation & owner's manual

Carrier Fan Coil 42B Installation, operation and maintenance manual

Carrier

Carrier Fan Coil 42B Installation, operation and maintenance manual

intensity IDUFCI60KC-3 installation manual

intensity

intensity IDUFCI60KC-3 installation manual

Sanyo KS2432 instruction manual

Sanyo

Sanyo KS2432 instruction manual

LG MultiV Series installation manual

LG

LG MultiV Series installation manual

CLIMAVENETA a-CHD U-2T 606+2209 OPERATING AND INSTALLATION Manual

CLIMAVENETA

CLIMAVENETA a-CHD U-2T 606+2209 OPERATING AND INSTALLATION Manual

Midea EWK06CW5 user manual

Midea

Midea EWK06CW5 user manual

Pioneer FAB Series installation manual

Pioneer

Pioneer FAB Series installation manual

SPT WA-1511S user manual

SPT

SPT WA-1511S user manual

Mitsubishi Electric Mr.Slim MSZ-A24NA operating instructions

Mitsubishi Electric

Mitsubishi Electric Mr.Slim MSZ-A24NA operating instructions

Mitsubishi Electric PUHZ-RP50VHA4 Service manual

Mitsubishi Electric

Mitsubishi Electric PUHZ-RP50VHA4 Service manual

Panasonic CS-S18HKQ Service manual

Panasonic

Panasonic CS-S18HKQ Service manual

Panasonic CS-E15NKE3 operating instructions

Panasonic

Panasonic CS-E15NKE3 operating instructions

Gree GWH18TC-K3DNA1B/I Service manual

Gree

Gree GWH18TC-K3DNA1B/I Service manual

Friedrich ZoneAire Compact P08SA owner's manual

Friedrich

Friedrich ZoneAire Compact P08SA owner's manual

Daikin R32 Split Series installation manual

Daikin

Daikin R32 Split Series installation manual

Daikin FFQ09Q2VJU Operation manual

Daikin

Daikin FFQ09Q2VJU Operation manual

manuals.online logo
manuals.online logoBrands
  • About & Mission
  • Contact us
  • Privacy Policy
  • Terms and Conditions

Copyright 2025 Manuals.Online. All Rights Reserved.

÷
u m
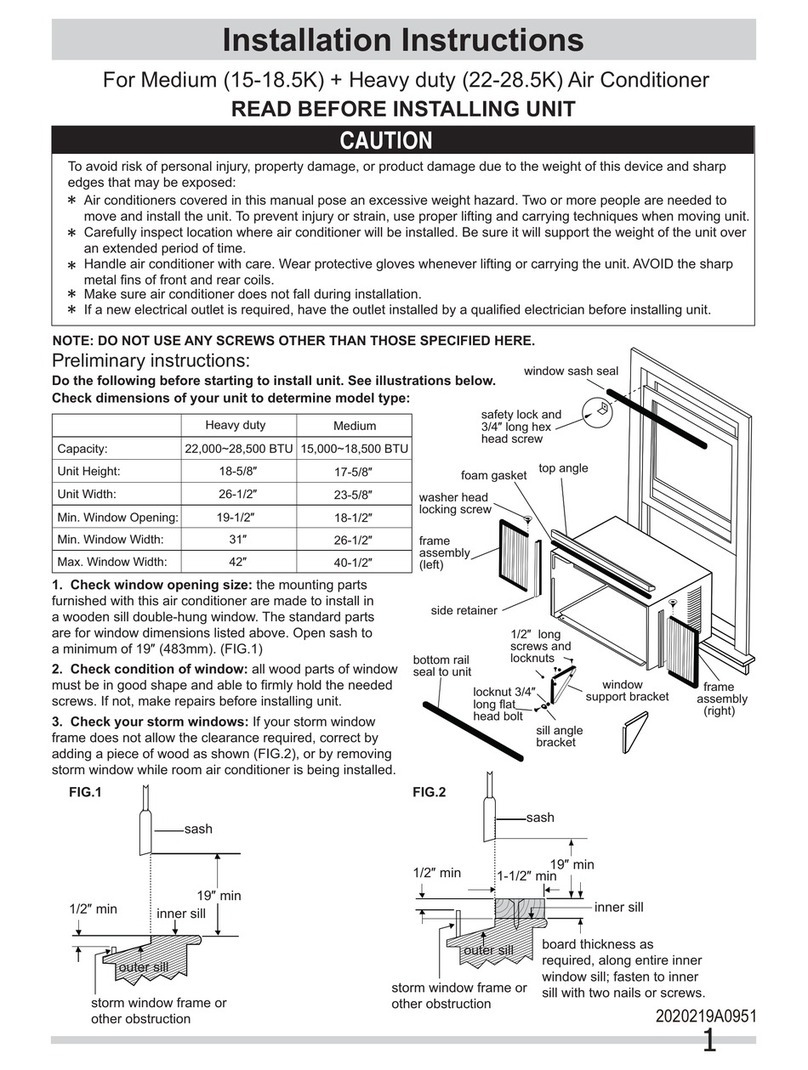
READ BEFORE iNSTALLiNG UNIT
Compact niWindow Mounting
Your ah"conditioner is designed to install in skmdard
double llm_g windows with opening widths of 22 to 36
inches (559 mm to 914 ram) (FIG. l)
Lower sash must open sufficiently 1oallow a clear velltical
opeuing of 14-1/2 inches (368 rnm). Side loovers and the
rear of the AC most have clear air space to allow
enoogh airflow throogh the condensel; for heat removal.
The rear of' the onit most be ootdoors, not inside a
boilding or garage.
NOTE: SAVE CARTON aud these INSTALLA-
TION INSTRUCTIONS tbr furore reference. The caJlon is
the best way to store unit during winter, or when not hi use,
When handling unit, be careful to avoid cuts
from sharp metal edges and aluminum fins on
front and rear coils.
Befbre installing the unit, the Left-Hand
Louver must be assembled to the unit:
A. Carefully remove power supply
cord flx)m air discharge area
(Fig. A).
B. Carefully remove dte Left-Hand
Louver Assembly from the
discharge area, and theu remove
it fl:om the plastic bag(Fig. B).
C. With care, pry apaJl tile auger
wheel shaft fl:om tile horizontal
k)uver casing, as shown hi Fig.
C,D&E.
Some assemNy is required. Please read these instructions
÷
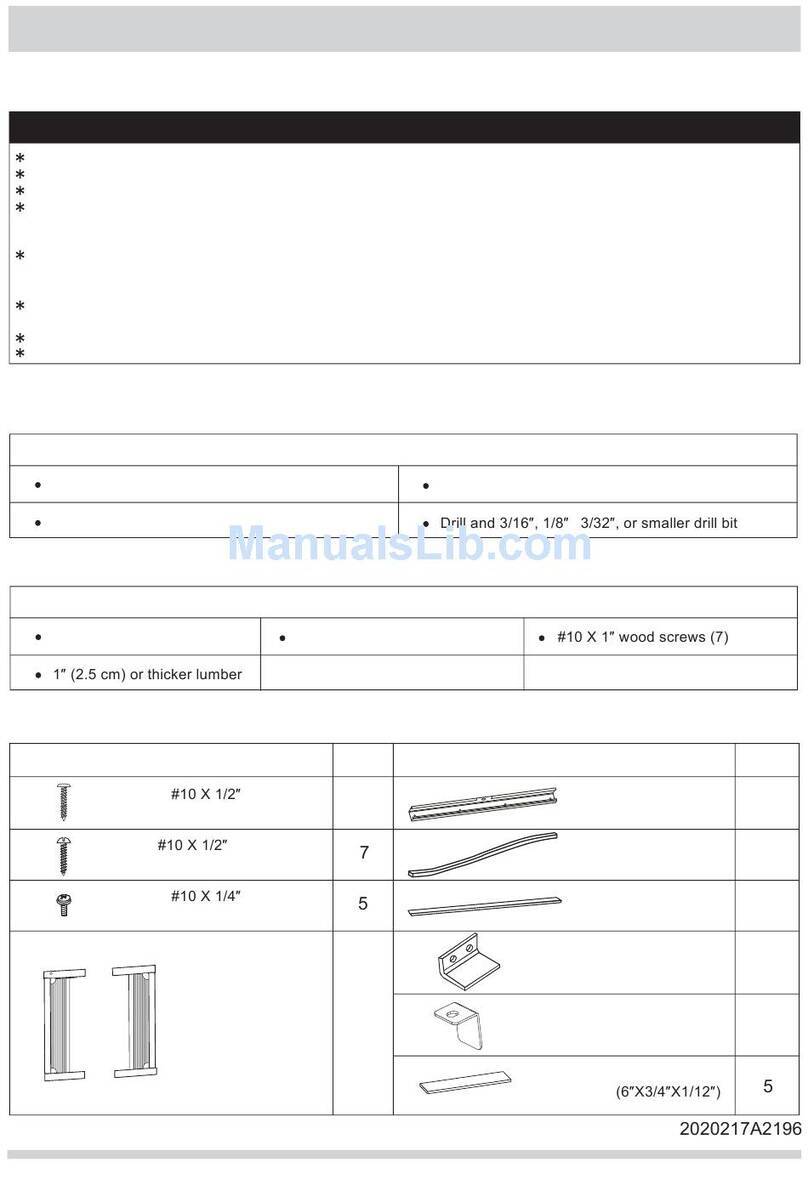
Mounting Hardware
3/4 'screws
lock frame
sash lock
TOOLS NEEDED:
* Drill (If pilot hales are needed)
Qty.
7
D. Now locate tile auger wheel
shaft into tile vertical ceuter
post (Fig. F).
E. Clip the oilier end hllo tile
locating slot.
E Now place the horizontal louver
casing onto the auger wheel
shaft, and snap in place (Fig.
G).
G, Check tile operation by moving
tile horizontal louver up and
down, and theu turn file auger wheel so file vertical
kmvers rotate.
SZOOO357(En) 1 , 10/21/2004, 10:42 AM
÷
How to Install
NOTE: Top Rail and Sliding Panels a_teach side are
offset to provide the proper pi_.eh to the rear of (5/16").
This is necessary for proper condensed water utilization
and drainage. If you are not using the Side Panels for
any reason, this pitch _.othe rear must be main_.ained!
Place unit on floor, a bench or a taNe, There is a
Left and Right Window Filler Pane] - be sure to
use the proper panel _br each side,When installed
tile flange Rtr secarhlg tile panel in place to the whldow sill
wilJ be [hchlg hlto the morn.
A. Hold _l_e
Accordion
Pane] in one
hand and
gendy pull
back the
center to }]ee
the open end.
See Figure 2,
C. Once the panel
has been
hlstaHed on the
side of tlle
cabinet, make
sure it sits
file }tame
making slight
adjustments. Slide the top and bottom ends of the frame
into the top and bottom rails o[ the cabinet. Figure 5.
D. SJide the paneJ aHthe way in and repeat on the other
side,
NOTE: If storm window Nocks AC, see FIG. 12.
Keep a firm grip on d_eair conditioner, carefully
pk_cethe unit into the whldow opening so the
bottom of the ah7c<mditkmer fi:ame is against the
window sill (FIG,
6), Care ftlH y CJose
the whldow bellh_d
the top rail of the
tuni t,
÷
B. Slide the flee end (F'section) of the panel hlto tlle
cabinet as shown in Figures 3A, 3B & 4_SHde the
pand down. Be sure to leave el_ough space to sJip the
top and bottom of the fl'ame hlto the mils on the cabhlet. Extend the side pands out against the window
{rame (FIG. 7).
SZOOO357(En) 2 , 10/21/2004, 10:42 AM
Place the frame lock between the fi°ame
extensions and the window sill as shown
(Fig. 8). Drive 3/4" (19 nmO k)cking
screws through the frame k_ck and into the sit1
(FIG. 9). NOTE: '[b prevent wh_dow sill from
splitting, drill 1/8" (3 mm) pilot holes before
driving screws.
FIG. 8
Cut _bam seal and insert in the space
between the upper and lower sashes
(FIG. 13).
IfAC is Blocked by Storm
[ i
i l/iHH iii iWtl
Drive 1/2" (13 ram) ]ocMng screws
through fi°ame holes into window sash
(FIG. 10/11).
"Ib secure lower sash in place, attach right
angle sash lock with 3/4" (19 mm) screw
as shown (FIG. 12).
Add wood as shown in FIG. 14, or remove storm
window before air conditioner is installed.
FIG. 14 I_SASH
BOARD
STORM WINDOW THICKNESS
FRAME AS REQUIRED,
OR OTHER I 1/2" MIN FOR PROPER
OBSTRUCTION (38 ram) , PITCH TO
ENTIRE SILL.
FASTEN WITH
NAILS OR
SCREWS,
If Storm Window Frame must remain, be sm:e the
drain holes or slots arc not caulked or painted
shut.Accumulated Rain Water or Condensation
must be allowed to drain out.
Removing AC From
* 2i_rn AC off, and disconnect power cord.
* Remove sash seal from between windows,
and unscrew safcD_ lock.
* Remove screws installed through flame and
frame tock.
* Close (slide) side panels into frame.
* Keeping a firm gaip on air conditioner, raise
sash and carefully "rock" air conditioner
backward to drain any condensate water in
base of unit. Be careful not to spitl aW
remaining water while lifting unit from
window: Store parts WITH air conditioner.