- 7 -
General
• Avoid having heat sources (e.g. grill plates, deep-
fat fryers etc.) near the unit.
• Leave the unit lid and the pan valve slightly open
if the unit is going to be idle for a prolonged
period (e.g. overnight).
• If the unit is idle for prolonged periods, close the
water shut-off valve and turn off the power supply
to the unit.
• Make sure that there are no food residues in the
vicinity of the pan valve.
• Do not place any objects on or within the cover’s
swivel range.
• Do not use pots or pans with handles on the
Ceran plate – risk of tipping when the cover is
closed and when moving the pan.
• Do not preheat the empty pan and then fill with
cold water.
• Never heat an empty pan and leave it unattended.
• Note the maximum and minimum fill levels in
the pan for each cooking mode. Risk of fire
or scalding from incorrect usage (if limits are
undershot or exceeded).
• Do not store or use any flammable gases or
liquids near this unit.
Attention!
• Caution! Hot vapour (risk of scalding)!
• Caution! The baskets and lifting handle are
hot!
• Caution! Hot oil in Deep frying cooking
mode!
• Caution! Do not add water to the oil. Risk
of scalding!
• Caution! Boiling or hot water in the pan
Risk of burns!
• Caution! Tip the pan carefully to avoid
slopping over.
• Caution! Do not extinguish burning fat and
oil with water!
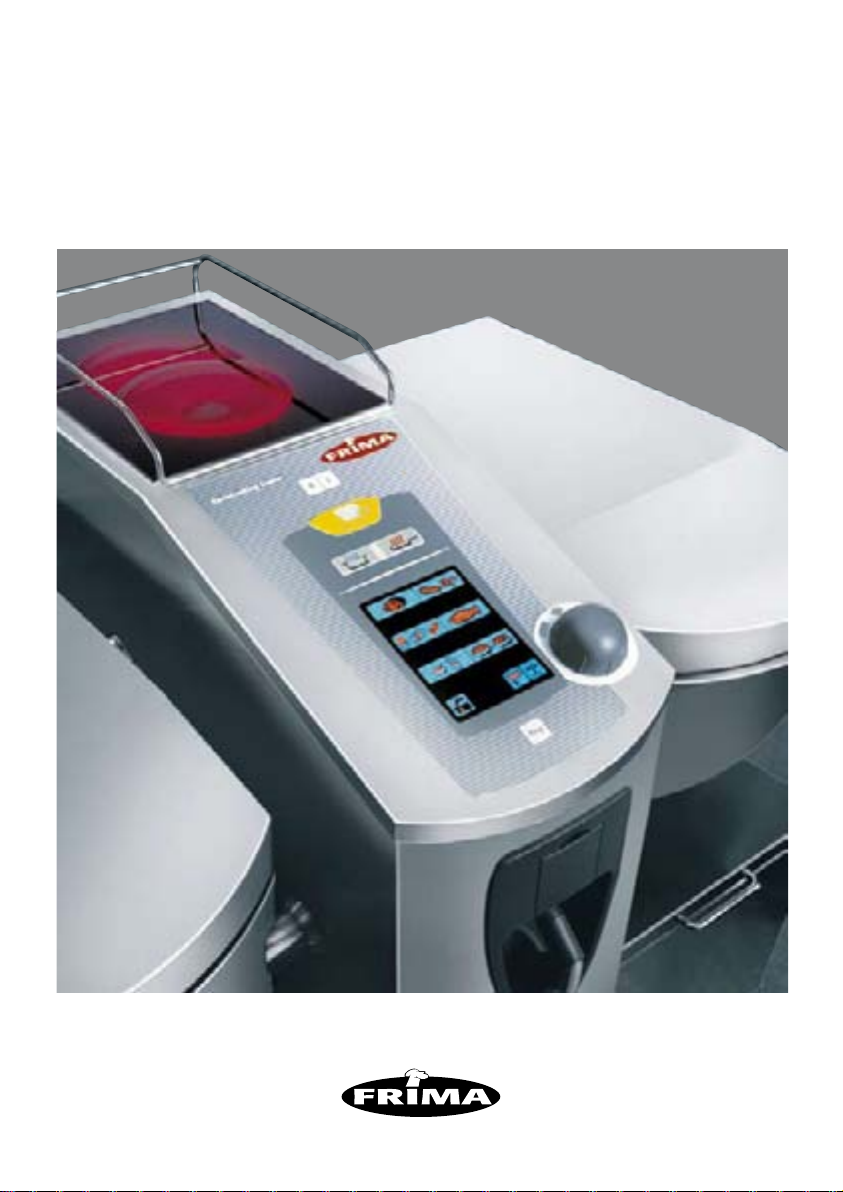
Display
To avoid unnecessary power consumption, the
intensity of the displays is automatically reduced
in 2 stages during operation. The intensity of the
displays is reduced for the first time after
10 minutes. The intensity of the displays is reduced
a second time after another 10 minutes. When
you touch the display or open the unit’s cover, the
normal display intensity is automatically restored.
If your unit is switched on for longer than
20 minutes, but no cooking mode is selected, the
energy saving circuit is automatically activated,
and only the current time appears on the display.
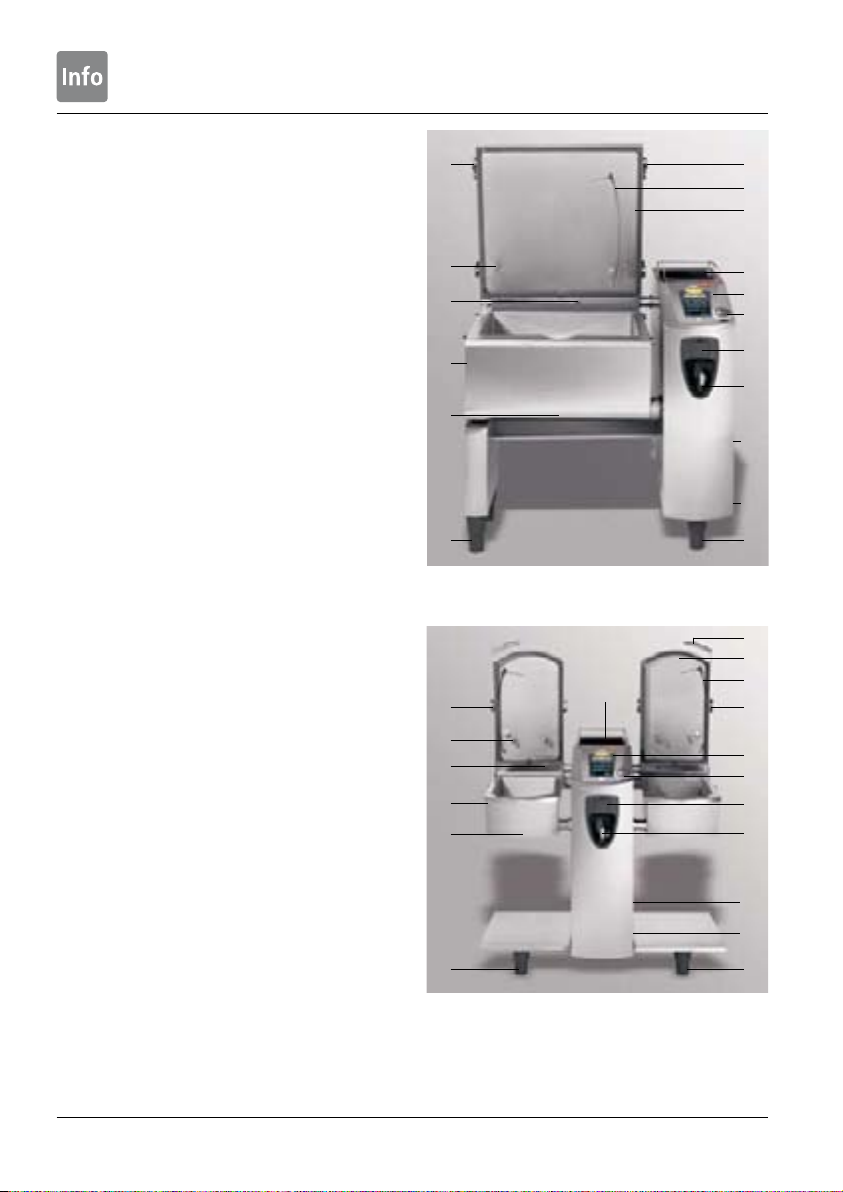
Loading/removal
Be careful when opening the unit’s cover – hot
steam can escape.
Only use genuine heatproof accessories made by
the unit manufacturer.
Unit size Max. load sizes
VarioCooking Center®112 15 kg in each pan
VarioCooking Center®211 100 kg
VarioCooking Center®311 150 kg
General Instructions / For Your Safety