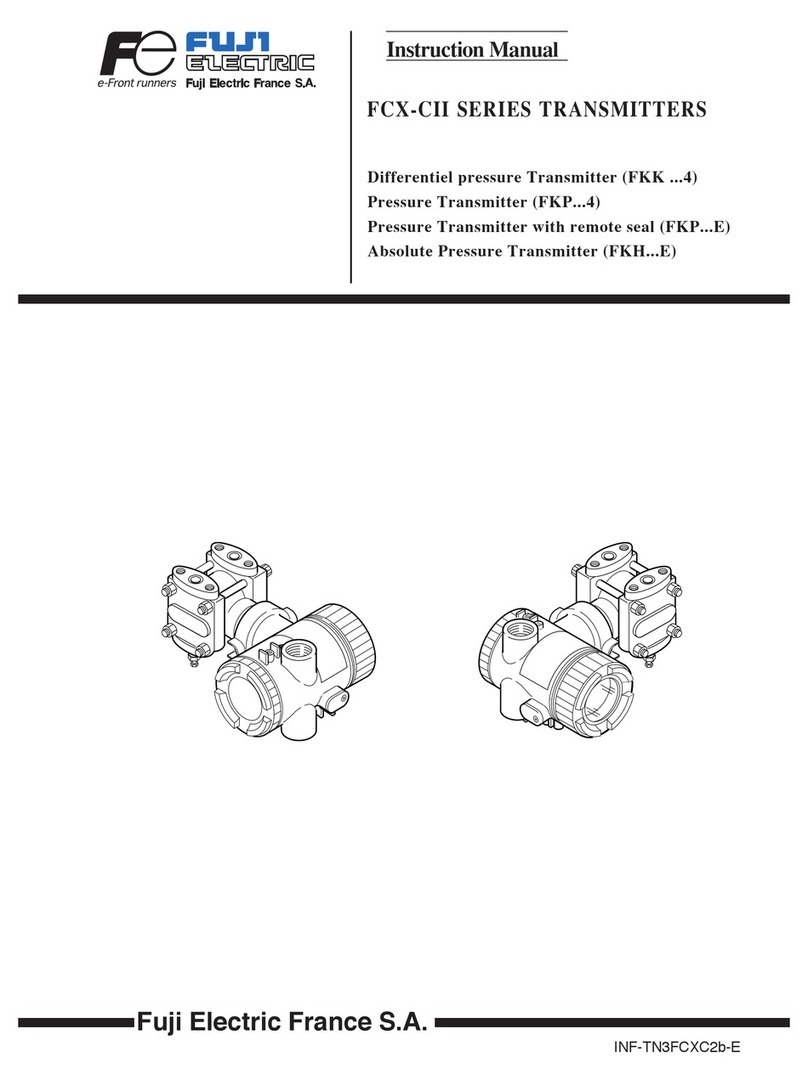
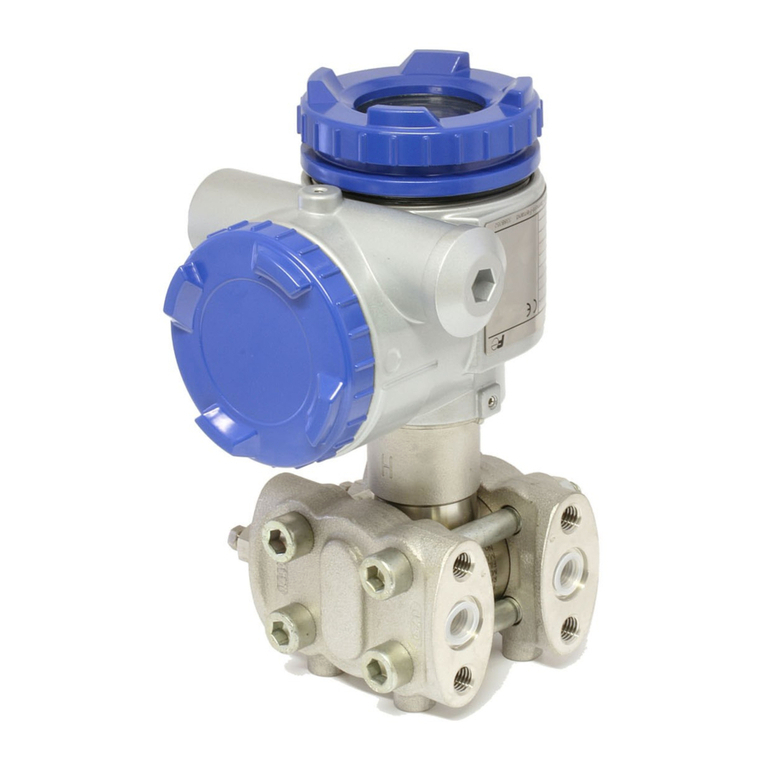
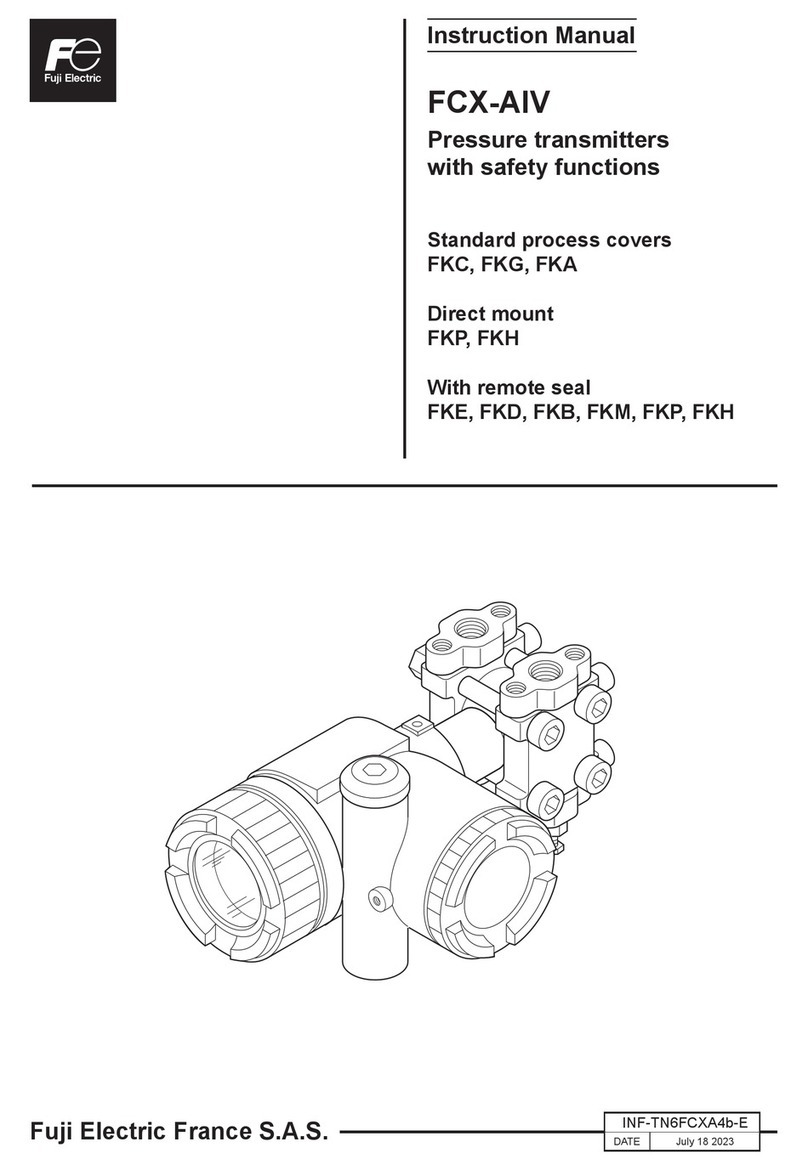
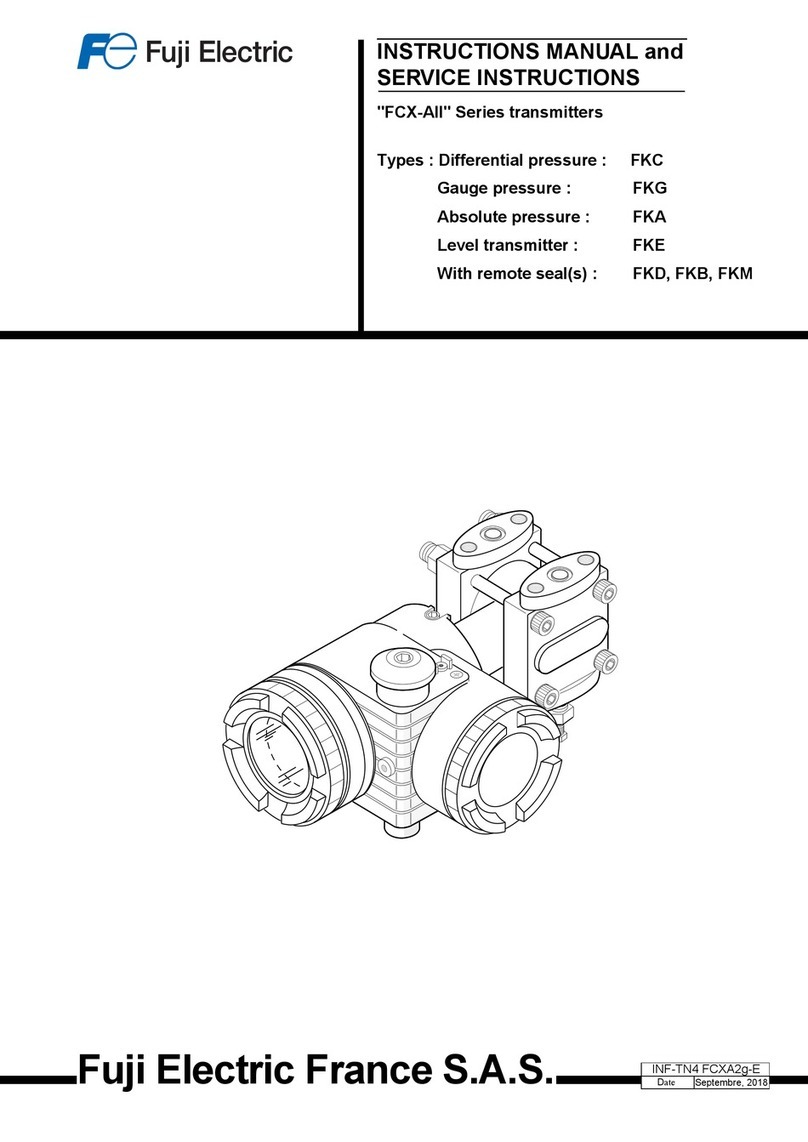
Fuji Electric FCX-AII-V5 series Operating instructions

Fuji Electric France S.A.S.
INSTRUCTIONS MANUAL and
SERVICE INSTRUCTIONS
"FCX-AII-V5" SERIES TRANSMITTERS
Type : FKC...5
FKG...5, FKP...5
FKA...5, FKH...5
FKE...F
FKD, FKB, FKM...F
FKP, FKH...F
DATE March 2018
TN5FCXA2V5h-E


TN5FCXA2V5h-E 1
CAUTION :
Rotating the upper assembly part :
The upper assembly (housing and electronic unit) can be rotated by 90° left or right just by remo-
ving the 3 hexagonal screws.
If the assembly parts must be turned over than 90°, or if the
position is already amended since the delevery by Fuji, it's
necessary to remove the electronic unit from the housing
DQGGLVFRQQHFWWKHÀDWFDEOHIURPWKHHOHFWURQLFPHDVXULQJ
cell before turn the housing.
,IQHFHVVDU\DPHQGWKHÀDWFDEOHVSRVLWLRQFRQQHFWLQJHOHF-
WURQLFXQLWDQGPHDVXULQJFHOODIWHU¿WWKHGLIIHUHQWSDUWV
)DLOXUHWRREVHUYHWKLVPD\OHDGWRWKHGHWHULRUDWLRQRIWKHÀDW
cable, which is not covered by the manufacturer's warranty.

2 TN5FCXA2V5h-E
INTRODUCTION
First read this instruction manual carefully until an adequate understanding is required, and
then proceed to installation, operation and maintenance of the FCX-AIIV5 series transmitter.
7KHVSHFL¿FDWLRQVRIWKHWUDQVPLWWHUZLOOEHFKDQJHGZLWKRXWSULRUQRWLFHIRUIXUWKHUSURGXFWLP-
provement.
0RGL¿FDWLRQRIWKHWUDQVPLWWHUZLWKRXWSHUPLVVLRQLVVWULFWO\SURKLELWHG)XMLZLOOQRWEHDUDQ\
UHVSRQVLELOLW\IRUDWURXEOHFDXVHGE\VXFKDPRGL¿FDWLRQ
This instruction manual should be kept by a person who is actually using the transmitter.
After reading this manual, keep it at a place easier to access.
This manual should be delivered to the end user without fail.
)RUGHWDLOVSHFL¿FDWLRQVDQGRXWOLQHGLDJUDPVUHIHUWRWKHVSHFL¿FDWLRQVVXSSOLHGVHSDUDWHO\
Our pressure transmitters have been designed to meet international standards and directives.
It is necessary to read carefully the manual before use these transmitters, to familiarize yourself
with the installation, wiring processes, wiring and all operations and maintenance.
7KHWHFKQLFDOLQIRUPDWLRQLVGHWDLOHGLQHDFK7HFKQLFDO6SHFL¿FDWLRQIRUHDFKYHUVLRQRIWKH
transmitters.
Carefully read the instructions ATEX "HD FCXAII 102" for any use of sensors in dangerous areas.
The instrument nameplate as shown below is attached on the housing of this transmitter.
%HIRUHXVHPDNHVXUHWKHFRQWHQWVRIWKHQDPHSODWHDJUHHH[DFWO\ZLWK\RXUVSHFL¿FDWLRQV
1
2
3
4
5
6
7
10 11
8
9
12
1 Tag number
2 Model
3 Transmitter type (see corresponding "technical datasheet")
4 Range
5 Power supply
6 Output
7 Maximum working pressure (MWP)
8 Serial number
9 Manufacturing date
10 Hazardous locations description
(See the "safety instruction" for the Pressure transmitter localised in the dangerous area)
11 2014/68/EU G1 TAMB. MIN. -40°C/ MAX. +85°C WITHOUT OPTIONS.
)RUHTXLSPHQWVVSHFL¿HGFDWHJRU\,,,RU,9* IRUXVHZLWKDOONLQGVRIÀXLG
12 Order Acknowlegment Number

TN5FCXA2V5h-E 3
ELECTROMAGNETIC COMPATIBILITY
All FCX-AII series of pressure transmitters are in conformity with the provision of the EMC Directive 2014/30/EU on the
harmonization of the laws of the Members States relating to electromagnetic compatibility.
All these models of pressure transmitters are in accordance with the following harmonized standards :
• EN 61326-1 (Electrical equipment for measurement, control and laboratory use - EMC requirements -
Part 1: General requirements).)
• EN 61326-2-3 3DUWLFXODUUHTXLUHPHQWV7HVWFRQ¿JXUDWLRQRSHUDWLRQDOFRQGLWLRQVDQGSHUIRUPDQFHFULWHULDIRUWUDQGXFHUV
ZLWKLQWHJUDWHGRUUHPRWHVLJQDOFRQGLWLRQLQJ
Emission limits (according to EN 55011 / CISPR 11, Group 1 Class A)
Frequency range (MHz) Limits Result
30 to 230 40 dB (μV/m) quasi peack, measured at 10 m distance Passed
230 to 1000 47 dB (μV/m) quasi peack, measured at 10 m distance
Immunity
Phenomenon Test value Standard Required Result
Performance criteria of criteria
Electrostatic Discharge ±4 kV (Contact) EN/IEC 61000-4-2 B A
±8 kV (Air)
Radiated, Electromagnetic 10 V/m (0.08 to 1.0 GHz) EN/IEC 61000-4-3 AA
Field 3 V/m (1.4 to 2.0 GHz)
1 V/m (2.0 to 2.7 GHz)
Fast transients (burst) 2 kV (5/50 ns, 5 kHz EN/IEC 61000-4-4 B A
Surge Transients 1 kV Line to line EN/IEC 61000-4-5 B A
2 kV Line to ground
Conducted RF Disturbances 3 Vrms (150 kHz to 80 MHz) EN/IEC 61000-4-6 A A
80% AM @ 1 kHz
Power Frequency 30 A/m (50 Hz, 60 Hz) EN/IEC 61000-4-8 AA
Magnetic Field
Performance criteria (A & B): according to IEC 61326

4 TN5FCXA2V5h-E
First of all, read carrefully the “Safety instructions” for your own safety and for correct
use of the transmitter.
• The risks related to a non-respect of the instructions are priorized as follow :
Risk of death or sever injury if the safety instructions are not fol-
lowed.
In case of wrong handling probable injury or physical damage can
happen.
Important instructions to be respected.
General observations concerning the product, product handling and
correct use of the transmitter.
CLASSIFICATION OF SAFETY INSTRUCTIONS
DANGER
INDICATION
CAUTION
PROHIBTION

TN5FCXA2V5h-E 5
Storage for a long period
For installation, select an appropriate place
At a place allowing an adequate space for check-up
Mounting position
Attention to overload
Others
If the Pressure transmitter is not mounted rapidly on site after
the delivery, please store the transmitter in a dry room at normal
temperature and humidity (25°c and 60% RH).
Keep it on the originaly packaging if possible.
Site at location with minimal vibration, dust and corrosive gas
Site at location large enough to allow maintenance and chec-
king.
Mount to a pipe horizontally or vertically.
'RQRWDSSO\DSUHVVXUHRXWVLGHWKHVSHFL¿HGUDQJH
Besides the above, be sure to observe the cautions given in
this manual.
IMPORTANT RECOMMENDATIONS

6 TN5FCXA2V5h-E
INTRODUCTION ...................................................................................................................................2
ELECTROMAGNETIC COMPATIBILITY .............................................................................................3
CLASSIFICATION OF SAFETY INSTRUCTIONS ...............................................................................4
IMPORTANT RECOMMENDATIONS ...................................................................................................5
1. OUTLINE ...........................................................................................................................................7
2. OPERATING PARTS AND THEIR FUNCTIONS ..............................................................................8
3. INSTALLATION AND PIPING ......................................................................................................... 11
3.1 Installation .........................................................................................................................12
3.2 Piping ................................................................................................................................16
3LSLQJRIGLIIHUHQWLDOSUHVVXUHDQGÀRZWUDQPLWWHUV(FKC) ........................................16
3.2-2 Piping of gauge and absolute pressure tranmitters (FKG/FKP or FKA/FKH) ........20
3.2-3 Piping of direct mount : absolute (FKH) and gauge pressure tranmitters (FKP) ......22
3.2-4 Piping of level transmitter (FKE) ...............................................................................24
3.2-5 Piping of remote seal(s) type transmitters (FKD, FKM, FKB) .................................27
3.2-6 Piping of remote seal types absolute and gauge transmitters...................................30
4. WIRING............................................................................................................................................32
4.1 Wiring procedure ...............................................................................................................33
4.2 Power voltage and load resitance .....................................................................................35
4.3 Grounding ..........................................................................................................................35
5. START UP AND SHUTDOWN ........................................................................................................36
5.1 Preparation for Start up ....................................................................................................36
5.2 Operation ............................................................................................................................37
5.3 Shutdown ...........................................................................................................................38
6. ADJUSTMENT ................................................................................................................................39
6.1 Adjustment procedure using the external adjusting screw ..................................................39
6.1-1 Zero adjustment by the screw .................................................................................39
6.1-2 Span adjustment by the screw .................................................................................40
$GMXVWPHQWSURFHGXUHE\ORFDOFRQ¿JXUDWRUXQLWZLWK/&'GLVSOD\.....................................41
6.2-1 Menu list ....................................................................................................................42
6.2-2 Switching menus ......................................................................................................43
6.2-3 Operating procedure..................................................................................................44
6.3 Adjustment with hand held communicator FXW..................................................................70
6.3-1 Connection of FXW ...................................................................................................70
6.3-2 Start up of the FXW ...................................................................................................71
7. MAINTENANCE...............................................................................................................................92
7KHIROORZLQJYHUL¿FDWLRQVDUHVXJJHVWHGE\WKHPDQXIDFWXUHU..........................................92
7.2 Troubleshooting ..................................................................................................................93
7.3 Replacement of defective parts ..........................................................................................94
$GMXVWPHQWDIWHUUHSODFHPHQWRIDPSOL¿HURUPHDVXULQJFHOO...........................................101
A1. BUILT-IN ARRESTOR ...............................................................................................................102
A2. CALIBRATION ..........................................................................................................................104
A3. PARAMETER SETTING PRIOR TO DELIVERY ......................................................................106
A4. HART®COMMUNICATION FUNCTION ...................................................................................107
A5. SPARE PARTS............................................................................................................................ 111
CONTENTS
TN5FCXA2V5h-E 7
EEPROM
Sensor
parameters
Analog to
Digital
Converter
Digital to Analog
Converter
Micro Processor
• Signal conditioning
• Reranging
• Diagnostics
• Communication
EEPROM
Transmitters
Parameters Communication
FUJI/HART®
Manual
Zero/Span
Adjustment
25.0
8.00 kPa
FXW
0Y
1
4
789
65
23
MNO
S
RQ
UV
W
Z
.
[
HHC
Hand held Communicator
{
HPLP
Control
system
Analog indicator
(option)
4-20 mA signal
LCD digital indicator
(option)
Micro
Capacitance
Silicon Sensor
Sensor Unit Electronics Unit
OUTLINE
1
The FCX-A2 V5 series transmitter accurately measures the differential pressure, level of liquid,
gauge pressure or absolute pressure, and transmits a proportional current signal of 4 to 20mA DC.
7KLVWUDQVPLWWHUFDQEHXVHGIRUÀRZUDWHOHYHOGHQVLW\PHDVXUHPHQWDQGRWKHUDSSOLFDWLRQXVLQJ
differential pressure measurement.
The transmitter utilizes a unique micromachined capacitive silicon sensor with state-of-the-art
microprocessor technology to provide exceptional performances and functionnalities.
The transmitter is compact and light, provide high accuracy and reliability.
Transmitter settings (such as range and damping time constant, etc.) can be changed from an
HHC (Hand Held Communicator) or with an optional LCD digital display.
Local digital adjustment of zero and span are possible from outside screw on the electronic housing.
Measuring principle
The operating principle of the FCX-A2 V5 serie transmitters is shown in the below block diagram.
The input pressure is changed into an electrostatic capacitance in the detecting unit.
7KHFKDQJHSURSRUWLRQDOWRWKHSUHVVXUHXQGHUJRHVFRQGLWLRQLQJDQGDPSOL¿FDWLRQLQWKHWUDQV-
mission unit, and is then output as a current of 4 to 20mA DC

8 TN5FCXA2V5h-E
Terminals
Symbol Description
Connects the output cable.
Used for checking the output or connecting an analogic indicator or a remote indicator
An external terminal used for grounding.
OPERATING PARTS AND THEIR FUNCTIONS
2
Description of FCX-A2 V5 serie transmitters
Part name Description
Detecting unit Detects pressure, differential pressure or level of liquid.
$PSOL¿HUXQLW Converts the detected signal into an output signal.
Vent/drain plug Used for gas discharge or draining.
Process connection Connects impulse pipes from the process.
Electrical connection Connects the output cable.
Zero Adjusting screw Used for adjustment.
Connection unit Connects an input-output line and ground wire
$PSOL¿HU8QLW
Part name Description
Analog indicator connector
Used for connecting an analog indicator.
LCD unit connector 8VHGWRFRQQHFWWKHGLJLWDOLQGLFDWRURUWKHORFDOFRQ¿JXUDWRUXQLWZLWK/&'GLVSOD\
Indicator (option) 7KHDQDORJRUGLJLWDOLQGLFDWRURUWKHORFDOFRQ¿JXUDWRUXQLWZLWK/&'GLVSOD\FDQ
be mounted.
Zero/Span adjustment se-
lector switch
Used to select the function (zero/span) to be adjusted by the external adjusting
screw.
%
0
20
40
60
80
100
ZS
FIX
OUT
DISP
ZERO
SPAN
abs
%
FIX
OUT
DISP
ZERO
SPAN
abs
%
MODE
(Local configurator unit
with LCD display)
(Digital) (Analog)
Indicator
Analog indicator connector
LCD unit connector
Amplifier unit
Terminal unit
Zero/Span adjustment
selector switch
Process
connection
Detecting
unit
Amplifer
unit
Adjusting screw
Vent/drain
plug

TN5FCXA2V5h-E 9
Mode indicating function of digital indicator
FIX
OUT
DISP
ZERO
SPAN
abs
%
Mode indication
Mode When indicated When not indicated
%% output Actual scale
ZERO Possible external zero adjustment External zero adjustment not possible
SPAN Possible external span adjustment External span adjustment not possible.
DISP Digital indicator display Digital indicator LIN display
OUT output LIN output
FIX Fixed current mode Measurement mode
The transmitter is in operation
(blinking). The transmitter is not in operation.
abs Absolute pressure Gauge pressure
Output value < Zero 2XWSXWYDOXH=HUR
(a part of unit indicator)

10 TN5FCXA2V5h-E
0RGHVRIWKHORFDOFRQ¿JXUDWRUXQLWZLWK/&'GLVSOD\DQGIXQFWLRQVRIWKHSXVKEXWWRQNH\VZLWFKHV
Normal mode (normal mode for indicating a measured value)
* For status indication in the normal mode, refer to the previous section “Mode indicating function of digital indicator.”
Setting mode (functions of the 3 push button key switches)
Functions of the 3 push button key switches
Name Main function
Mode key Switches between the normal and setting modes.
Minus key Changes an item No. or item name to the minus (decrease) direction.
Plus key Changes an item No. or item name to the plus (increase) direction.
5HIHUWR6HFWLRQ³$GMXVWPHQWSURFHGXUHE\WKHORFDOFRQ¿JXUDWRUXQLWZLWK/&'GLVSOD\´IRUGHWDLOV
FIX
OUT
DISP
ZERO
SPAN
abs
%
MODE
Minus key Plus key
Mode key
SPAN
%
Blicking
(Transmitter
is running)
Measurement
value
Lighting
(The setting of
the transmitter is
being adjusted.)
Item No.
Item name

TN5FCXA2V5h-E 11
INSTALLATION AND PIPING
3
Type Ambient Process Span Static pressure Technical
temperature temperature limit limit datasheets
limit limit
Differential -40 to 85°C -40 to 120°C 10 mbar -1 to 32 bar
pressure (silicone oil) 60 mbar -1 to 100 bar
320 mbar -1 to 160 bar
-20 to 80°C (option : 420 bar) EDSF6-134
ÀXRULQDWHGRLO PEDU WREDU
(option : 420 bar)
5 bar -1 to 160 bar
(option : 420 bar)
30 bar -1 to 160 bar
(option : 300 bar)
200 bar -1 to 300 bar
Gauge -40 to 85°C -40 to 100°C 1,3 bar -1 to 1,3 bar
Pressure (silicone oil) 5 bar -1 to 5 bar EDSF5-92
30 bar -1 to 30 bar and
-20 to 80°C 100 bar -1 to 100 bar EDSF5-98
ÀXRULQDWHGRLO EDU WREDU
Absolute -40 to 85°C -40 to 85°C 0,16 bar abs 0 to 0,16 bar abs
Pressure 1,3 bar abs 0 to 1,3 bar abs EDSF5-91
5 bar abs 0 to 5 bar abs and
30 bar abs 0 to 30 bar abs EDSF5-97
100 bar abs 0 to 100 bar abs
Level and -40 to 85°C 60 mbar According PN/lbs EDSF7-68
remote seal(s) See note* 320 mbar of remote seal EDSF6-05
1300 mbar and
5000 mbar EDSF6-06
30000 mbar
100 bar
200 bar
500 bar
* Refer to "technical datasheets" about details of process temperature limits of the transmitters.
)RUVSHFL¿FWUDQVPLWWHUVZLWKVWDWLFSUHVVXUH!EDUDVN)XML(OHFWULF
Protect the transmitter with a security device when the existing application
conditions require it. The transmitter should be installed remote from the
measuring point in the case that the process temperature is too high.
INDICATION

12 TN5FCXA2V5h-E
3.1 Installation
During the unpacking of the transmitter, check the conformity of the transmitter and all the ac-
cessories.
Before installation, the customer must check the compatibility of the wetted parts for the applica-
WLRQ7KHSRVVLELOLW\RIDPRGL¿FDWLRQRIWKHSURFHVVKDVWREHWDNHQLQDFFRXQWE\WKHFXVWRPHU
The transmitter can be installed on a 2” tube or wall mounted.
7KHOHYHOWUDQVPLWWHU).(KDVDUHPRWHVHDODQGFDQEHLQVWDOOHGGLUHFWO\RQDFRXQWHUÀDQJH
Note :
For the wall mounting, the customer has to supply the M8 bolting.
Please refer to the data sheets for the outline dimension drawings of the transmitters.
$Q H[SORVLRQ SURRI FHUWL¿HG WUDQVPLWWHU KDV WR EH XVHG RQ D SURFHVV ZLWK
H[SORVLYHJDVRWKHUZLVHWKHUHZLOOEHDULVNRIDFFLGHQWH[SORVLRQ¿UHHWF
DANGER
If the transmitter is not used soon after delivery, then leave it packed and store it in
DURRPDWWKHQRUPDOWHPSHUDWXUHDQGKXPLGLW\&)!5+
INDICATION
Transmitter
Bracket
Plain washer
Spring washer
Mounting bolt
(M8 12)
Process flange
Bracket
Plain washer
Spring washer
Mounting bolt
(M8x12)
Transmitter
FKC, FKG and FKA models FKD, FKB and FKM models
Mount the bracket on the transmitter as shown below.
Bracket mounting
- The transmitter is heavy. Be careful when handling it.
- The indicated installation and the wiring conditions of the transmitter must
be strictly followed.
- A wrong manipulation can be the reason of a disfunction of the transmitter.
- During installation, make sure that no part which could be the reason of the
disfunction or a danger is located inside the electronics housing.
:KHQWKHWUDQVPLWWHULVLQVWDOOHGLQDÀDPHSURRIDUHD
The local indicator position must not be changed
The position of the electronics housing must not be changed
- The isolating valves and manifold must correspond to the maximum pres-
sure in the pipe. If the valves and the connections do not correspond to the
PD[SLSHSUHVVXUHWKHUHZLOOEHDULVNRIJDVOHDNDJHRUGDQJHURXVÀXLG
- The pipes need to be according the process temperature and the pressure
standards.
- Membrane are very sensitive. Be careful during the manipulation.
- Do not bend excessiviely the capillary
DANGER

TN5FCXA2V5h-E 13
Transmitter
Nut
Spring washer
Plain washer
Bolt
U-Bolt
• Pipe mounting
FKC, FKG and FKA models FKD, FKB and FKM models
(1) Fasten the transmitter to a vertical or horizontal pipe using the supplied U-bolt (Tightening
WRUTXHDSSUR[LPDWHO\1PNJIPIWOE!
(2) Use a pipe of outside diameter 2” (ø60.3 mm)
• Flange mounting
Position the remote seal of the transmitter in front
RIWKHFRXQWHUÀDQJH
)L[WKHWUDQVPLWWHUWRWKHÀDQJHXVLQJWKHDGDSWHU
boltings
Process mounting
FKP and FKH models
• Wall mounting
Fasten the transmitter to the wall with M8 bolts.
FKP and FKH models
Bracket
Plain washer
Spring washer
Mounting bolt
(M4×10)
Adaptor (Option)
Transmitter

14 TN5FCXA2V5h-E
7KHZLULQJRUWKHDFFHVVFDQEHGLI¿FXOWDFFRUGLQJWRWKHSRVLWLRQRIWKHWUDQVPLWWHU7KHHOHF-
WURQLFVKRXVLQJSRVLWLRQFDQEHPRGL¿HGE\WXUQLQJLWE\VWHSVRIRUGHJUHHV
7KHHOHFWURQLFVKRXVLQJLV¿[HGE\KH[DJRQDOVRFNHWEROWV0[/RRVHQWKHEROWVDQGWXUQ
WKHHOHFWURQLFVKRXVLQJWRWKHULJKWRUOHIWKDQGVLGHIDVWHQWKH¿[LQJVFUHZVDIWHUWKLVRSHUDWLRQ
again
7KHGLJLWDOLQGLFDWRUFDQEHWXUQHGÛLQÛLQFUHPHQWVEHFDXVHLWLVFRQQHFWHGZLWKDSLQ
plug.
Never turn the electronic housing
over than 90° without disconnect the
ÀDWFDEOHSRVVLELOLW\WREUHDNWKHÀDW
cable from the electronic measuring
cell).
If the transmission unit has been turned
excessively without removing the elec-
WURQLFV XQLW VWUDLJKWHQ WKH ÀDW FDEOH
which connects the electronics unit in the
transmission unit and the detecting unit,
and set the transmission unit again.
0
Change of electronics housing position
DANGER
PROHIBTION
DANGER
Avoid the following procedure in an explosionproof area.
Change of indicator position

TN5FCXA2V5h-E 15
0ROCESSCONNECTION
Ensure a space of about 500mm against the cover in order to facilitate he maintenance.
Unscrew slowly grasp the hexagon part of vent/drain plug with an allen key.
Put a new seal tape (4 to 8 rounds) and mount the vent/drain plugs in the position you want
applying the tightening torque :
7LJKWHQLQJWRUTXH1PNJIPIWOE!
500 500
500
Check space
Change of vent/drain plug position

16 TN5FCXA2V5h-E
Gas measurement Liquid measurement Steam measurement
Upper
Lower
Upper
Lower
0 to 45° up from the vertical 0 to 45° up from the vertical0 to 45° down from the vertical
3.2 Process piping
'LIIHUHQWLDOSUHVVXUHDQGÀRZWUDQVPLWWHUVW\SH).&
Check of "High" and "Low" pressure sides of transmitter
The "High" Pressure side is indicated by "H" and the "Low" pres-
sure side by "L" on the cell neck
Removal the protective cap
The process connection ports of the transmitter and manifold
YDOYHDUH¿WWHGZLWKSURWHFWLYHFDSV%HIRUHSLSLQJEHVXUHWR
remove the caps. When removing the caps, carefully protect the
threaded portion and sealing face from damage.
Connect the transmitter to impulse pipes
:KHQXVLQJWKHPDQLIROGYDOYHLWVKRXOGEH¿[HGWRWKHWUDQVPLWWHUE\WLJKWHQLQJIRXU
RYDOÀDQJHVHWEROWV81)DQGWKHQWKHLPSXOVHSLSHVKRXOGEHFRQQHFWHGWR
the manifold valve. Tightening torque of 7/16-20UNF mounting bolt should be 30 to 40
Nm (3 to 4 kgf m).
(2) If a manifold is not used, the impulse pipes can directly be screwed into the transmitter.
,IWKUHDGVL]HGRHVQRWPDWFKEHWZHHQWKHWUDQVPLWWHUDQGLPSXOVHSLSHVDQRYDOÀDQJH
should be used.
Position of process connection
The position of the process connection is determined by the relationship between the condi-
WLRQFKDUDFWHULVWLFVDQGPHDVXULQJSRLQWRIWKHSURFHVVÀXLG
Follow the process position according to the process :
The piping connection must respect some rules to have an accurate measurement :
General recognitions are :
1) Transmitter must be mounted below the process piping for liquid and steam measurement.
2) Transmitter must be mounted above the process piping for gaz measurement.
Main valve or manifold used for piping should be selected with the maxi-
mum pressure of the process taken into account (piping parts such as
main valve, etc. should be furnished by user). If the main valve and other
parts do not meet the rating, it may result in leakage of gas or liquid which
could lead to a hazard.
CAUTION
LH
4HREADEDPORTION
3EALSURFACE

TN5FCXA2V5h-E 17
Manifold
Impulse pipe
Isolating valve
Process pipe
Orifice plate
Impulse pipe
Manifold
isolating valve
Differential pressure source (orifice)
Process pipe
Isolating valve
Process pipe
condensate
chamber
Manifold
Impulse pipe
Recommandation for process connection
3- *DVÀRZPHDVXUHPHQW
Place the transmitter above the process pipe. If the pro-
cess temperature is high, please use a condensate cham-
ber like for steam
2- 6WHDPÀRZPHDVXUHPHQW
Set two condensers at the same height between the
transmitter and the primary element.
Fill the pipe between the condensers and transmitter with
water.
Installation of a drain is necessary
1- Liquid ÀRZPHDVXUHPHQWLQFDVHRIOLTXLG
Place the transmitter below the process pipe
Make piping so that gas in the impulse pipe is not
delivered to the transmitter, and incorporate gas res-
ervoirs as required..
Isolating valve
Process pipe
Pressure tap
Impulse pipe
Manifold
Atmospheric
air inlet
4- Pressure measurement for liquid
The transmitter must be below the process pipe.
(1)During valves and manifold installation, please make sur that no dust
enter through the atmospheric air inlet.
(2)If pressure measurement is low (below 10kPa (1000mmH2O), the fol-
lowing should be considered.
• Pressure variation due to wind around atmospheric air inlet
• Temperature variation near process connection
• Difference in atmospheric pressure between process connection and
transmitter location.
To overcome this, provide atmospheric pressure-side pipe with a
SURSHURUL¿FHDQGFRQVLGHUDFFRPPRGDWLQJWKHWUDQVPLWWHUDQGDWPR-
spheric air inlet in a box.
CAUTION

18 TN5FCXA2V5h-E
5- Pressure measurement for gas
Place the transmitter above the process pipes to pre-
venting condensation in the impulse pipe and in the
measuring
6- Level measurement
5HIHUHQFHFROXPQ¿OOHG
For measurement, connect the highest liquid level of tank with the low pressure side of
transmitter, and the lowest liquid level of tank with the high pressure side of transmitter.
The reference column (connected to the high-
HVWOHYHORIWDQNPXVWEH¿OOHGRIÀXLG
Level calculation formula
/59 ȡ+2±ȡ0H1
859 ȡ+2ȡ1K±ȡ0H1
ȡ
0ȡȡ1: Density
H
1, H2: Liquid level,
h: Liquid level change
H1H2
ρ
0ρ
h
ρ
1
Max. liquid level
Min. liquid level
Condensate chamber
High
pressure
side
Manifold
Low
pressure
side
Isolating valve
Process pipe
Impulse pipe
Manifold
Pressure tap
Atmospheric
air inlet
H1
ρ
h
ρ
1
Max. liquid
level
Min. liquid
level
Atmospheric
air inlet
Manifold
High
pressure
side
Low
pressure
side
(2) Reference column empty
For an open tank, leave the low pressure side of transmitter open to atmosphere.
Level calculation formula
/59 ȡ+
1
859 ȡ+
1ȡ1h
ȡȡ1: Density
H
1: Liquid level,
h : Liquid level change
Other manuals for FCX-AII-V5 series
1
This manual suits for next models
11
Table of contents
Other Fuji Electric Transmitter manuals

Fuji Electric
Fuji Electric FCX-AII Series Operating instructions

Fuji Electric
Fuji Electric FCX-AIV Series User manual

Fuji Electric
Fuji Electric FRC User manual

Fuji Electric
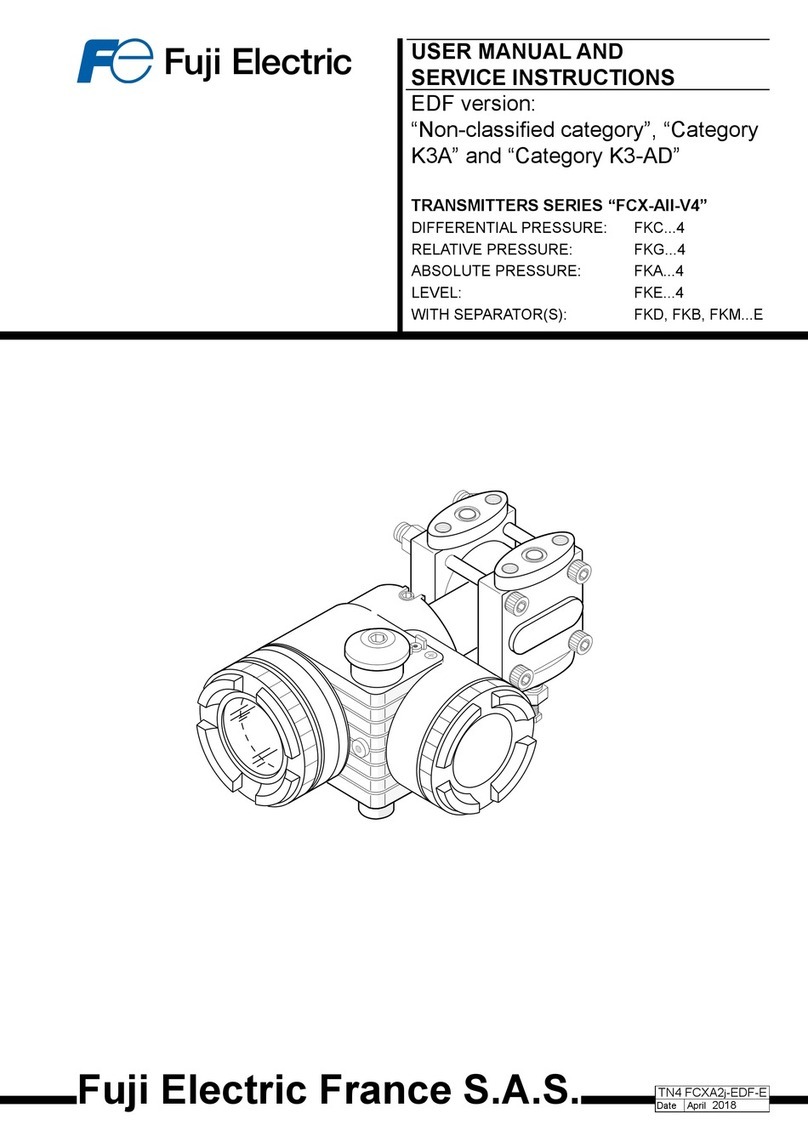
Fuji Electric FCX-AII-V4 Series Operating instructions

Fuji Electric
Fuji Electric FCX-AII-VG Series User manual

Fuji Electric
Fuji Electric FCX-CII SERIES User manual

Fuji Electric
Fuji Electric FCX Series Quick start guide