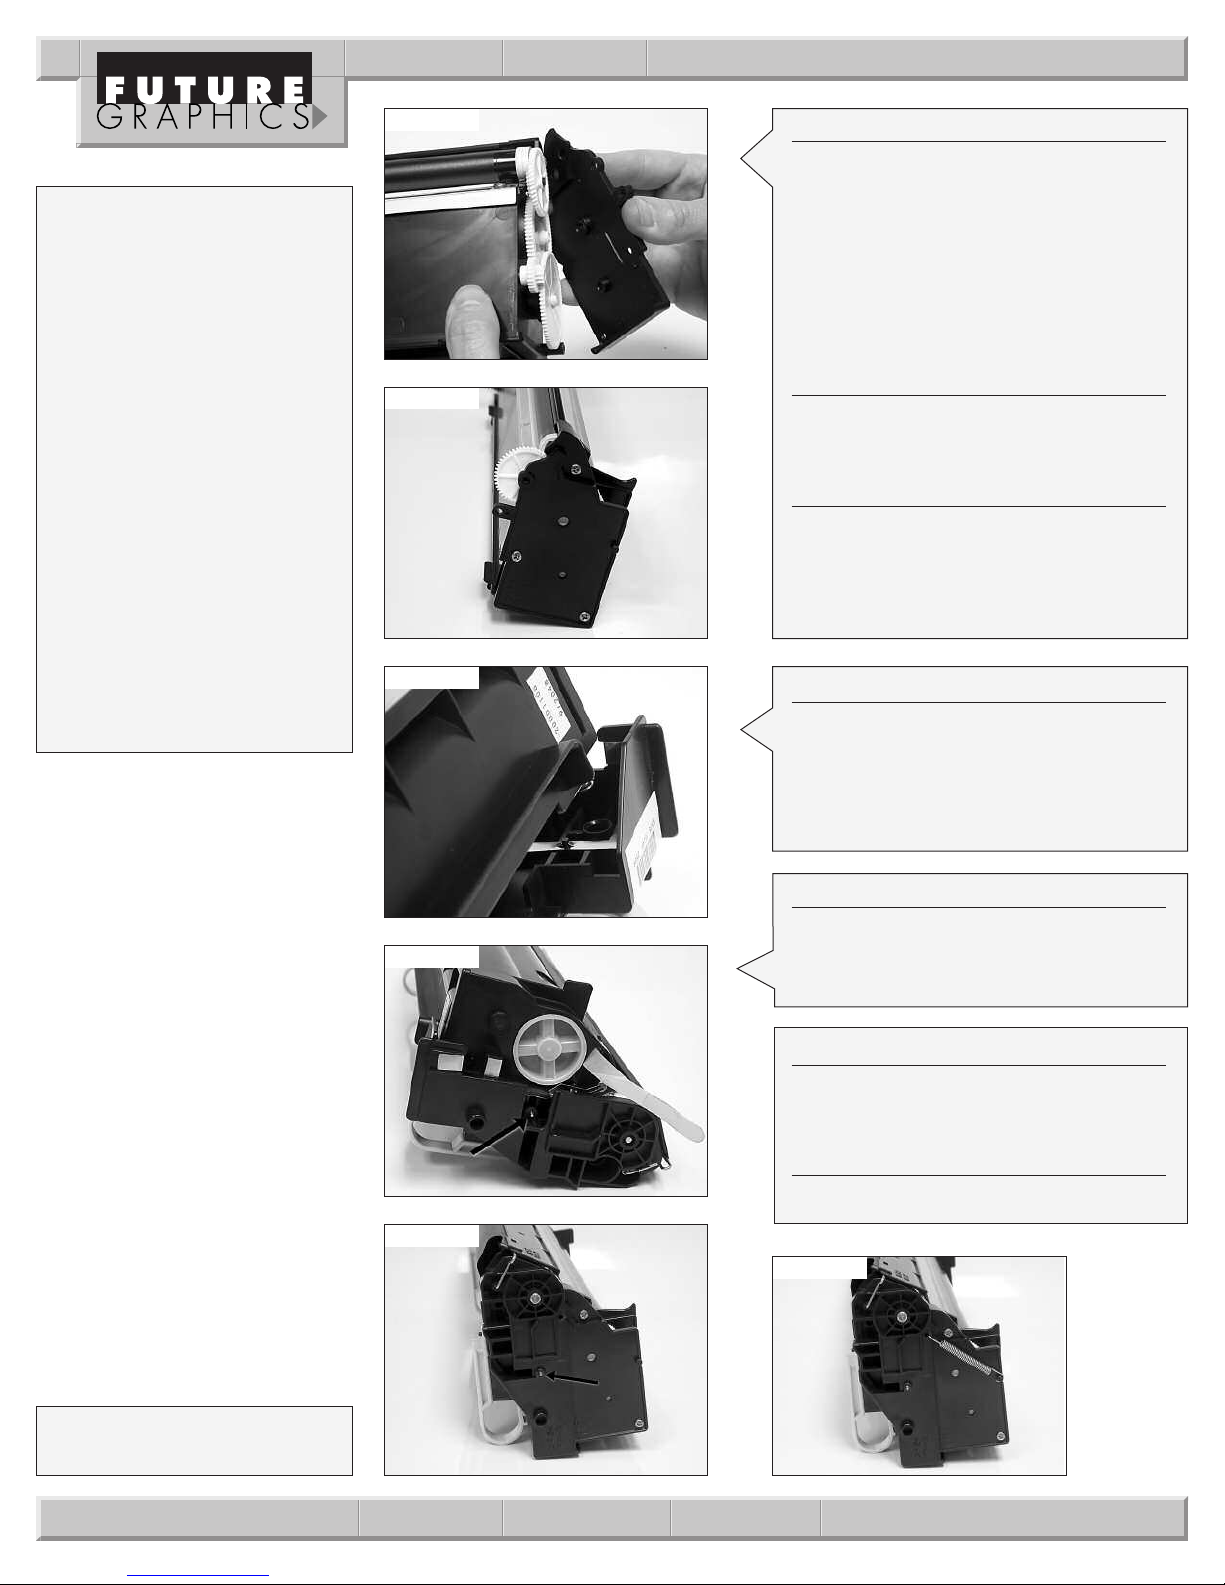
Step 34
Place the endplate onto the end of the
toner hopper making sure the half
mooned shaped mag roller axle fits into
the recessed area on the endplate.
(See Photo 34)
Reinstall the three screws that hold the
endplate. (See Photo 35)
Step 35
Fill the toner hopper with 640 grams of
toner.
Step 36
Apply a bead of toner across the mag
roller for testing. Rotate the mag roller 4-
5revolutions to ensure the toner is even
across the mag roller.
Photo 34
Photo 35
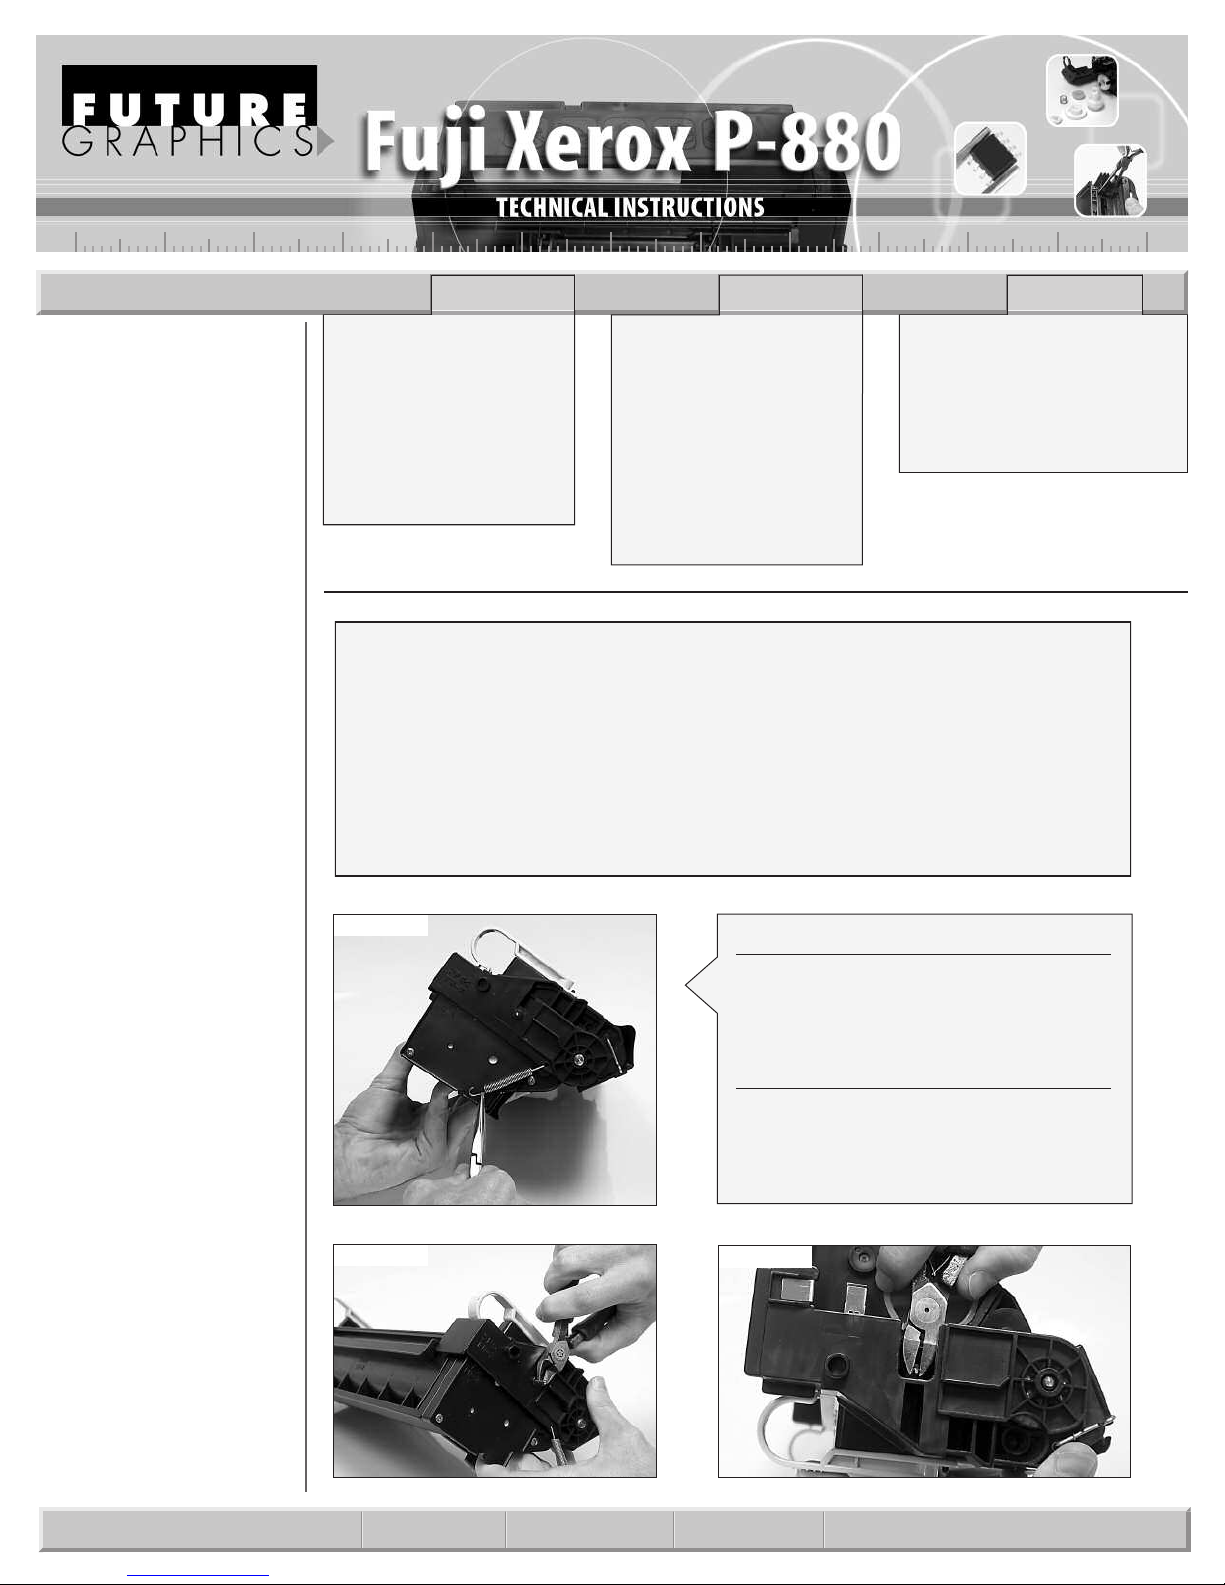
Photo 36 Step 37
Place the waste hopper flat on the work-
bench with the handles toward you. Align
the toner hopper so the tension spring
will rest in the recessed area on the waste
hopper. (See Photo 36)
Photo 37
Photo 38
Photo39
8 Fuji Xerox P-880 Technical Instructions
Need trust-worthy, detailed Technical
Instructions for another engine?
Visit: www.futuregraphicsllc.com
Step 39
Place the tension spring back on the end
of the cartridge. (See Photo 39)
Step 40
Test the cartridge.
Step 38
Install the cartridge pins in both ends of
the cartridge.
(See Photo 37 & 38)
Common Problems
and Solutions:
1. Problem: Light print on the
top half of the page.
Solution: The cartridge spring
on the end of the cartridge is
either missing or the spring’s
tension is too weak. Replace or
install the spring.
2. Problem: Leaky toner from
behind the wiper blade.
Solution: If the foam was
removed from behind the
wiper blade toner will leak out.
Place a flat sheet of foam
between the wiper blade and
the waste hopper.
E-mail: info@futuregraphicsllc.com Website: www.futuregraphicsllc.com
Future Graphics (FG) is a distributor of compatible
replacementparts and products for imagining
equipment. None of FG's products are genuine
OEM replacement parts and no affiliation or spon-
sorship is to be implied between FG and any OEM.