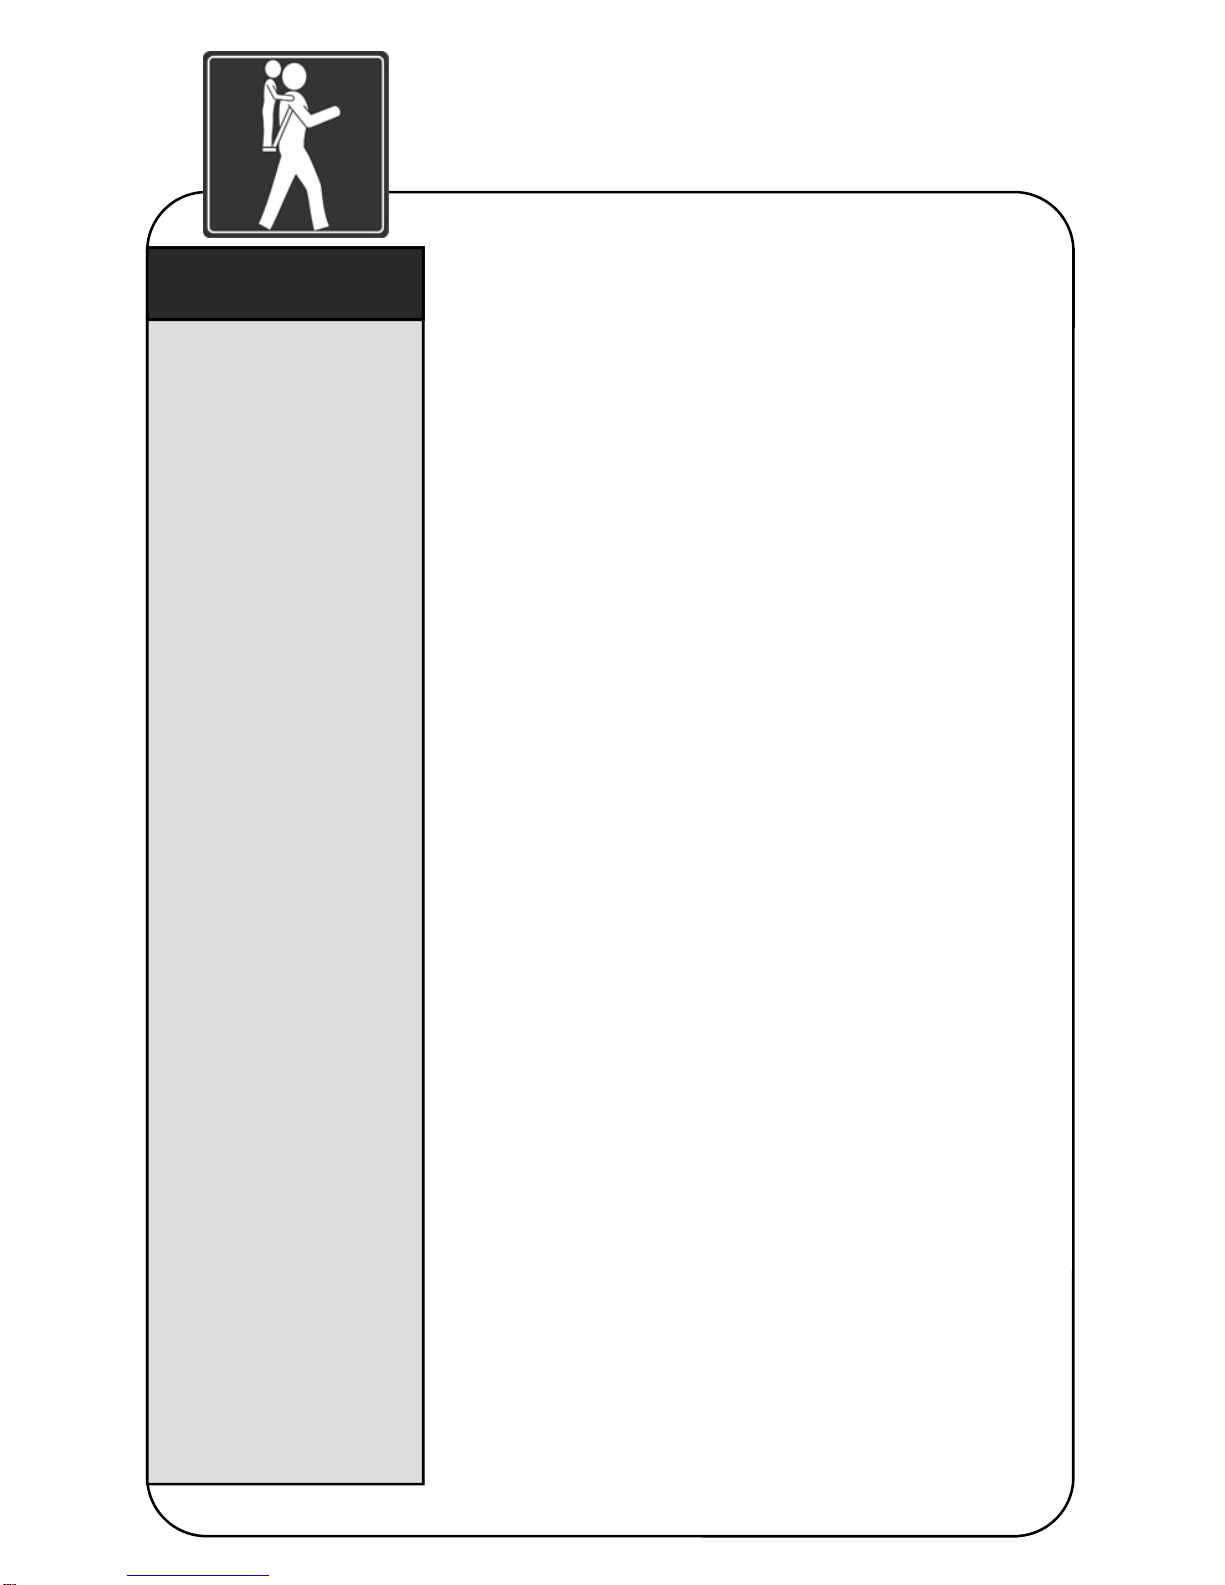
Full Sail International Piggyback rider NILOC User manual

The Piggyback
Rider™ is meant to
be used only BY
ADULTS to carry
one child.
The Piggyback
Rider™ is designed
to transport one child
weighing no more
than 60 lbs (27 kg).
Use caution when
using this carrier.
Read and follow all
instructions.
MODEL:
NILOC
Sometimes, it’s about more than
just getting there…
a portable, lightweight child carrier
…making every adventure
mutually enjoyable
Save these instructions for future reference.
piggyback rider™
safety & user guide
TIPS
Full Sail International, LLC
Patent Pending
© 2010
v.0810-1b

Everyone who uses this carrier should read this manual and become
familiar with all safety warnings and precautions for safe use, care,
maintenance and storage.
The carrier is suitable for use while walking, not for sports activities.
FAILURE TO FOLLOW THESE WARNINGS COULD CAUSE DEATH,
SERIOUS INJURY OR PERMANENT DISABILITY TO YOUR CHILD.
Keep instructions for future use.
WARNING
FALL OR STRANGULATION HAZARD
Serious injury to you or your child can result from falling.
A child could become entangled in straps and strangulation could occur.
Only use with a child who can walk unaided. Riding in the carrier requires
similar skills to ascending stairs unaided.
Always use child safety harness.
Child must face forward and lean forward while riding.
Both child’s feet must remain on the foot bar. Keep foot bar dry.
Your child must use keep both hands on the handles at all times.
Periodically monitor your child.
Practice using the carrier with and without a child before using for extended
periods of time.
WARNING
CARRIER MAY AFFECT COORDINATION AND BALANCE
Your balance may be adversely affected due to your movements or the
movements of your child.
You will need to take great care when bending or leaning forward. Bend at
the knees to maintain your balance.
DO NOT use the carrier while jogging, running, skating, biking or engaging
in any activity that will affect your and your child’s balance.
DO take special care when putting on or removing the carrier.
DO take special care when mounting and dismounting the child on the
carrier.
safety information
- important -
2

WARNING
PROTECT YOUR CHILD
DO NOT carry a child who is tired, faint, dizzy, nauseated, experiences
muscle pain or has sprained feet.
DO NOT leave child unattended with the carrier.
DO NOT place more than one child on the carrier.
DO NOT allow your child to sit on the foot bar.
DO NOT use carrier if your child will not ride calmly on the carrier.
DO NOT allow child to eat or drink while riding on the carrier.
DO assure your child wears shoes.
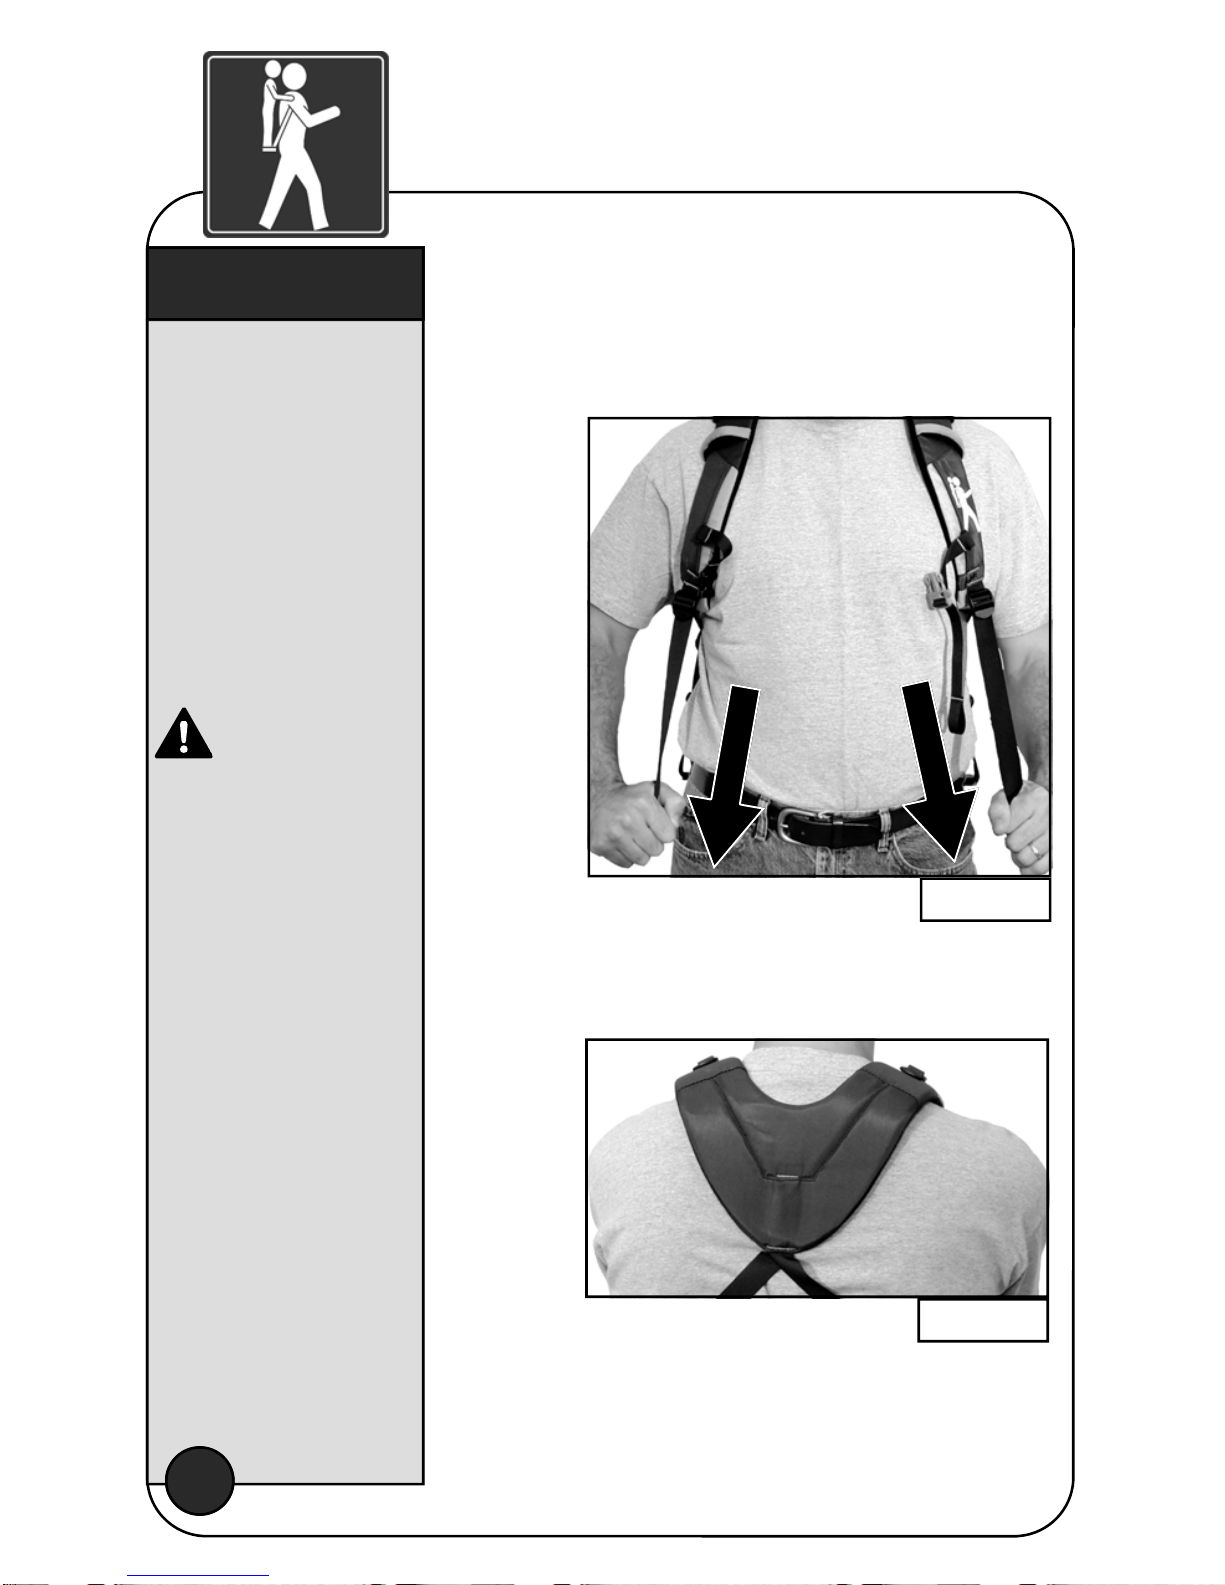
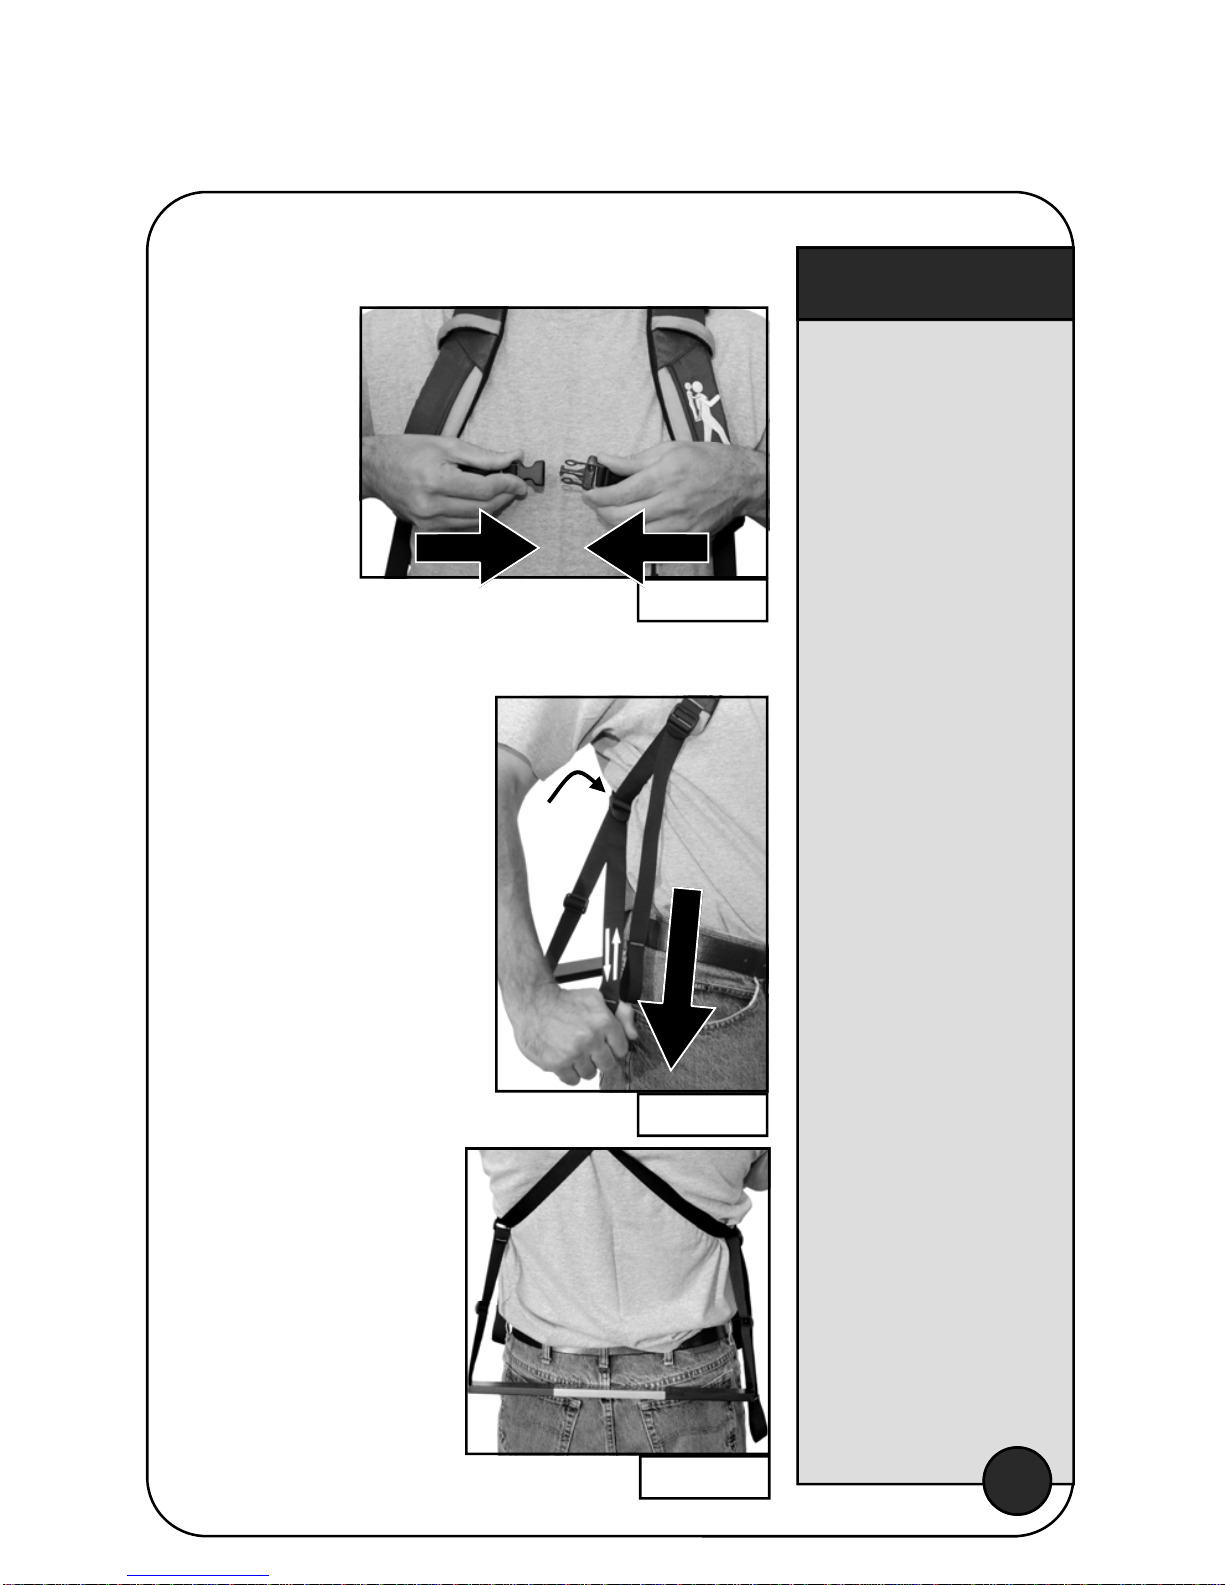
ALWAYS use the safety harness.
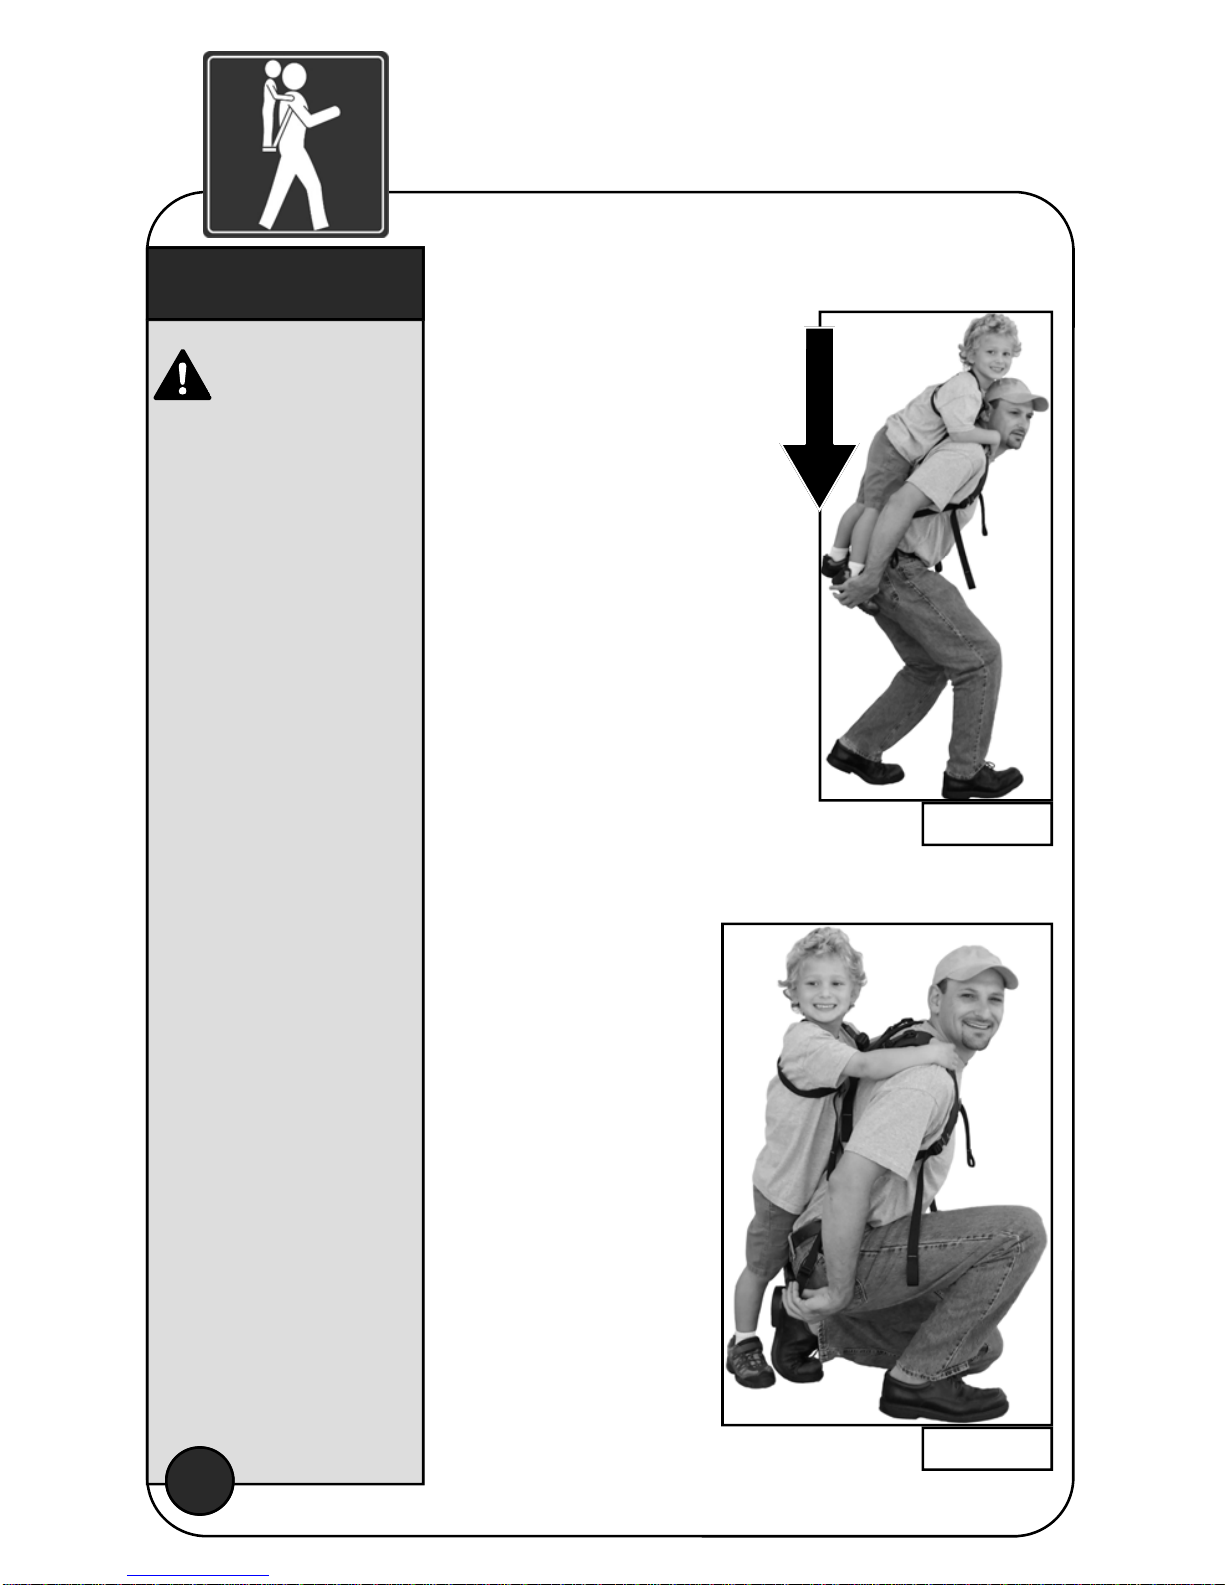
ALWAYS instruct the child to use the attached handles at all times.
DO monitor child while on carrier. Periodically check the child’s position.
DO periodically check the child’s comfort and take frequent breaks,
because the child may become tired before you do.
DO assure your child is dressed properly for the weather.
DO protect your child from the harmful effects of the weather, including rain,
temperature and sun.
If your child has special needs, consult with a physician before using the
carrier. This carrier may not be appropriate for special needs children.
WARNING
DO NOT USE A DAMAGED CARRIER
A damaged carrier can fail unexpectedly, causing you or your child to fall.
DO NOT use carrier if the fabric, straps or stitching are damaged. Check
materials for cuts, tears, fraying and loose stitches.
DO NOT use carrier if the buckles are damaged. Check hardware for
cracks, breaks and splits.
DO NOT place carrier near a campfire, cook stove or open flame.
DO NOT attempt to remove the foot bar.
DO NOT use the carrier if the carrier is in any way damaged or defective.
Contact Customer Service through the website:
www.thepiggybackrider.com.
DO check the condition of carrier before each use.
safety information
- important -
3

WARNING
USE CAUTION WHEN USING THIS CARRIER
Improper use can cause undue strain and discomfort.
DO NOT remove the carrier while child is still mounted on the carrier or
hanging onto your shoulders.
DO NOT attach carrier to bicycles, automobiles, snowmobiles, or
other machines.
DO lift and lower the child on the carrier gently.
Look around to be sure there is no obstacle nearby that the child could
strike or the carrier could catch on.
WARNING
CARRIER TO BE USED BY ADULTS ONLY
You can be hurt lifting children beyond your abilities.
DO consult with a physician before using a Piggyback Rider™ (or partaking
in any physical activity).
DO NOT use carrier if you feel faint, dizzy, nauseated or experience
muscle pain.
ALWAYS be aware of your surroundings.
WARNING
LOW CLEARANCE
When the child is on the carrier, they may be in a position higher than the
person wearing the carrier.
Care should therefore be taken to be aware of hazards: e.g. door frames,
low tree branches, etc.
WARNING
DO NOT EXCEED THE WEIGHT LIMIT
The maximum weight limit for the child is 60 pounds (27 kg).
safety information
- important -
4

CARRIER
SAFETY HARNESS
carrier features
- before you start -
5

DO read all safety
information prior to
using your
Piggyback Rider™.
Carrier is worn and
adjusts like a
standard backpack.
DO check the
condition of carrier
before each use. See
page 3.
STEP 1: ADJUST SHOULDER STRAPS
Tighten shoulder straps until snug (figure 1). They
should curve over shoulders, without gaps or cutting
into arms.
Carrier should sit snugly at collar line (figure 2).
carrier adjustment
6
TIPS
Figure 1
Figure 2

STEP 2: ADJUST CHEST STRAP
Height adjusts
by sliding clips
along shoulder
straps. Should
be two finger
widths below
top of sternum
(figure 3).
STEP 3: ADJUST FOOT BAR HEIGHT
Shorten or lengthen web,
using foot bar adjustment
strap or buckle (figure 4a).
Foot bar slides along web
to become level with the
ground (figure 4).
To start, foot bar should
be at or below belt/waist
level (figure 5).
Proper fit and
adjustment will make
using your carrier
more enjoyable for
you and your child.
PULL STRAP DOWN
to raise the foot bar.
RELEASE BUCKLE
to lower the foot bar.
To level foot bar,
push on higher end.
carrier adjustment
7
TIPS
Figure 5
Figure 3
Figure 4
A

Use the hand
holds.
A wet foot bar
may be slippery.
ALWAYS use the
child safety harness.
Safety harness
should be
comfortable not tight.
Proper fit and
adjustment will make
using your carrier
more enjoyable for
you and your child.
Bend at the knees to
maintain your
balance.
See
thepiggybackrider.com
for video instructions.
STEP 1: PUT SAFETY HARNESS ON
CHILD
Put the child’s arms through
each arm loop. Make sure grey
tether is on their left side.
Tighten shoulder straps until
snug (figure 6).
STEP 2: ATTACH SAFETY TETHER TO
CARRIER AND SECURE
Squat down or have
child stand on a stool
or other object.
Secure safety tether
hooks to each
attachment ring. Grey
web attaches to the left
shoulder; black web
attaches to the right
shoulder (figure 7).
Pull forward on safety tether
adjustment to secure the child
(figure 8).
getting on the carrier
8
TIPS
Figure 8
Figure 6
Figure 7

STEP 3: CHILD STEPS ONTO FOOT BAR
Have child hold
handles as they
step onto black
painted ends of foot
bar, one foot at a
time as if it were a
single step-ladder
rung (figure 9).
Keep child’s feet as
close to the ends of
the foot bar as
possible.
STEP 4: STAND UP
Carefully stand in a controlled,
continuous motion (figure 10). Brace
yourself. Keep feet spread apart.
STEP 5: CHECK FOR A
SNUG FIT
When adjusted properly, child’s
forearms will lay on shoulders at
approximately 90°, while they are
holding onto the hand holds, with
their head at or slightly above the
adult’s head.
Dismount child before adjusting the
height of the foot bar.
Instruct child to use
hand holds at all
times.
Adult should guide
child’s feet onto the
black painted edges
of the foot bar.
Both child’s feet must
remain on the foot
bar at all times.
Child must lean
forward for stability.
Be aware of
your surroundings.
Stand up slowly.
To level foot bar after
mounting, place
weight on higher
end.
getting on the carrier
9
TIPS
Figure 9
Figure 10

STEP 1: SQUAT DOWN
Squat down with the child as
you lower them securely to
the floor, or firm, level ground
(figure 11).
STEP 2: CHILD STEPS OFF FOOT BAR
Child should step
backwards off the foot
bar, while holding the
handles. Once both
their feet are on the
ground, they can let go
of the handles
(figure 12).
taking off the carrier
Be aware of
your surroundings.
Keep your feet
approximately
shoulder-width apart
and knees bent for
stability.
Look around you and
be sure there is no
obstacle nearby that
the child could strike
or the carrier could
get caught on.
TIPS
10
Figure 11
Figure 12

STEP 3: UNHOOK THE SAFETY TETHER
Unclip safety tether
hooks. Allow safety
tether to fall away
from child (figure 13).
STEP 4: REMOVE SAFETY
HARNESS FROM CHILD
Remove safety
harness from
child (figure 14).
Remove your
carrier. Place
safety harness
and carrier in
storage bag (see
page 14).
taking off the carrier
11
TIPS
Figure 13
Figure 14

STORAGE BAG
bag features
- before you start -
12

ATTACHING BAG AS A MUDFLAP
Feed mudflap
attachment web
through accessory
attachment sites
(see page 5) on both
sides of foot bar web
(figure 15).
ATTACHING BAG AS A POUCH OR SAC
Once folded or stuffed, feed storage attachment web
through bag closure loops and feed through either
accessory attachment site (see page 5 and figure
15). See website for folding instructions.
Carry bag
attached as
small pouch
(figure 16a) and
stuff sac (figure
16b).
Height of buckles
can be adjusted by
sliding along the foot
bar web.
When correctly
attached, logo on
bag will face away
from child and lie
between adult and
foot bar.
See
thepiggybackrider.com
for video instructions
on folding and
storing the bag.
how to attach
the carry bag
13
TIPS
Figure 15
Figure 16
A B

This method
separates the carrier
from the foot bar to
avoid dirtying the
fabric.
See
thepiggybackrider.com
for video instructions.
STEP 1
Lay bag on flat surface with pouch facing up and flap
facing you (figure 17a).
STEP 2
Slide foot bar to bottom of pouch (figure 17b).
STEP 3
Bend carrier at top, near hand holds. Fold shoulder
straps in half, with front panels of carrier facing each
other. Lay folded carrier on flap, in line with foot bar
(figure 17c).
STEP 4
Fold and roll bag flap over the
carrier and straps until reaching
pouch opening (figure 17d). Stuff
into pouch.
STEPS 5 & 6
Secure closed with straps (figure
17e). Attach shoulder strap to bag
closure loops on short ends of roll
(figure 17f). Wear stored carrier
over shoulder (figure 18).
how to store your
piggyback rider™
14
TIPS
A
D
B
E
C
F
Figure 17
Figure 18

CARE AND CLEANING
Clean by hand with a mild detergent and a damp cloth.
Allow carrier to air dry.
DO NOT use bleach or liquid detergent.
DO NOT machine wash the Piggyback Rider™.
As with all fabric products, continuous sun exposure can cause fading.
Store carrier indoors, in dry location, out of direct sunlight.
CUSTOMER SERVICE
If you have any questions please contact Customer Service:
Care &
Maintenance
Piggyback Rider™
FULL SAIL INTERNATIONAL, LLC
6222 Stoneham Court
Bethesda, Maryland 20817
PLACE
STAMP
HERE
Full Sail International, LLC, Bethesda, MD 20817
Website: www.ThePiggybackRider.com

Full Sail International, LLC takes pride in its workmanship and undertakes
to manufacture top quality products. A Piggyback Rider
™
is covered under
warranty, to the original owner, for the lifetime of the product, against defects in materials or
workmanship.
Since no Piggyback Rider
™
is indestructible, Full Sail International, LLC’s warranty does
not cover damages attributable to or resulting from normal wear and tear (e.g., exhausted
padding) or factors beyond the control of Full Sail International, LLC, including but not limited
to natural hazard damage (e.g., weather, animals, ultraviolet (UV) damage), abuse or
alteration, or failure to use the Piggyback Rider
™
in accordance with safety and user guide.
All products being returned require a Return Authorization number. Service under our
warranty is available to the original purchaser by contacting customer service at
1-301-541-3744 for a Return Authorization number.
If, after inspection, we determine that the product is defective and covered by this
warranty, we will repair or replace it at our discretion, free of charge. If your Piggyback Rider
™
needs service or repair that is not covered under this warranty, we will provide the necessary
service at a reasonable charge.
EXCEPT AS SET FORTH ABOVE, FULL SAIL INTERNATIONAL, LLC MAKES NO
OTHER WARRANTIES, EXPRESS OR IMPLIED, INCLUDING, BUT NOT LIMITED TO, ANY
IMPLIED WARRANTIES OF MERCHANTABILITY AND FITNESS FOR A PARTICULAR
PURPOSE. FULL SAIL INTERNATIONAL, LLC EXPRESSLY DISCLAIMS ALL
WARRANTIES NOT STATED IN THIS LIMITED WARRANTY.
FULL SAIL INTERNATIONAL, LLC WILL NOT BE LIABLE FOR ANY DAMAGES OF ANY
KIND ARISING FROM THE USE OF THE PIGGYBACK RIDER
™
, INCLUDING, BUT NOT
LIMITED TO DIRECT, INDIRECT, INCIDENTAL, PUNITIVE, AND CONSEQUENTIAL
DAMAGES.
CERTAIN STATE LAWS DO NOT ALLOW LIMITATIONS ON IMPLIED WARRANTIES
OR THE EXCLUSION OR LIMITATION OF CERTAIN DAMAGES. IF THESE LAWS APPLY
TO YOU, SOME OR ALL OF THE ABOVE DISCLAIMERS, EXCLUSIONS, OR LIMITATIONS
MAY NOT APPLY TO YOU.
This warranty gives you, the original purchaser, specific legal rights. You may also have
other rights, which vary from state to state.
If you have any questions please call Customer Service at 1-301-541-3744
limited lifetime
warranty
v0810-1b
piggyback rider™
Warranty Card - Please Complete and Return
Name: ________________________________________________________
Address: ________________________________________________________
City: _______________ State: ________________ Zip: _________
E-mail: ________________________________________________________
Model: ________________________________________________________
Purchased from: _____________________________ Purchase date: ___________
Table of contents