Important
•Fully charge the battery before first use. Charge under direct
sunlight in the <OFF> position for 2 days.
•For best results, locate your solar lamp in a position where it
can get direct sunlight on the solar panel and generally free
from cover and shade.
•Keep your solar lights away from other night-time light
sources, such as streetlights.
•Make sure the solar panels are not covered by dust, snow
and debris. Clean it with a soft damp cloth or paper towel
periodically. Avoid the use of abrasive cleaning agents.
•Use only rechargeable batteries for your solar lights. Replace
with a new battery of the same size each year for optimum
performance.
•The performance of the solar light will vary with the time of
year. It will deliver more light when it has had a full day in
the sun rather than a day in overcast weather.
Operation
For First Time Use:
STEP 1:
Fully charge the battery before first use.
Charge under direct sunlight in the <OFF>
position for 2 days.
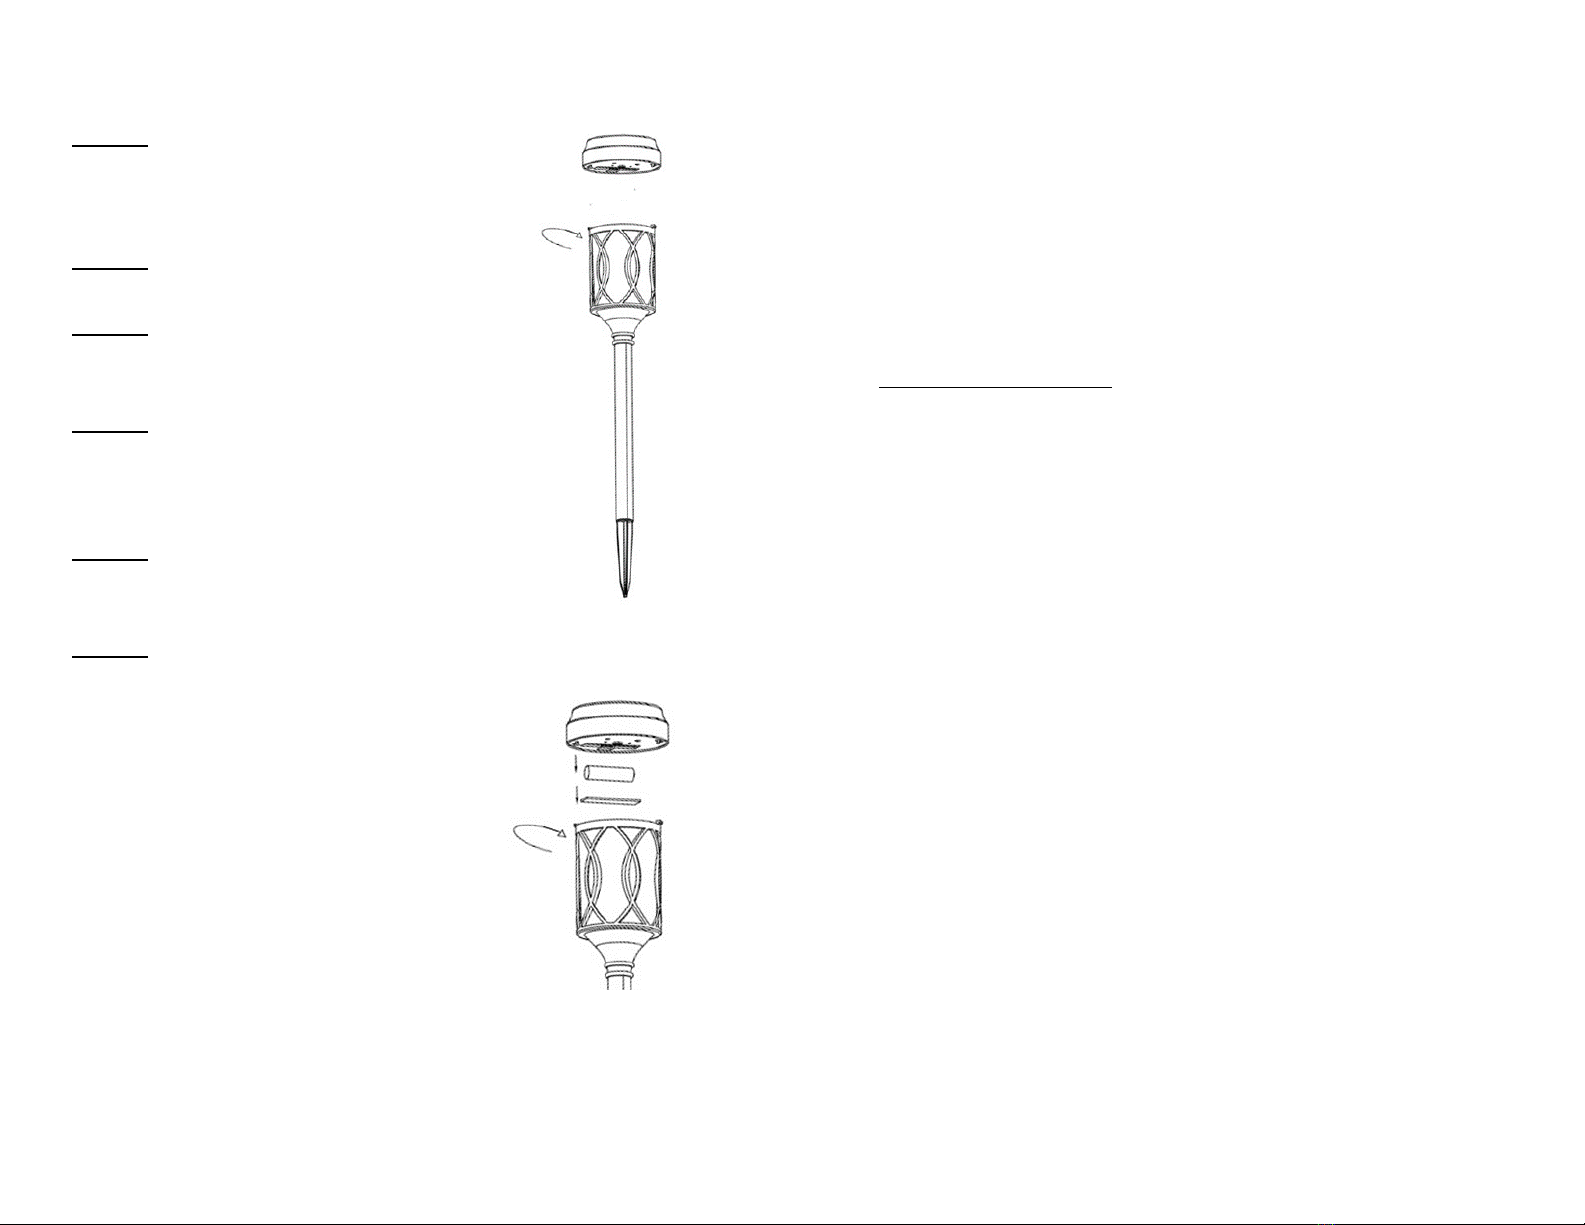
STEP 2:
While holding the glass lens, turn the solar
housing in a counter clockwise direction
to remove (Figure 1).
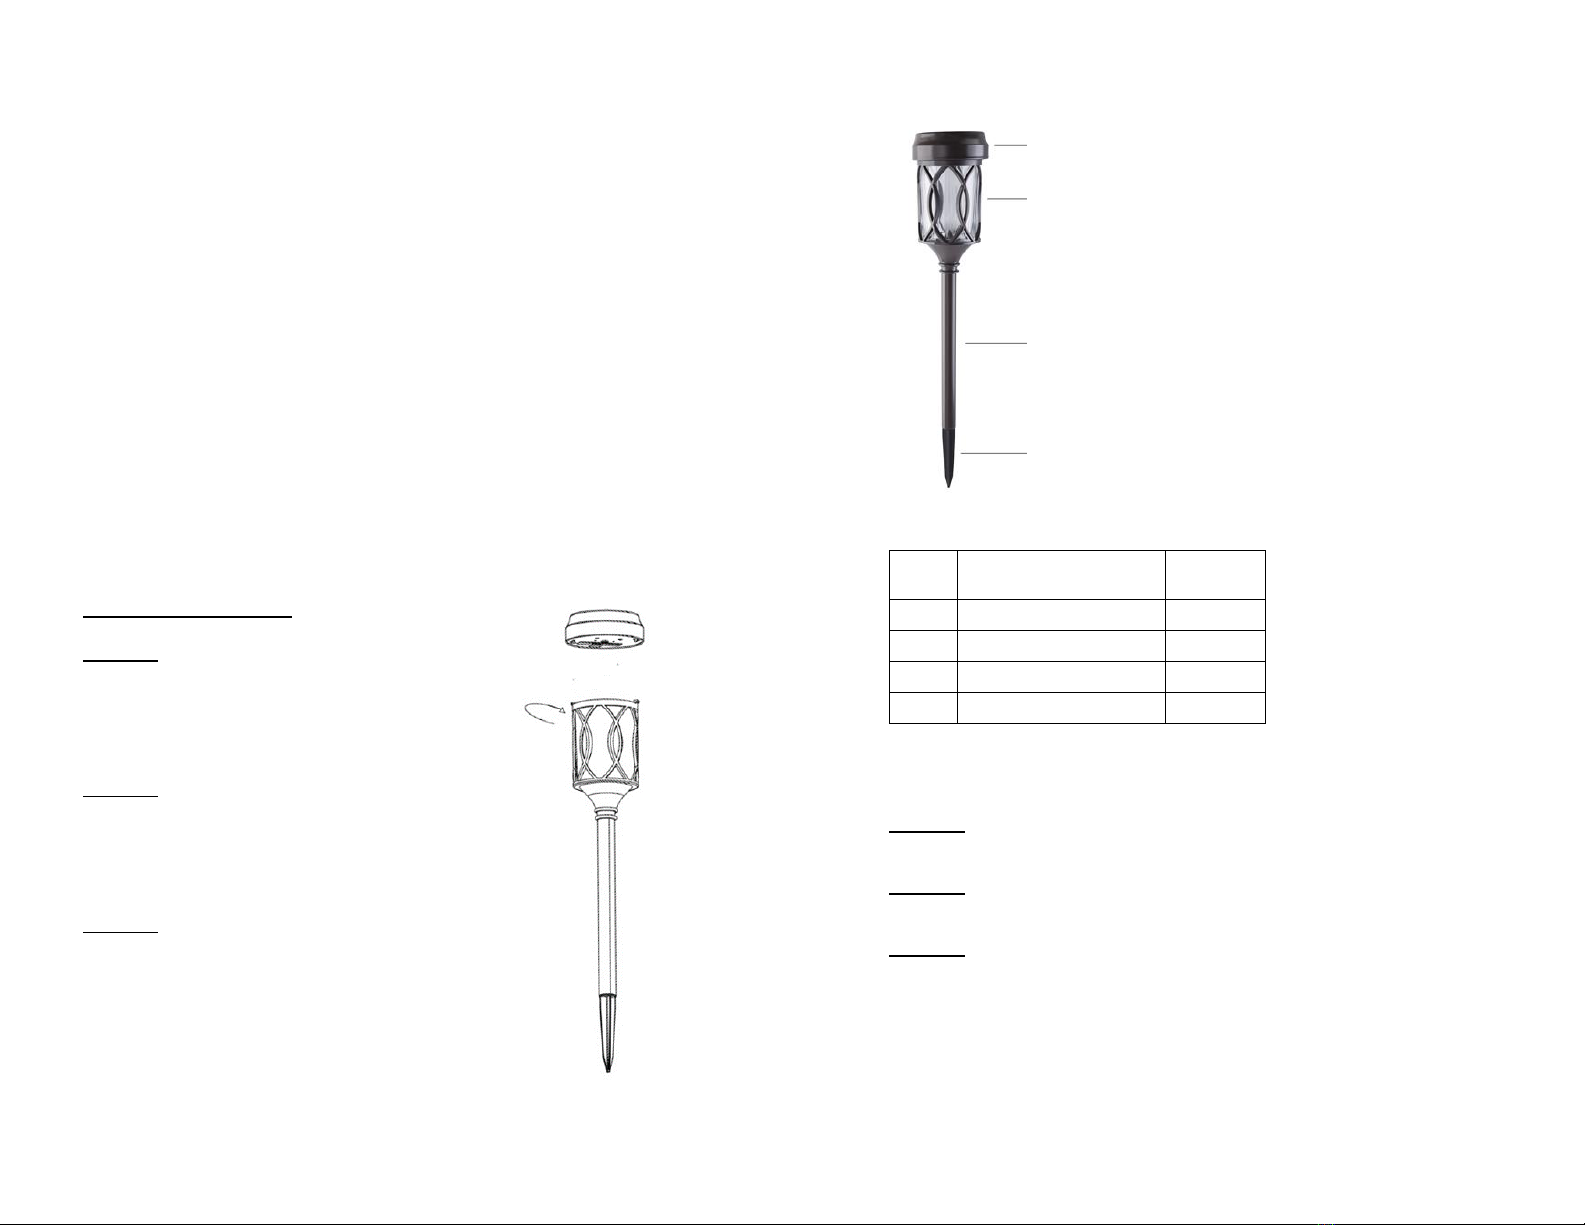
STEP 3:
For daily operation, place the ON/OFF
switch in the <ON> position under the
solar housing. Your solar light will
automatically turn on once it gets dark.