Futech DISTY40 User manual

DISTY40 / DISTY80
200.40 200.80
MANUAL

2
Congratulations!
On choosing this FUTECH instrument. FUTECH provides measuring instruments of
precision and quality. Contributions from professional end users enable us to offer
innovative, easy-to-use equipment.
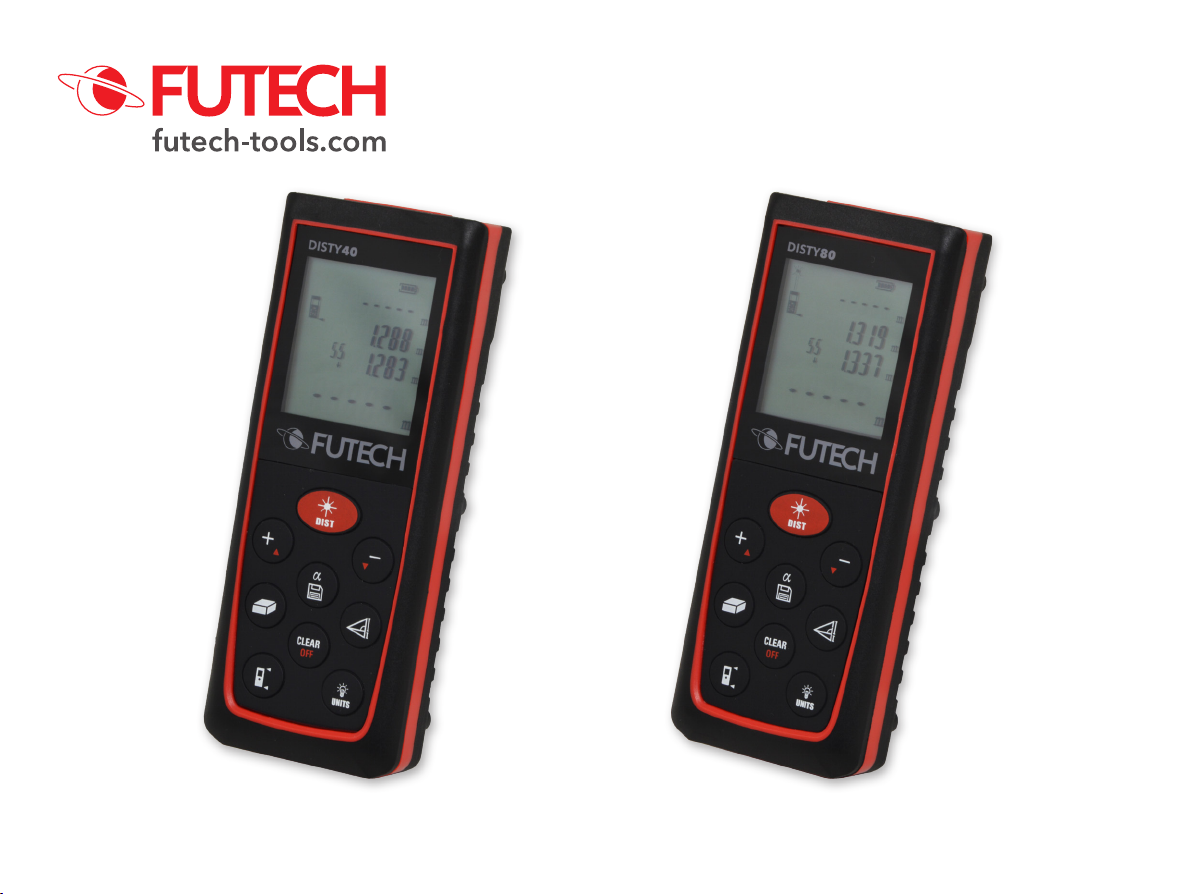
DISTY40 / DISTY80
Distance meter
IMPORTANT - SAFETY INSTRUCTIONS !
Read the instructions for use carefully before using the instrument. Keep them in a
safe place for consultation when necessary. Whether on or off, keep the instrument
out of reach of children. This equipment is a high quality precision instrument which
must be handled with care. Avoid shocks and vibration. After use, always replace the
instrument in its carrying bag. Make sure that the bag and instrument are dry; other-
wise condensation may occur in the device. Make sure that the windows are free of
dirt, and clean them using a soft cloth and a glass cleaning product only. Do not use
any optical equipment such as a magnifying glass to view the laser beam, and take
such a way that it is not possible for any person to look at the laser beam (intention-
ally or otherwise). Under no circumstances take the instrument apart, since this may
The manufacturer’s responsibility shall in no case exceed the value of the costs of re-
pair or replacement of the instrument. Respect the environment and do NOT discard
the instrument or batteries in household waste. Take them to a recycling centre.

DISTY40 / DISTY80
3
1
2
3 4
5
6 7
8
9
11
10
12
24
23 22
21
20
25
13
14
15
16
17
18
19
MANUAL
1. Display
2. On / DIST (on / measuring)-button
3. Plus-button
4. Minus-button
5. Angle button / Storage button
6. Area / volume button
7. Indirect measurement (pythagoras)
8. Clear / Off-button
9. Reference button
10. Background light / Units-button
11.
12. Measurement sensor
Display
13.
14. Reference
15. Inderect measurement (pythagoras)
16. Delay measurement
17. Area volume measurement
18. Stored record
19. Data display
20. Display unit
21. Battery Status
22. Hardware failure
23. Dynamic continuous measurement
24. Marking function
25. Operation error indicator

4
Start-up
Inserting / replacing batteries
Remove battery compartment lid and attach handstrap.
Insert batteries, observing correct polarity
Close battery compartment again.
Note
Only use alkaline or rechargeable batteries
Remove the batteries before a long period of non-use to avoid the
danger of corrosion
Changing the reference point (multifunctional endpiece)
The instrument can be adapted for the following measuring situations:
in place.
For measurements from a corner, open the positioning bracket until it locks in place,
then push the positioning bracket lightly to the right to fold it out fully.
A built-in sensor automatically detects the orientation of the positioninng bracket and
Menu functions
Measurements
-button (pressed long) - Press once again to change the unit of distance measure-
ment. The following units are available: m (meter), ft (feet), in (inch), ft +/ in (feet - inch
1/16)
Beep
button (press long). You can choose the beep on or off as required.

DISTY40 / DISTY80
5
MANUAL
Laser Continuous ( )
Press and hold down the button when switching on the device until character
appears permanently in the display with beep sounds. Every further press of the
button releases a distance measurement. Press the -button and hold to switch the
device and laser continuous operation off.
Measuring with tripod
measurements with a tripod. You can switch the reference by -button. The setting
can be shown on the display.
Illuminating display
Press short on the -button, the illuminating display can be turned on or off.
More recent versions of Disty don’t have this function. Display is always illuminated.
Operation
Switching on and off
Switches on the instrument and laser. The display shows the battery symbol until the
-button.
Pressing the -button for longer switches the instrument off. The instument switches
off automatically after three minutes of inactivity.

6
Clear button
Pressing the -button, the last action is cancelled. While making area of volume
measurements, each single measurements can be deleted and remeasured in series.
Reference
The default reference setting is from the rear of the instument. The display will show
you .
Press the -button to change the reference point to the forefront. The display will
show you .
Press the -button again to change the reference point again to the rear. The display
will show you .
By folding out the fold-out bracket 180° open, the reference point will automatically
changed to the end of the bracket. The display shows , now you can make measu-
rements from a corner.
Level
You can choose the level gauge on or off as required by press the -button.
Measuring
Single distance measurement
Press to activate the laser. Press again to trigger the distance measurement.
The result is displayed immediately.
Minimum/maximum measurement
This function allows the user to measure the minimum of maximum distance from a
values).
Press the -button and hold down this button until you hear a beep. Then slowly
sweep the laser back and forth and up and down over the desired target point (e.g.
into the corner of a room).

DISTY40 / DISTY80
7
MANUAL
Press the -button to stop continuous measurement. The values for maximum and
minimum distances are shown in the display as well as the last measured value in the
summary line.
Tilt measurement
The tilt sensor measures tilts between ±45°.
During the measurement of tilt, the instrument should be held without transverse
tilt, as far as possible, (±10°).
Addition / Substraction
Distance measuring
Use the -button to add a measurement to the previous one.
This process van be repeated as required.
Use the -button to substract a measurement to the previous one.
This process van be repeated as required.
Use the -button to cancel the last step.
Area
Press once the -button. The symbol appears in the display.
Press the
Press the -button to take the second measurement (e.g. widht).
The result is displayed in the summary line.
Volume
Press twice the -button. The symbol appears in the display.
Press the
Press the -button to take the second measurement (e.g. widht).
Press the -button to take the third measurement (e.g. height).
The result is displayed in the summary line.

8
L
H
V
Tilt measurement
To activate the tiltsensor, press a few seconds on the -button. The tilt degree data
and the tilt symbol or appears in the display.
Press the -button to enter the measuring mode.
Press the -button to measure the inclination and the distance.
Inderect measurement
The instrument can calculate distances using Pythagoras’ theorem.
Make sure you adhere to the prescribed sequence of measurement:
(e.g. with the position bracket fully folded out and the instrument placed on a wall).
The minimum/maximum measurement can be used - see explanation in “Measu-
ring ªminimum/maximum measurement” (page 6). The minimum value must be
used or measurements at right angles to the target; the maximum distance for all
the other measurements.
-
gles. Use the minimum/maximum function, as explained in “Measuring ªMinimum/
maximum measurement”.

DISTY40 / DISTY80
9
L1
V
L2
90°
MANUAL
• Indirect measurement - determing a distance using 2 auxilliary measurements
e.g. for measuring building heights or widths. It is helpful to use a tripod when measu-
ring heights that require the measurement of two of three measurements.
Press the -button once, the display shows the -symbol. The laser is switched on.
Aim at the upper point and trigger the measurement using -
rement the value is adopted. The result is displayed in the summary line, the angle
top line.
precise vertical measurement.
• Indirect measurement - determing a distance using 3 measurements
Press the -button twice; the display shows the -symbol. The laser is switched on.
Aim at the upper point and trigger the measurement using -
rement is done, on the topline of the display appears the distance.
Aim at the lower point and trigger the measurement using . Now the results are
appears on the display (from top to bottom):
distance to upper point
angle between upper and lower point
distance to lower point
distance between upper and lower point (height)
Storage of constants/historical storage
Press the -button short, the will be displayed. The previous 10 results (measure-
ments of calculated results) are shown in reverse order.
The and buttons can be used for navigation.
Make previous results available for further calculations by pressing .

10
Appendix
Message codes
Cause
Calculation error
Remedy
Cause
Calculation error
The goal of the ambient light is too strong
Remedy
Change the light for measuring.
Cause
Temperature is too high (>40°C) or too low (< 0°C)
Remedy
Cool down of warm up the instrument.
External temperature will be available from 0°C to +40°C.
Cause
Hardware error
Remedy
Switch o/off the instrument several times.
If the symbol still appears, then your instrument may be defective. Please contact your
dealer for assistance.

DISTY40 / DISTY80
11
MANUAL
Measuring conditions
Measuring range
The Disty40 is limited to 40m, the Disty80 to 80m. At night or dusk and if the target is
in shadow, the measuring range without target plate is increased. Use a target plate
properties.
Target surfaces
Measuring errors can occur when measuring toward colourless liquids (e.g. water) or
dust free glass, Styrofoam or similar semiperme-able surfaces. Aiming at high gloss
-
Care
Do not immerse the instrument in water. Wipe off dirt with a damp, soft cloth. Do not
use aggresive cleaning agents or solutions. Handle the instrument as you would a
telescope or camera.
without prior notice.

12
GENERAL
Description
The following directions should enable
the person responsible for the product,
and the person who actually uses the
equipment, to anticipate and avoid op-
-
ble for the product must ensure that all
users understand these directions and
adhere to them.
Adverse Use
Use of the product without instruction.
Use outside of the intended limits.
Disabling safety systems.
Opening the product using tools, for
example screw- driver, unless this is
-
tions.
product.
Use after misappropriation.
Use of products with obviously recog-
Use with accessories from other manu-
facturers without the prior explicit ap-
proval of FUTECH.
Inadequate safeguards at the work
site, for example when using on or
near roads.
Controlling of machines, moving ob-
without additional control and safety
installations.
WARNING
-
tion and damage. It is the task of the
person responsible for the equipment to
to counteract them. The product is not
to be operated until the user has been
instructed on how to work with it.
LIMITS OF USE
Environment
Suitable for use in an atmosphere appro-
priate for permanent human habitation:
not suitable for use in aggressive or ex-
plosive environments.
DANGER
-
perts must be contacted before working
to electrical installations or similar sit-
uations by the person in charge of the
product.
RESPONSIBILITIES
Manufacturer of the product
hereinafter referred to as FUTECH, is re-
sponsible for supplying the product, in-
cluding the user manual and original ac-
cessories, in a completely safe condition.
Manufacturers of non FUTECH
accessories
The manufacturers of non FUTECH ac-
cessories for the product are responsi-
ble for developing, implementing and
communicating safety concepts for their
products, and are also responsible for
the effective- ness of those safety con-
cepts in combination with the FUTECH
product.
Person in charge of the product
The person in charge of the product has
the following duties:
To understand the safety instructions
on the product and the instructions in
the user manual.
To be familiar with local regulations
relating to safety and accident preven-
tion.
To inform FUTECH immediately if the
product and the application becomes
unsafe.

DISTY40 / DISTY80
13
MANUAL
HAZARDS OF USE
WARNINGS
The person responsible for the product
must ensure that it is used in accord-
ance with the instructions. This person
is also accountable for the training and
the deployment of personnel who use
the product and for the safety of the
equipment in use.
The absence of instruction, or the in-
adequate imparting of instruction,
can lead to incorrect or adverse use,
and can give rise to accidents with
and environmental conse- quences.
All users must follow the safety direc-
tions given by the manufacturer and
the directions of the person respon-
sible for the product.
Watch out for erroneous measure-
ment results if the product has been
dropped or has been misused, modi-
-
ported.
Periodically carry out test measure-
-
ments indicated in the user manual,
particularly after the product has been
and after important measurements.
If the product is used with accessories,
for example masts, staffs, poles, you
may increase the risk of being struck
by lightning.
Do not use the product in a thunder-
storm.
Inadequate securing of the working
site can lead to dangerous situations,
and at industrial installations.
Always ensure that the working site
is adequately secured. Adhere to the
regulations governing safety and acci-
If the accessories used with the prod-
uct are not properly secured and the
shock, for example blows or falling,
the product may be damaged or peo-
When setting-up the product, make
sure that the accessories are correctly
to mechanical stress.
During the transport, shipping or dis-
posal of batteries it is possible for in-
Before shipping the product or
disposing of it, discharge the bat-
teries by running the product
porting or shipping batteries, the per-
son in charge of the product must en-
sure that the applicable national and
international rules and regulations are
observed. Before transportation or
shipping contact your local passenger
or freight transport company.
High mechanical stress, high ambient
of the batteries.
Protect the batteries from mechanical
-
tures. Do not drop or immerse batter-
Short circuited battery terminals can
example by storing or transporting in
pockets if battery terminals come in
paper or other metals.
Make sure that the battery terminals
do not come into contact with metallic
During the operation of the product
-
ities by moving parts.
Keep extremities in a safe distance
from the moving parts. If the prod-
uct is improperly disposed of, the
following can happen: If polymer
parts are burnt, poisonous gases are
produced which may impair health.
If batteries are damaged or are heat-
ed strongly, they can explode and
cause poisoning, burning, corrosion

14
or environmental contamination.
By disposing of the product irrespon-
persons to use it in contravention of
the regulations, exposing themselves
and third parties to the risk of severe
liable to contamination.
The product must not be disposed
with household waste. Dispose of the
product appropriately in accordance
with the national regulations in force in
your country.
DECLARATION OF CONFORMITY
We herewith declare that this product
conforms with the following standards
and directives:
Standards
DIN EN 61000-6-1
DIN EN 61000-6-3
in accordance with the regulations stipu-
lated in the directives:
EC Directive
2004/108/EG
2006/95/EG
Technical changes reserved.
We accept no liability for printing errors.
LASER CLASSIFICATION
General
The following directions (in accord-
ance with the state of the art - interna-
tional standard IEC 60825-1(2007-03)
and IEC TR 60825-14 (2004-02)) pro-
vide instruction and training informa-
tion to the person responsible for the
product and the person who actual-
ly uses the equipment, to anticipate
-
son responsible for the product must
ensure that all users understand these
directions and adhere to them.
2 and class 3R do not require:
protective clothes and eyewear,
special warning signs in the laser
working area
-
ness and afterimages, particularly under
low ambient light conditions.

DISTY40 / DISTY80
15
MANUAL
TECHNICAL SPECIFICATIONS DISTY40 DISTY80
±
P
±
±
P
P
P
P
P
P
P
P
P

@futechtools
Facebook
futech-tools
LinkedIn
futech-tools
YouTube
JOIN US
futech-tools.com
World Wide Web
Other manuals for DISTY40
1
This manual suits for next models
1
Table of contents
Other Futech Analytical Instrument manuals
Popular Analytical Instrument manuals by other brands

Teledyne
Teledyne 3000PB operating instructions

METREL
METREL SigmaPAT MI 3310 Short instruction manual

Nexleaf Analytics
Nexleaf Analytics CT5 manual

LaserLiner
LaserLiner VideoFlex G3 manual

ESCO Technologies
ESCO Technologies ETS-Lindgren 7405 user manual

Forbest
Forbest 3188D Series Assembling and Operating Instructions