manuals.online logo
Brands
  1. Home
  2. •
  3. Brands
  4. •
  5. Futureguard
  6. •
  7. Outdoor Furnishing
  8. •
  9. Futureguard SummerSpace OCTAGONAL POOL CABANA User manual

Futureguard SummerSpace OCTAGONAL POOL CABANA User manual

A S S E M B L Y
I N S T R U C T I O N S
OCTAGONAL POOL
CABANA
Futureguard Building Products
101 Merrow Road, Auburn, Maine 04210
www.futureguard.net
IG-C-OCT-V1.2
Complete Field Assembly Instruction Guide
For assistance Call:
1 (207) 795-6536
Ey
A S S E M B L Y
I N S T R U C T I O N S
PROCESS:
1Lay out all eight Soffit pieces in an octagonal shape where the Cabana
will be assembled.
Page 1
2Insert G1 Corner Castings into the end of each Soffit, connecting them
so that the upper screw locations are facing inside the rink
Predrill pilot holes in the marked locations on each Soffit, then
secure with six F9 self-drilling screws.
Pro Tip - Start with the top fastener to help keep the soffit and corner 90 flush.
Futureguard Building Products
101 Merrow Road, Auburn, Maine 04210
www.futureguard.net
IG-C-OCT-V1.2
3Square the frame on the ground by measuring diagonally, from
opposite corner to opposite corner. The measurements should be
exactly the same for each corner, if not shift the frame until those
measurements match.
A S S E M B L Y
I N S T R U C T I O N S
Page 2
Futureguard Building Products
101 Merrow Road, Auburn, Maine 04210
www.futureguard.net
IG-C-OCT-V1.2
5Connect the Rupola Ring using the H1 Cupola Ring Corners.
A S S E M B L Y
I N S T R U C T I O N S
Page 3
Lay out the eight Cupola Ring Side pieces in an octagonal shape in the
center of the structure. The pieces are marked for screw locations; be
sure that each piece is positioned so that the 'high' marks are on the
inside of the Cupola Ring and the 'low' marks all face outwards.
4
Predrill pilot holes in the marked locations on each B3 Cupola Ring
Side, then secure with four F9 self-drilling screws
Futureguard Building Products
101 Merrow Road, Auburn, Maine 04210
www.futureguard.net
IG-C-OCT-V1.2
6Line up each Hip Rafter into its outside G1 Soffit 135 so that the screw
hole is facing up. Then, working in a diagonal X pattern, slip the end of
each onto its corresponding H1 Cupola Ring 135. The roof should start
to take shape.
A S S E M B L Y
I N S T R U C T I O N S
Page 4
Futureguard Building Products
101 Merrow Road, Auburn, Maine 04210
www.futureguard.net
IG-C-OCT-V1.2
Page 5
A S S E M B L Y
I N S T R U C T I O N S
7Ensure the Hip Rafters are fully nested into each G1 Soffit corner 135,
and secure with two F9 self-drilling screws.
Futureguard Building Products
101 Merrow Road, Auburn, Maine 04210
www.futureguard.net
IG-C-OCT-V1.2
8Ensure that each Hip Rafter is fully seated onto its corresponding H1
Soffit Corner 135, drill pilot holes, and secure with two F9 self-drilling
screws each.
A S S E M B L Y
I N S T R U C T I O N S
Page 6
Futureguard Building Products
101 Merrow Road, Auburn, Maine 04210
www.futureguard.net
IG-C-OCT-V1.2
9Lay out the eight Common Rafters on the center mark of the Soffit,
and the Cupola Ring. Secure using F9 self-drilling screws.
A S S E M B L Y
I N S T R U C T I O N S
Page 7
Futureguard Building Products
101 Merrow Road, Auburn, Maine 04210
www.futureguard.net
IG-C-OCT-V1.2
10 Lift one side of the roof section by hand, and have your partner align &
connect the first I1 Leg , insert, and hand tighten the hardware. Repeat
the same process for the adjacent Leg. Move to the opposite side of the
roof and repeat the process for those Legs. You can then move around
the Cabana and attach the remaining four Legs.
Pro Tip- Use your Skylift to lift the roof structure from the center cupola ring.
Align the legs in each corner, insert, and hand tighten the hardware.
11 Once the roof structure is supported by all the Legs, make final
adjustments to each Leg and fully tighten the hardware.
A S S E M B L Y
I N S T R U C T I O N S
Page 8
Futureguard Building Products
101 Merrow Road, Auburn, Maine 04210
www.futureguard.net
IG-C-OCT-V1.2
A S S E M B L Y
I N S T R U C T I O N S
12
14
15
13
Align the inner corners of the Fabric directly over the center of the H1
Cupola Ring 135's so that the Fabric seams run straight down the
center of the Hip Rafters.
Starting in the center of the frame, lay the J Top Fabric on one side of
the Cupola Ring.
Secure the top of the Fabric to the H1 Corner with F9 self-drilling
screws through the grommet on either side of the seam.
Unfold the J Top Fabric down one face of the roof, and center the
opening on the Cupola Ring.
Page 9
Futureguard Building Products
101 Merrow Road, Auburn, Maine 04210
www.futureguard.net
IG-C-OCT-V1.2
A S S E M B L Y
I N S T R U C T I O N S
16 Once all eight corners are secure, fasten the Fabric through the
grommets at each Common Rafter location using F9 self-drilling
screws.
Page 10
Futureguard Building Products
101 Merrow Road, Auburn, Maine 04210
www.futureguard.net
IG-C-OCT-V1.2
Place the K Cupola Assembly from above. Stand on a ladder in the
center of the Cabana, and have your partner pass the Cupola to you
from the side.
17
A S S E M B L Y
I N S T R U C T I O N S
Page 11
Pro Tip - Keep the Cupola top upside down while passing it over the Cabana, then flip it
upright just before setting it in place. This will prevent the mounting rods from contacting
the Cabana top and eliminate the possibility of damage to the Fabric
Futureguard Building Products
101 Merrow Road, Auburn, Maine 04210
www.futureguard.net
IG-C-OCT-V1.2
Insert the Cupola's mounting rods into their pockets in the Cupola
Ring, then secure with F11 self-drilling screws.
18
A S S E M B L Y
I N S T R U C T I O N S
Page 12
Futureguard Building Products
101 Merrow Road, Auburn, Maine 04210
www.futureguard.net
IG-C-OCT-V1.2
A S S E M B L Y
I N S T R U C T I O N S
20
19
Insert the eight Tension Rods into the fabric pockets under the
valance. Take your time, making sure to capture each pocket. The rod
should be perfectly flush with the end of the last pocket.
Drape the Top Fabric over the outer edges of the roof system. Pull the
corners into place over the frame.
Page 13
Futureguard Building Products
101 Merrow Road, Auburn, Maine 04210
www.futureguard.net
IG-C-OCT-V1.2
A S S E M B L Y
I N S T R U C T I O N S
21 Ensure proper alignment of all corners of the Fabric, so that they are
centered on the G1 Soffit Corners and the Fabric seams are centered
on the Hip Rafters.
Page 14
Futureguard Building Products
101 Merrow Road, Auburn, Maine 04210
www.futureguard.net
IG-C-OCT-V1.2
A S S E M B L Y
I N S T R U C T I O N S
Page 15
Put tension on the Fabric using the L Fabric Tension Straps. Work on
opposing sides to make sure to tension the Fabric evenly so that it
does not shift on the roof structure. Once finished, the Fabric should
be tight like a drum.
22
Futureguard Building Products
101 Merrow Road, Auburn, Maine 04210
www.futureguard.net
IG-C-OCT-V1.2
A S S E M B L Y
I N S T R U C T I O N S
Page 16
Futureguard Building Products
101 Merrow Road, Auburn, Maine 04210
www.futureguard.net
IG-C-OCT-V1.2
23 Place the N2 valance stiffener onto the outside of the G1 corner 135
so that the tabs on the top of the stiffener lock onto the top of the
soffit corner. It may be necessary to roll the fabric to up to get the
valance stiffener to seat.
A S S E M B L Y
I N S T R U C T I O N S
Page 17
Futureguard Building Products
101 Merrow Road, Auburn, Maine 04210
www.futureguard.net
IG-C-OCT-V1.2
24 Secure the Cabana to its foundation through the three fastener holes
in the baseplates of the legs.
It is the responsibility of the installer to use appropriate fasteners
for the mounting surface.
Mount to a significant foundation. A sturdy wooden deck, concrete
slab, or poured footers are all acceptable mounting solutions.

Other Futureguard Outdoor Furnishing manuals

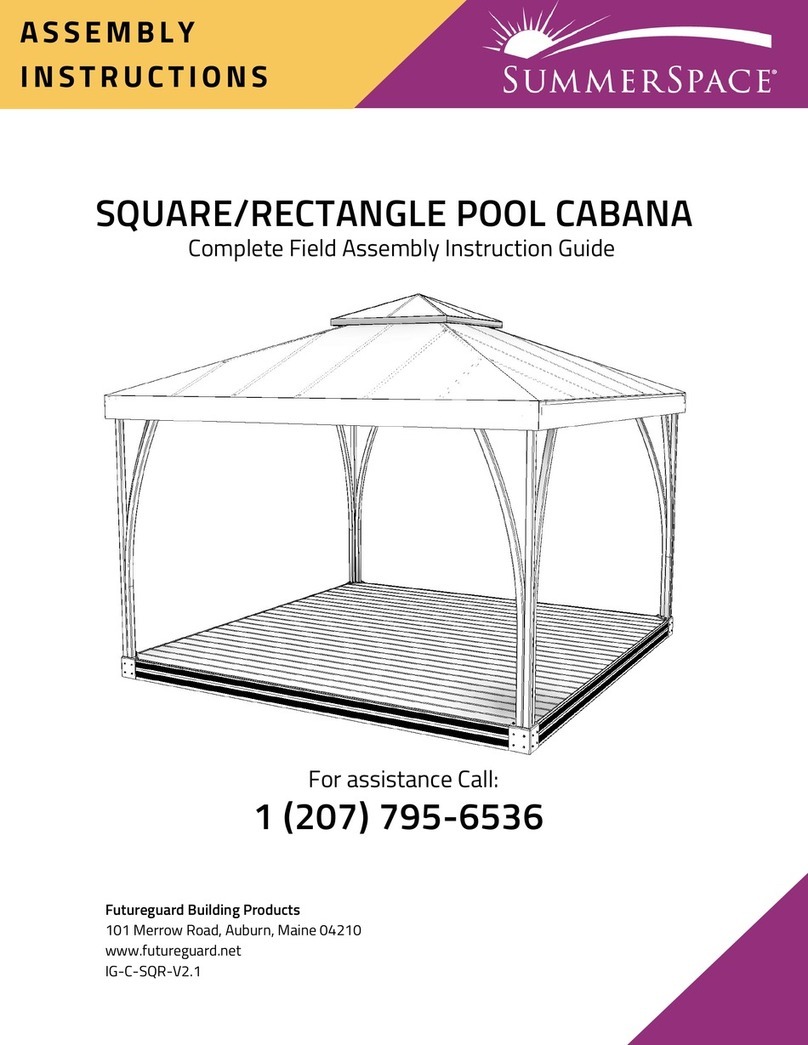
Futureguard SUMMERSPACE SQUARE/RECTANGLE POOL CABANA User manual

Futureguard

Futureguard SUMMERSPACE SQUARE/RECTANGLE POOL CABANA User manual

Popular Outdoor Furnishing manuals by other brands

kingsley-bate MC-55 Assembly instructions

kingsley-bate

kingsley-bate MC-55 Assembly instructions

Breezesta FANBACK ADIRONDACK AD-0101 Assembly

Breezesta

Breezesta FANBACK ADIRONDACK AD-0101 Assembly

Foldcraft Plymold Contour installation manual

Foldcraft

Foldcraft Plymold Contour installation manual

Sunjoy D-GZ844PCO-H Assembly instructions

Sunjoy

Sunjoy D-GZ844PCO-H Assembly instructions

Grange BOWED WALKWAY quick start guide

Grange

Grange BOWED WALKWAY quick start guide

UNIPRODO UNI SUNBED 01 user manual

UNIPRODO

UNIPRODO UNI SUNBED 01 user manual

Uberhaus 38115077 Operator's manual

Uberhaus

Uberhaus 38115077 Operator's manual

Alice's Garden VASTO 8 WKGCUBE8 manual

Alice's Garden

Alice's Garden VASTO 8 WKGCUBE8 manual

Hanover TRADDNSD7PCSW6-BE-SU manual

Hanover

Hanover TRADDNSD7PCSW6-BE-SU manual

Ofs The Edge Canopy Assembly instructions

Ofs

Ofs The Edge Canopy Assembly instructions

Hanover FNTDN5PCG-SU manual

Hanover

Hanover FNTDN5PCG-SU manual

Forest garden Burford Extended Pavilion Assembly instructions

Forest garden

Forest garden Burford Extended Pavilion Assembly instructions

eDecks Atlas Fitting instructions

eDecks

eDecks Atlas Fitting instructions

Naterial PORTO Assembly instructions

Naterial

Naterial PORTO Assembly instructions

Sunjoy L-GG004PST-F Assembly instructions

Sunjoy

Sunjoy L-GG004PST-F Assembly instructions

Sunjoy Rona 38115107 Operator's manual

Sunjoy

Sunjoy Rona 38115107 Operator's manual

Polly Products 3T32 Receptacle Assembly

Polly Products

Polly Products 3T32 Receptacle Assembly

Homebase BBQ GAZEBO instruction manual

Homebase

Homebase BBQ GAZEBO instruction manual

manuals.online logo
manuals.online logoBrands
  • About & Mission
  • Contact us
  • Privacy Policy
  • Terms and Conditions

Copyright 2025 Manuals.Online. All Rights Reserved.