manuals.online logo
Brands
  1. Home
  2. •
  3. Brands
  4. •
  5. Futureguard
  6. •
  7. Outdoor Furnishing
  8. •
  9. Futureguard SUMMERSPACE SQUARE/RECTANGLE POOL CABANA User manual

Futureguard SUMMERSPACE SQUARE/RECTANGLE POOL CABANA User manual

A S S E M B L Y
I N S T R U C T I O N S
SQUARE/RECTANGLE POOL CABANA
Futureguard Building Products
101 Merrow Road, Auburn, Maine 04210
www.futureguard.net
IG-C-SQR-V2.1
Complete Field Assembly Instruction Guide
For assistance Call:
1 (207) 795-6536
A S S E M B L Y
I N S T R U C T I O N S
PROCESS:
1Lay out the A1 and/or A2 Soffit pieces where the Cabana will be
assembled.
2Insert the G Corner Castings into each corner, connecting the Soffit
pieces.
Predrill 1/8" pilot holes in the marked locations on each A1 and A2
Soffit, then secure with six F9 self-drilling screws.
Page 1
Pro Tip - Start with the top fastener to help keep the soffit and corner 90 flush.
Futureguard Building Products
101 Merrow Road, Auburn, Maine 04210
www.futureguard.net
IG-C-SQR-V2.1
A S S E M B L Y
I N S T R U C T I O N S
Page 2
3Square the frame on the ground by measuring diagonally, from
opposite corner to opposite corner. The measurements should be
exactly the same, if not shift the frame until those measurements
match.
Futureguard Building Products
101 Merrow Road, Auburn, Maine 04210
www.futureguard.net
IG-C-SQR-V2.1
Page 3
A S S E M B L Y
I N S T R U C T I O N S
5Connect the B1 and/or B2 pieces using H Cupola Ring Corners.
Predrill 1/8" pilot holes in the marked locations on each Cupola
Ring piece, then secure with four F9 self-drilling screws
4Lay out the four B1 and/or B2 Cupola Ring Side pieces in a rectangle in
the center of the structure. The pieces are marked for screw locations;
be sure that each piece is positioned so that the 'high' marks are on
the inside of the Cupola Ring and the 'low' marks all face outwards.
Futureguard Building Products
101 Merrow Road, Auburn, Maine 04210
www.futureguard.net
IG-C-SQR-V2.1
Page 4
A S S E M B L Y
I N S T R U C T I O N S
6Insert the Hip Rafters into each outside G Soffit 90 so that the screw
hole is towards the bottom and facing up. Then, working in a diagonal
X pattern, slip the end of each Hip Rafter onto its corresponding H
Cupola Ring 90. The roof should start to take shape
Futureguard Building Products
101 Merrow Road, Auburn, Maine 04210
www.futureguard.net
IG-C-SQR-V2.1
Page 5
A S S E M B L Y
I N S T R U C T I O N S
7Ensure that the Hip Rafters are fully nested into each G Soffit Corner
90, pre-drill 1/8" pilot holes, and secure with two F9 self-drilling
screws inside the fastener hole.
Futureguard Building Products
101 Merrow Road, Auburn, Maine 04210
www.futureguard.net
IG-C-SQR-V2.1
Page 6
A S S E M B L Y
I N S T R U C T I O N S
8Ensure that each Hip Rafter is fully seated onto its corresponding H
Cupola Ring 90, drill pilot holes, and then secure with two F9 self-
drilling screws each.
Futureguard Building Products
101 Merrow Road, Auburn, Maine 04210
www.futureguard.net
IG-C-SQR-V2.1
Page 7
A S S E M B L Y
I N S T R U C T I O N S
Futureguard Building Products
101 Merrow Road, Auburn, Maine 04210
www.futureguard.net
IG-C-SQR-V2.1
9Before installing common and jack rafters, ensure the castings are
fully seated into the ends of every rafter. Pre-drill a 1/8" pilot hole in
the marked locations and secure both the upper and lower casting into
the rafter with two F9 self-drilling screws per casting.
Page 8
A S S E M B L Y
I N S T R U C T I O N S
Pro Tip - Make sure both of the castings are fully seated against the Soffit and
Cupola Ring. If they are not, use a ratcheting tie-down strap to pull the Soffit flush
before securing the rafter.
Futureguard Building Products
101 Merrow Road, Auburn, Maine 04210
www.futureguard.net
IG-C-SQR-V2.1
Starting from the center, lay out the Common Rafters on the marked
locations of each Soffit and Cupola Ring side. (23 1/4" on center)
Secure the upper castings to the cupola ring using F9 self-drilling
screws.
10
Page 9
A S S E M B L Y
I N S T R U C T I O N S
Futureguard Building Products
101 Merrow Road, Auburn, Maine 04210
www.futureguard.net
IG-C-SQR-V2.1
Secure the lower casting to the soffit using F21 square drive, self-
drilling screws.
11
9
Page 10
A S S E M B L Y
I N S T R U C T I O N S
12 Lay out the Jack Rafters in their marked locations (23 1/4" on center).
Starting from the center and working outwards, secure with F9 self-
drilling screws.
Futureguard Building Products
101 Merrow Road, Auburn, Maine 04210
www.futureguard.net
IG-C-SQR-V2.1
Page 11
A S S E M B L Y
I N S T R U C T I O N S
13 Lift one side of the roof section by hand, and have your partner align &
connect the first I Leg , insert, and hand tighten the hardware. Repeat
the same process for the other three Legs.
Pro Tip- Use your Skylift to lift the roof structure from the center cupola ring.
Align the legs in each corner, insert, and hand tighten the hardware.
14 Once the roof structure is supported by all the legs, make any final
adjustments to each leg and fully tighten the hardware.
Futureguard Building Products
101 Merrow Road, Auburn, Maine 04210
www.futureguard.net
IG-C-SQR-V2.1
Page 12
A S S E M B L Y
I N S T R U C T I O N S
17 Align the inner corners of the Fabric directly over the corners of the
H Cupola Ring 90 so that the Fabric seam runs straight down the
center of the Hip Rafter.
15 Starting in the center of the frame, lay the J Top Fabric on the side of
the Cupola Ring.
Secure the top of the Fabric to the H Corner Casting with F9 self-
drilling screws through the grommet on either side of the seam.
18
16 Unfold the J Top Fabric down the face of the roof, and center the
opening on the Cupola Ring.
Futureguard Building Products
101 Merrow Road, Auburn, Maine 04210
www.futureguard.net
IG-C-SQR-V2.1
A S S E M B L Y
I N S T R U C T I O N S
Page 13
Move to the next corner and repeat steps 15 and 16. The Fabric
should be tight and symmetrical across the Cupola Ring.
19
Once all four corners are secure, fasten the Fabric through the
grommets at each Common Rafter location using F9 self-drilling
screws.
20
Futureguard Building Products
101 Merrow Road, Auburn, Maine 04210
www.futureguard.net
IG-C-SQR-V2.1
21 Place the Cupola top from above. Stand on a ladder in the center of the
Cabana, and have your partner pass the Cupola to you from one side.
Pro Tip - Keep the Cupola top upside down while passing it over the Cabana, then flip it
upright just before setting it in place. This will prevent the mounting rods from contacting
the Cabana top and eliminate the possibility of damage to the Fabric
A S S E M B L Y
I N S T R U C T I O N S
Page 14
Futureguard Building Products
101 Merrow Road, Auburn, Maine 04210
www.futureguard.net
IG-C-SQR-V2.1
Insert the Cupola's mounting rods into their pockets in the Cupola
Ring, then secure with F11 self-drilling screws.
22
A S S E M B L Y
I N S T R U C T I O N S
Page 15
Futureguard Building Products
101 Merrow Road, Auburn, Maine 04210
www.futureguard.net
IG-C-SQR-V2.1
20
A S S E M B L Y
I N S T R U C T I O N S
Page 16
Insert the M1 and/or M2 Tension Rods into the fabric pockets under
the valance. Take your time, making sure to capture each pocket. The
rod should be perfectly flush with the end of the last pocket.
24
Drape the Top Fabric over the outer edges of the roof system. Pull the
corners into place over the frame to ensure proper alignment. Lift the
valance to expose the fabric pockets.
23
Futureguard Building Products
101 Merrow Road, Auburn, Maine 04210
www.futureguard.net
IG-C-SQR-V2.1
Loop the L Fabric Tension Straps over the tension rods at each pocket
location, and then insert the plastic hook into the slot in the soffit.
Install all straps before tensioning.
25
A S S E M B L Y
I N S T R U C T I O N S
Page 17
Pro Tip - Straps that are located behind legs will need to be started in the soffit channel
past the legs, and then slid into place.
Futureguard Building Products
101 Merrow Road, Auburn, Maine 04210
www.futureguard.net
IG-C-SQR-V2.1
27 Ensure proper alignment of all four corners of the Fabric, so that they
are centered on the G Soffit Corners and the Fabric seams are centered
on the Hip Rafters.
A S S E M B L Y
I N S T R U C T I O N S
Page 18
Pro Tip - Keep the fabric seam even on the top of the hip rafters, as well as along the
soffit. If the fabric is tensioned unevenly, the seams will appear curved.
Put tension on the Fabric using the L Fabric Tension Straps. Work on
opposing sides to make sure to tension the Fabric evenly so that it
does not shift on the roof structure. Once finished, the Fabric should
be tight like a drum.
28
Futureguard Building Products
101 Merrow Road, Auburn, Maine 04210
www.futureguard.net
IG-C-SQR-V2.1
A S S E M B L Y
I N S T R U C T I O N S
Page 19
26 Place the N1 valance stiffener onto the outside of the G corner 90 so
that the tabs on the top of the stiffener lock onto the top of the soffit
corner. It may be necessary to roll the fabric to up to get the valance
stiffener to seat.
Futureguard Building Products
101 Merrow Road, Auburn, Maine 04210
www.futureguard.net
IG-C-SQR-V2.1

Other Futureguard Outdoor Furnishing manuals

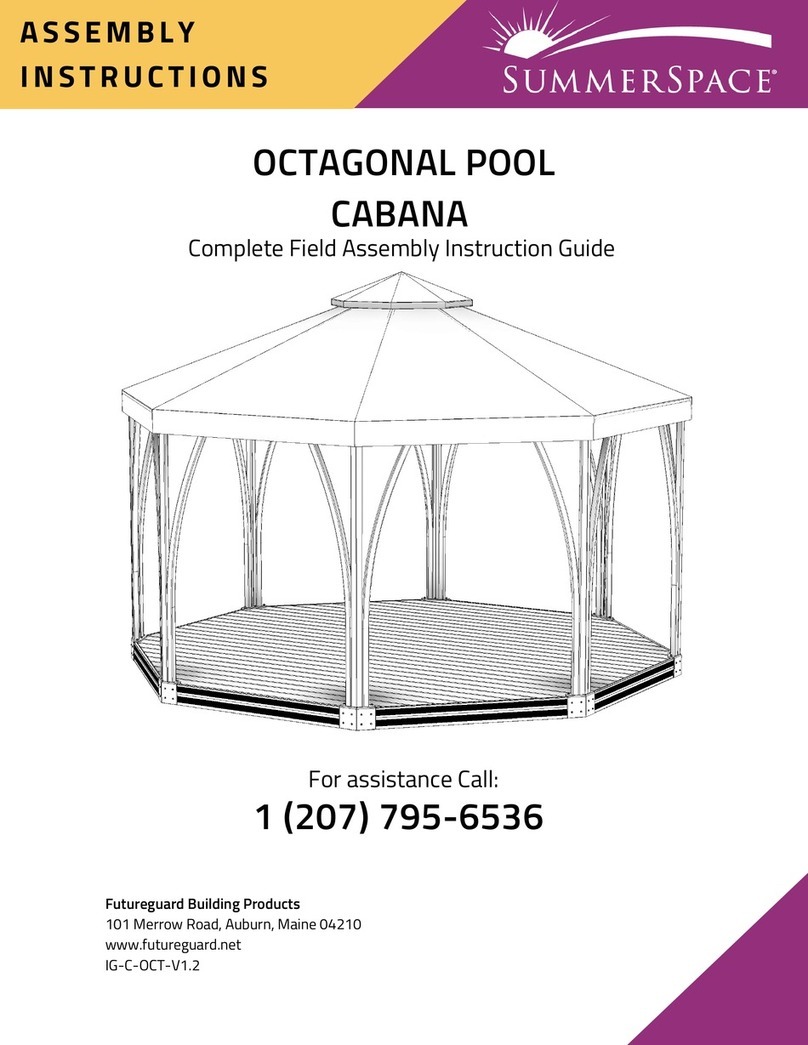
Futureguard SummerSpace OCTAGONAL POOL CABANA User manual

Futureguard

Futureguard SummerSpace OCTAGONAL POOL CABANA User manual

Popular Outdoor Furnishing manuals by other brands

CAZEBOO BAHIA 300S300 Assembly instructions

CAZEBOO

CAZEBOO BAHIA 300S300 Assembly instructions

BENITO Urban Deploye PA638 Anchoring instructions

BENITO

BENITO Urban Deploye PA638 Anchoring instructions

Nuu Garden DB150 instruction manual

Nuu Garden

Nuu Garden DB150 instruction manual

Hanover TRADDNG9PCSW2-SU-B manual

Hanover

Hanover TRADDNG9PCSW2-SU-B manual

Home Decorators Collection S21-44SCS-DT Use and care guide

Home Decorators Collection

Home Decorators Collection S21-44SCS-DT Use and care guide

Polywood La Casa Cafe RT236 Assembly instructions

Polywood

Polywood La Casa Cafe RT236 Assembly instructions

Great Gazebo 6 FOOT DEMO Assembly instructions

Great Gazebo

Great Gazebo 6 FOOT DEMO Assembly instructions

Belson Outdoors DF8WB-P instruction sheet

Belson Outdoors

Belson Outdoors DF8WB-P instruction sheet

CAZEBOO GRACE 400S300 manual

CAZEBOO

CAZEBOO GRACE 400S300 manual

CAZEBOO BAHIA 400S300 manual

CAZEBOO

CAZEBOO BAHIA 400S300 manual

Hanover FNTDN5PCG-SU manual

Hanover

Hanover FNTDN5PCG-SU manual

hanit SUN LOUNGER AVETO Assembly instructions

hanit

hanit SUN LOUNGER AVETO Assembly instructions

Safavieh Outdoor PAT6736 quick start guide

Safavieh Outdoor

Safavieh Outdoor PAT6736 quick start guide

WilTec 60143–60146 Operation manual

WilTec

WilTec 60143–60146 Operation manual

Gutta 4295301 Assembly instructions

Gutta

Gutta 4295301 Assembly instructions

Alpine YEN134HH-TUR owner's manual

Alpine

Alpine YEN134HH-TUR owner's manual

Shoreline SR-K-946RC-N Assembly instructions

Shoreline

Shoreline SR-K-946RC-N Assembly instructions

Weltevree Outdooroven XL product manual

Weltevree

Weltevree Outdooroven XL product manual

manuals.online logo
manuals.online logoBrands
  • About & Mission
  • Contact us
  • Privacy Policy
  • Terms and Conditions

Copyright 2025 Manuals.Online. All Rights Reserved.