Operating methods
Setting the timer off
When the dehumidifier is running, press the TIMER button to adjust time from 1 to 24 hours.
Press the button once to increase the setting by 1 hour – after the set time exceeds 24 hours,
the figure returns back to 1 hour. The TIMER button can also be pressed at any time needed,
the time increases or decreases circularly. When the time expires, the appliance turns OFF
automatically. After the setting is completed, if the TIMER button does not act at all within
5seconds, the set time is confirmed. In timer off state the key lamp on the TIMER button is ON.
Setting of timer on
When the dehumidifer is in standby mode, the method for adjustment of setting time by the
TIMER button is the same as timer off. After the setting is completed, if the TIMER button does
not act at all within 5 seconds, the set time is confirmed. In timer off state the key lamp on the
TIMER button is ON and the set time is displayed on control panel.
AUTO mode
Select AUTO dehumidification. If the room humidity is higher than the set humidity by + 5 %, the
compressor will start and the fan will run at the set speed. If the room humidity is between +5%
or - 5% of the set humidity, the compressor and the fan will run at the set speed. If the room
humidity is lower than the set humidity by - 5%, then the compressor will stop but the fan will run
at the set speed. The default set humidity value is 50%.
CONTINUOUS mode
Select CONTINUOUS dehumidification, no matter how the relative humidity in the room is,
the compressor starts, the fan runs at high speed in default setting and the air speed can be
regulated via the air speed button.
DRYING function
Press the DRYING button to start the drying process. The appliance starts at HIGH air speed and
releases air continuously for 30 minutes. The appliance turns to run at LOW air speed and lasts
for 20 minutes.
To stop, press the DRYING button again to cancel the process and recover to the prior running
mode. Or, press the POWER button to stop the process and recover to standby mode.
Humidity indicate function
Press the humidity setting button and the mode button at the same time to turn ON/turn OFF
the humidity light indicator. When the machine works, the color of light belt on the front cover
will change with humidit level. Red color show humidity over 60 %, green color shows humidity
40-60 % and blue color shows less than 40 % humidity.
Pump function
Press the humidity setting for 3 seconds to turn on/off the pump function (connect the drainage
pipe before turning the on the pump function).
Air-swing function
Press the Timer button and the Drying button at the same time to start or end the Air-swing
function.
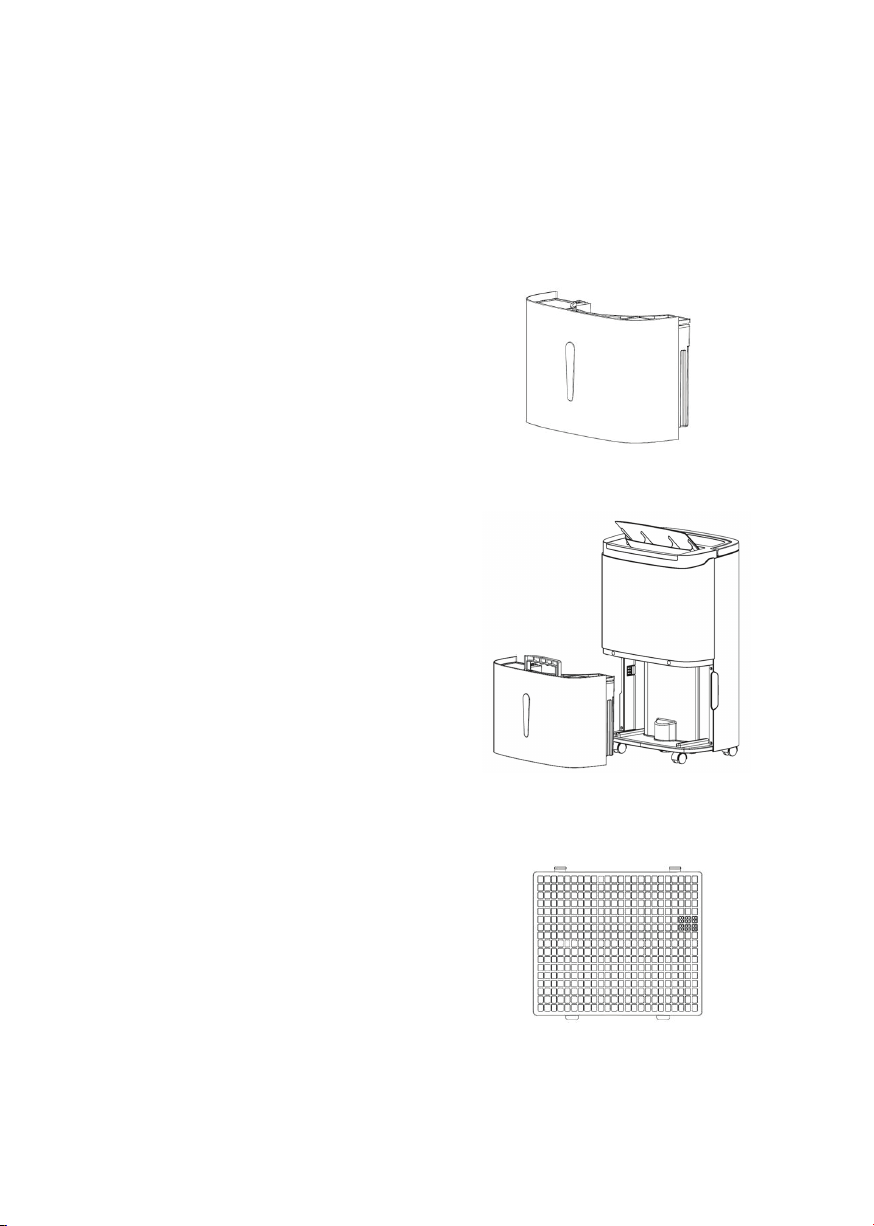
Water drainage
When the water tank is full, the full water icon on LCD display flashes (the compressor, fan and
negative ion will stop running), the buzzer sounds 10 times to remind the user till the water is
drained.