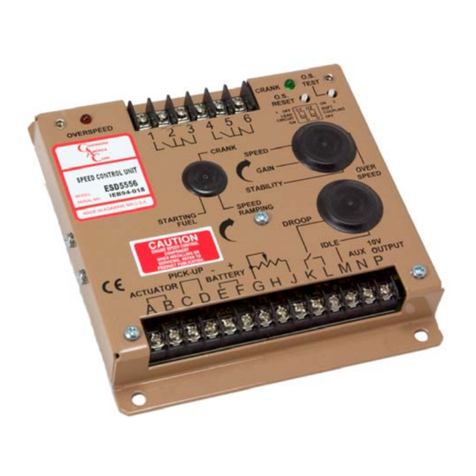
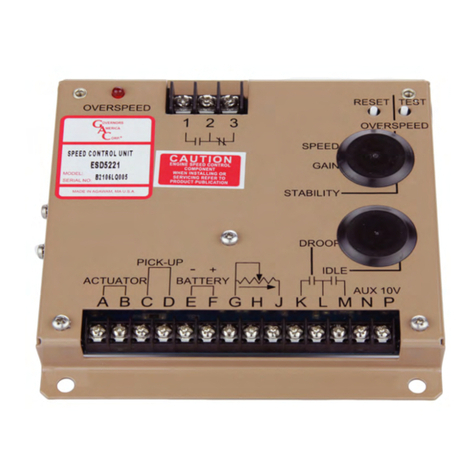
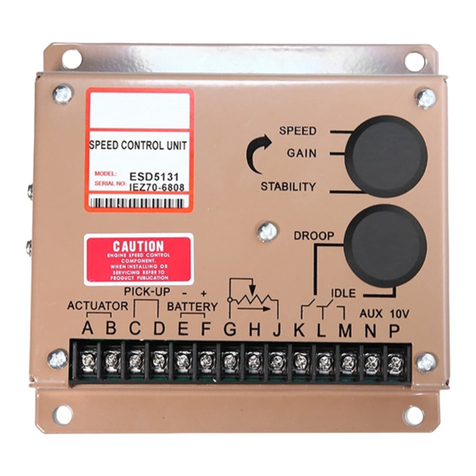
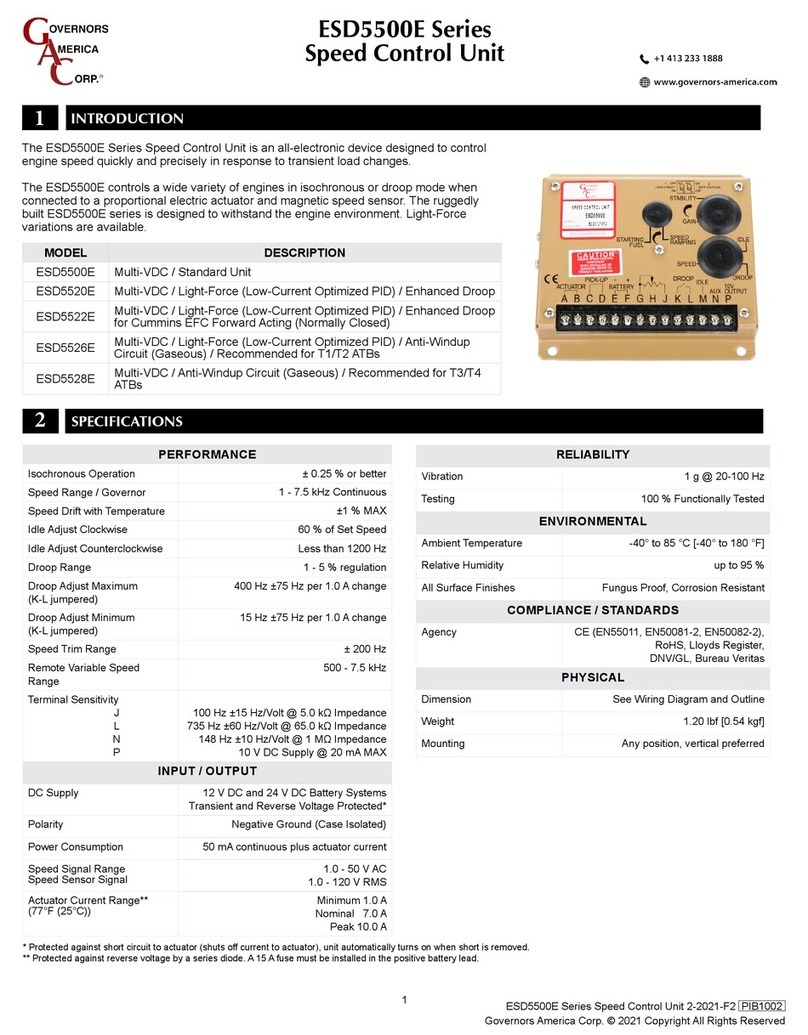
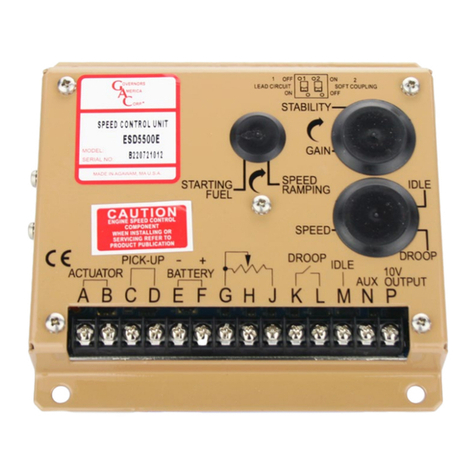
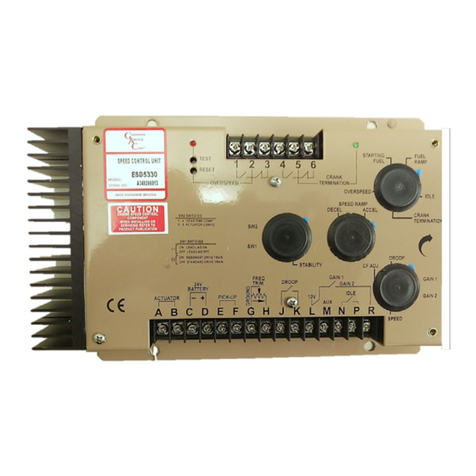
GAC ESD-5550 Series User manual

1
Governors America Corp. © 2020 Copyright All Rights Reserved
ESD5550-5570 Series Speed Control Unit 9-2020-E PIB1003
ESD5550 & ESD5570 Series
Speed Control Unit
2SPECIFICATIONS
Performance
Isochronous / Steady State
Stability ± 0.25 % or better
Speed Range / Governor 1 K - 7.5 K Hz continuous
Speed Drift with Temperature ±1 % MAX
Idle Adjust CW 60 % of set speed
Idle Adjust CCW Less than 1200 Hz
Droop Range 1 - 5 % regulation
Droop Adjustment MAX
(K-L Jumpered)
400 Hz, ±75 Hz per 1 A change
Droop Adjustment MIN
(K-L Jumpered)
415 Hz, ±75 Hz per 1 A change
Remote Variable Speed Range 500 - 7.5 Hz or any part thereof
Speed Trim Range ± 200 Hz
Terminal Sensitivity J
L
N
P
100 Hz ±15 Hz/V @ 5.0 kΩ Impedance
735 Hz ±60 Hz/V @ 65 kΩ Impedance
148 Hz ±10 Hz/V @1 MΩ Impedance
10 V DC Supply @ 20 mA MAX
InPUT / oUTPUT
Operating Voltage 12 VDC or 24 VDC (Transient and
Reverse Voltage Protected)*
Polarity Negative Ground (Case Isolated)
Power Consumption 50 mA continuous
plus actuator current
Actuator Current Range at 77 °F
(25 °C) - Inductive Load
Minimum 2.5 A
10 A Peak**
Speed Sensor Signal 0.5 to 120 V RMS
Speed Switch Relay Contacts
(N.O. and N.C.)
10 A
1INTRODUCTION
reLIaBILITY
Vibration 5 g @ 20 - 500 Hz
Testing 100% Functional Testing
envIronmenTaL
Ambient Temperature Range -40° to 85 °C (-40° to 180 °F)
Relative Humidity up to 95 %
Shock 20 g @ 11 ms
All Surface Finishes Fungus Proof, Corrosion Resistant
comPLIance / STanDarDS
Agency CE, RoHS, Lloyds Register,
DNV/GL, Bureau Vertas
PHYSIcaL
Dimension See Section 3, Installation
Weight 1.8 lbf (0.82 kgf)
Mounting Any position, vertical preferred
The ESD5550/5570 series speed control unit is an all electronic device de-
signed to control engine speed with fast and precise response to transient
load changes. This closed loop control, when connected to a proportional
electric actuator and supplied with a magnetic speed sensor signal, can con-
trol a wide variety of engines in an isochronous or droop mode. Designed
for high reliability and built ruggedly to withstand the engine environment.
ESD5550/5570 Series speed control unit features include:
• Simple installation
• Starting Fuel and Speed Ramping adjustments to minimize engine ex-
haust smoke prior to attaining engine operating speed
• Adjustable droop and idle operation
• Inputs for accessories used in multi-engine or special applications
• Protection against reverse battery voltage, transient voltages, acciden-
tal short circuit of the actuator and fail safe design in the event of loss of
speed sensor signal or battery supply.
• Light Force Actuation (ESD5570 only)
The ESD5550/5570 Series speed control unit is compatible with all GAC
proportional actuators except the ACB2001 electric actuator. When paired
with a GAC ADC100 Series electric actuator, DROOP adjustment range is
less due to the ADC100’s low current demand.
* Protected against reverse voltage by a series diode. A 15 amp fuse must be installed in
the positive battery lead.
** Protected against short circuit to actuator (shuts o current to actuator), unit automati-
cally turns back on when short is removed.

2
Governors America Corp. © 2020 Copyright All Rights Reserved
ESD5550-5570 Series Speed Control Unit 9-2020-E PIB1003
3INSTALLATION
Mount in a cabinet, engine
enclosure, or sealed metal box.
Vertical orientation allows uids
to drain in moist environments.
Dimensions
Avoid extreme heat
in
[mm]
Take into account the following preferences when mounting the speed controller:

3
Governors America Corp. © 2020 Copyright All Rights Reserved
ESD5550-5570 Series Speed Control Unit 9-2020-E PIB1003
4WIRING
An overspeed shutdown device, independent of the governor system, must be provided to prevent loss of engine control
which may cause personal injury or equipment damage. Do not rely exclusively on the governor system to prevent over-
speed. A secondary shuto device such as a fuel solenoid must be used.

4
Governors America Corp. © 2020 Copyright All Rights Reserved
ESD5550-5570 Series Speed Control Unit 9-2020-E PIB1003
TermInaL DefInITIon noTeS
A & B ACTUATOR (+/-) Use #16 (1.3 mm2) or larger wire. Long cables require an increased wire size to minimize
voltage drops.
C & D PICK-UP *
(D is ground)
• Wires must be twisted and/or shielded for their entire length
• Gap between speed sensor and gear teeth should not be smaller than 0.02 in. [.5mm]
• Speed sensor voltage should be at least 1 V AC RMS during crank
E & F BATTERY (-/+)
• #16 (1.3 mm2) or larger wire
• A 15 amp fuse must be installed in the positive battery lead to protect against reverse
voltage
• Battery positive (+) input is Terminal F must be fused for 15 amps as shown in the Wir-
ing diagram in this section to protect against reverse voltage.
G GROUND
H & G Droop Range Add jumper to decrease droop range
J Variable Speed Input 0 - 5 V DC
K & L DROOP Select Droop active when closed
M Idle Select Close for Idle
N Accessory Input Load Sharing / Synchronizing,
P Accessory Power Supply
Supplies +10 V regulated supply to accessories. No more than 20 mA of current can be
drawn from this supply. Ground reference is Terminal G. A short circuit in this terminal can
damage the speed control unit.
4WIRING (CONTINUED)
* Magnetic speed sensor wires connected to Terminals C and D MUST BE TWISTED AND/OR SHIELDED for their entire length. The speed sensor cable
shield should ideally be connected as shown. The shield should be insulated to insure no other part of the shield comes in contact with engine ground,
otherwise stray speed signals may be introduced into the speed control unit. With the engine stopped, adjust the gap between the magnetic speed sensor
and the ring gear teeth. The gap should not be any smaller than 0.020 in. (0.45 mm). Usually, backing out the speed sensor 1/4 to 1/2 turn after touching
the ring gear teeth will achieve a satisfactory air gap. The magnetic speed sensor voltage should be at least 1.0 V AC RMS during cranking.
acceSSorY InPUT
Auxiliary Terminal N accepts input signals from load sharing units, auto synchronizers, and other governor system accessories.
GAC accessories are directly connected to this terminal. Terminal N connections must be shielded.
If the auto synchronizer is used alone, not in conjunction with a load sharing module, a 3 Ω resister should be connected between
Terminals N and P. This is required to match the voltage levels between the speed control unit and the synchronizer.
noTe
Terminal P supplies +10 volt regulated supply to provide power to GAC governor system accessories. Up to 20 mA of current can be drawn
from this supply. Ground reference is Terminal G.
A short circuit on Terminal P can damage the speed control unit.
acceSSorY SUPPLY
aDDInG a PoTenTIomeTer
Use a single remote speed adjustment potentiometer to
adjust engine speed. Select the desired speed range and the
corresponding potentiometer value.
If the exact range is not found select the next higher range
potentiometer. Connect the potentiometer as shown in the
WIRING diagram.
SPeeD ranGe PoTenTIomeTer
900 Hz 1K
2,400 Hz 5K
3,000 Hz 10K
3,500 Hz 25K
3,700 Hz 50K

5
Governors America Corp. © 2020 Copyright All Rights Reserved
ESD5550-5570 Series Speed Control Unit 9-2020-E PIB1003
5ADJUSTMENTS
Before starting the engine, check and/or adjust the potentiometer and following settings as desired.
Before STarTInG THe enGIne
The speed control unit governed speed setting is factory set at approximately engine idle speed 1000 Hz., speed sensor signal).
Crank the engine with DC power applied to the governor system. The governor system should control the engine at a low idle speed. If the
engine is unstable after starting, turn the GAIN and STABILITY adjustments CCW until the engine is stable.
STarTInG THe enGIne
The overspeed relay output terminals oer both normally open and normally closed contacts.
1. When the engine is running at the desired speed, push and hold the TEST button.
2. Rotate the OVERSPEED adjustment CCW until the red OVERSPEED LED lights and the
relay energizes. Current to the actuator will be removed and the engine will shut o.
3. Release the TEST button.
4. After the engine stops, press the RESET button or remove battery power.
5. Restart the engine and it will return to the original speed setting.
The overspeed function is now set to approximately 10% above the requested speed.
1 2
ON
STABILITY
GAIN
SPEED
OVERSPEED
aDJUSTInG overSPeeD
aDJUSTmenT / SWITcH PoTenTIomeTer / SWITcH facTorY SeTTInG noTeS
SPEED 25 turn 1470 Hz ± 50 Hz w/ min. trim
GAIN 270° turn 50% Middle position
STABILITY 270° turn 50% Middle position
DROOP 270° turn 0% (CCW)
IDLE 270° turn 1075± 75 Hz
STARTING FUEL RAMP 270° turn 100% (CW) Maximum Fuel
SPEED RAMP 270° turn 0% (CCW) Fastest
OVERSPEED 25 turn 100% (CW) Highest
SW1 Lead Circuit switch ON
SW2 Soft Coupling switch OFF
The engine’s exhaust smoke at start-up can be minimized by completing the following adjustments:
1. Place the engine in idle by connecting Terminals M & G.
2. Adjust the IDLE speed for as low a speed setting as the application allows.
3. Adjust the STARTING FUEL CCW until the engine speed begins to fall. Increase the STARTING FUEL slightly so that the idle speed
is returned to the desired level.
4. Stop the engine.
STarTInG fUeL aDJUSTmenT
IDLe SPeeD SeTTInG
If the IDLE speed setting was not adjusted as detailed in Starting Fuel Adjustment section, then complete the following:
1. Place the optional external selector switch in the IDLE position.
2. Adjust the IDLE CW yo increase the idle speed set point.
3. When the engine is at idle speed, the speed control unit applies droop to the governor system to ensure stable operation.

6
Governors America Corp. © 2020 Copyright All Rights Reserved
ESD5550-5570 Series Speed Control Unit 9-2020-E PIB1003
The engine’s exhaust smoke at start-up can be minimized by completing the following adjustments:
1. Switch 1 (SW1) controls the Lead Circuit. The normal position is ON. Move the switch to the OFF
position if there is fast instability in the system.
2. Switch 2 (SW2) controls a circuit designed to eliminate fast erratic governor behavior, caused by very
soft or worn couplings in the drive train between the engine and generator. The normal position is
OFF.
3. Move to the ON position if fast erratic engine behavior due to a soft coupling is experienced
LeaD cIrcUIT anD SofT coUPLInG
Droop is typically used for the paralleling engine driven generators. When in droop operation, the engine speed will decrease as engine
load increases. The percentage of droop is based on the actuator current change from no engine load to full load.
1. Place the optional external selector switch in the DROOP position. DROOP is increased by clockwise rotation of the DROOP adjust-
ment control.
2. After the droop level has been adjusted, the rated engine speed setting may need to be reset. Check the engines speed and adjust
that speed setting accordingly.
Though a wide range of droop is available with the internal control, droop level requirements of 10% are unusual. If droop levels experi-
enced are higher or lower than those required, contact GAC for assistance.
DrooP oPeraTIon
5ADJUSTMENTS (CONTINUED)
The governed speed set point is increased by a CW rotation of the SPEED adjustment control (25 turn pot.). Remote speed adjustment
can be obtained with an optional 5K Speed Trim Control. See section 4, Wiring diagram.
Once the engine is at operating speed and at no load, the following governor performance adjustment can be made.
ParameTer ProceDUre
GAIN 1. Rotate the GAIN adjustment clockwise until instability develops.
2. Gradually move the adjustment counterclockwise until stability returns.
3. Move the adjustment one division further counterclockwise to ensure stable performance (270° potentiometer).
4. If instability persists, adjust the next parameter.
STABILITY 1. Rotate the STABILITY adjustment clockwise until instability develops.
2. Gradually move the adjustment counterclockwise until stability returns.
3. Move the adjustment one division further counterclockwise to ensure stable performance (270° potentiometer).
Normally, adjustments made at no load achieve satisfactory performance. If further performance improvements are required,
refer to section 7, SYSTEM TROUBLESHOOTING.
noTe
aDJUSTInG STaBILITY
WIDe ranGe remoTe varIaBLe SPeeD oPeraTIon
Remote variable speed can be obtained with the an external potentiometer. A single remote speed adjustment potentiometer can be used
to adjust the engine speed continuously over a specic speed range.
1. Select the desired speed range and corresponding potentiometer value as detailed in section 4, ADDING A POTENTIOMETER. If the
exact range cannot be found, select the next higher range potentiometer.
2. Connect the speed range potentiometer as shown in WIRING Diagram.
3. An additional xed resistor may be placed across the potentiometer to obtain the exact desired range.
4. To maintain engine stability at the minimum speed setting, a small amount of droop can be added by turning DROOP adjustment CW.
5. At the maximum speed setting the governor performance will be near isochronous, regardless of the droop adjustment setting.

7
Governors America Corp. © 2020 Copyright All Rights Reserved
ESD5550-5570 Series Speed Control Unit 9-2020-E PIB1003
6METHODS OF OPERATION
One of two methods of operation for the ESD5550/5570 may now selected; starting at operating speed, or starting at idle.
1. Remove the connection between Terminals M & G.
2. Start the engine and accelerate directly to the operating
speed (Gen Sets, etc.).
3. Adjust the SPEED RAMPING for the least smoke on acceler-
ation from idle to rated speed.
4. If the starting smoke is excessive, the STARTING FUEL may
need to be adjusted slightly CCW.
5. If the starting time is too long, the STARTING FUEL may need
to be adjusted slightly CW.
This method separates the starting process so that each may be
optimized for the lowest smoke emissions.
1. Replace the connection between Terminals M & G with a
switch, usually an oil pressure switch.
2. Start the engine and control at an idle speed for a period of
time prior to accelerating to the operating speed.
3. If the starting smoke is excessive, the STARTING FUEL may
need to be adjusted slightly CCW.
4. If the starting time is too long, the STARTING FUEL may need
to be adjusted slightly CW.
5. When the switch opens, adjust the SPEED RAMPING for the
least amount of smoke when accelerating from idle speed to
rated speed.
STarTInG aT oPeraTInG SPeeD STarTInG aT IDLe SPeeD
7SYSTEM TROUBLESHOOTING
InSUffIcIenT maGneTIc SPeeD SIGnaL
A strong magnetic speed sensor signal eliminates the possibility of missed or extra pulses. The speed control unit governs well with 0.5
volts RMS speed sensor signal.
A speed sensor signal of 3 volts RMS or greater at governed speed is recommended. Measurement of the signal is made at Terminals
C and D.
The amplitude of the speed sensor signal can be raised by reducing the gap between the speed sensor tip and the engine ring gear. The
gap should not be any smaller than 0.02 in (0.5 mm). When the engine is stopped, back the speed sensor out by 3/4 turn after touching
the ring gear tooth to achieve a satisfactory air gap.
SYSTem InoPeraTIve
If the engine governing system does not function, the fault may be determined by performing the voltage tests described in Steps 1
through 4. Positive (+) and negative (-) refer to meter polarity. Should normal values be indicated during troubleshooting steps, and then
the fault may be with the actuator or the wiring to the actuator. Tests are performed with battery power on and the engine o, except where
noted. See your actuator publication for troubleshooting testing.
STeP WIreS cHecK ProBaBLe caUSe
1 F(+) & E(-) Battery Supply
Voltage
(12 or 24 V DC)
1. DC battery power not connected. Check for blown fuse.
2. Low battery voltage
3. Wiring error
2 C(+) & D(-) 1.0 V AC RMS
minimum while
cranking
1. Gap between speed sensor and gear teeth too great. Check Gap.
2. Improper or defective wiring to the speed sensor. Resistance between D and C should be 160 to
1200 Ω. See specic mag pickup data for resistance.
3. Defective speed sensor.
3 P(+) & G(-) 10 V DC, Internal
Supply
1. Short on Terminal P.
2. Defective speed control unit.
4F(+) & A(-) 1.0 - 2.0 V DC while
cranking
1. SPEED parameter set too low
2. Short/open in actuator wiring
3. Defective speed control
4. Defective actuator, see your actuator’s Troubleshooting guide.

8
Governors America Corp. © 2020 Copyright All Rights Reserved
ESD5550-5570 Series Speed Control Unit 9-2020-E PIB1003
InSTaBILITY
InSTaBILITY SYmPTom ProBaBLe SoLUTIon
Fast Periodic The engine seems
to jitter with a 3Hz
or faster irregularity
of speed.
1. Readjust the GAIN and STABILITY for optimum control.
2. Turn o any local electrical equipment that may be causing EMI interference.
3. Set the Lead Circuit DIP switch SW1 to OFF
4. If system is still unstable, set Soft Coupling SW2 to ON. This may indicate soft or worn couplings in drive
train.
5. Remove E1 to E2 jumper. See section 4, Wiring diagram.
Slow Periodic An irregularity
of speed below
3Hz. (Sometimes
severe)
1. Readjust GAIN and STABILITY
2. Set Lead Circuit and Soft Coupling DIP switches SW1 and SW2 to ON in the following order: First SW1,
Second SW2, and Third SW1 & SW2.
3. Check fuel system linkage during engine operation for:
• binding
• high friction
• poor linkage
4. Adjust DEAD TIME COMPENSATION by adding a capacitor from posts E1 to E2. See section 4, Wiring
diagram. Start with 10 mF and increase until instability is eliminated.
5. Add small amount of droop (jumper K and L). See section 4, Wiring diagram.
Non-Periodic Erratic Engine
Behavior
1. If increasing GAIN does not reduce the instability but not totally correct it issue may be with engine.
2. If this is the case, there is most likely a problem with the engine itself. Check for:
• engine mis-rings
• an erratic fuel system
• load changes on the generator set voltage regulator.
3. If throttle is slightly erratic, but performance is fast, move SW1 to the OFF position.
UnSaTISfacTorY Performance
SYmPTom normaL reaDInG ProBaBLe caUSe
Engine Overspeeds 1. Do Not Crank. Apply DC power to
the governor system.
After the actuator goes to full fuel, disconnect the speed sensor at Terminal
C & D. If the actuator is still at full fuel-speed then the speed control unit is
defective.
2. Manually hold the engine at the
desired running speed. Measure
the DC voltage between Terminals
A(-) & F(+) on the speed control
unit.
1. If the voltage reading is 1.0 to 2.0 V DC:
• SPEED adjustment is set above desired speed
• Defective speed control unit
2. If voltage reading is above 2.0 V DC then check for:
• actuator binding
• linkage binding
3. If the voltage reading is below 1.0 V DC it may be a defective speed
control unit
4. Check if Gain is set too low.
Overspeed Shuts Down En-
gine After Running Speed is
Reached
• Speed adjustment set too high.
• OVERSPEED set to close to running speed.
• Actuator or linkage binding.
• Speed control unit defective.
Overspeed Shuts Down En-
gine Before Running Speed
is Reached
Check impedance between
Terminals C & D. Should be 160
to 1200 Ω
OVERSPEED set too low. Adjust 5-6 turns CW.
Erroneous speed sensor signal. Check wiring.
Actuator does not energize
fully
1. Measure the voltage at the battery
while cranking.
If voltage for a 12 V DC system is less than 7 V DC, or for a 24 V DC system is
less than 14 V DC, replace the battery if weak or undersized
2. Momentarily connect Terminals A
and F. The actuator should move
to the full fuel position.
• Actuator or battery wiring in error
• Actuator or linkage binding
• Defective actuator
• Fuse opens. Check for short in actuator or harness.
Engine remains below
desired governed speed
1. Measure the actuator output, Ter-
minals A & B, while running under
governor control.
If voltage measurement is within 2 V DC of the battery supply voltage level,
then fuel control is restricted from reaching full fuel position, possibly due to
mechanical governor, carburetor spring, or linkage interference.
SPEED parameter set too low
7SYSTEM TROUBLESHOOTING (CONTINUED)
Other manuals for ESD-5550 Series
1
This manual suits for next models
1
Table of contents
Other GAC Control Unit manuals