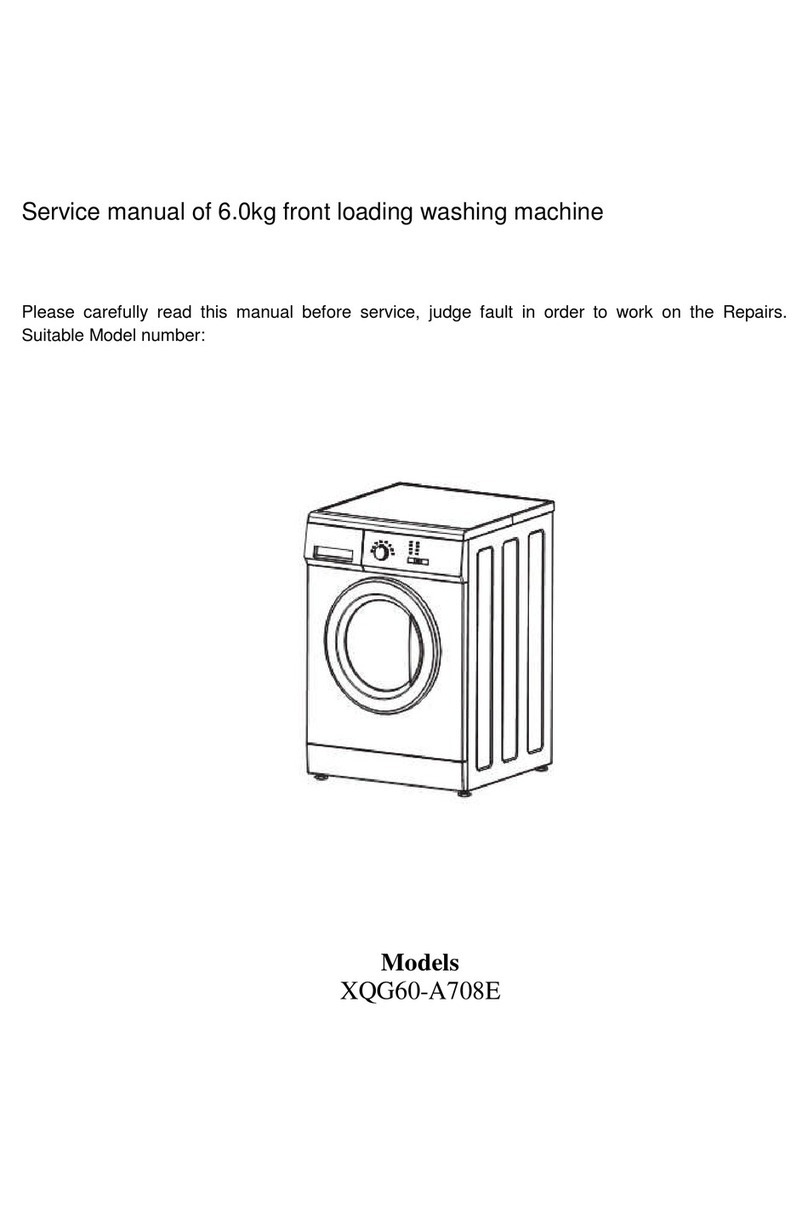
Galanz XQG60-A708E User manual

It is essential to read this manual carefully before it is installed
and used for the first time.
XQG60-A708E
WEBSITE:www.galanz.com/in
ADDRESS: NO.3 XINGPU AVENUE EAST, HUANGPU TOWN,
ZHONGSHAN CITY, 528429, GUANGDONG, CHINA
ZHONGSHAN GALANZ CONSUMER ELECTRIC APPLIANCES CO., LTD.

This washing machine conforms to current safety
requirements. Inappropriate use can, however, lead
to personal injury and damage to property.
To avoid the risk of accidents and damage to the
washing machine, please read this manual carefully
before using it for the first time. They contain
important information on its installation, safety, use
and maintenance.
Keep this manual in a safe place for future reference.

Read and understand thoroughly these safety instructions
before use. The items indicated here are very important
safety precautions, which must be followed. We cannot be
held liable for damage caused by non-compliance with the
warning and safety instructions or resulting from incorrect
use or operation.
Technical safety
Before setting up the washing machine, check it for any externally
visible damage. Do not install or use a damaged washing machine.
Before connecting the washing machine, ensure that the connection
data on the data plate (voltage and current) match the electricity
supply. If in any doubt, consult a qualified electrician.
The electrical safety of this washing machine can only be guaranteed
when continuity is complete between it and an effective earthing
system which complies with current local and national safety
regulations. It is most important that this basic safety requirement is
present and regularly tested, and where there is any doubt the
household wiring system should be inspected by a qualified electrician.
The manufacturer cannot be held liable for the consequences of an inadequate earthing system.
Do not connect the washing machine to the mains electricity supply by an extension lead.
Extension leads do not guarantee the required safety of the appliance.
Unauthorized repairs could result in unforeseen dangers for the user, for which manufacturer
cannot accept liability. Repairs should only be undertaken by an approved service technician.
Ensure current is not supplied to the machine until after maintenance or repair work has been
carried out.
If the connection cable is damaged or broken it must only be replaced by an approved service
technician to protect the user from danger.
Faulty components must only be replaced by genuine manufacturer original spare parts. Only
when these parts are fitted can the safety standards of the machine be guaranteed.
To avoid the risk of personal injury or damage to the washing
machine, do not install it in place where it is damp and where
it suffers from rainfall.
Do not install the washing machine in place where it suffers
from the sun directly, in which plastic or components will be
damaged. It will be shortened the life of your washing machine.
Do not install the washing machine in place where temperatures
below freezing may occur. Frozen hoses may burst or split. The
reliability of the electronic control unit may be impaired at
temperatures below freezing point.
Do not shoot the washing machine with water when you clean it.
Keep the washing machine away from fire or heat sources.
Before using the washing machine for the first time, check that the transit bolts
at the rear of the machine have been removed. During spinning, transit bolts which is still in place
may result in damage to both the machine and adjacent furniture or appliances.
Turn off the tap if the machine is to be left for any length of time (e.g. holiday), especially if there is
no floor drain (gully) in the immediate vicinity.
Take care to ensure that foreign objects (e.g. nails, pins, coins, paper clips) do not find their way
into the machine with the laundry. These may damage components of the machine (e.g. drum),
which in turn can result in damage to the laundry.
Do not wash water-repellent things(e.g. raincoats) with washing machine.
Only remove laundry from the washing machine once the drum has stopped turning. Reaching
into a moving drum is extremely dangerous and could result in injury.
Correct use
Safety with children
Keep children away from the washing machine at all times. To avoid
the risk of injury do not allow children to play on or near it or to
play with its controls. Supervise children whilst you are using it.
Older children may only use the washing machine if its operation has
been clearly explained to them and they are able to use it safely,
recognising the dangers of misuse.
For machines with a 'porthole' door, remember that the porthole glass
will be hot when washing at very high temperatures. Do not let children
touch it.
THIS WASHING MACHINE MUST BE EARTHED.
This appliance can be used by children aged from 8 years and above and
persons with reduced physical, sensory or mental capabilities or lack of
experience and knowledge if they have been given supervision or instru-
ction concerning used of the appliance in a safe way and understand the
hazards involved. Children shall not play with the appliance. Cleaning
and user maintenance shall not be made by children without supervision.
Children of less than 3 years should be kept away unless continuously
supervised.

Remove all the transit bolts at the back of the machine with tools.
Keep the transit bolts for future transportation. Whenever the
machine is transported, the transit bolts must be refitted.
Plug the holes with the transit bolts caps .supplied
Strong vibration, noise or failures may occur
if the transit bolts are not removed.
The drawing of machine in the manual is only used for instruction.
It may be vary from the model you buy.
It is normal that water drops appear on the packing
plastic bag and the door glass, which are resulted
from the water left in the tub for checking out.
Connection Cable
Unscrew the drain pump filter to let water run out when the
machine is not used for a long time.
Remove all the packing ( including the foam base)
or the vibration and noise may occur.
Dispose all the wrappage safely and keep them out
of the reach of children. Danger of suffocation!
cold water inlet valve
“U” piece
Door glass
Door seal

A concrete floor is the most suitable installation surface
for a washing machine, being far less prone to vibration
during the spin cycle than wooden floorboards or a carpeted
surface.
The machine must be level and securely positioned. The
distance between the machine and wall must be more than
10 cm.
To avoid vibrations during spinning, the machine should not
be installed on soft floor coverings.
The machine must stand perfectly level on all
four feet to ensure safe and proper operation.
Incorrect installation may increase electricity
and water consumption and may cause the
machine to move about.
To do these when the machine is not level:
Using the spanner turn locknut in a clockwise
direction. Then turn locknuts together with adjust
feet to unscrew.
Use a spirit level to check the machine is standing level.
Hold adjust feet securely with a pipe wrench. Turn locknut again
using the spanner until it sits firmly up against the housing.
Vibration and noise may occur if the locknuts do
not sit firmly up against the houses.
Drainhoseconnection
1. Direct into a sink
If the outlet spigot has not been used before, remove any blanking plug
that may be in place.
Push the drain hose onto the spigot and secure with a clip if required,
ensure a loop is formed in the drain hose to prevent waste from the sink
entering the washing machine.
If required, the drain hose can be extended to a length of 4 m.
Loop
“U” piece
supplied
30cm
60cm
90cm
Water inlet connection
Connect the inlet hose supplied with the machine to a tap with a 3/4” thread.
Do not use previously employed hoses.
Installation should comply with local water authority and building regulations’ requirements.
inlet hose for cold water with a white nut
inlet valve for cold water
Only the TE/TK series have a hot water inlet valve.
When there is a inlet valve at the back of the machine, it must be connected to a cold water
supply. If there are two inlet valve, one is connected to a cold water supply and the other
is connected to a hot water supply. Follow the indication of the picture below to complete the
connection.
2. Connected securely to a standpipe.
Firstly form a hook in the end of the drain hose using the “U” piece”
supplied.
Place the drain hose into your standpipe, which should have an internal diameter of approximately
38mm thus ensuring there is an air break between the drain hose and standpipe.
When discharging into a standpipe ensure that the top of the standpipe is no more than 90cm and
no less than 60cm above floor level.
Other manuals for XQG60-A708E
2
Table of contents
Other Galanz Washer manuals

Galanz
Galanz XQG100-T514VE User manual

Galanz
Galanz XQG80-Q812DE User manual

Galanz
Galanz WMUK001W Operator's manual

Galanz
Galanz XQG60-U108E User manual

Galanz
Galanz XQG90-T514VE User manual

Galanz
Galanz WMUK004W Operator's manual

Galanz
Galanz GLFW22WEA5A User manual

Galanz
Galanz XQG60-A708E User manual

Galanz
Galanz XQB80-G1E User manual

Galanz
Galanz XQG60-A708E User manual