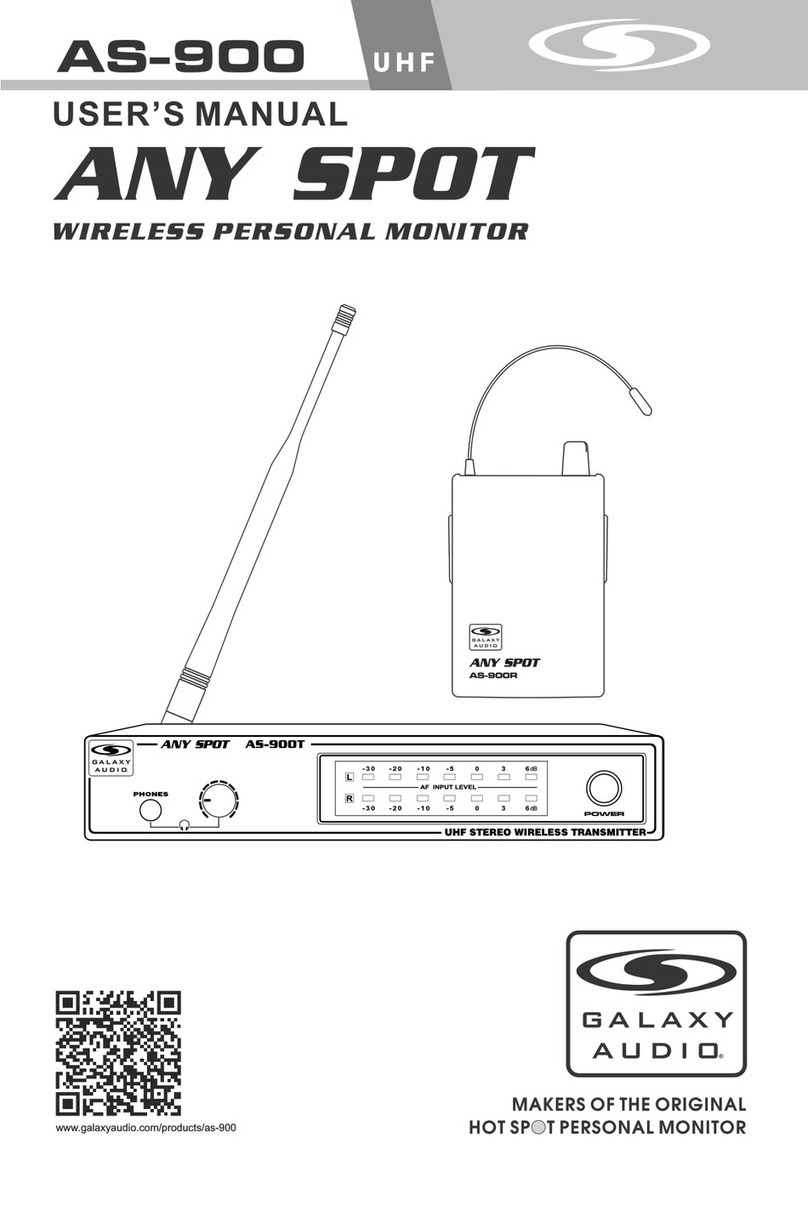
GAL A X Y AUDIO Quick Start Guide
AS-1100
Wireless Personal Monitor
Included Components
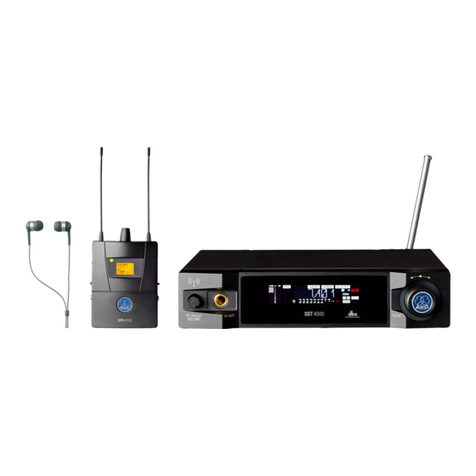
1. AS-1100T x1
4. MREWD Rack Kit x1
5. Antenna x1
2. AS-1100R x1
1.
2 3
Setup
1
Attach the long and short rack ears to
either side of choice using the provided
screws. Align and screw into the rack.
Single Rack Mounting (Optional)
1
7.
Optional Accessories
6. Power Supply x1
7. Quick Start Guide x1
1. EB6 Ear Bud Upgrade
3. Unlimited Receivers
can be added
2. EB10 Ear Bud Upgrade
4. EXTBNC: BNC Cable
for Front Mounting Antenna
(4 lengths available)
1. 2.
Insert the 5.5mm plug into the DC input
jack, plug the wall wart into a 120VAC
outlet.
4
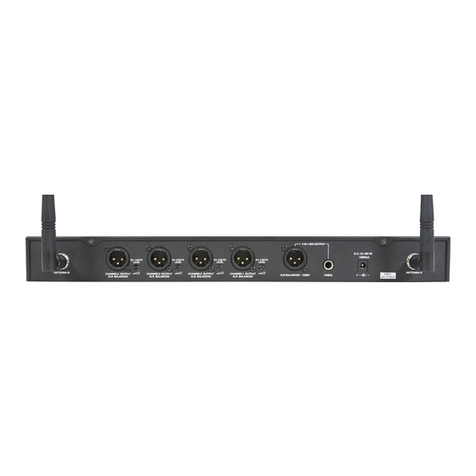
Attach the antenna to the antenna jack
o
and position at a 45 angle if possible.
Input Connection (1/4"): Connect a 1/4"
cable to the transmitter’s left and right
1/4" input, connect the other end into
your signal source's left and right outputs.
Input Connection (XLR): Connect a
shielded XLR microphone cable to the
transmitter’s left and right XLR input,
connect the other end into your signal
source’s left and right outputs.
1. Rack Screws 10/32 x .75",
Phillips Truss Head Screws
2. #2 Phillips Head
Screwdriver
What May be Needed
to Rack
(Not Included)
1. 2.
2
Press the “SET” button, the display will
flash “GROUP”. Use the up and down
buttons to select a group number. Press
set again, the display will flash “CHANNEL”.
Use the up down buttons to select a
channel number.
1
Screw one short rack ear on the left side
of the first transmitter, and one coupler
half onto the right side of the same
transmitter using the provided screws.
2
Screw one short rack ear on the right
side of the second transmitter, and one
coupler half onto the left side of the
same transmitter.
1
Operation
Press and hold the Power button for 3
seconds to power on the Transmitter.
Dual Rack Mounting (Optional)
3
Align both transmitters so that the coupler
halves fit, and screw them together.
63
Insert Two AA Alkaline Batteries into the
Receiver.
4
Turn the Level knob clockwise to power
on the Receiver.
5
5.
5. CN-BNCPM: BNC Connector
for Front Mounting Antenna
4
Align the dual transmitters to the rack
and screw into the rack.
6.
3.
Repeat step 2 on the Receiver so that the
Receiver matches the same Group and
Channel number.
Insert the ear buds into the receiver and
adjust the volume to a comfortable level.
4. 5.
3.
2.
4.
3. EB4 Ear Buds x1
GAL AX Y AUDIO Quick Start Guide
AS-1100
Wireless Personal Monitor
Included Components
1. AS-1100T x1
4. MREWD Rack Kit x1
5. Antennas x1
2. AS-1100R x1
1.
2 3
Setup
1
Attach the long and short rack ears to
either side of choice using the provided
screws. Align and screw into the rack.
Single Rack Mounting (Optional)
1
7.
Optional Accessories
6. Power Supply x1
7. Quick Start Guide x1
1. EB6 Ear Bud Upgrade
3. Unlimited Receivers
can be added
2. EB10 Ear Bud Upgrade
4. EXTBNC: BNC Cable
for Front Mounting Antenna
(4 lengths available)
1. 2.
Insert the 5.5mm plug into the DC input
jack, plug the wall wart into a 120VAC
outlet.
4
Attach the antenna to the antenna jack
o
and position at a 45 angle if possible.
Input Connection (1/4"): Connect a 1/4"
cable to the transmitter’s left and right
1/4" input, connect the other end into
your signal source's left and right outputs.
Input Connection (XLR): Connect a
shielded XLR microphone cable to the
transmitter’s left and right XLR input,
connect the other end into your signal
source’s left and right outputs.
1. Rack Screws 10/32 x .75",
Phillips Truss Head Screws
2. #2 Phillips Head
Screwdriver
What May be Needed
to Rack
(Not Included)
1. 2.
2
Press the “SET” button, the display will
flash “GROUP”. Use the up and down
buttons to select a group number. Press
set again, the display will flash “CHANNEL”.
Use the up down buttons to select a
channel number.
1
Screw one short rack ear on the left side
of the first transmitter, and one coupler
half onto the right side of the same
transmitter using the provided screws.
2
Screw one short rack ear on the right
side of the second transmitter, and one
coupler half onto the left side of the
same transmitter.
1
Operation
Press and hold the Power button for 3
seconds to power on the Transmitter.
Dual Rack Mounting (Optional)
3
Align both transmitters so that the coupler
halves fit, and screw them together.
63
Insert Two AA Alkaline Batteries into the
Receiver.
4
Turn the Level knob clockwise to power
on the Receiver.
5
5.
5. CN-BNCPM: BNC Connector
for Front Mounting Antenna
4
Align the dual transmitters to the rack
and screw into the rack.
6.
3.
Repeat step 2 on the Receiver so that the
Receiver matches the same Group and
Channel number.
Insert the ear buds into the receiver and
adjust the volume to a comfortable level.
4. 5.
3.
2.
4.
3. EB4 Ear Buds x1
