OPERATION MANUAL
RADIO ALARM CLOCK
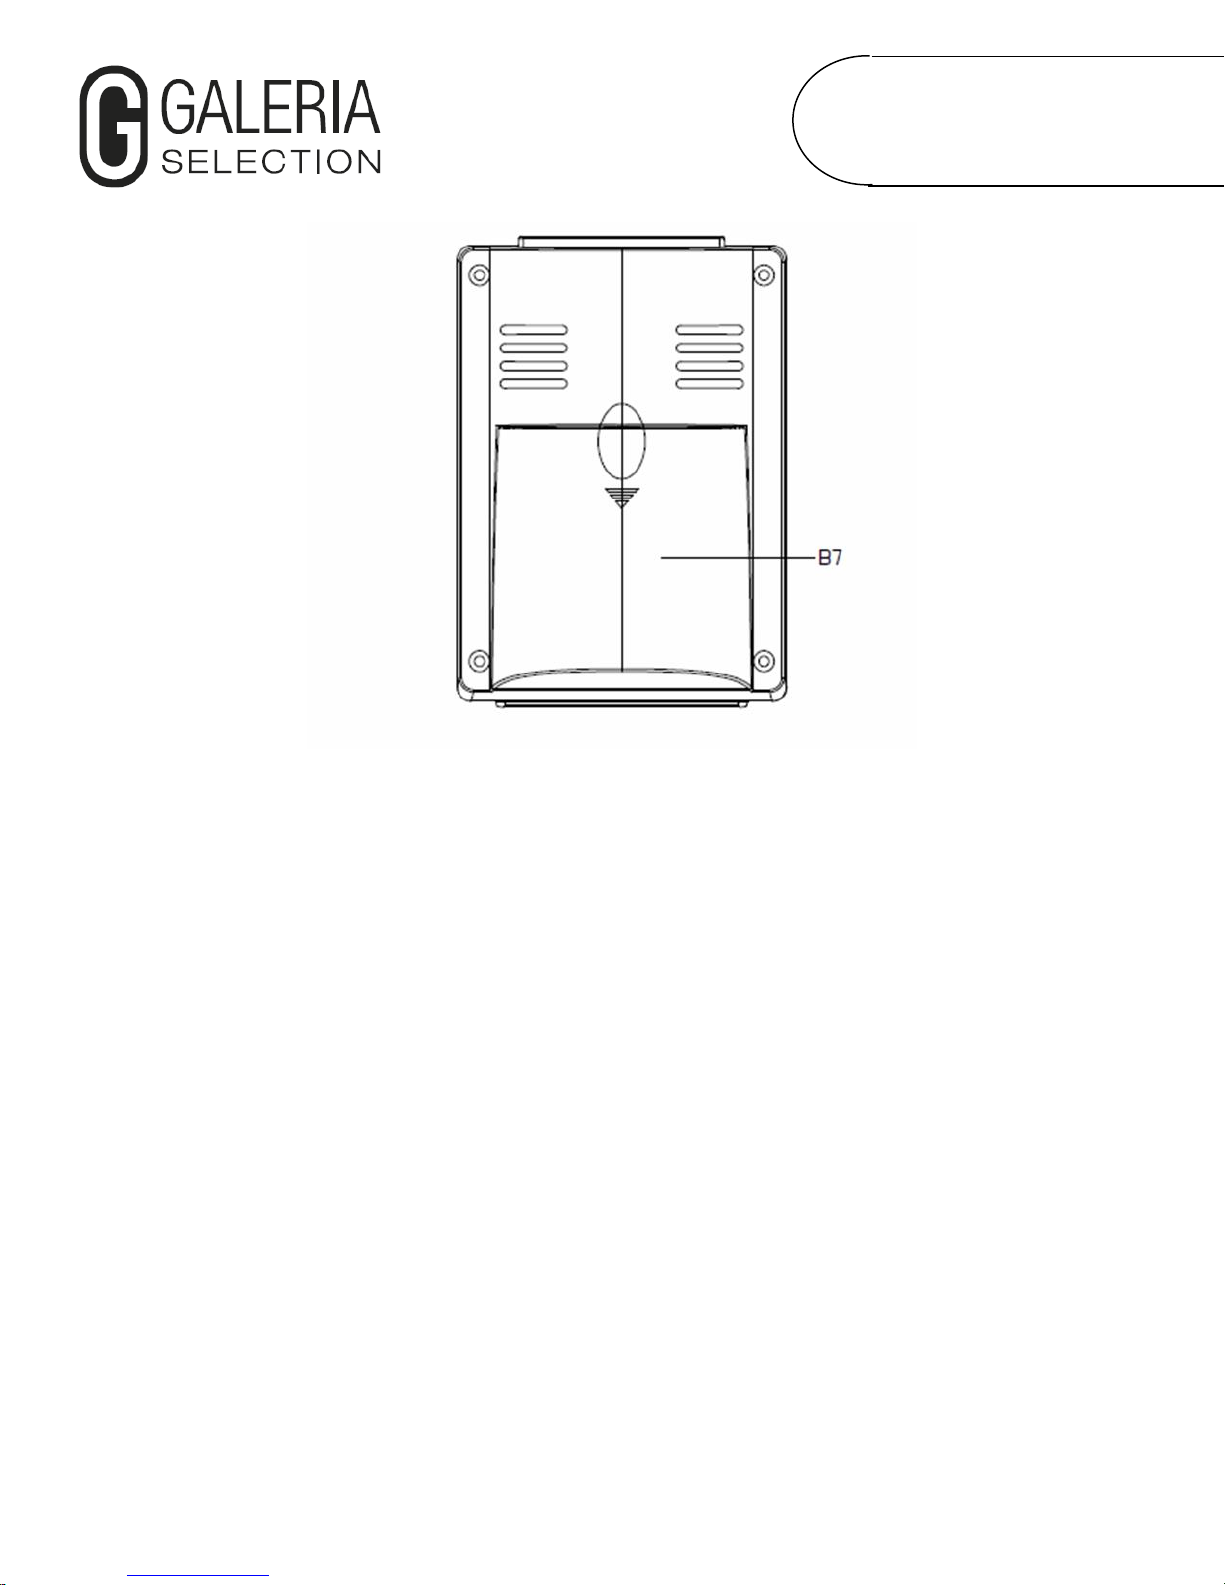
EAN 4017805515024
4
Please also observe the following operating instructions:
1. The device will be synchronized automatically every day.
2. Do not install the device near interfering sources such as TVs, computers or similar.
3. Avoid placing the device next to or on metal surfaces.
4. It is not recommended to use the device in locations such as airports, basements, factories
and rooms that incorporate reinforced concrete in their walls.
5. Do not start radio reception while in a moving vehicle such as a car or train. If you are out of
range of the radio transmitter or if reception is not possible, you can manually set the time.
Nevertheless, the radio clock continues searching for radio signals every single hour. When the
radio signal can again be received, the time will adjust automatically.
1. When in normal time display mode, press and hold the MODE button (B4) for several
seconds, until “00” starts flashing in the display. You may the set the time zone by pressing the
(B5) or (B3) buttons. For use in Germany, leave the setting at "00".
2. Press the MODE (B4) button again to confirm the setting and move on. Set the additional
value in the following sequence as described above: Hours, minutes, year, month, day, and
language.
3. The hours start flashing and can be set using the (B5) or (B3) buttons.
4. Press the MODE (B4) button again. The minutes start flashing and can be set using the (B5)
or (B3) buttons.
5. Press the MODE (B4) button again. The year starts flashing and can be set using the (B5) or
(B3) buttons.
6. Press the MODE (B4) button again. The month starts flashing and can be set using the (B5)
or (B3) buttons.
7. Press the MODE (B4) button again. The day starts flashing and can be set using the (B5) or
(B3) buttons. MANUALLY SETTING THE TIME
8. Press the MODE (B4) button again. The language of the weekday display starts flashing and
can be set using the (B5) or (B3) buttons. Press the MODE button (B4) to confirm your settings.