11
USA
1855 965 5310
AFTER SALES SUPPORT 12
USA
1855 965 5310
AFTER SALES SUPPORT
Warranty Information Warranty Information
USA USA
Your Details:
Name
Address
Date of purchase:
Location of purchase:
E-mail
Description of malfunction:
Phone
*Please keep your receipt with this warranty card.
For warranty claims please send a
copy of this warranty card and your
receipt to the following:
To register your product: or for
customer service questions
Discover Home Products
www.discoverhomeproducts.com
Warranty conditions
Dear Customer,
The ALDI warranty offers you extensive benefits compared to the statutory
obligation arising from a warranty:
Warranty period: 2 years from date of purchase
Costs: Free same or equivalent replacment of damaged or missing part.
No shippping cost when covered under warranty,
ADVICE:
To inquire about and process warranty claims please contact
our customer service hotline by phone or email
Monday thru Friday 9AM-5PM CST 1-855-965-5310
In order to make a claim under the warranty, please send us via email:
The original receipt and the warranty card properly completed.
Photos of the damage if applicable.
The warranty does not cover damage caused by:
Any and all acts of nature.
Wind and water damage.
Unreasonable, unanticipated or abusive use.
Improper treatment or modification.
Lack of care or maintenance.
Rust or oxidation caused by exposed metals.
Disregard of the safety instructions.
After the expiration of the warranty period or if your claim is not covered by the limited warranty
you may still have the option of replacing or repairing your product at your own cost provided the
parts needed or an equivalent are available. If the damaged or missing parts are not covered by
the limited warranty you will be informed of the cost to replace these upfront. The distributor is
under no obligation to provide parts after the warranty period is expired or when the damage is
not covered by the limited warranty and may ofter the option to purchase replacements at
their discretion.
Customer Service Line
Monday thru Friday
9AM-5PM CST
2
YEAR WARRANTY
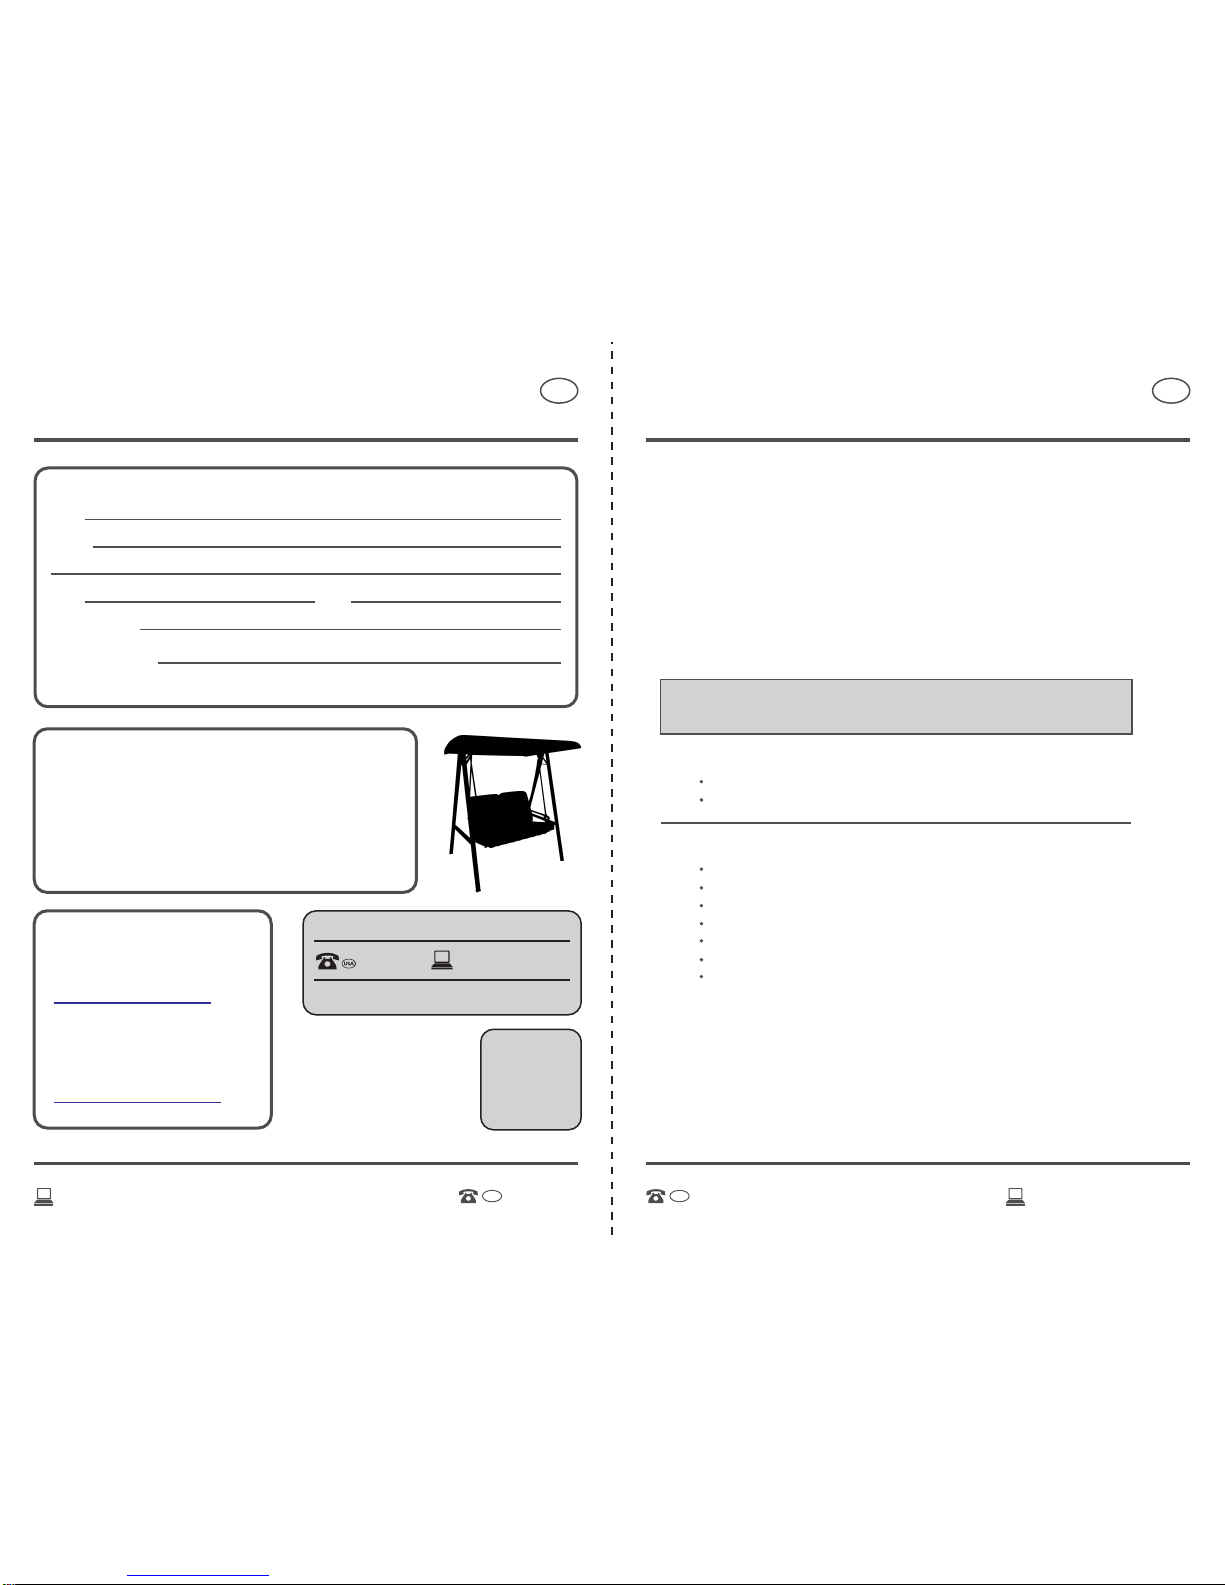
MODEL: 43537 PRODUCT CODE: 43537 04/2016
AFTER SALES SUPPORT
1855 965 5310