Gardiner Xtreme series User manual

What your pole package contains:
1 Xtreme Pole (18, 22, 25, 35 or 47)
1 Gooseneck
1 Hose Pack & Connector
1 Brush of choice
To assemble your pole ready for use:
Remove any packaging and carriage straps.
Slide non-connector end of pole hose up though the base of the Xtreme pole
and push through unl it appears out the top of the pole.
Connect the pole hose to the straight connector on the Gooseneck/Brush
assembly—push rmly on.
Open the top clamp and slide the gooseneck fully into the top secon. Close
the top clamp lever (adjust if needed) so that it rmly holds the gooseneck in
posion.
Connect the pole hose connector to your hose reel and the pole is ready for
work.

Using the Pole with Extensions
With the Xtreme range of poles there also various types of Extension secons
available. The Xtreme18, 22 and 25 both have the opon of an extra single
extension secon. The 22, 25 and 35 also have the opon of a two-secon
Xtreme extension pack. The Xtreme47 and 44 (35+EXT44) can have the
opon of ng up to 6 extra extensions.
Fing extensions on to the 18, 22, 25
& 35 poles:
To t the extension, pull out the
gooseneck from the top of the pole
and disconnect the pole hose from
the John Guest connector under the
gooseneck (see photo). Pull the hose
out of the pole.
Remove the end cap from the pole
by pulling rmly o.
Open the lever on the extension and slide it on from the base of the pole. Fully
side the secon up the pole and close the clamp lever. You will need to slide
the pole hose up from the base of the pole and re-connect to the gooseneck
ng before re-aaching the gooseneck.

Fing Extensions to the Xtreme44 & 47
The Xtreme44 & 47 have the opon of being used with modular clamped ex-
tension secons or the #10-12 triple telescopic extension pack if needed for
high level work.
Standard Extensions—For use up to 64—3 extensions maximum
#10-12 Triple Telescopic Extension Pack—1 pack per pole
Hi-Strength Extensions—For use up to 79.5—6 extensions maximum
We do not recommend mixing these extension secons in use on the pole.
Warning—never use the standard extensions on the pole at extended length
above 63. It is possible to t 1x Modular extension secon and then add the
triple telescopic extension pack to the base of the this secon.
To use just 1 modular extension or the #10-12 triple extension pack—these
both add-on in much the same way as adding another fully telescopic secon
to the pole. Remove the end cap from the base of the pole.
Pull out the gooseneck from the top of the pole
and disconnect the pole hose from the John Guest
connector under the gooseneck (see photo). Then
pull the hose out of the pole.
Open the lever on the extension sec-
on and slide it on from the base of
the pole. Fully side the secon up the
pole and close the clamp lever. You
will need to slide the pole hose up
from the base of the pole and re-
connect to the gooseneck ng be-
fore re-aaching the gooseneck.
This rst modular extension secon can now be used just like a 10th secon
on the pole. Always ensure that you allow sucient overlap on this secon
when using. The base handle secon will have a painted band to indicates the
maximum safe extension point.

Fing subsequent Modular secons. To do this you have two opons:
1. Fit extra extension secons by sliding the extension over the end of the
pole hose (disconnect from hose reel or tap rst). Slide extension on to
the stepped base of the extension secon above and clamp in the fully
inserted posion.
2. Recommended method is to remove the pole from the gooseneck before
starng work and run the pole hose externally down the pole.
To achieve method 2 follow these steps:
A. Pull out the gooseneck assembly from the pole and disconnect the pole
hose and pull out from the pole.
B. Re-t the gooseneck assembly on to the top of the pole.
C. Disconnect the Brush Jet Hose T connector from the Gooseneck orange
hose.
D. Connect the pole hose directly to the Brush Jet Hose T connector.
E. Velcro strap the pole hose to the outside of the gooseneck.
F. When extending the pole allow the pole hose to gently wind around the
pole.
G. Extra extension secons can now be easily ed and removed as required
during use. Once extensions are nished with the pole hose can be run
back down the inside of the pole again.
H. If using with more than 3 extensions you will need to purchase a longer
hose pack for the pole.

GUIDANCE
When using at heights above 65 we would recommend using the 90°
gooseneck or an adjustable gooseneck and so brush. This is because
at these heights the top secons of the pole will be virtually parallel to
the face of the building.
Although the poles feature insulated and isolang handle secons -
Always check for overhead power cables before use, as carbon-
bre poles are good conductors of electricity. Do not work in Thunder
-Storms.
Brush compability – if using this pole with your own choice of brush, we
would recommend that you do not t a brush weighing more than
300g. Do not use this pole with the Gardiner Super-Lite or Supreme
45cm brushes as they are too heavy for these poles.
Do not work with more than 3 standard extensions ed and these
should not be mixed with Hi-Strength extensions to go higher. Do not
work with more than 6 Hi-Strength extensions ed.
When working at heights above 45 always carry out a full risk assess-
ment and ensure safe working pracce. We would recommend that
when using this pole with more than one extension a second worker is
used to look aer the pole hose and handling of extension secons.
Please ensure a safe working area before using this water fed pole.
Avoid working in high winds with this pole. It is good pracce when work-
ing at heights, with any speed of wind blowing, to remove any exten-
sions from the pole before walking it round a corner or between high
buildings.

POLE MAINTENANCE
Cleaning Schedule:
Keep the pole as clean as possible at all mes. Wiping the pole hose aer
each use will reduce the amount of dirt entering the pole. A wipe with a
cloth as you are coiling the hose away is sucient.
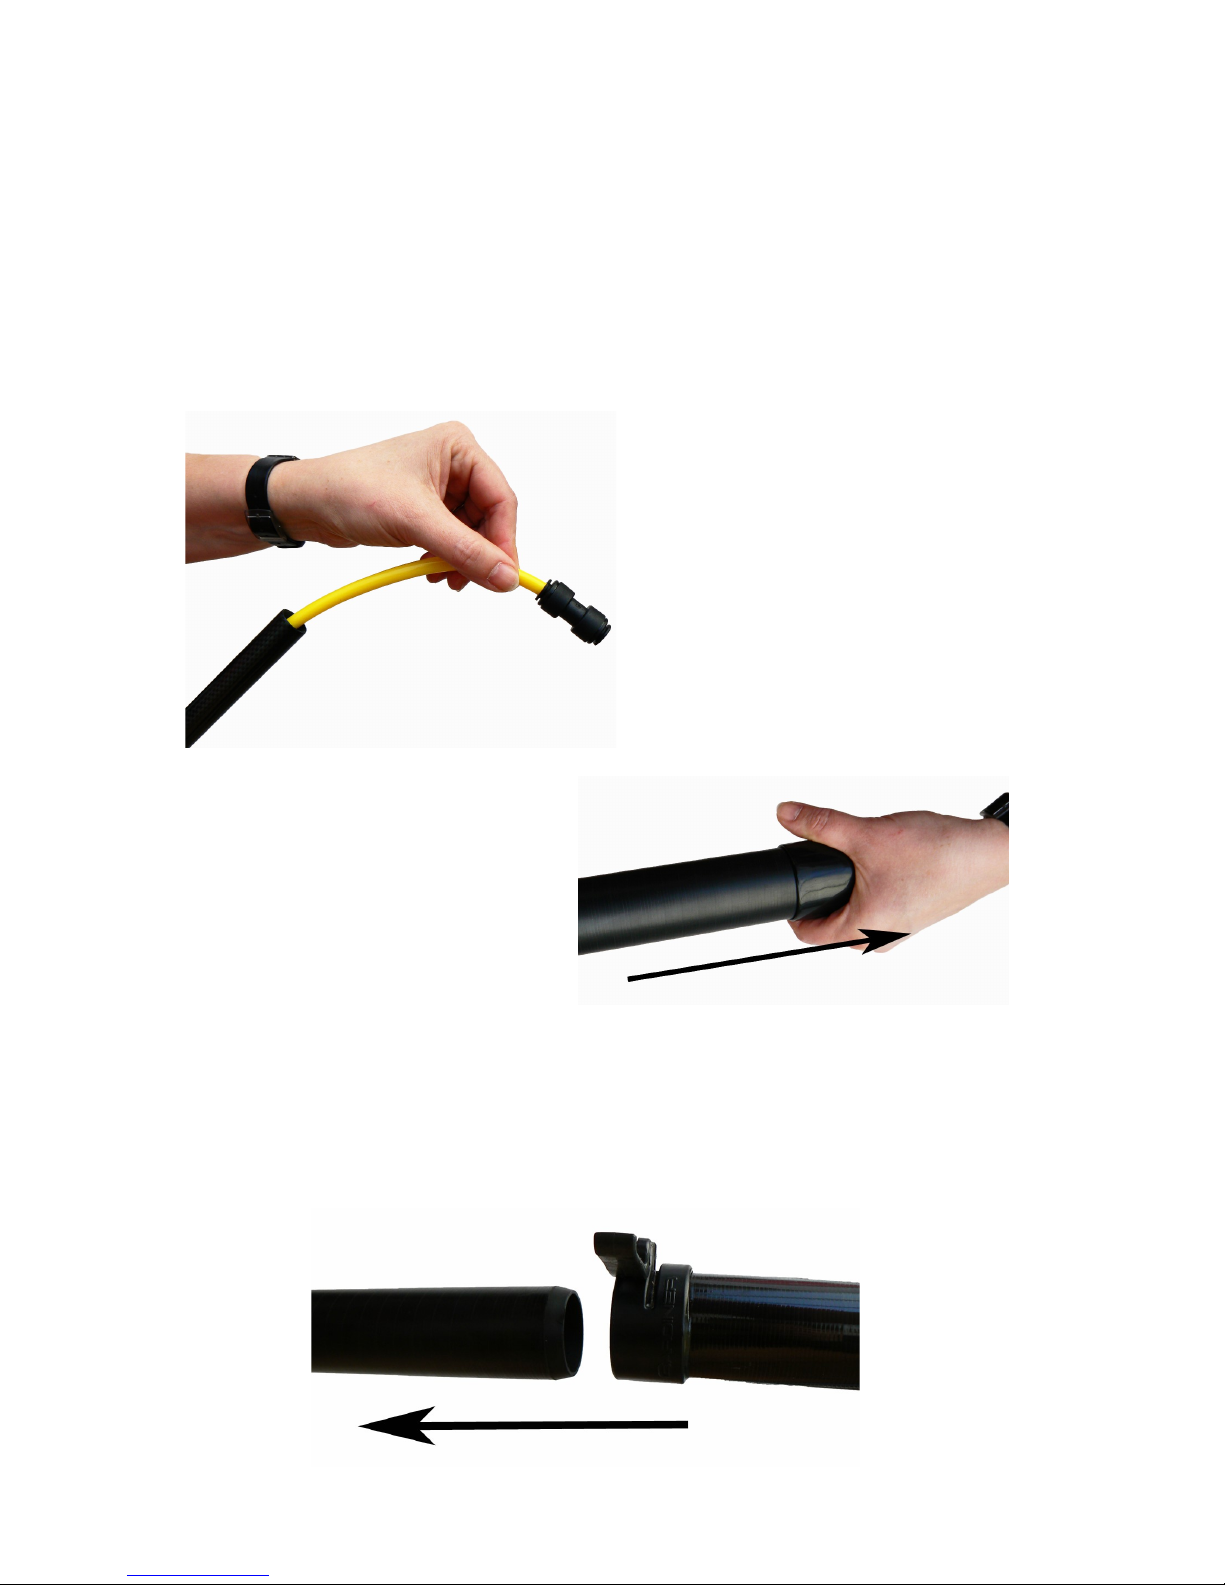
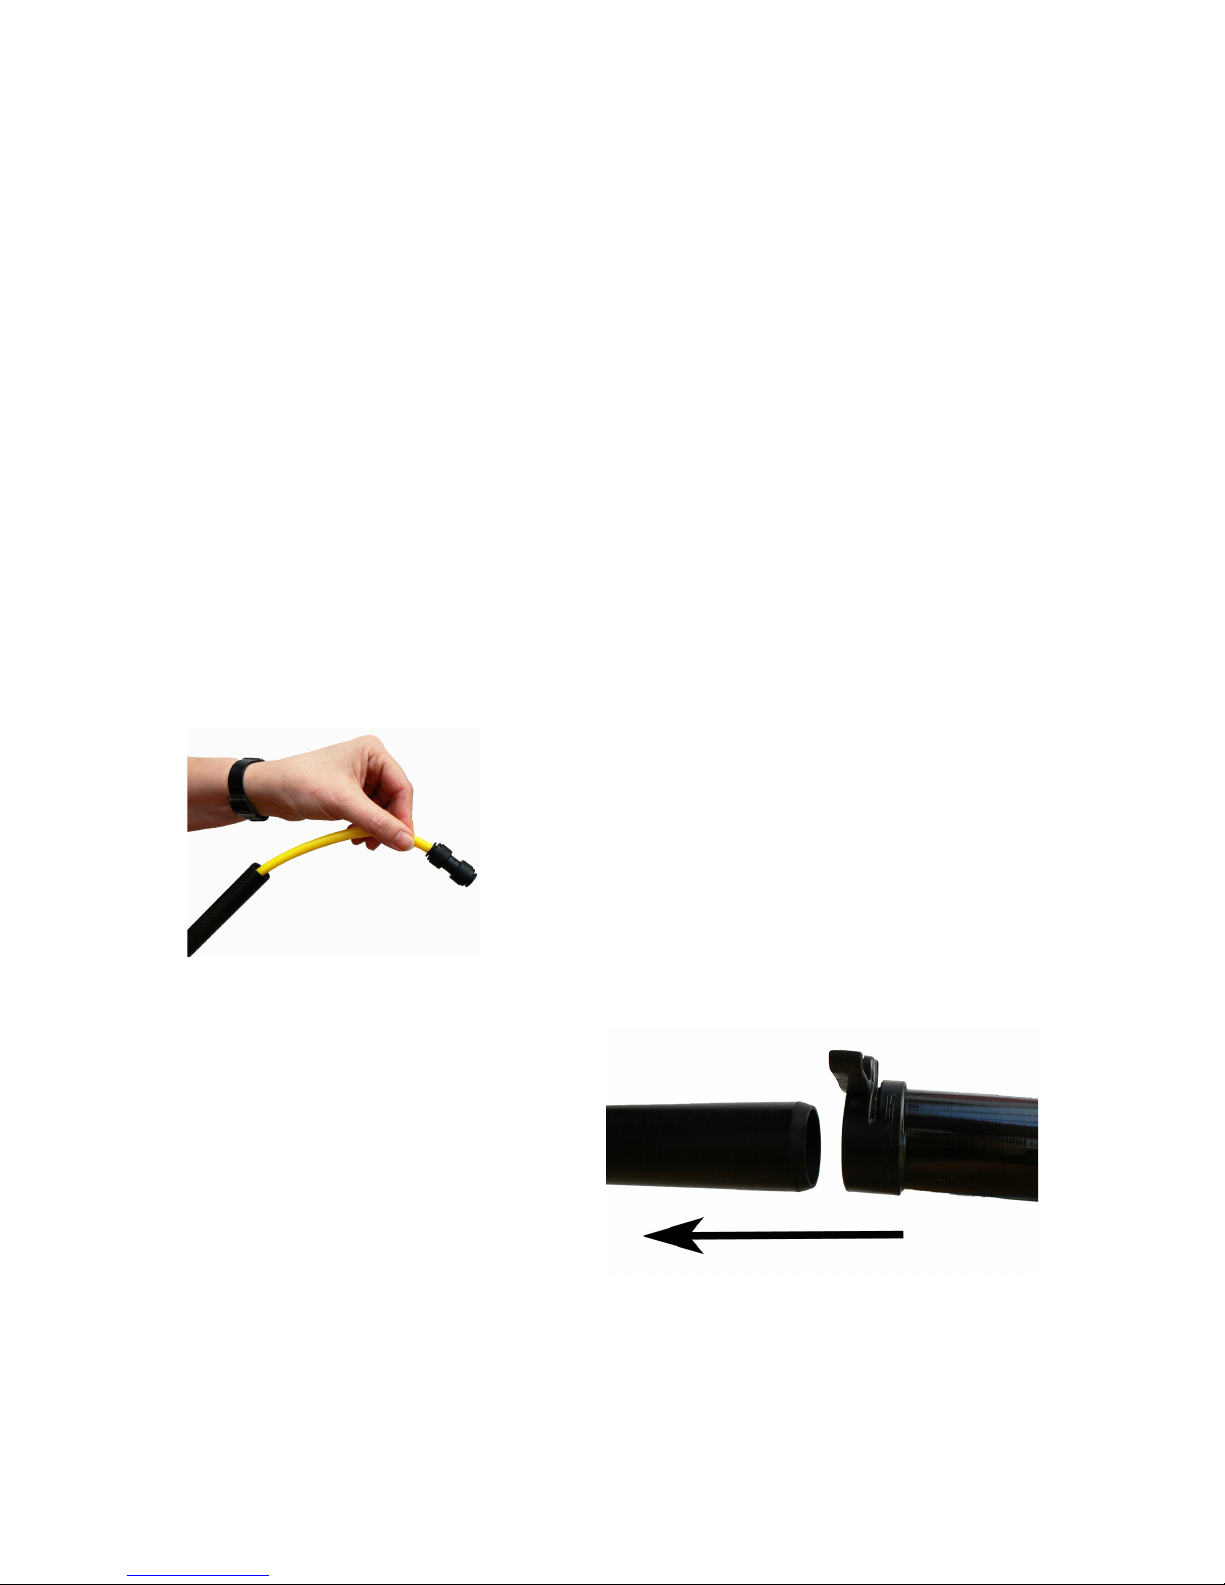
Hose the pole down once a week or aer working in griy or sandy envi-
ronments. To do this, either hose up from the base of the pole with all
clamps open or undo clamp bolts unl loose and slide secons apart to
clean between the secons.
Servicing Schedule:
In addion to the above schedule we would recommend fully taking apart
the pole every 2-3 months to clean and service. Undoing the clamps
bolts unl loose will allow the secons to slide apart.
Whilst apart, clean and dry all secons and check and replace, if needed,
the stop-indicator tape and the wrap of tape at the base of each secon.
Failure to replace missing or worn joint indicator tape will accelerate
wear and invalidate any warranty on the pole.
Addionally, a spray of dry-lm PTFE spray over the overlap area will im-
prove the life of the pole. DO NOT USE OIL-BASED LUBRICANTS SUCH AS
WD-40 or GT-85
The clamps are ed with Delrin shims between the lever cam and the
clamp body. The shims are designed to take most of the wear during
use. Check these periodically for wear and replace when needed.
WARRANTY
These poles come with a 12 month warranty against manufacturing material
defects. This does not cover wear & tear. Misuse of the equipment will not be
covered under this warranty and will aect future performance of the compo-
nents. Any suspected defecve equipment will need to be returned to us at
user’s cost where it will be examined. If a defect is the result of misuse, re-
pair/replacement will be at user’s own expense. If the defect is found to be a
manufacturing defect then replacement parts will be covered, including all
postage costs. Failure to maintain and use the product in line with this manual
will invalidate any warranty.
This manual suits for next models
5
Table of contents