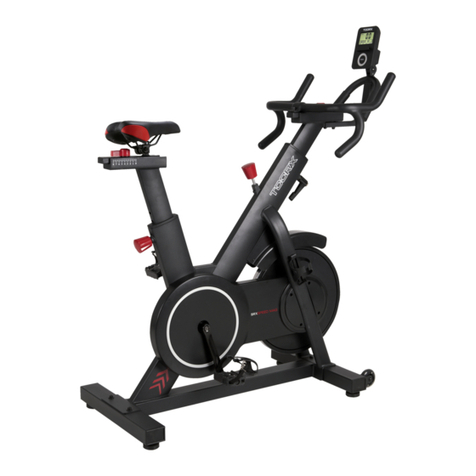
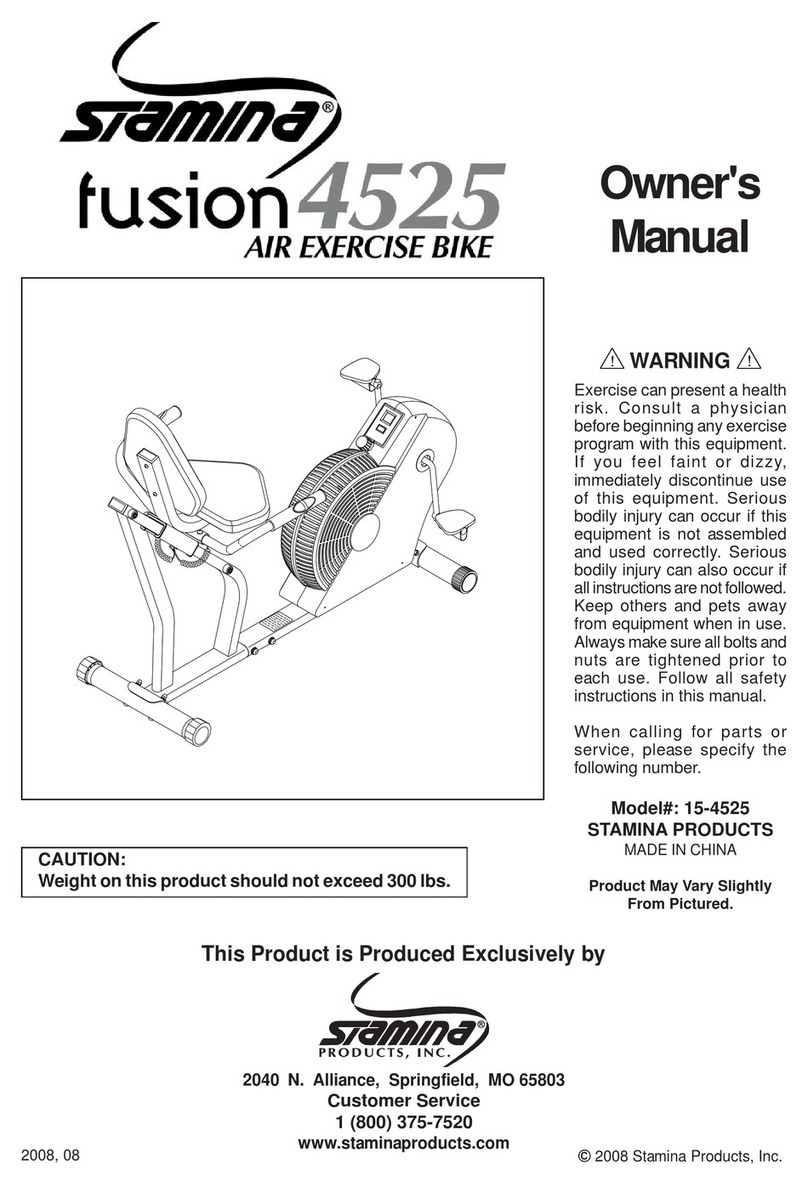
Garlando TOORX BRXR 100 ERGO User manual

Ed: Rev : Cod :
INSTRUCTION
06/20 GRLDTOORXBRXR100E
00

Outer Explosive View:
3
4
9
8
7
7
8
9
789
4
3
7
8
9
6
10
22
13
14R
16
8
17
18R
15
19
19
18L
23
22
17
8
9
24
25
52
25
31
32
33
30
31
32
33
48
47
42
41
40
36
34
35
36
37
39
36
34
21
20
17
9
14L
20
21
50
56
57
58 59
61
17
8
69
61
60
59
58
50
55
56
57
54
53
23
17
51
49
64
40
41
63
62
16
8
17
26
27
28
19
19
28
45
44
46 41
43
5
11
11
59
36
65 66 67
68
8
42
41
40
70
38
12
29
7
8
9
100
2
1

Inner Explosive View:
13
22
33
79
79 78R
22
77
78L
25
25
33
33
33
33
12
25
25
33
33
80
81L
82
83
83
84 85 88 86
87
80
81R
89
76
74
90
91
92
93
94
94
95
96 98
71
72
73
73
75
97
99
99
42
41
40

Parts List
No.
Description
QTY
No.
Description
QTY
1
Computer
1
31
Crash pad Φ22*Φ18*16*Φ4
2
2
Bolt M5*10*Φ8
4
32
Washer d4*Φ9*1
2
3
Handle pulse wire 2
1
33
Bolt ST4.2*19*φ8
11
4
Trunk wire 1
1
34
Rectangular bush J50*100*60
2
5
Handlebar post join
1
35
Supporting shoe for seat
1
6
Handlebar
1
36
Bolt ST3*6*Φ5.6
4
7
Arc washer d8*Ф20*2*R30
8
37
Stator for handlebar
1
8
Spring washer d8
26
38
Rubber blanket 51*44*9.7
1
9
Bolt M8*16*S6 8.8
16
39
Eccentric gear Φ25*30
1
10
Cover of handlebar post join
1
40
Washer d6*Φ12*1.2
10
11
Foam grip Φ30*3*340
2
41
Spring washer d6
12
12
Trunk wire 2
1
42
Bolt M6*16*S5
6
13
Main frame
1
43
Bolt M6*16*S5
2
14L/R
Pedal L/R
2
44
Adjusted shaft
1
15
Front bottom tube
1
45
Left end cap of rear bottom tube
1
16
Bolt M8*20*S13 8.8
8
46
Arc washer d6*Ф16*1.5*R16
2
17
Washer d8*φ20*2.0
22
47
Adjusted handlebar
1
18L/R
End cap of Front bottom tube
2
48
Bushing for adjusted handle
1
19
Bolt ST4.2*25*φ10.5
8
49
Handlebar
1
20
Cover of slideway
2
50
Foam grip Φ23*5*550
2
21
Bolt M5*8*Φ8
2
51
Nut M8*H16*S13
2
22
Handle pulse wire 1
1
52
Left cover
1
23
Hole for wire Φ12*11*Φ3
2
53
Handle pulse wire
2
24
Right cover
1
54
Cover board
1
25
Bolt ST4.2*16*Φ8
12
55
Bolt M8*47*20*H5
2
26
Rear bottom tube
1
56
Bolt ST4*19*Φ7
2
27
Right end cap of rear bottom tube
1
57
Washer d6*Φ12*1
2
28
Foot pad
2
58
Handle pulse
2
29
Adapter
1
59
Round end cap Φ25*16
4
30
Slideway
1
60
Assembly Of Saddle Frame
1

No.
Description
QTY
No.
Description
QTY
61
Square end cap J50*25*14
2
81L/R
Crank
2
62
Seat
1
82
Washer d17
1
63
Bolt M6*40
4
83
Bearing 6203-2RS
2
64
Back cushion
1
84
Spacer Φ22*Φ18*4
1
65
Wrench S13-14-15
1
85
Nylon nut M6*H6*S10
4
66
Wrench S6
1
86
Belt plate
1
67
Wrench S5
1
87
Axis
1
68
Packaging tube
1
88
Magnet Φ15*7
1
69
Bolt M8*20*S6
4
89
Bolt M6*16*S10
4
70
Bolt M8*10
1
90
Spring Φ2*Φ12*54*N15
1
71
Sensor
1
91
Nylon nut M8*H7.5*S13
1
72
Sensor holder
1
92
Idler connecting rod
1
73
Bolt ST4.2*16*φ8
3
93
Wave washer
1
74
Washer d6*Φ16*1.5
1
94
Bearing 2
2
75
PCB
1
95
Idler Ф39*Ф34*24
1
76
EMS flywheel
1
96
Washer d10*Φ32*2
1
77
Power trunk wire
1
97
Belt
1
78L/R
Chain cover
2
98
Bolt M6*16*S10
1
79
Crank cover
2
99
End cap
2
80
Nut M10*1.25
2
100
Washer d12
1

HARDWARE PACKAGE

Step1:
13
68
16
17
Take out the packaging tube(68), bolts(16) and washerss(17) from main frame(13) by
wrench(65), please keep bolts(16) and washerss(17) for step 2.

Step 2:
16 16
8
17
16
8
17
16
8
17
#8 d8 8PCS
15
26
13
#65 S13-14-15 1PC
Take out the bolts(16), spring washers(8) and washers(17) by wrench(65), then
attach front bottom tube(15) and rear bottom tube(26) on the main frame(13) with
wrench(65), bolts(16), spring washers(8) and washers(17).

Step 3:
a.Take out bolts(9), spring washers(8) and arc washers(7) from main frame(13) by
wrench(66).
b.Put cover of handlebar post join (10) into handlebar post join(5), connect trunk
wire 1(4) and trunk wire 2(12) well; connect handle pulse wire 2(3) and handle pulse
wire 1(22) well.
c.Attach handlebar post join(5) to main frame (13) with bolts(9), spring washers(8)
and arc washers(7); buckle cover of handlebar post join (10).

Step 4:
a.Attach pedal(14L/R) to main frame (13) by wrench(65).
b.Take out bolts(43), spring washers(41) and arc washers(46) from adjusted
handlebar (47) by wrench(67), then attach adjusted handlebar(47) to adjusted
shaft(44)by bolts(43) , spring washers(41) and arc washers(46) .

Step 5:
a.Take out bolts(69), spring washers(8) and washers(17) from supporting shoe for
seat(35) by wrench(66), then attach assembly of saddle frame(60) to supporting
shoe for seat(35) with wrench(66), bolt(69), spring washers(8) and washer(17).
b.Take out bolts(9), washers(17) from seat(62) by wrench(66), then attach seat(62) to
assembly of saddle frame(60) with wrench(66), bolts(9) and washers(17) .

Step 6:
64
#63 M6*40 4PCS
#41 d6 4PCS
#55 M8*47*20*H5 2PCS
#51 M8*H16*S13 2PCS
60
55
54
17
51
53
40
41
63
49
#17 d8*§¶20*2 2PCS
#40 d6*§¶12*1.2 4PCS
#8 d8 2PCS
8
22
`
a.Take out bolts(63), spring washers(41) and washers(40) from back cushion(64) by
wrench(65); then attach back cushion(64) to assembly of saddle frame(60) with
wrench(65), bolts(63), spring washers(41)and washers(40).
b.Attach handlebar(49) to assembly of saddle frame(60) with wrench(65), bolts(55),
washers(17), spring washers(8), nuts(51) and cover board(54).
c.Connect handle pulse wire(53) and handle pulse wire 1(22) well.

Step 7:
1a
4
3
4
#2 M5*10 4PCS
44
13
#65 S13-14-15 1PC
5
7
8
9
6
2
#8 d8 2PCS
#9 M8*16*S6 2PCS
#7 d8*Φ20*2*R30 2PCS
#66 S6 1PC
1b
3
1
1a
1b
a.Connect wire of computer (1a) and trunk wire 1(4) well; connect wire of
computer(1b) and trunk wire2(3) well.
b.Take out bolts(2) from the back of computer(1), then attach computer(1) to
handlebar post join(5) with wrench(65) and bolts(2).
c.Take out bolts(9), spring washers(8) and arc washer(7) from handlebar post join(5)
by wrench(66), then attach handlebar(6) to handlebar post join(5) with bolt(9),
spring washers(8) and arc washer(7).
d.Insert the adapter line(29) to power hole on the back of chain cover(13), then plug
the adapter into an outlet.
Attention:Cut off the power source when don't use it long time.

Adjust the handle:
47
47
Adjust the seat to a suitable location,
pull up adjusted handlebar(47) to
horizontal position, then lock.
The seat could be moved in the
horizontal direction when
underdraught adjusted handlebar (47)
and put foot on the pedal .

Instruction Manual for Exercise Monitor
Power on The full LCD display will be shown with a long beep at the same time after the monitor is power on, after that
entering the user of selection mode.
Note : when the no signal is input about 256 Sceonds, it will be in sleep mode. Press any key to return the display.
Select the user There are fiver user can be selected. When it powers on, user can press the up or down button to
select the one. Select the training mode
After finishing User selection, press the MODE button to enter the selection of training mode. However you can press the
UP or DOWN button to select the training mode and press the MODE button to confirm the training mode.
There are five training mode can be selected : MANUAL、PROGRAM 、WATT、 HRC、 USER.
Function buttons
FUNCTION button
DESCRIPTION
RESET
1. press this button over three seconds , it will return to select user mode.
2. press this button to reset the function value of setting mode.
3. press this button to return to select user in selecting the training mode.
4. Press this button to return main manual in body fat program.
MODE
1.press this button to confirm the selection training mode
2.press this button to confirm the setting value.
UP
1. press this button to select training mode in training selection mode.
2. press this button to increase the setting value in setting workout data.
3. Press this button to increase resistance level during workout.
DOWN
1. press this button to select training mode in trainging selection mode.
2. press this button to reduce the setting value in setting workout data.
3. Press this button to decrease resistance level during workout
ST/SP
1. Press this button to start or stop workout.
2.Press this button to start measure body fat in body fat program.
3. Press this button to enter manual program direction in selecting User mode.
RECOVERY
Press this button to test the pulse recovery for 60 seconds.
The LCD will display F1-F6 to show your recovery after one minute, F1 is best and F6 is the worst.
Set training data
Press the UP or DOWN button to select the user, press the MODE button to confirm user of selection, entering the training mode at
the same time.
Press the UP or DOWN button to select the training mode, and press the MODE button to confirm model of selection, entering the
setting data at the same time.Training data:TIME DIST CAL THR
User just can chose one of Training data of TIME .DIST and CAL to be preset.
SETTINg THE TRAINING DATAS
Training mode
Field
Setting Range
Default
Increment/Decrement
Discription
TIME
1:00~ 99:00
0:00
± 1:00
1.It will count up without the preset value.
2.When time is 1:00-99:00, It will count down to 0.
DIST
1.0~999.0
0.0
±1.0
1.It will count up without the preset value.
2.When DIST is 1:00-999.0, It will count down to 0.
CAL
10~9990
0
±10
1.It will count up without the preset value.
2.When CAL is 10-9990, It will count down to 0.
Watt
20-280
20
±5
User can preset the watt value in Watt program
THR
60~220
90
±1
When Heart Rate exceeds set range, user will be alerted.

MANUAL
Use the UP or DOWN button to select “MANUAL”, and press the MODE button to select TIME , DIST, CAL, THR to
preset. When select this value, this data will flash and press the UP or DOWN button can adjust. After that pressing the
MODE button to confirm this setting value. Then you can start training. The user can adjust the level of loading by pressing
the UP or DOWN button during training.
Note : User just can chose one of Training data of TIME or DIST or CAL to be preset.
The computer will alarm with a beep sound when the preset value count down to zeroduring training.
PROGRAM -- preset program
There are 12 preset programs & one Body Fat program can be chosen, each preset program is with 16 loading( 32 levels)
Use the UP or DOWN key can select the one preset program , and press the MODE button to select TIME , DIST, CAL,
THR to preset to preset, when select this value, this data will flash and press the UP or DOWN button can adjust. After that
pressing the MODE button to confirm this setting value. So you can start training. The user can adjust the level of loading
by pressing the UP or DOWN button during exercise.
Note : User just can chose one of Training data of TIME or DIST or CAL to be preset
The computer will alarm with a beep sound when the preset value count down to zero during training.
Use the UP or DOWN key can select Body FAt program or Press Body Fat key to enter the Body Fat program directly
then press the MODE button to set up personal data such as age ,sex, height and weight. The data will flash when you
select to set up and press UP or DOWN button can adjust. After that pressing the MODE button to confirm the setting
value. Press ST/SP button and hold the hand-pulse sensor to measure the body fat after finished set-up of personal data.
WATT
SETTING THE WATT PROGRAM DATAS
Use the UP or DOWN key to select “WATT”, and press the MODE button to select TIME , WATT, DIST, CAL, THR to
preset, when select this data, this data will flash and press the UP or DOWN button can adjust. After that pressing the
MODE button to confirm this setting value. So you can start training, the computer will adjust the level of loading
automatically base on the user’s speed during training.
Note : User just can chose one of Training data of TIME or DIST or CAL to be preset.
The computer will alarm with a beep sound when the preset value count down to zeroduring training.
HRC HRC program contain THR, 65%, 75% and 90%.
65% TARGET H.R= 65% of (220-AGE) 75% TARGET H.R= 75% of (220-AGE) 90% TARGET H.R= 90% of
(220-AGE)
THR SETTING THR PROGRAM DATAS
Use the UP or DOWN key to select “THR”, and press the MODE button to select one of TIME or DIST or CAL and
THR to preset. When select this data, this data will flash and press the UP or DOWN button can adjust. After that pressing
the MODE button to confirm this setting value. After that you hold on the hand-pulse sensor during the training. The
meter will base on your current pulse adjust the level of loading automatically reach to user’s THR of setting.
Note : If the pulse value is less than your preset THR , the computer will increase one level per 30 seconds; if the
pulse value is higher than your preset THR , it will decrease one level per 20 seconds.
User just can chose one of Training data of TIME or DIST or CAL to be preset.
The computer will alarm with a beep sound when the preset value count down to zeroduring training.
HRC(65%\75%\90%)
SETTING THE HRC CONTROL PROGRAM DATAS
Use the UP or DOWN key to select the one of “65%\75%\90%”, and press the MODE button can select TIME , DIST,
CAL to preset. When select this data, this data will flash and press the UP or DOWN button can adjust. After that pressing
the MODE button to confirm this setting value. After that you hold on the conductor during the training. The computer will
base on your current pulse adjust the level of loading automatically reach to user’s THR of setting.
Note : If the pulse value is less than your preset THR , the computer will increase one level per 30 seconds; if the
pulse value is higher than your preset THR , it will decrease one level per 20 seconds.
User just can chose one of Training data of TIME or DIST or CAL to be preset.
The computer will alarm with a beep sound when the preset value count down to zero during training.
USER PROGRAM User program allows user to set their own program.

SETTING THE USER PROGRAM DATAS
Use the UP or DOWN key to select “USER”, press the MODE button and the first loading will flash and press the UP or
DOWN button to adjust the level. After that pressing the MODE button to confirm and move to next loading continue for
all 20 loading
(The user can adjust the level of loading by pressing the UP or DOWN button during training.)
After that press the MODE button to select TIME or DIST or CAL and THR to preset, when select this data, this data will
flash and press the UP or DOWN button can adjust. After that pressing the MODE button to confirm this setting value.
Note : User just can chose one of Training data of TIME or DIST or CAL to be preset.
The computer will alarm with a beep sound when the preset value count down to zero during trainin.

GARLANDO SPA
Via Regione Piemonte, 32 - Zona Industriale D1
15068 - Pozzolo Formigaro (AL) - Italy
www.toorx.it - info@toorx.it
Table of contents
Other Garlando Exercise Bike manuals
