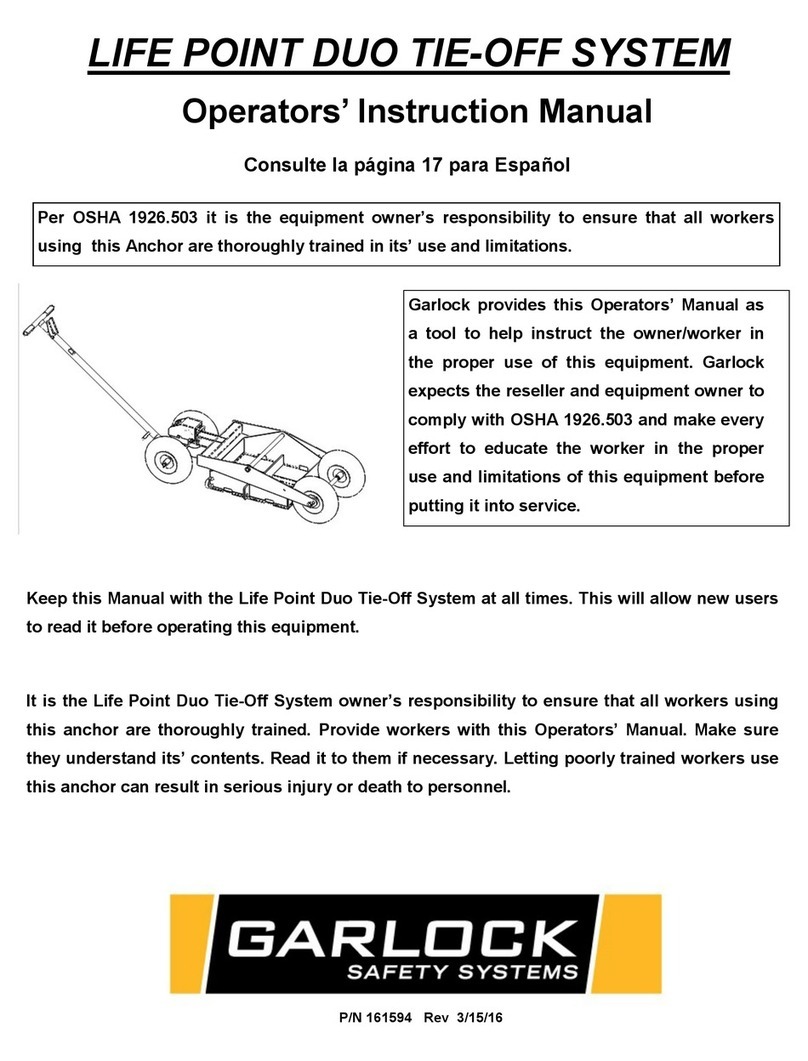
Garlock SPEEDGUARD I Assembly instructions

SPEEDGUARD I
FLATBED FALL PROTECTION SYSTEM
OPERATORS’INSTRUCTION MANUAL
Keep this Manual with the SPEEDGUARD system at all times. This will allow
new users to read it before installing and using the SPEEDGUARD system.
It is the SPEEDGUARD owner’s responsibility to ensure that all workers
installing and using this system are thoroughly trained. Provide workerswith
this Operator’s Manual and make sure they understand its contents. Read it
to them if necessary. Letting poorly trained workers install or use this
system can result in property or machine damage and/or serious injury or
death to personnel.
NOTICE! THIS SYSTEM IS DESIGNED FOR USE ON FLATBED TRUCKS
ONLY. ANY OTHER USE CAN CAUSE SERIOUS INJURY OR DEATH TO
PERSONNEL.
P/N 161070
Rev B

2
BEFORE INSTALLING SPEEDGUARD SYSTEM:
Read, understand and follow these instructions for installing and using system.
Failure by installer or user to follow any or all of these instructions could cause
serious injury or death!
Signal Words in Manual
The signal words DANGER, WARNING, CAUTION, and NOTE are used to identify levels of
hazard seriousness.
DANGER! Indicates a hazardous situation which, if not
avoided, will result in death or serious injury
WARNING! Indicates a hazardous situation which, if not
avoided, could result in death or serious injury
CAUTION! Indicates a hazardous situation which, if not
avoided, could result in minor or moderate injury
NOTICE: Is used to address practices not related to personal
injury
CAUTION
NOTICE
WARNING
DANGER
NOTICE
FALLS FROM TRUCK BED CAN CAUSE SERIOUS INJURY OR DEATH!
This fall protection system must be installed by a person standing on the ground or floor.

3
TRUCK WITH OPEN BACK
Shown with stake pockets
Speedguard I Pocket Mount Installation Instructions Page 4
Speedguard I Clamp Mount Installation Instructions Page 5
#
PART #
DESCRIPTION
QTY.
1
405459Z
STAKE POCKET
14
2
402336S
7.5 FT RAILGUARD
10
3
404726S
68" RAILGUARD
2
4
405389
CART ASSEMBLY
1
5
402337S
5 FT RAILGUARD
1
#
PART #
DESCRIPTION
QTY.
1
405459Z
STAKE POCKET
12
2
407219S
116” RAILGUARD
8
3
404726S
106.5" RAILGUARD
2
4
405389
CART ASSEMBLY
1
5
402337S
5 FT RAILGUARD
1
#
PART #
DESCRIPTION
QTY.
1
405459Z
STAKE POCKET
14
2
402336S
7.5 FT RAILGUARD
10
3
404726S
68" RAILGUARD
2
4
405389
CART ASSEMBLY
1
5
402337S
5 FT RAILGUARD
1
6
154115
CORDLESS IMPACT
WRENCH
1
48FT TRUCK BED POCKET
MOUNT SYSTEM
300828
1
53FT TRUCK BED POCKET
MOUNT SYSTEM
301379
1
48FT TRUCK BED CLAMP
MOUNT SYSTEM
300738
1
2
5
3
2
2
2
2
2
1
3
2
2
2
2
2
4

4
SPEEDGUARD I POCKET MOUNT
INSTALLATION INSTRUCTIONS
Use the charts and diagrams on pages 3 to guide your installations. Note the location of
each stake pocket holder.
Step 1: Insert each rail holder into flatbed stake pockets. Refer to page 3 for spacing.
Looking at the truck’s bed, notice stake pockets are located 2 feet on center from each
other and an additional channel may be on the corner of bed. Use the first side stake
channel as shown.
Continue to Page 6 to continue installation.
Use the first
stake pocket to
start
Do not use
the corner
channel
NOTICE
FALLS FROM TRUCK BED CAN CAUSE SERIOUS INJURY OR DEATH
This fall protection system must be installed by a person standing on the ground or floor.

5
FALLS FROM TRUCK BED CAN CAUSE SERIOUS INJURY OR DEATH
This fall protection system must be installed by a person standing on the ground or floor.
SPEEDGUARD CLAMP MOUNT
INSTALLATION INSTRUCTIONS
Use the tables and diagrams on pages 3 to guide your installations. Note the location of
each stake pocket holder.
Step 1. Securely attach a clamp on each rear corner of trailer using a fully charged impact
wrench supplied with system. Clamp is securely tightened when no movement is observed
when physically trying to pull clamp off truck.
Refer to Clamp Placement Options on page 8 for acceptable clamping methods.
Securely attach each sequential clamp. The first additional clamp will be secured 6ft from the
first clamp. Each additional clamp will be secured 8 ft apart. Use a fully charged impact wrench
supplied with system. Clamp is adequately tightened when no movement is observed when
physically trying to pull clamp off truck Refer to page 3 for spacing.
Continue to Page 6 to continue installation.
The clamps can be adjusted to fit various
trailer sides and avoid obstacles below trailer
bed by pulling the spring plunger on lower
jaw of clamp and sliding jaw extension to the
desired length.
Make sure plunger fits into 1 of the 4 holes
on side of jaw extension to secure the
extension in place.

6
Step 2: Insert Rails: (1) Insert one end of rail into
the holder (2) then lift the other end of rail into the
next holder. Refer to image on left for proper
sequence.
Risk of back injury
Maintain control of rail to avoid injury. Never
attempt to lift a rail in the middle and try to
insert both ends of rail into holder at the same
time.
Repeat this installation procedure for all side rails
step 3: Prepare the Stairway
a. Roll the portable stairway to the rear driver’s side of the truck bed.
b. Lower the 2 jacks by turning handles clockwise until rear wheels rise off the floor.
c. Adjust the height of the adjustable pocket so the pocket rests on truck bed.
i. Remove carriage bolts and nuts to adjust height.
FLOOR
JACK
ADJUSTABLE
POCKET
1
2
CAUTION

7
Step 4: Add rear rail
Insert one end of the 5 foot rail into the pocket holder then lift the other end of rail into the
stairway pocket holder.
Risk of back injury
Maintain control of rail to avoid injury. Never
attempt to lift a rail in the middle and try to
insert both ends of rail into holder at the
same time.
Step 5: Secure gate
(1) Lift the horizontal rail to the open position. (2) Open the swing gate inward towards the
side rail, use the chain provided with the gate to secure the gate in the open position
to close off any gaps between the stairway and truck bed.
For your safety, keep horizontal rail in the closed position to protect a
person from falling down the stairway.
1
2
HORIZONTAL
RAIL
CAUTION
CAUTION

8
Clamp Placement Options
Fig 3. If necessary to avoid obstacles below
trailer, clamp can be disassembled inserted
inside of the trailer side strapping bar.
Reassemble and clamp in place.
Fig 4. Installation of Clamp on thin-sided
channel trailer sides.
Use this method when channel is thin
material that would buckle if clamped as
shown in Fig 1.
Fig 2. Installation on “C” Channel
Trailer
Fig 1. Installation onto Trailer with bottom
flat bottom on Channel.
Channel is minimum ¼” thick

9
Clamp-On System Storage
“Clamp-on” Clamp layout-front. “Clamp-on” Clamp layout-back.
Rail Locking system. Storage of impact gun and battery.

10
NOTES:

11
This card must be filled out completely and mailed within ten (10) days from date equipment is delivered or warranty is null and void.
EQUIPMENT PURCHASED……………………………………………………………………………………….SERIAL NO…………..………………………
DATE DELIVERED……………………………. NAME OF PURCHASER…………………………………………………………….……….…….…………..
ADDRESS………………………………………………………………CITY……………………………………………STATE……... ZIP…………………….
PURCHASED FROM (DEALER NAME) …………………………………………………………………………………………….……………………………
ADDRESS………………………………………………………………CITY……………………………………………STATE……... ZIP…………………….
Was a copy of the owner’s manual and operation instructions included with the above equipment? YES □ NO □
Will the owner of the equipment provide instruction and copies of the owner’s manual for all operators of the equipment? YES □ NO □
Was the equipment specified above, received in good condition? YES □ NO □
If there was some defect or damage to the equipment, please indicate the nature of the same …………………………………………………………
………………………………………………………………………………………………………………………………………………………………………..
Please send product catalog □
SIGNATURE OF PURCHASER……………………………………………………………………………DATE………………………………………………

12
2601 Niagara Lane N, Plymouth, MN 55447
PHONE: 877.791.4446
http://www.garlocksafety.com
Other Garlock Safety Equipment manuals
Popular Safety Equipment manuals by other brands
KwikSafety
KwikSafety KS6606 Instructions for use

KStrong
KStrong AFS570020R User instruction manual

Gemtor
Gemtor DAS-5K Operation and instruction manual

CHARLY
CHARLY Vitesse visor manual

Clas Ohlson
Clas Ohlson Ratchet Strap 40-7877 manual

Guardian
Guardian CR3-EDGE SELF-RETRACTING LIFELINE instruction manual