Gas Measurement Instruments 67130 Operating instructions

QUICK OPERATING INSTRUCTIONS
(*5) Clear Flow Fault / Reset Pump: Press RH button to reset
FOR INSTRUMENT STARTUP AND SHUTDOWN - SEE OVER
(*1) Max / Live or Min / Max: Press and hold LH button to display
*Maximum or **Minimum / Maximum readings (see note) since current mode
was selected. Press and hold again to return display to live reading.
Note: Only available in *Leak Test Mode and **Confined Space Mode.
(*2) Acknowledge Alarm: Press and hold LH button to acknowledge
alarm.
(*3) Backlight / Flashlight: Press and hold Centre button to switch
backlight ON. Press and hold again to switch flashlight ON. (Flashlight not
available in Pressure Mode and Bump Test mode).The backlight and flashlight
are both timed to switch OFF after two minutes. Press and hold a third time
to switch both backlight and flashlight OFF.
(*4) Zero: Press and hold RH button to zero displayed range.
Part Number: 67130 Issue 4 21/01/08
GNITAREPO EDOM UNEM
NOITAREPONOTTUBTNEMURTSNI
)TREVNI(HL)EGNAR(ERTNEC)PMUP(HR
SSERP DLOH+SSERP SSERP DLOH+SSERP SSERP DLOH+SSERP
TSETKAEL
YALPSIDTREVNI XAM
EVIL/
)1*(
EGDELWONKCA )2*(MRALA
YALPSIDEGNAR NEERCS
HC
4
ro
HC
4
OC+
/THGILKCAB )3*(THGILHSALF
FFO/NOPMUP
RAELC
WOLF
LUAF
)5*(T
MPPMALF
)4*(OREZ
DENIFNOC ECAPS
YALPSIDTREVNI M
NI
)1*(XAM/
EGDELWONKCA )2*(MRALA ---- /THGILKCAB )3*(THGILHSALF ----
GOLLAUNAM
RAELC
WOLF
LUAF
*(T
6
)
ELOHRAB
YALPSIDTREVNI STLUSERWEIV *(
7
)---- /THGILKCAB )3*(THGILHSALF
RAELC
WOLF
LUAF
)5*(T /POTS/TRATS EGRUP
OC
YALPSIDTREVNI GOLLAUNAM
/GNIWEIVRAELC
---- /THGILKCAB )3*(THGILHSALF
FFO/NOPMUP
RAELC
WOLF
LUAF
)5*(T
)4*(OREZ
/
NOC(KO
EUNIT
)
GNIWEIV
EGRUP
YALPSIDTREVNI ----
YALPSIDEGNAR NEERCS
roLOV O+LOV
2
/THGILKCAB )3*(THGILHSALF
FFO/NOPMUP
RAELC
WOLF
LUAF
)5*(T )4*(OREZ
REFFINS
YALPSIDTREVNI ---- ---- /THGILKCAB )3*(THGILHSALF
FFO/NOPMUP
RAELC
WOLF
LUAF
)5*(T )4*(OREZ
ERUSSERP
YALPSIDTREVNI ---- ---- THGILKCAB)3*( ---- )4*(OREZ
TSETPMUB )derugifnocfi(
YALPSIDTREVNI
/EGNARTXEN SLIATEDWEIV
----
SUOIVERPWEIV /STSETPMUB23 TIXE
----
YLPPA/WEIV SAGLAC
Ticker (Geiger) - PPM Range: Press and hold UP and DOWN
buttons simultaneously to enable / disable audible Ticker (Geiger), as
follows:
Press and hold both buttons - to enable visual only.
Press and hold both buttons again - to enable both audible and visual.
(*7) View Barhole Results: Press and hold LH button to view this
and previous barhole results to a maximum of six barhole tests.
pump once flow blockage has been cleared.
(*6) Clear Flow Fault (Confined Space Mode): Press and hold RH
button to acknowledge flow fault once flow blockage has been cleared.
67130_04.pmd 1/23/2008, 9:39 AM1
Switch Instrument ON: Press and hold RH button , for one second, to
The battery capacity level is displayed
for approximately five seconds during
the warm-up cycle, then on the top of
the display during normal operation.
The time and date from the instrument’s
built-in clock is then displayed on the
screen during warm-up.
Next, the Calibration Due Date is displayed (if configured).
This feature has five options:
1. Cal Due Date message is not displayed.
2. Cal Due Date and overdue date messages are displayed.
3. (Default) Cal Due Date message is displayed with user acknowledge if
overdue. If the Calibration date has expired, the user must acknowledge
that Calibration is overdue by pressing and holding the RH Button, as
indicated on the bottom line of the display. Alternatively, press and hold
the LH button to initiate the instrument shut-down sequence.
4. Cal Due Date message is displayed with user acknowledge for extended
period option, if overdue. If the Calibration date has expired, the user will
have to either press and hold the RH Button to accept the extended
period, or press and hold the LH button to proceed with the instrument
shut-down sequence.
5. Cal Due Date message is displayed with user shut-down if overdue.
Service Due Date is then displayed (if configured). This feature also has five
options similar to Cal Due Date and operate in the same way except that the
default is same as Cal Due option 1, i.e. Service Due Date is not displayed.
The instrument will now automatically select Leak Test Mode, as default.
For all other GT series instrument
features and button functions, refer to
User Handbook: GMI Part No. 67112
GAS MEASUREMENT INSTRUMENTS LTD.
Note: Not applicable to Confined Space Mode or Pressure Mode.
Configurable options are available
to either start up in any other
operational mode or, to start up in
the mode last used.
Check that instrument displays
sample / flow fault when inlet is
blocked (with a finger for example).
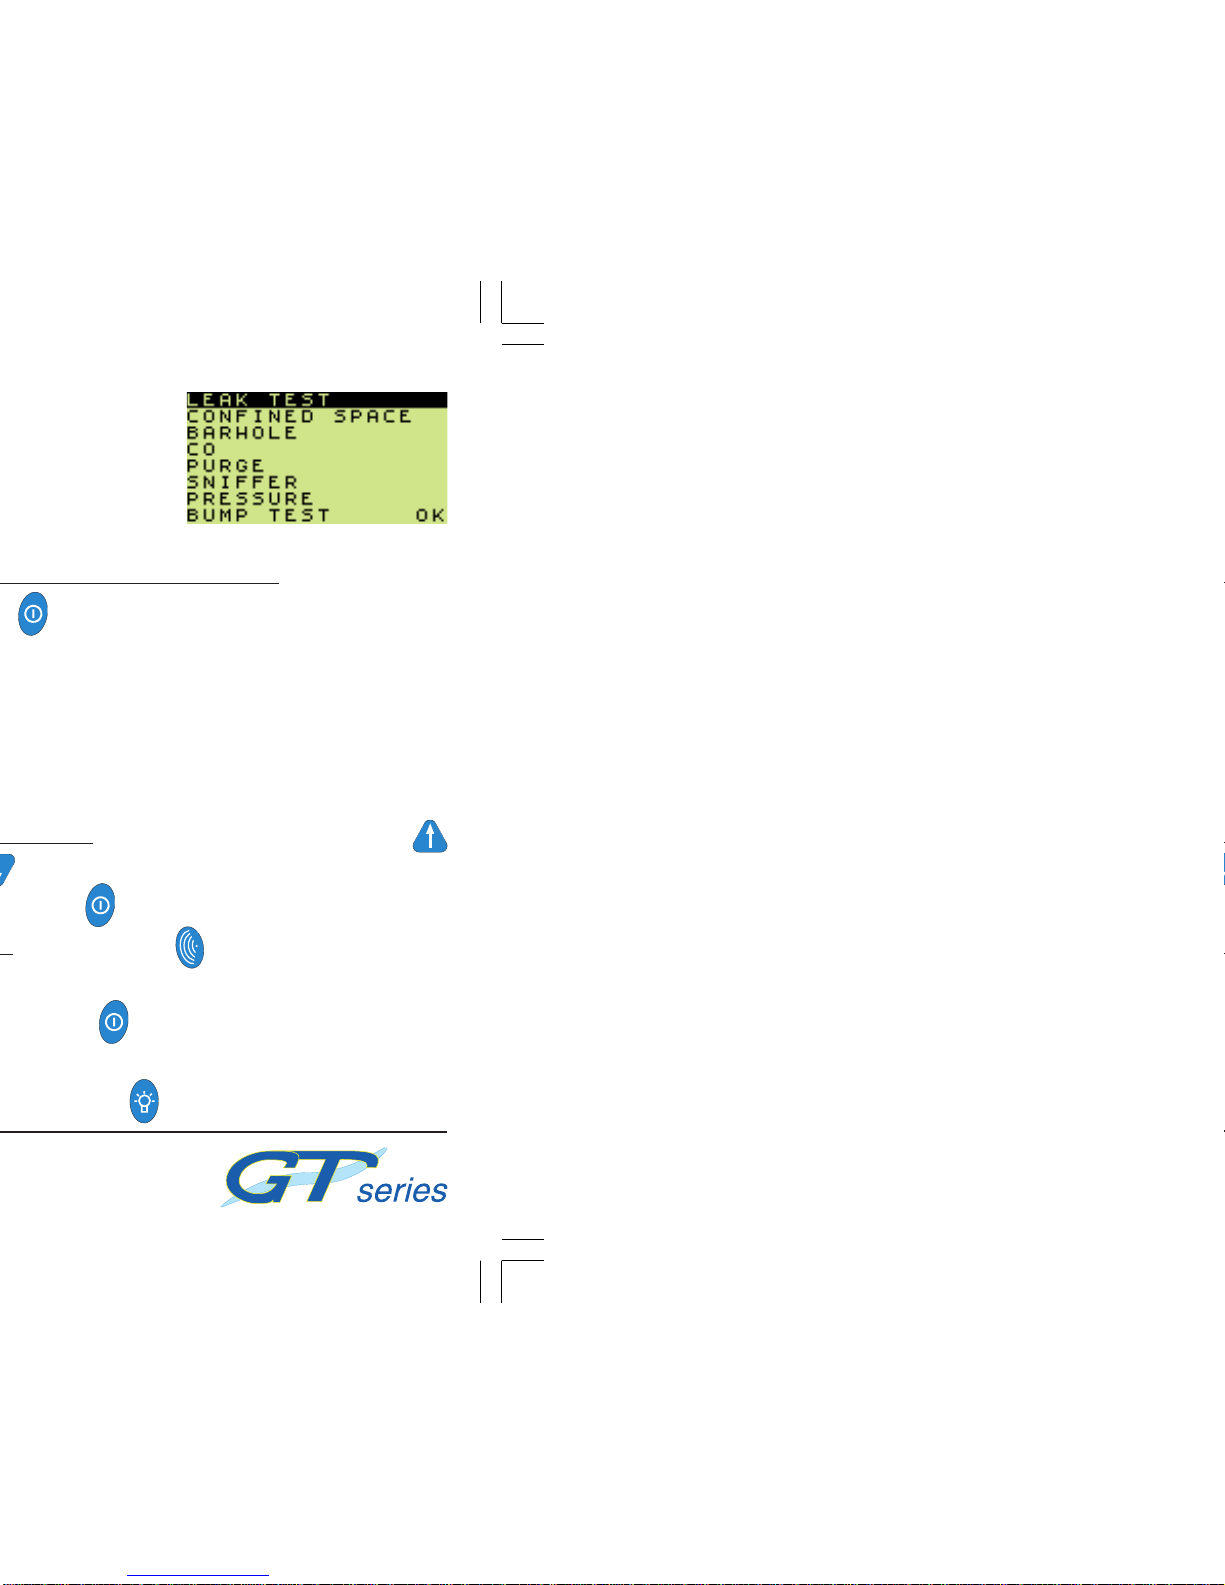
Switch Instrument OFF or Re-enter Mode Menu: Press and hold both
LH and RH buttons simultaneously to initiate shutdown sequence.
For the first two seconds, the Mode menu (shown above) will be displayed.
KeepbuttonspressedforafurtherthreesecondstocompleteOFFsequence.
Abort switching OFF at any time by releasing the buttons.
Note 1: In Carbon Monoxide and Barhole modes, a sub-menu may be
displayed before reaching mode menu.
Note 2: In Confined Space Mode, to prevent inadvertently switching
instrument OFF or changing mode while alarms are active, the user must
press and hold both LH and RH buttons simultaneously for an additional
five (5) seconds before the mode menu appears.
Change Operating Mode: (Only after purging in fresh air) Press UP
or DOWN buttons to highlight and select required operating mode
then press and hold RH button to confirm choice.
Invert Display: Press LH button to invert the display and allow
ease of reading in awkward situations.
If fault is not displayed, check tightness of all fittings.
Pump: Press RH button to switch the pump ON and OFF.
Range: Press Centre button to change range. See table - over . .
switch the instrument ON in fresh air.
The instrument now begins its ‘30 second’ warm-up cycle, during which, a
countdown timer appears in the top right hand corner of the display. The display
backlight illuminates and remains ON until the warm-up cycle is complete and
then automatically switches OFF.
During the warm-up cycle, the instrument display identifies the model, serial
number, software version and battery status information as shown below.
(Note: By default, all GT series instruments are configured for Datalogging)
67130_04.pmd 1/23/2008, 9:39 AM2
Popular Test Equipment manuals by other brands


Blackline Safety
Blackline Safety G7 DOCK Getting started guide

B+K precision
B+K precision 1403A Service manual

Promax
Promax SATHUNTER+ User quick guide

easymaxx
easymaxx 08165 instructions

Kyoritsu Electrical Instruments Works, Ltd.
Kyoritsu Electrical Instruments Works, Ltd. KEW4105DL instruction manual

Unit
Unit UPO1000 Series user manual

Provision
Provision TM-43AHDBL manual

Kyoritsu Electrical Instruments Works, Ltd.
Kyoritsu Electrical Instruments Works, Ltd. 8031 instruction manual

Metrix
Metrix MX 535 quick start guide

Challenger Optics
Challenger Optics CO-OP-MPO 24 Interactive operating manual

AU Tool
AU Tool LM708 user manual

Micro Direct
Micro Direct pH30 instruction manual