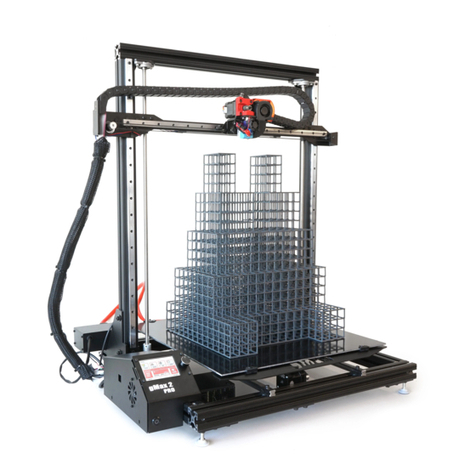
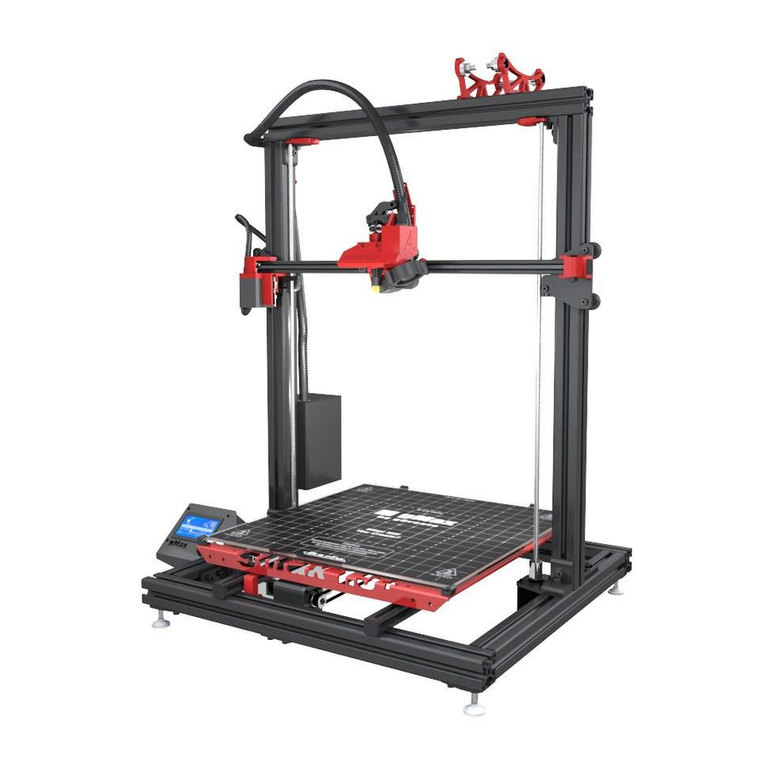
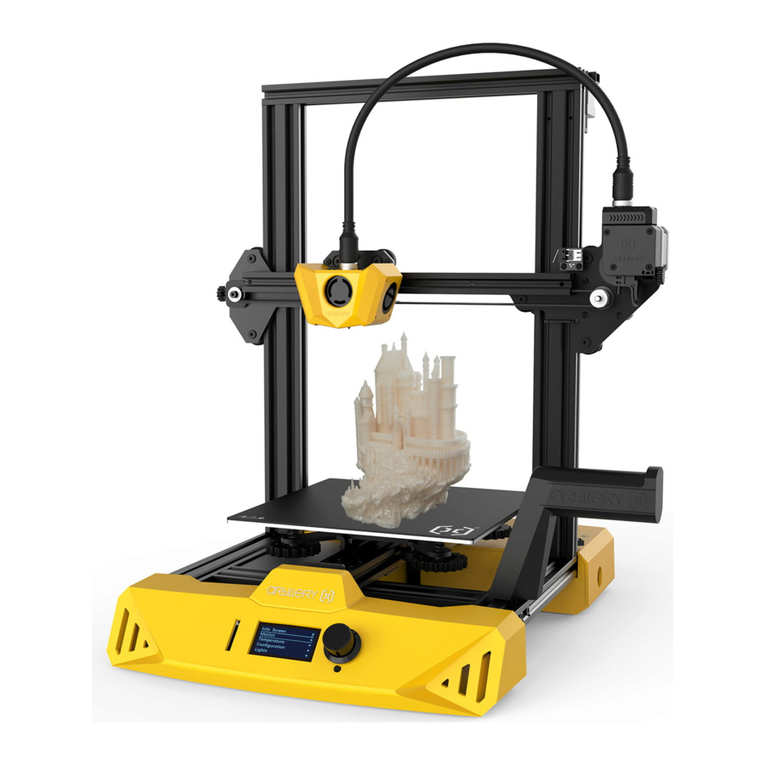
gCreate gMax 1.5 User manual

gMax Printer 1.5 - Quick Start Guide
v1.0–2.18.15
Summary:
Thisguideshouldbeusedafteryourprinterhasbeensetupandcalibrated.Thismanualcanbeusedas
a“QuickStart”guidetousingtheprinteraswellasarefresheronusingtheprinter.Pleaserefertothe
UserManualforamorein‐depthguidetotheprinter.
Before Plugging In the Printer...
Aftercompletingthebuild,verifyalltheprinterwiresareproperlypluggedin.Usetheelectronics
wiringdiagraminthebuildmanualtodoublecheckthewires.
1. Alongwithyourkityoushouldhavereceivedasmallplasticknobwhichslipsontothemetal
studontheLCDscreen.Installthisknobontothemetalstud.

Plug In and Power up
1. Removethepowercordfromthepowersupplyboxandusethecordtoplugthepowersupply
intothewall.
Note:ThepowersupplyisacomputerATXpowersupplyanditwillhave
manyadditionalwirescomingoutoftheback.Thesewiresarenotused
andshouldbetiedandtuckedaway.
2. PressthepowerbuttonlocatedbeneaththeLCDscreentoturnontheprinter.
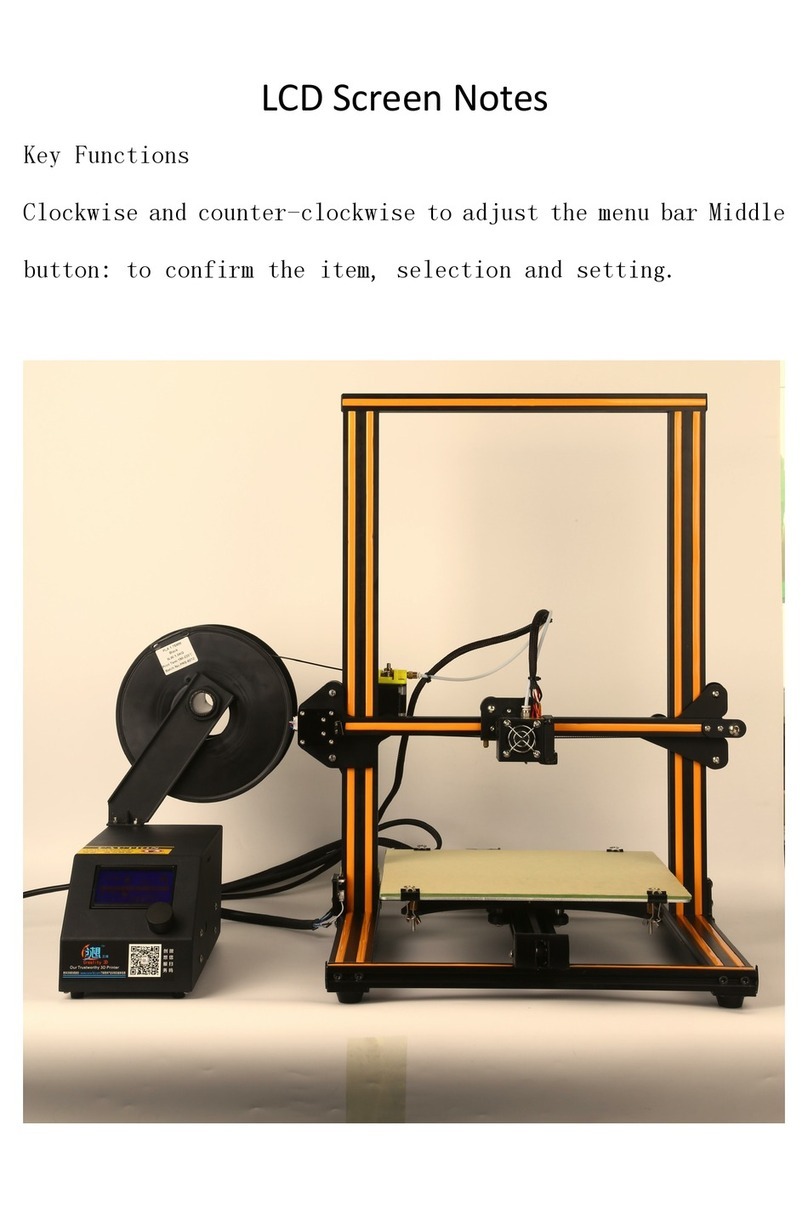
3. TheprinterLCDscreenshouldimmediatelyturnonanddisplaytext.Belowisadiagramofwhat
eachportionoftheLCDscreenrepresents.(Thisisfordualextrudersandsingleextrudersetups
willnothavea“Hotend#2”reading):
Note:IfyourLCDscreendisplaysthemessage“MINTEMP”orthe
Hotend“Currenttemp”reads0degrees,donotproceedandcheckthe
connectionofyourthermistors.Refertotheforumformoreinformation
onfixintaMINTEMPerror.

Slicing
1. Wemusttakethe3dmodelofyourchoosingand“slice”itintomanylayers.Eachlayerismade
upofapathfortheextrudertofollow.RefertothemanualorthegCreateYouTubechannelfor
informationandtutorialsonslicing.
Note:Werecommendslic3rforitseaseofuseandconstantupdates.
2. Slicingyourmodelwillresultinthecreationofagcodefile.
Note:Agcodefileisatextfilefilledwithcommandsusedtorunthe
printer.ItcanbeopenedwithasimpletexteditorsuchasMicrosoft
Notepad.Agcodefileisnotthesameasa3dmodeloran.stlfile.
3. InserttheSDcardsuppliedwithyourprinter,intothecomputerandloadthisfileonthecard.
4. ProperlyejecttheSDcardfromthecomputer.

Insert Filament Into Extruder
1. Openaspooloffilamentandplaceonfilamentspool
bracketsontopofprinter.Ensurethefilamentunspools
fromthebottom.
2. Adjustbracketstomatchwidthofspool.Shouldthe
filamentgettangled,thiswillpreventthespoolfromfalling
anditalsoallowsthefilamenttounwindsmoothly.
3. Everytimeyouinsertfilament,cutendoffilamentatan
angletoproduceacleanend.Itisrecommendedto
straighten4”oftheendofthefilamentbygentlybending
it.Thiswillmakeitmucheasiertoinsertintotheextruder.
Theseareswingarmsaremadeofcarbonfiber
4. Pinchtheextruderarmabovethespringand
insertfilamentintotoholeattop.
5. Slidefilamentinuntilyouseeitenterthetop
ofthehotend.Youmayhavetotwistthe
filamenttogetittoenterproperly.The
filamentshouldslideinveryeasilyalltheway
downuntilitreachesthebrassnozzleatthe
bottomoftheextruder,about4”total.
Twistingthefilamentisthefastestandeasiest
waytoensureitdoesn’tcatchonanything.
Note:Whenchangingfilamentcolors/types,youmayneedtopurgethe
oldmaterialoutofthenozzle.Whenthenozzleishotandwhile
pinchingtheextruderarm,pushmaterialthroughthenozzletopurge
theoldmaterial.

Choose a File to Print
1. SlidetheSDcard(upside‐down)intotheleftsideoftheLCDscreen.Itslidesinjustbelowthe
circuitboardanditshouldpush‐clickintoplace.Youshouldalsopush‐clickwhenremovingit.
2. UsingtheLCDscreen,thebottomlineshouldnowsay“CardInserted”.Ifnot,tryremovingthe
SDcardandreinsertingit.
3. PushintheLCDscreenknob(thisisyouracceptbutton)andscrolldownto“PrintfromSD”and
pushintheknobagain.
4. Selectthefileyouwishtoprintandpushtheknob.
Your first Print
1. First,youwillseetheextrudermovetotheleftuntilithitstheleft(x‐axis)endstop.
2. Secondly,thebedwillmoveforwarduntilithitsthefront(y‐axis)endstop.
3. Finallythezaxiswillloweruntilithitstheleft(z‐axis)endstopattachedtothealuminumframe.
Note:Iftheprinterstopsatanyofthesestepsormissestheendstop,
refertothetroubleshootingportionoftheforumforhelp.

4. Oncetheextruderstops,thisisconsideredtheprinter’s“Home”positionanditwill“re‐home”
everytimeyoustartaprint.
5. Ifyouareusingthelatestconfigurationfiles,youwillthenseethez‐axislift10mmandstop
whilethehotendstartstoheat.Thiswillpreventthehotendfrommeltingtheacrylicbedasit
heatsup.
6. Thehotendwillthencontinueheatup,whichyoucanseeontheLCDscreen,untilthecurrent
temperaturereachesthetargettemperature.Ifitdoesn’theatuprefertothetroubleshooting
areaoftheforum.
7. Theheatwillreachthetargettemperatureafterabout20‐30seconds
Printing Starts…
1. Theextruderwillthenmovetothecenterofthebedandstartextrudingplastic.
2. Astheprintbegins,youmayhavetoadjusttheheight
oftheextruderbymanuallyturningBOTHofthez‐axis
motorcouplersclockwisetoraisetheextruder,or
counterclockwisetolowerit.Youcanalsoturnonly
onesidetolevelthex‐axis.
Note:Usingaz‐lift(slic3rsetting)isnotthe
bestwaytozeroinyourz‐axisheight.You
shouldadjustitmanuallytoguaranteefuture
results.
3. Thegoalistomakesuretheplasticisextrudingflaton
thebed.Ifyoucan’tseeanyplasticorthemotoris
skipping(atickingsound),itmaybetooclosetothe
bedinwhichcaseyoushouldraisetheextruder.Look
closelyatthenozzletipasyouturnthemotorstosee
theheightchanges.
Note:Youmayneedtomanuallyadjustthez‐axiscouplersasyoucontinuetouseyour
printertoensuretheprintstartsoutperfectlyflat.

First Layer Print Diagram
Nozzle is too low
Nozzleisdraggingonprintbed
andnotallowingthefilament
tobepushedout.Ifthisprint
continuesthebedmaybecome
damaged.
Solution
Raisethenozzleasoutlined
aboveandmakesuretoturn
thez‐axisscrew(outlined
below)tosetthenewminimum
z‐axisheight.
Nozzle is just right
Nozzleisslightlyaboveprintbed
allowingfilamenttobeevenly
spreadontothesurface.The
filamentshouldbeaclean
continuouslinethroughoutthe
wholeprint.
Solution
Nothing.Keepaneyeontheprint
andletiffinish.
Nozzle is too high
Nozzleistoofarfromprintbed
causingthefilamenttonot
adhereandinsteaditwill
extrudeintotheair.Youwill
eitherseeablobformatthe
tiporstringingintheair.
Solution
Lowerthenozzleasoutlined
aboveandmakesuretoturn
thez‐axisscrew(outlined
below)tosetthenew
minimumz‐axisheight.

Next Steps
Ifyourprinterisnewandnotfullycalibratedmakesuretokeepaneyeontheprint.Everyfileyouprint
hasitsowncharacteristicsandsometimesitwillsurpriseyouwhathappens.Alsothebeginningofthe
printiscriticaltothefinalresultsandyoushouldmakesureitadherescorrectly.
Note:Asprintstarts,keepaneyeonthefilamentspooltoensureit
doesnotbindorwraparoundthebrackets.Thisisespeciallytruefor
newspoolsoffilament.
Adjust Minimum Z-Axis Height
Youshouldalsoadjustthez‐axisendstopscrewtosetthenewzeropoint.Thezeropointisthelowest
pointtheextruderwillgoandthiswillbetheheightinwhichtheprintwillstart.Thisshouldbedone
afteradjustingyourfirstprint.
Settingthez‐axisscrewshouldbedoneany
timeyouhavetomanuallyadjustthe1
st
layer
height.Raisingorloweringthisscrewwillsetin
thez‐axisheightforyournextprint.
Note:Thedesignofthex‐axis
mayhavechanged,butthez‐
axisscrewlocationisstillonthe
leftside.

Removing the print. David vs. Goliath
Aftertheprintfinishesyoucanimmediatelypopitoff(unlessit’sverysmallinwhichcaseyoumay
wanttoletitcoolforafewminutes).
Ifthefirstlayerprintedcorrectlyyoushouldseenocurlingandtheprintshouldbeeasytoremove.
USINGEXTREMECAUTIONtakethesuppliedscraperandgentlytapattheedgesoftheprint.
Wehavefoundthistappingactionismuchsaferandmucheasiertoremoveamodelratherthanpure
bruteforceanditisalsobetterfortheprintbed.Lookforcornersofthemodelandtapthemwiththe
scraperflatonthebed.Afterseveraltapstheprintshouldpopoffthebed.Iftheprinthasalarge
surfaceareaontheprintbeditmaybehardertoremoveandyoumayhavetoslidethescraperbelow
themodel.
RememberthescraperisverysharpandNEVER
placeyourhandbehindtheareayouare
scraping.Takingafewextrasecondstoremove
themodelismuchbetterthanatriptothe
hospital.
Oncetheprintisremoved,inspectittoseehowitprintedusingthecurrentsettings.Youcanrecord
whathappenedwitheachprintandovertimeitwillbecomeintuitive.
Iftheprinthasanystringingorglobsstucktothesideyoucancarefullyuseabladetoremovethe
plasticorinsomecasesitjustflakesoff.
Note:Alighterworksgreattoheattheplastictofixanyproblemareas
andtosmoothverysharpedges.Usecautionwhenusingthelighter
becauseparticulatemaystainthemodel.Rememberyoujustwantthe
heatfromtheflamenottheflameitselftotouchthemodel.
Other gCreate 3D Printer manuals
