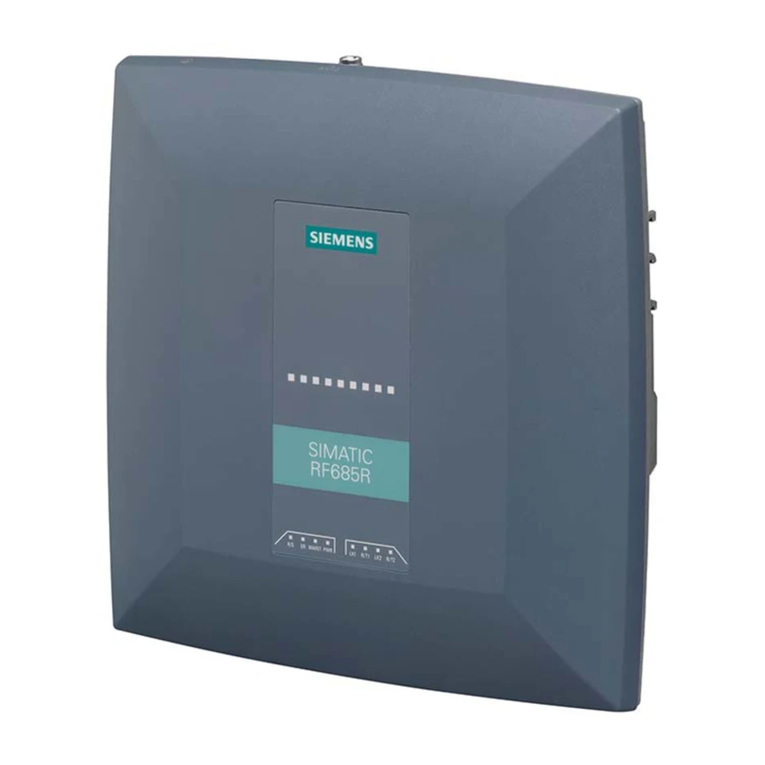
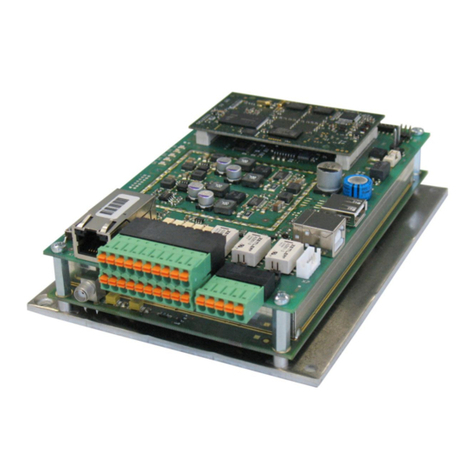
GCS ProxiPen Mounting instructions

ProxiPe n an d W inDAU Instal lation Manual
ProxiPen Hardware and
WinDAU Software Installation Manual
1

ProxiPen and WinDAU Installation Manual
PROXIPEN HARDWARE AND WINDAU SOFTWARE INSTALLATION MANUAL
TABLE OF CONTENTS
General Information………………………………………………………………………………………………….3
I. Setting Up ProxiPen……………………………………………………………………………………………….4
II. Installing WinDAU Software and Components………………………………………………………………...5
A. Installing MDAC…………………………………………………………………...…………………….5
B. Installing SLMan32……………………………………………………………..……………………….7
C. Installing WinDAU………………………………………………………………..……………………13
III. Configuring WinDAU……………………………………………………………………………………………17
IV. Dongle Installation………………………………………………………………………………..…………….20
V. Setting Up Tours…………………………………………………………………………………...……………23
A. Adding Start Points…………………………………………………………………………………….24
B. Adding Control Points………………………………………………………………………...……….27
C. Adding Personnel………………………………………………………………………………..…….29
D. Adding Incidents..……………………………………………………………………………………...32
E. Adding Breaks (Enterprise Edition)………………………….………………………………………35
F. Adding Maps (Enterprise Edition)……………………………………………………………………38
VI. Using ProxiPen and WinDAU Together…………………………………………………………….………..41
A. Executing A Tour………………………………………………………………………………...…….41
B. Generating Reports……………………………………………………………………………………41
C. Report Summary Examination……………………………………………………...………………..43
VII. Login: Administrator versus User……………………………………………………………..……………..45
VIII. WinDAU Screen Details………………………………………………………………………………………47
IX. GCS Start Menu Options………………………………………………………………………………...…….53
X. Installing Over Older Versions of WinDAU………………………………………………………………..….54
XI. Alternate Configurations…………………………………………………………………………………….…55
XII. Service Patches / Fixes……………………………………………………………………………………….56
XIII. Help and Support…………………………………………………………………………………………..….58
2

ProxiPen and WinDAU Installation Manual
4
I. Setting Up ProxiPen
1. Remove ProxiPen, cradle (Data Transfer Unit – DTU) and cables from box.
2. Attach one end of the serial cable that comes with the ProxiPen (GCS 9-pin to 9-pin cable) to the
DTU and the other end to the serial port on the back of the PC.
3. Plug the power cable into the connection next to the serial port on the DTU and into a power
outlet.
4. Open the cap on the ProxiPen and remove the battery protector (small piece of paper or
cardboard). Replace cap.
5. Place ProxiPen in cradle.
NOTE: The Power, Pen and Online LEDs should illuminate on the DTU when connected properly.

ProxiPen and WinDAU Installation Manual
5
II. Installing WinDAU Software and Components
1.
2.
3.
4.
5.
6.
Close all programs that are running and place the WinDAU CD into CD-ROM on the PC to be
used as the download and/or reporting machine.
The CD should automatically run the setup file. If not, click the Start button in Windows and then
select Run.
Click Browse and navigate to the CD-ROM drive that contains the WinDAU CD (should be
labeled WinDAU 1.1.101).
Click the Setup.exe file and then click Open.
Click OK in the Run dialog box.
Setup will prompt you to select a language (default is English). Select the appropriate language
and click OK.
7. From the Master Setup window, MDAC, SLMan32 and WinDAU will all need to be installed.
Section A
Step #8
Section B
Step #9
Section C
Step #19
A. Installing MDAC
MDAC, Microsoft Data Access Component, is a required component for WinDAU in order to allow for
viewing of GCS reports via the WinDAU report viewer application and database integration.
8. Click Install next to the MDAC Version 2.5 box.
NOTE: If you are running a system that has Microsoft Access installed (a similar component to
MDAC), you may get an error message stating that MDAC is already installed.

ProxiPen and WinDAU Installation Manual
6
If so, click OK to continue. Then, go to Section B. Install Software License Manager (SLMan32).
9. Mark the check box next to “Yes, I accept all of the terms of the preceding license agreement.”
Then, click Next.
10. Click Next through the Installing the Software screen.

ProxiPen and WinDAU Installation Manual
7
11. Click Finish on the Setup is Complete screen.
B. Installing Software License Manager (SLMan32)
SLMan32 is a required component to run the WinDAU software. The Software License Manager is not
actually engaged unless WinDAU Enterprise Edition is being used.
NOTE: If you do not know if you are using WinDAU or WinDAU Enterprise Edition, please contact your
security, purchasing or network administrator for verification. WinDAU Enterprise Edition requires a
dongle for activation.
12. Now, select the Install button next to SLMan32.

ProxiPen and WinDAU Installation Manual
8
13. Close any applications that may be running and click Next through the Welcome screen.
Enter your User Information. NOTE: All fields are required in order to continue.14.

ProxiPen and WinDAU Installation Manual
9
15. Click Next through Choose Destination Location. Default installation drive will be C:\.
16. Under the Select Components screen, click Next for the default options unless you have a dongle
(required for Enterprise Edition). If you have a dongle, check the Dongle Driver Software
component for installation, then click Next.

ProxiPen and WinDAU Installation Manual
10
17. Click Next to select the default Program Folder.
18.
19.
Click Next on the Start Copying Files screen.
During the installation process, the following screen will appear:

ProxiPen and WinDAU Installation Manual
11
Select Yes and follow steps detailed in Step A if you have a Hasp dongle OR
Select No and continue to Step 20, if you have a Hardlock dongle or no dongle.
NOTE: Dongles are required to run WinDAU Enterprise Edition. If you do not know if you are
using WinDAU Enterprise Edition, please contact your security, purchasing or network
director/administrator for verification.
NOTE: Manufacturer name (Hasp or Hardlock) can be found on the dongle itself.
A. Click Next on the Hasp Welcome screen.
B. Click Finish on the Hasp Finish screen.

ProxiPen and WinDAU Installation Manual
12
20. Next, the following screen will appear:
Select Yes and follow steps detailed in Step 19, A and B (above) if you have a Hardlock dongle
OR
Select No and continue to Step 20, if you have a Hasp dongle or no dongle.
NOTE: Dongles are required to run WinDAU Enterprise Edition. If you do not know if you are
using WinDAU Enterprise Edition, please contact your security, purchasing or network
director/administrator for verification.
NOTE: Manufacturer name (Hasp or Hardlock) will be shown on the dongle itself.
21. Click Finish on the Setup Complete screen.

ProxiPen and WinDAU Installation Manual
13
C. Installing WinDAU
22. The Master Setup screen will appear once again. Click Install next to WinDAU 1.1 Build 101.
23. Close any applications that may be running and click Next on the Welcome screen.
24. Click Next on the Information screen.

ProxiPen and WinDAU Installation Manual
14
Enter your User Information. NOTE: All fields are required in order to continue.25.
26.
NOTE: These fields will be populated with the information from the Software License Manager
fileds that were filled out previously.
Click Next through Choose Destination Location. Default installation drive will be C:\.
27. Click Next to select the default Program Folder.

ProxiPen and WinDAU Installation Manual
15
28. Click Next on the Start Copying Files screen.
29.
30.
Click Finish on the Setup Complete screen.
Click Exit on the Master Setup screen.

ProxiPen and WinDAU Installation Manual
16
31. Select “Yes, I want to restart my computer,” then, click OK to restart Windows. WinDAU is now
installed and ready to be configured.

ProxiPen and WinDAU Installation Manual
17
III. Configuring WinDAU
1. Launch WinDAU via either the shortcut icon on the Windows Desktop or the Windows Start /
Programs / GCS Office / WinDAU – Communication Utility.
NOTE: Upon first launch of WinDAU, you may hear introduction music.
2. Setup passwords for Administrator and User. Enter passwords, as requested, and then click OK.
NOTE: Administrator login is required and used in configuration of the hardware. User password
is not mandatory.
3. Click No on the "Do you want to use WinDAU just for the Escorte / Patrol Manager?" screen.
4. Verify your user information and click Send to submit your registration information to GCS
(recommended).

ProxiPen and WinDAU Installation Manual
18
5. In the bottom portion of the main WinDAU screen, select the radio button ( ) next to PenDTU.
6. Click the Configuration button.
7. Set the Time Zone, if it is not already set correctly. All other options should be set to their default.

ProxiPen and WinDAU Installation Manual
19
NOTE: If you are using a modem, please contact Technical Support at 800-889-9138 for
additional configuration settings.
8. Now, select the radio button ( ) next to ProxiPen in the bottom portion of the main WinDAU
screen.
9. Then, click the Configuration button.
NOTE: If you are running McAfee Virus Scan, dialog boxes may appear relating to McAfee.
Click Cancel on any message(s) regarding McAfee.
10. Click the Set to PC Date/Time button to synchronize the time between the pen and the computer.
11. Click Exit.

ProxiPen and WinDAU Installation Manual
20
IV. Dongle Installation (WinDAU Enterprise Edition only; if you are using WinDAU Standard Edition,
continue to section VI.)
NOTE: If you do not know if you are using WinDAU or WinDAU Enterprise Edition, please contact your
security, purchasing or network administrator for verification.
NOTE: If you selected Yes in Section II, step 16 or 17, then proceed to Step 4 for registration. If you
have a dongle and did not select Yes in the aforementioned steps, please follow all instructions in this
section. The icon on the main screen of WinDAU is a notification that the dongle is recognized by
WinDAU. This icon: shows that no dongle is recognized by WinDAU.
1. Attach the dongle (see picture below) provided with the copy of the WinDAU Enterprise Edition
software. This should be in the small binder in the front cover.
2. Attach the dongle to the computer via the parallel (printer) port.
NOTE: Once the dongle is attached securely to the printer port, a printer may be attached to the
dongle. The screws on the dongle must be tightened completely in order for a printer to be attached.
Dongle: This side connects to computer’s parallel (printer) port.
3. Once the dongle is attached, go to the main screen in WinDAU and click Search in the top left
corner. This will allow WinDAU to search for an attached dongle.
4. Go to the Windows Start button and then to Programs / GCS Office / Software Licensing
Manager.
5. Click Check for License to have SLM verify that the dongle attached is properly licensed. (Be
sure dongle is attached.) WinDAU will first search for a dongle and then for the license.
6. If a license has been found, then proceed to Step 7 for verification.
If a license is not found, then you will need to enter it manually. Click Enter License to manually
enter your license.

ProxiPen and WinDAU Installation Manual
21
Dongle-ID is the dongle number found on the inside of the WinDAU Enterprise Edition binder and,
possibly also on the dongle.
NOTE: Only the last portion of the number should be entered. For example: only 400026 would
be entered for the Dongle-ID from the set of numbers below.
The License Code is the license code also found on the inside of the WinDAU Enterprise Edition
binder.
7. Once the license number has been found by WinDAU or manually entered the Status indicator
should say OK.
Table of contents
