GEAppliances.com
Dry
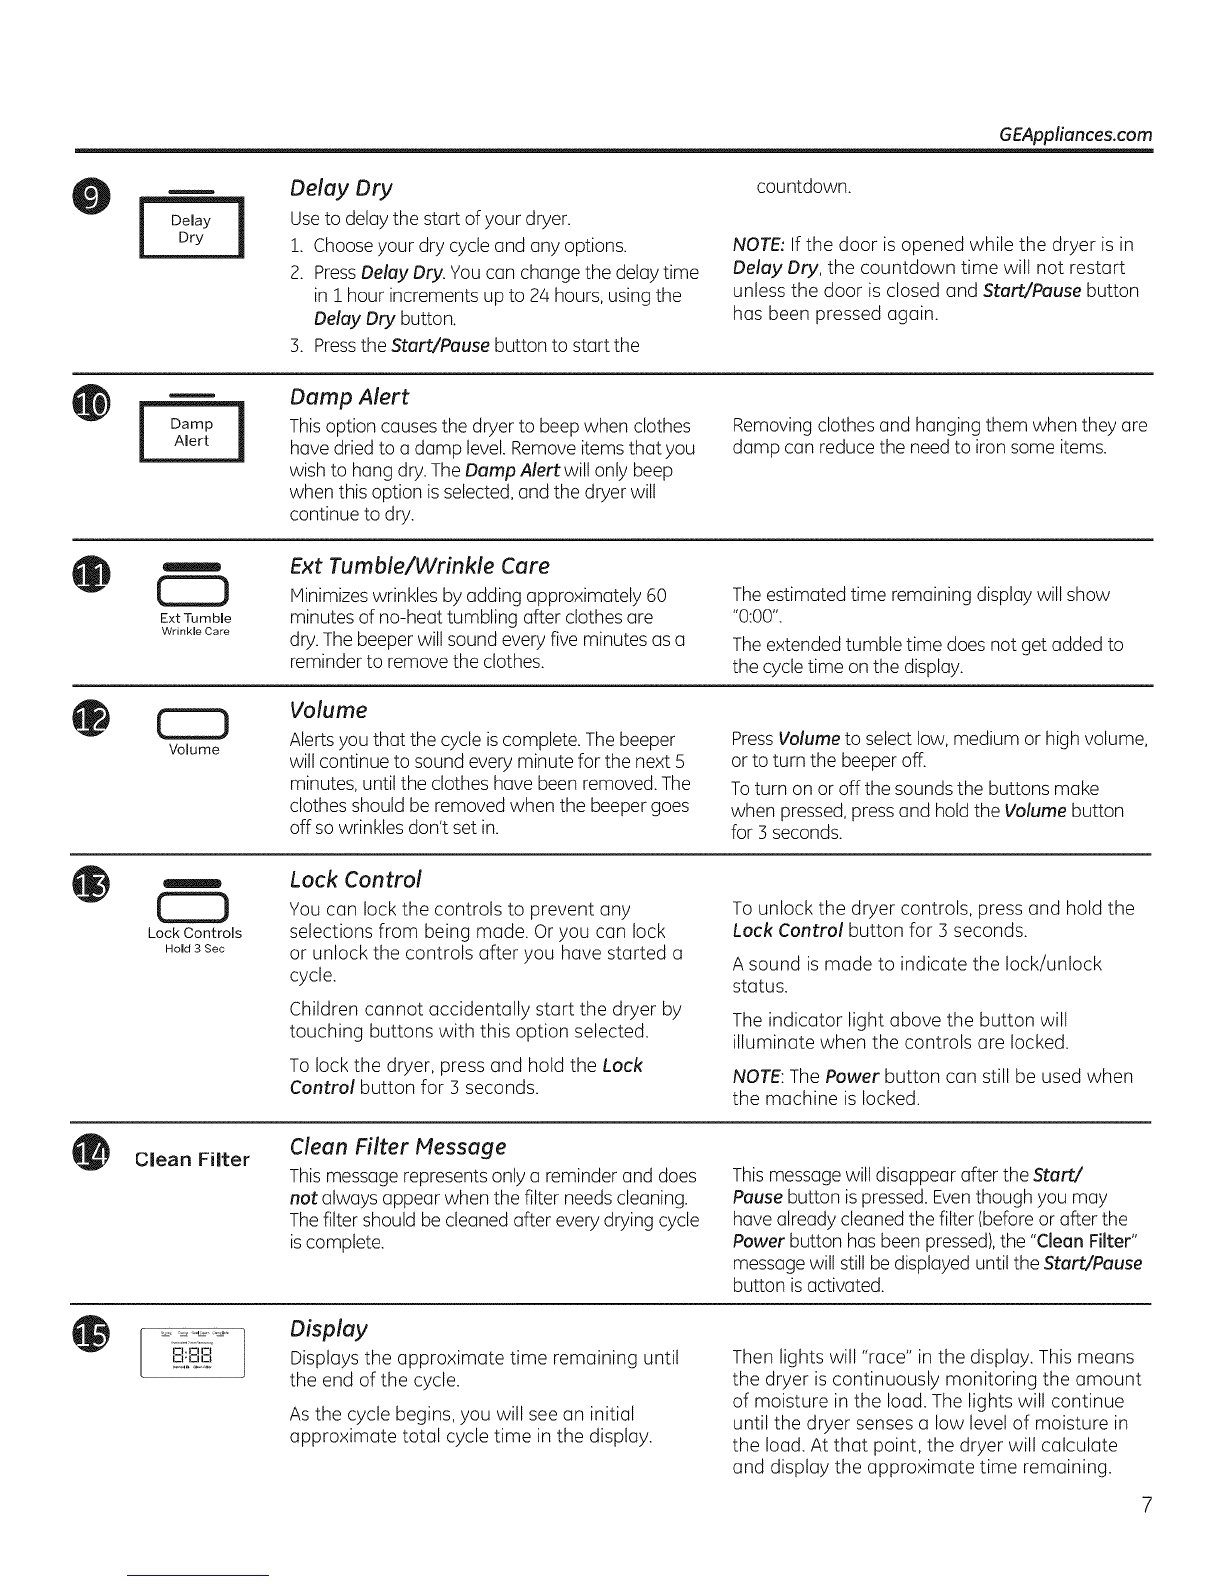
Delay Dry
Use to delay the start of your dryer.
!. Choose your dry cycle and any options.
2. Press Delay Dry. You can change the delay time
in ! hour increments up to 24 hours, using the
Delay Dry button.
3. Pressthe Start/Pause button to start the
countdown.
NOTE:Ifthe door is opened while the dryer is in
Delay Dry, the countdown time will not restart
unless the door is closed and Start/Pause button
has been pressed again.
Alert
Damp Alert
Thisoption causesthe dryer to beepwhen clothes
hove dried to a damp level.Removeitems that you
wish to hang dry. TheDamp Alert will only beep
when this option is selected,and the dryer will
continue to dry.
Removingclothes and hanging them when they are
damp can reduce the needto iron some items.
Ext Tumble
WrJnkle Care
CZD
Volume
Ext Tumble/Wrinkle Care
Minimizeswrinkles by adding approximately 60
minutes of no-heat tumbling after clothes are
dry. Thebeeper will sound every five minutes as a
reminder to remove the clothes.
Theestimated time remaining display will show
"0:00".
Theextendedtumble time does not get added to
the cycletime on the display.
Volume
Alerts you that the cycle iscomplete. Thebeeper
will continue to sound every minute for the next 5
minutes, until the clothes have been removed.The
clothes should be removed when the beeper goes
off so wrinkles don't set in.
PressVolume to select low, medium or high volume,
or to turn the beeper off.
Toturn on or off the sounds the buttons make
when pressed,pressand hold the Volume button
for 3 seconds.
Lock Controls
Hold 3 Sec
Lock Control
You can lock the controls to prevent any
selections from being made. Or you can lock
or unlock the controls after you have started a
cycle.
Children cannot accidentally start the dryer by
touching buttons with this option selected.
To lock the dryer, press and hold the Lock
Control button for 3 seconds.
To unlock the dryer controls, press and hold the
Lock Control button for 3 seconds.
A sound is made to indicate the lock/unlock
status.
The indicator light above the button will
illuminate when the controls are locked.
NOTE:The Power button can still be used when
the machine is locked.
Clean Filter Clean Filter Message
This message represents only a reminder and does
not always appear when the filter needs cleaning.
The filter should be cleaned after every drying cycle
is complete.
Thismessagewill disappear after the Start/
Pausebutton ispressed.Eventhough you may
have already cleaned the filter (beforeor after the
Power button has been pressed),the "Clean Filter"
messagewill still be displayed until the Start/Pause
button isactivated.
[I_I,IZIIZt
Display
Displays the approximate time remaining until
the end of the cycle.
As the cycle begins, you will see an initial
approximate total cycle time in the display.
Then lights will "race" in the display. This means
the dryer is continuously monitoring the amount
of moisture in the load. The lights will continue
until the dryer senses a low level of moisture in
the load. At that point, the dryer will calculate
and display the approximate time remaining.