849-3000198-1 01-20 GEA
H
I
G
USING THE DRYER
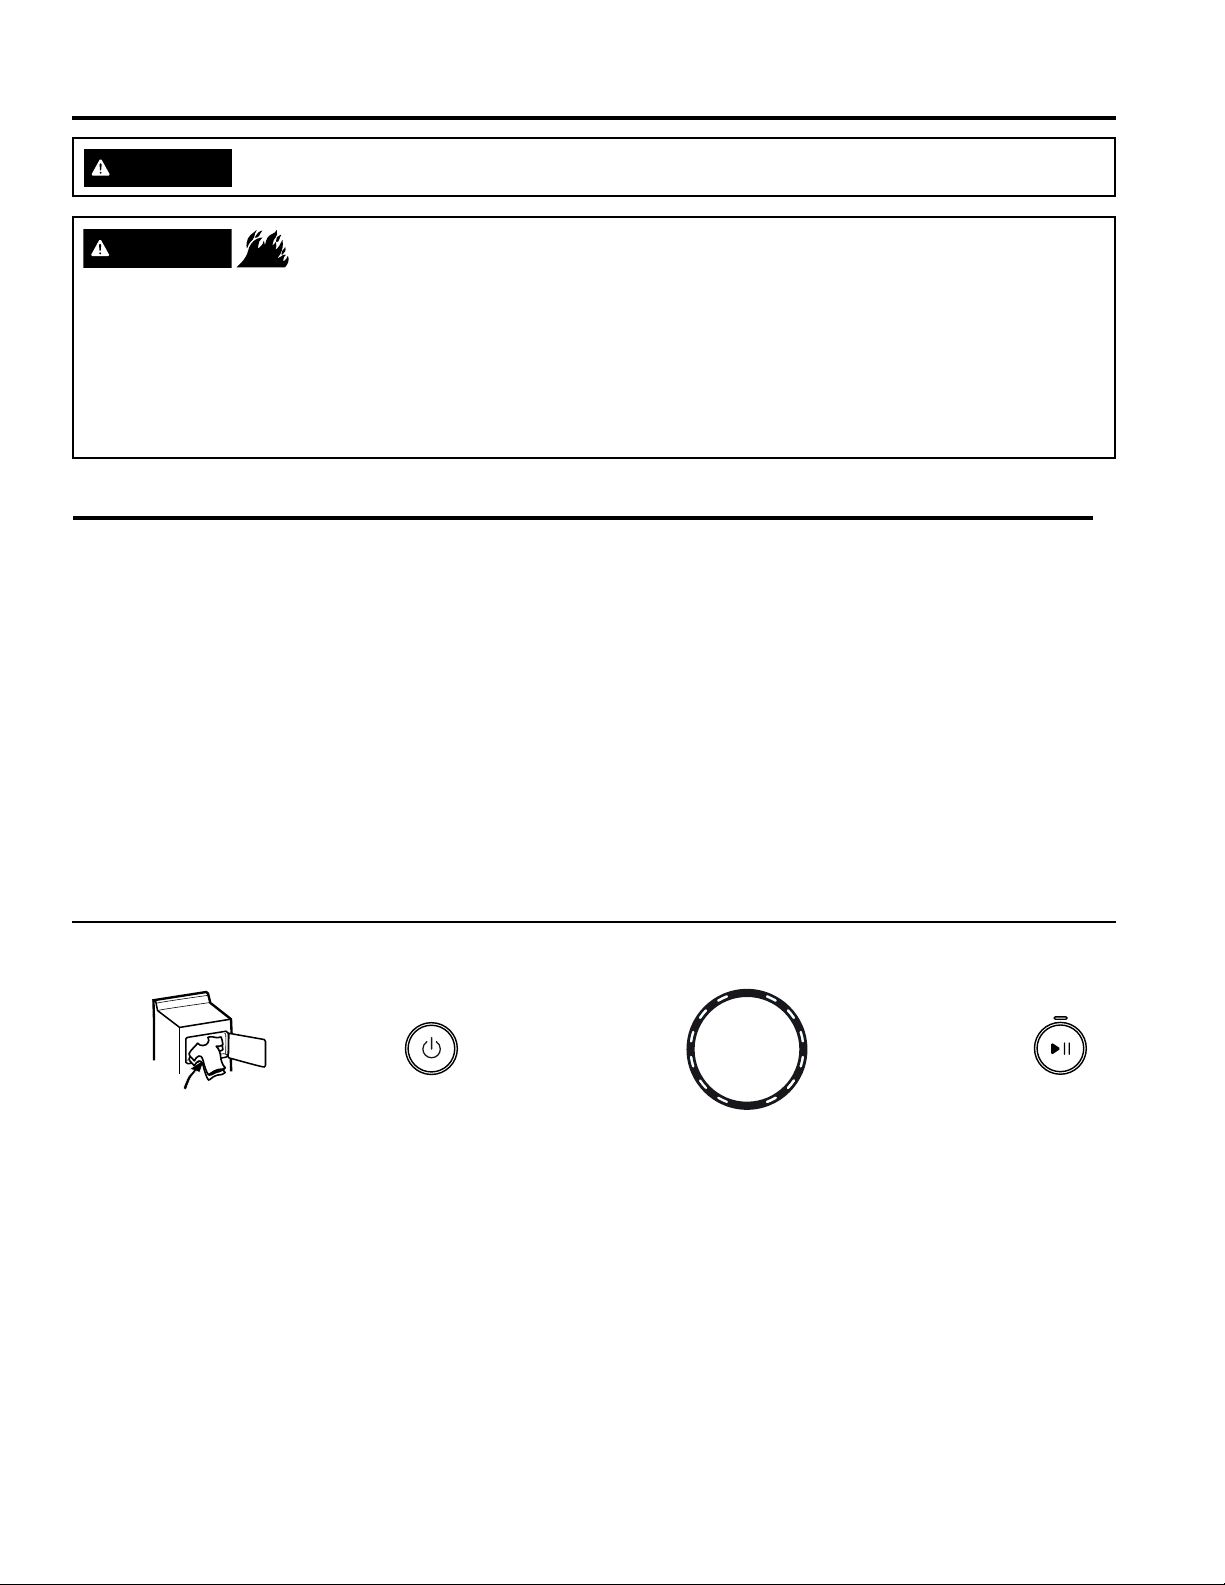
Getting started
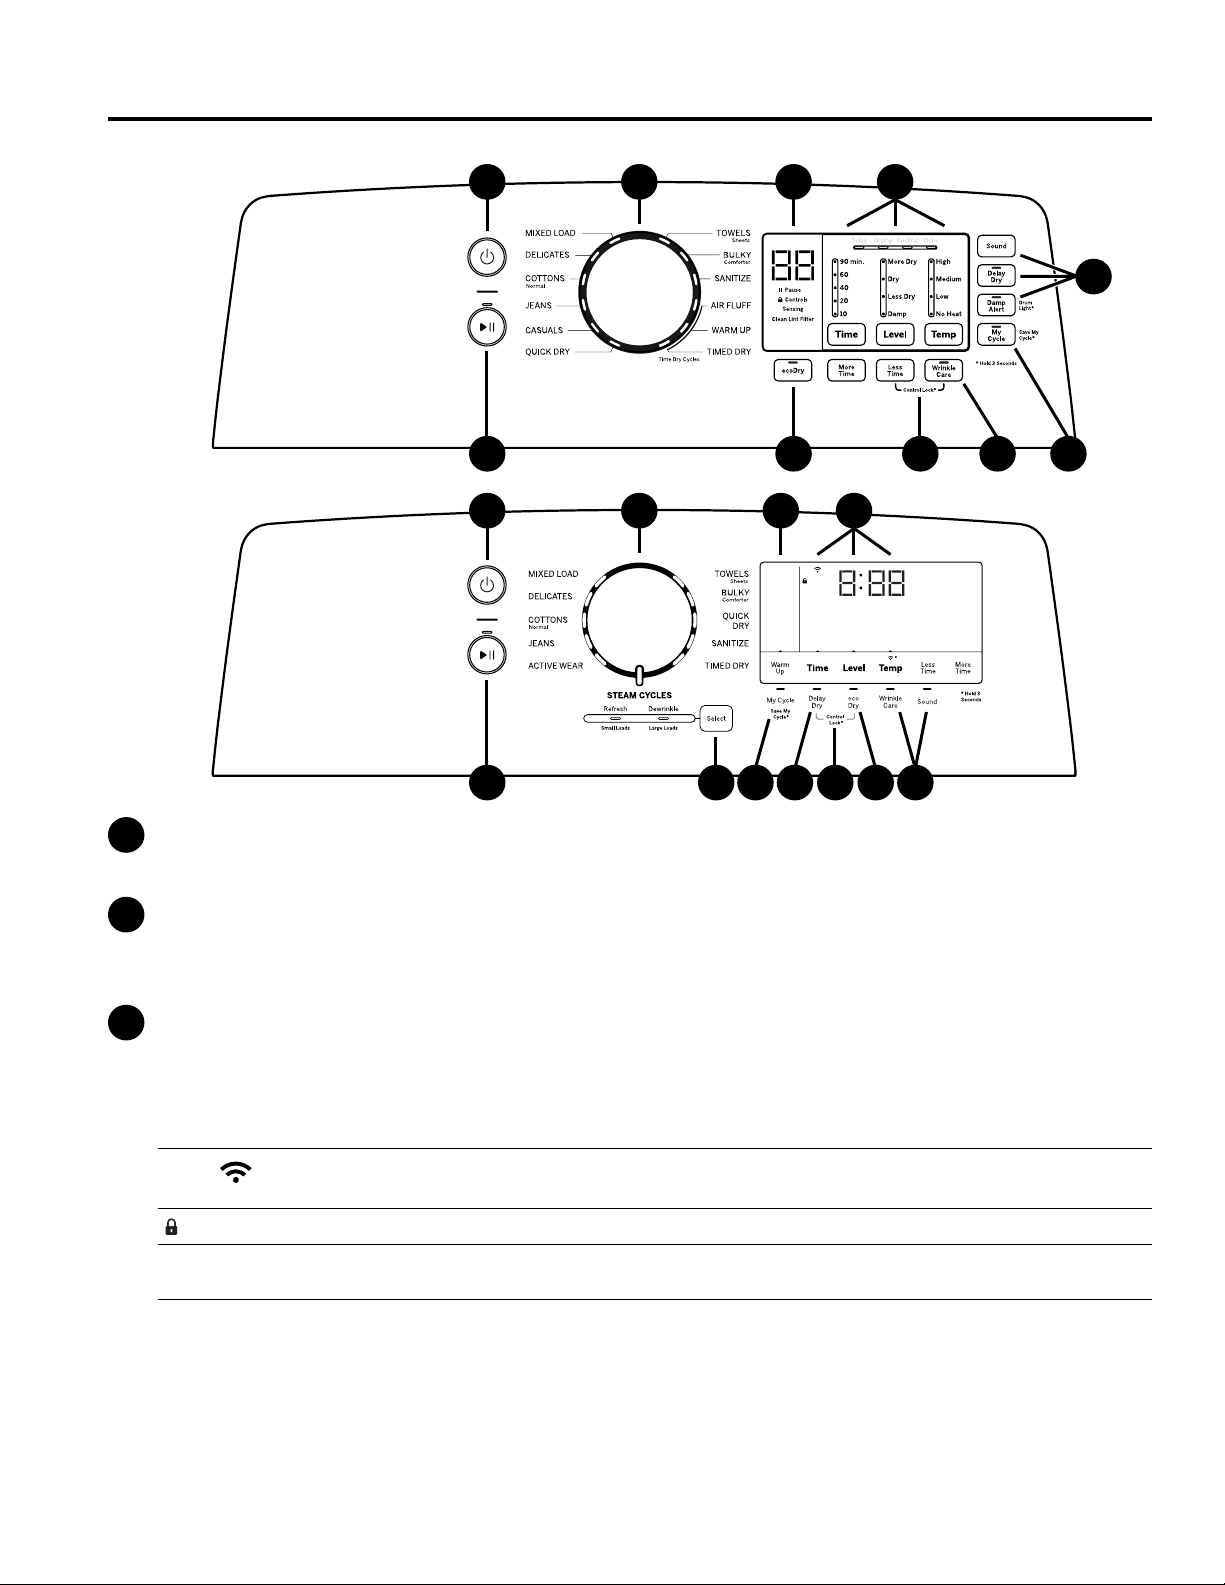
Settings
Individual settings for cycle minutes (Time), dryness level (Level) and temperature (Temp) can be set from the
minimum (lowest in column) to maximum (highest in column). In general, the higher up the column, the more
energy will be used. NOTE: The selected cycle set Time can be further adjusted, in one minute increments, by
pressing the More Time and Less Time buttons.
Dryness Level - Selection only used for Sensor cycles. Timed cycles run for the selected time.
More Dry Use for heavy-duty or mixed type fabrics.
Dry Use for a normal dryness level suitable for most loads. This is the preferred cycle for energy savings.
Less Dry Use for lighter fabrics.
Damp For leaving items partially damp.
Temperature
High For regular to heavy cottons.
NOTE: STEAM Dewrinkle and STEAM Refresh require the High temperature setting.
Medium For synthetics, blends, delicates and items labeled permanent press.
Low For delicates, synthetics and items labeled tumble dry low.
No Heat For ufng items without heat. For use only with the AIR FLUFF cycle.
Wrinkle Care
Use this option to minimize the wrinkles in clothes. It provides 1 hour of no-heat tumbling after the clothes are dry. If
you are using the cycle Sound and you select the Wrinkle Care option, a signal will sound at the end of the drying
time and several times during the Wrinkle Care cycle. This will remind you that it is time to remove the clothes.
Damp Alert (on some models)
This option causes the dryer to beep when clothes have dried to a damp level. Remove items that you wish to hang
dry. The Damp Alert will only beep when this option is selected (but the dry cycle will keep running). Removing
clothes and hanging them when they are damp, can reduce the need to iron some items. The light beside the
button will be lit when Damp Alert is on.
Drum Light
The drum light will turn on if, the Damp Alert button or the Sound button (depending on model) is pressed for
3 seconds, or the door is opened. It will turn off when the door is shut, the Damp Alert button or Sound button
(depending on model) is pressed again for 3 seconds or after 5 minutes if the door is left open.
Delay Dry
Press the Delay Dry button to set the delay start time in 1 hour increments up to 24 hours, and then back to clear
(0 hours). After selecting the delay start time, press Start and the delay time will count down the time remaining
until the cycle starts. NOTE: To set the amount of delay time faster, you can press and hold the Delay Dry button.
Delay Dry for WiFi Connected Dryers
For more information see the Appliance Communication section.
You have two options to set Delay Dry using your smartphone.
Option 1: Follow Delay Dry instructions. You can use the GE Appliances Laundry App to adjust the amount of
time via your smartphone.
Option 2: Set your dryer to “AP” using the Delay Dry button. This allows you to use the GE Appliances Laundry
App via your smartphone to start your dryer remotely at the time of your choosing. If the dryer is set to AP with no
activity, it will start the dryer 24 hours later.
Sound
Use the Sound button to change the volume of the button presses and the end of cycle signal. Press the button
until you reach the desired volume or off. The clothes should be removed when the end of cycle signal goes off so
wrinkles do not set in.
NOTE:
• Remove garments promptly at the sound of signal. Place clothes on hangers so wrinkles will not set in.
• Use the Sound especially when drying fabrics like polyester, knits and permanent press. These fabrics should be
removed so wrinkles will not set in.
My Cycle
As the cycle selector knob is turned, the Time (timed dry), Level (dryness level) and Temp (temperature) settings
change to automatic pre-set default settings. If you desire a different setting, press the appropriate button(s). Then
press and hold the My Cycle button for 3 seconds and the dryer will “remember” these settings for that Knob
Selection. In the future, when you turn the selector knob to that cycle, your settings will be automatically recalled.
NOTE: Signal sound cannot be set for My Cycle.