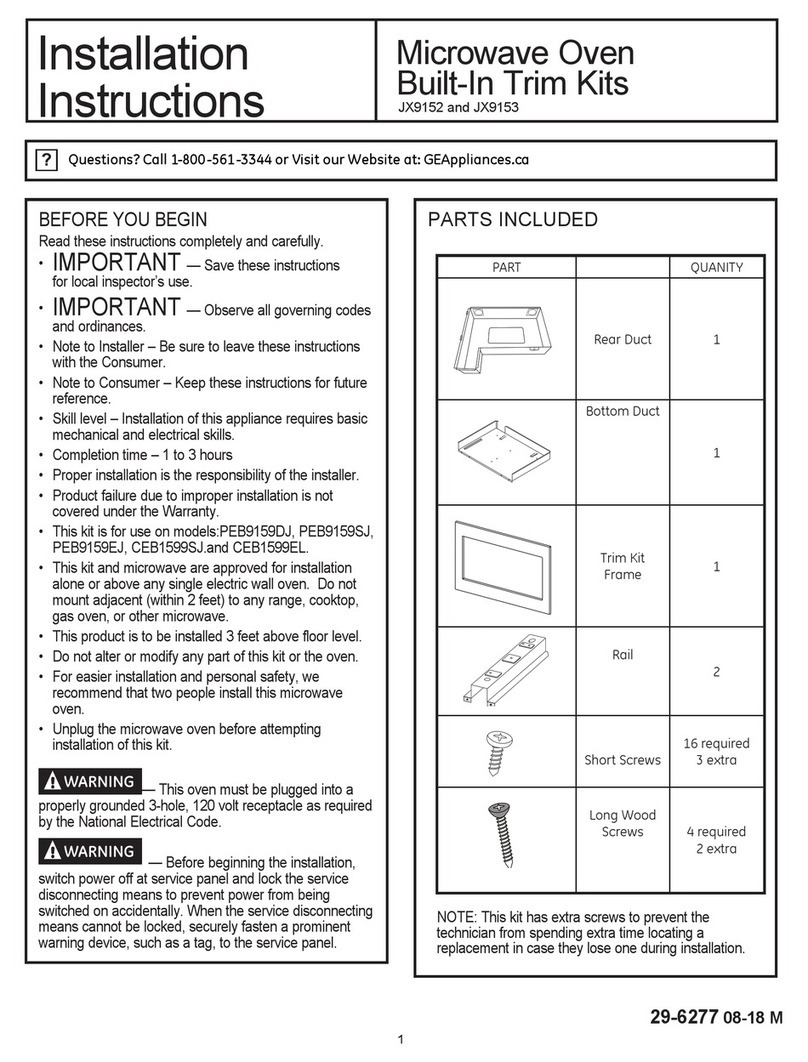
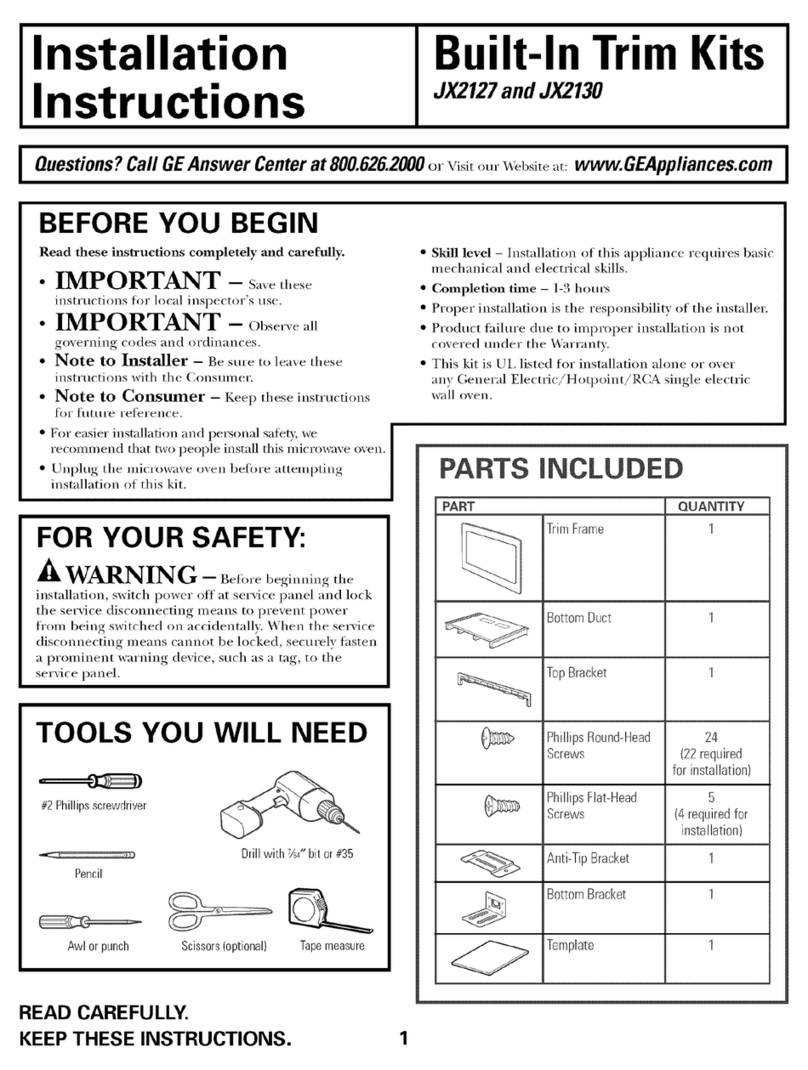
GE JX1095STBB User manual

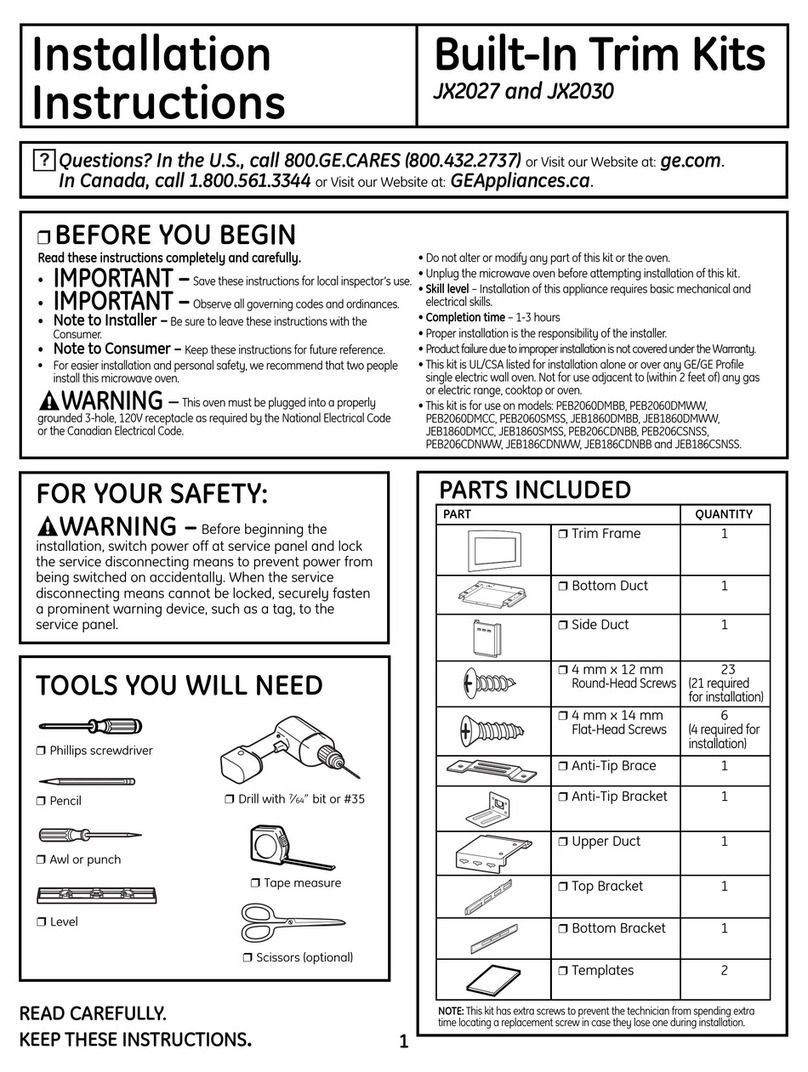
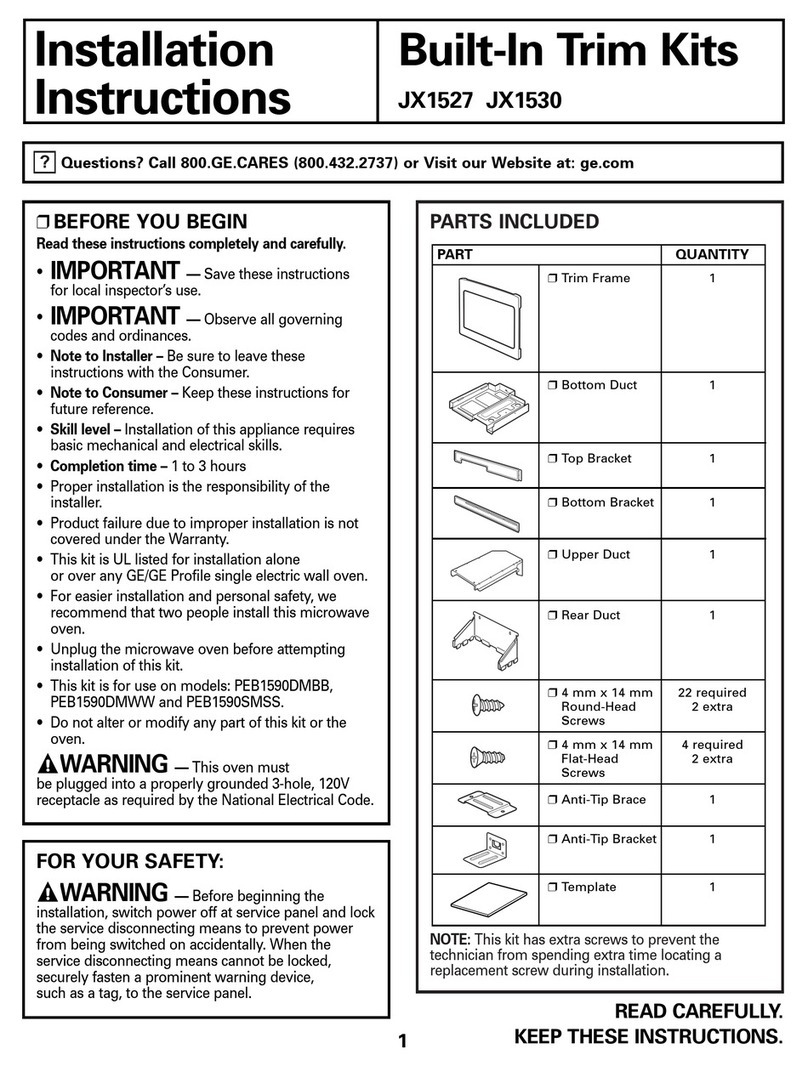
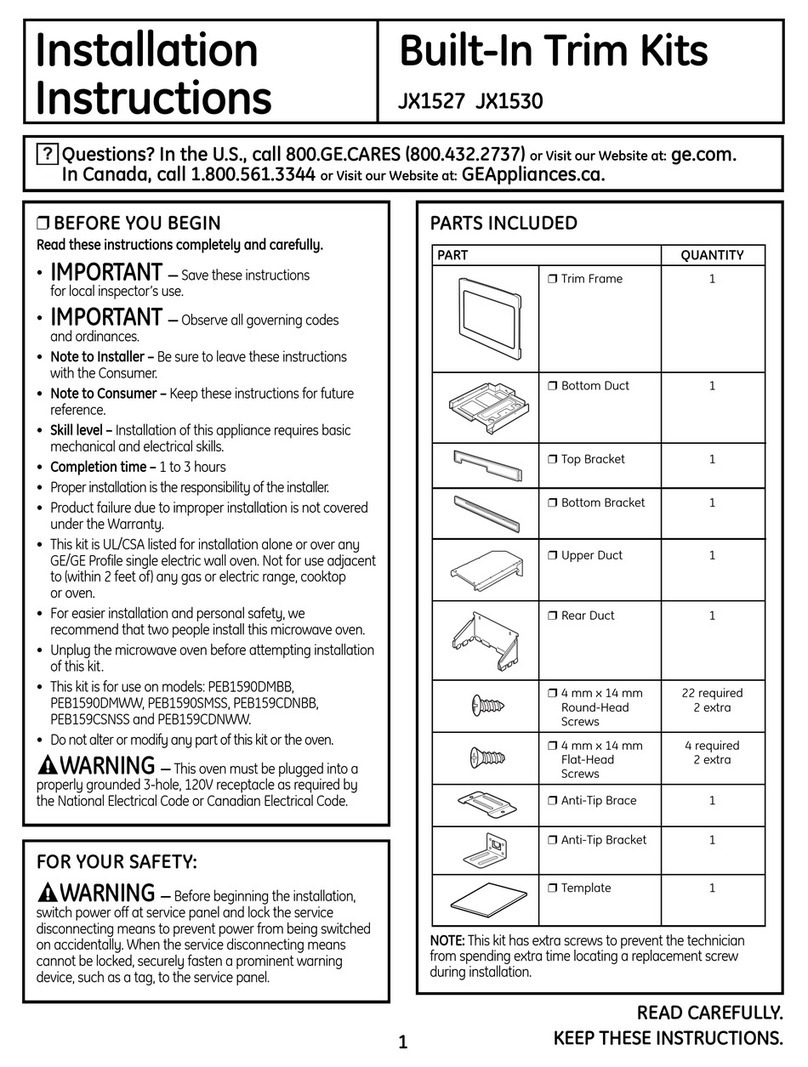
PARTS INCLUDED
Part Image Part Name Quantity
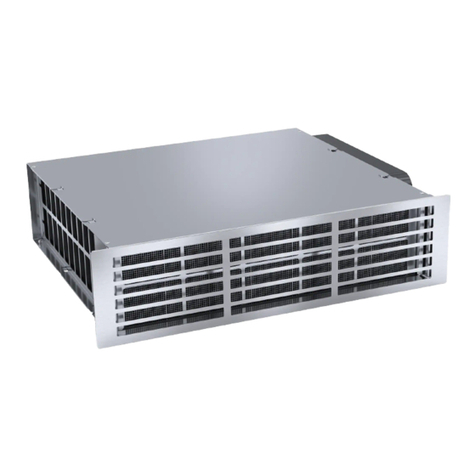
Trim 1
Duct Bottom 1
Duct Upper 1
Phillips Pan
Head Sheet
Metal Screws
8
Phillips Flat
Head Wood
Screws
8
Questions? Call GE Answer Center at 800.626.2000 or Visit our Website at: GEAppliances.com
READ CAREFULLY.
KEEP THESE INSTRUCTIONS.
Installation Built-In Trim Kits
Instructions
BEFORE YOU BEGIN
Read these instructions completely and carefully.
•IMPORTANT – Save these instructions for
local inspector’s use.
•IMPORTANT – Observe all governing codes
and ordinances.
• Note to Installer – Be sure to leave these instructions with
the Consumer.
• Note to Consumer – Keep these instructions for future
reference.
• For easier installation and personal safety, we recommend
that two people install this microwave oven.
• Unplug the microwave oven before attempting installation of
this kit.
• Skill level – Installation of this appliance requires basic
mechanical and electrical skills.
• Completion time – 30 minutes – 1 hour
• Proper installation is the responsibility of the installer.
• Product failure due to improper installation is not covered
under the Warranty.
TOOLS YOU WILL NEED
#2 Phillips
screwdriver
Pencil
Tape measure
Drill with 764” bit or #35
FOR YOUR SAFETY
WARNING Before beginning the installation, switch
power off at service panel and lock the service disconnecting
means to prevent power from being switched on accidentally.
When the service disconnecting means cannot be locked,
securely fasten a prominent warning device, such as a tag, to
the service panel.
WARNING This oven must be plugged into a properly
grounded 3-hole, 120 volt receptacle as required by the
National Electric Code.
MODELS
JX1095STBB, JX1095STSS
31-7000180 Rev. 1 06-22 GEA

31-7000180 Rev. 1
2
CUTOUT DIMENSIONS
Minimum Maximum
Height
Width
Depth N/A
*Min. depth with receptacle outside cabinet 1912”
Min. depth with receptacle inside cabinet 22”
Installation Instructions
CAUTION
This trim kit uses air flow from the top and bottom of
the trim frame. Blocking the air flow can cause the
microwave to function improperly and may cause
damage to the microwave.
Allow a 1” clearance beyond the edge of the Trim
Frame to provide proper air flow.
GROUNDING INSTRUCTIONS
This appliance must be grounded. In the event of an
electrical short circuit, grounding reduces the risk of
electric shock by providing an escape wire for the
electric current. This appliance is equipped with a cord
having a grounding wire with a grounding plug. The
plug must be plugged into an outlet that is properly
installed and grounded.Consult a qualified electrician
or serviceman if the grounding instructions are not
completely understood, or if doubt exists as to whether
the appliance is properly grounded.
Improper use of the
grounding plug can result
in a risk of electric shock.
Do not use an extension
cord. If the power supply
cord is too short, have
a qualified electrician
or serviceman install an
outlet near the appliance.
Permanent and Correct
Installation
3-Prong plug
Grounding pin
3-Prong receptacle
Grounded receptacle box
WARNING
ELECTRICAL REQUIREMENTS
Product rating is 120 volts AC, 60 Hertz, 12 amps and
1.35 kilowatts. This product must be connected to a
supply circuit of the proper voltage and frequency. Wire
size must conform to the requirements of the National
Electrical Code or the prevailing local code for this
kilowatt rating. The power supply cord and plug should
be brought to a separate 15 to 20 ampere branch
circuit single grounded outlet. The outlet box should
be located in the cabinet above the oven. The outlet
box and supply circuit should be installed by a qualified
electrician and conform to the National Electrical Code
or the prevailing local code.
Depth
Width
Height

31-7000180 Rev. 1
3
Installation Instructions
2
LOCATE AND INSTALL THE
DUCT BOTTOM
Place the Duct Bottom as shown in the cabinet. The
front edge of the Duct Bottom should match with the
front edge of the Cabinet and the center notch is
directly aligned with the center line created in Step 1.
Using the Duct Bottom as a template, drill pilot holes
at the 4 screw holes. Mount the Duct Bottom using 4
of the supplied Wood Screws.
3REVIEW THE TRIM
Take Trim and check it. The top is recogized as the
wider side with 24 vent holes and the bottom has 6
vent holes.
4MOUNT THE TRIM
Mount the Trim to the Microwave as shown. Use 4 of
the supplied Sheet Metal Screws to fasten the Trim at
points indicated. After mounted avoid using the trim to
support the weight of the microwave.
1
MARK CENTER LINE FOR
DUCT BOTTOM
Locate the center line of the front of the cabinet
microwave cutout and draw a corresponding center
line on the bottom deck of the cabinet.
Align Notch
and Center
Line Mark
Duct Bottom
and Cabinet
aligned as
shown
Top

31-7000180 Rev. 1
4
Installation Instructions
8REPLACE ANY LOOSE ITEMS
Your trim kit is now fully installed. Replace any
loose items that were removed from the inside of the
microwave oven.
Keep these installation instructions for future
reference.
Replace house fuse or close circuit breaker to restore
power at the service panel.
7MOUNT THE MICROWAVE
OVEN ASSEMBLY
Mount the Assembly to the Cabinet. Using the Trim as
a template, drill pilot holes at the 4 screw holes. Use
the remaining 4 Wood Screws to fasten the Trim at
the points indicated.
6INSTALL THE MICROWAVE
OVEN ASSEMBLY
Plug the power cord in the wall receptacle. Slide the
microwave oven assembly gently into the cabinet,
using care not to pinch the power cord. Be sure to
keep the assembly centered as it slides back.
5MOUNT THE DUCT UPPER
Mount the Duct Upper on the on top of the outer case
of the Microwave cover. Use the remaining 4 Sheet
Metal Screws to fasten the Duct Upper at points
indicated.
Printed in China

PIÈCES INCLUSES
Image de la pièce Nom de la pièce Quantité
Découper 1
Bas de conduit 1
Haut du conduit 1
Vis à tôle à tête
cylindrique Phillips
8
Vis à bois à tête
plate Phillips
8
Des questions? Appelez le Centre de réponse GE au 800.626.2000 ou visitez notre site Web à l’adresse suivante :
GEAppliances.com
LISEZ ATTENTIVEMENT CONSERVEZ
CES INSTRUCTIONS
Instructions Trousses de garniture intégrées
d’installation
AVANT DE COMMENCER
Veuillez lire toutes ces instructions attentivement.
•IMPORTANT – Conservez ces instructions à
l’usage de l’inspecteur local.
•IMPORTANT – Observez tous les codes et
décrets en vigueur.
• Note à l’installateur – Assurez-vous de laisser ces
instructions au consommateur.
• Note au consommateur – Conservez ces instructions pour
consultation ultérieure.
• Pour faciliter l’installation et la sécurité personnelle, nous
recommandons que deux personnes installent ce four à
micro-ondes.
• Débranchez le four à micro-ondes avant de tenter d’installer
cette trousse.
• Niveau de compétence – L’installation de cet
électroménager exige des compétences de base en
mécanique et électricité.
• Temps d’exécution – 30 minutes – 1 heure
• L’exactitude de l’installation est la responsabilité de
l’installateur.
• La garantie ne couvre pas les défectuosités du produit
causées par une installation inadéquate.
OUTILS DONT VOUS AUREZ BESOIN
Tournevis Phillips
no 2
Crayon
Ruban à mesurer
Percer avec un foret de
POUR VOTRE SÉCURITÉ
WARNING Avant de commencer l’installation,
coupez le courant au panneau de service et verrouillez les
mécanismes de débranchement de service pour éviter tout
branchement accidentel au courant. Si vous ne pouvez pas
verrouiller les mécanismes de débranchement de service,
attachez soigneusement un avertissement bien visible,
comme une étiquette, au panneau de service.
WARNING Ce four doit être branché dans une prise
de courant de 120 V à 3 trous correctement mise à la terre,
comme l’exige le Code national de l’électricité.
MODÈLES
31-7000180 Rev. 1 06-22 GEA

31-7000180 Rev. 1
6
DIMENSIONS DE L’OUVERTURE
Minimum Maximum
Hauteur
Largeur
Profondeur N/A
*Profondeur min. avec prise à l’extérieur de l’enceinte
19½ po
Profondeur min. avec prise à l’intérieur de l’enceinte
22 po
Instructions d’installation
CAUTION
Cette trousse de garniture utilise le flux d’air
provenant du haut et du bas du cadre de
garniture. Si vous bloquez le flux d’air, le micro-
ondes risque de ne pas fonctionner correctement
et ainsi l’endommager.
Laissez un dégagement de 1 po au-delà du bord
du cadre de garniture pour assurer un flux d’air
correct.
INSTRUCTIONS DE MISE À LA TERRE
Cet appareil doit être mis à la terre. Dans l’éventualité
d’un court-circuit, la mise à la terre réduit les
risques de choc électrique en procurant une voie
d’échappement au courant électrique. Cet appareil
est doté d’un cordon et d’une fiche avec fil et broche
de mise à la terre. La fiche doit être branchée dans
une prise correctement installée et mise à la terre.
Consultez un électricien ou un technicien qualifié
si les instructions de mise à la terre ne sont pas
parfaitement comprises ou si vous avez des doutes
quant à la mise à la terre correcte de l’appareil.
Une utilisation incorrecte
de la fiche à mise à
la terre peut poser
un risque de choc
électrique. N’utilisez pas
un cordon de rallonge. Si
le cordon d’alimentation
est trop court, faites
appel à un électricien ou
à un technicien qualifié
pour installer une prise à
proximité de l’appareil.
Permanent and Correct
Installation
3-Prong plug
Grounding pin
3-Prong receptacle
Grounded receptacle box
WARNING
EXIGENCES ÉLECTRIQUES
Les caractéristiques électriques du produit sont 120
produit doit être raccordé à un circuit d’alimentation
de tension et de fréquence appropriées. Le calibre
des fils doit être conforme au Code national de
l’électricité ou au code local en vigueur pour cette
doit être branchée dans une prise simple avec mise
à la terre qui est connectée à un circuit de dérivation
prise doit être située dans l’armoire au-dessus du
être installés par un électricien agréé et satisfaire
le Code national de l’électricité ou le code local en
vigueur.
Depth
Width
Height

31-7000180 Rev. 1
7
Instructions d’installation
2
LOCALISER ET INSTALLER LE
BAS DU CONDUIT
Placez le bas du conduit dans l’enceinte comme
indiqué. Le bord avant du bas du conduit doit
correspondre au bord avant de l’enceinte et l’encoche
centrale est directement alignée avec la ligne centrale
créée à l’Étape 1. En utilisant le bas du conduit
des vis à bois fournies.
3EXAMINER LA GARNITURE
Prenez la garniture et vérifiez-la. Le haut est reconnu
le bas comporte 6 trous d’aération.
4MONTER LA GARNITURE
Montez la garniture sur le four à micro-ondes comme
la garniture aux points indiqués. Après le montage,
évitez d’utiliser la garniture pour supporter le poids du
micro-ondes.
1
MARQUER LA LIGNE CENTRALE
POUR LE BAS DU CONDUIT
Repérez la ligne centrale de l’avant de la découpe de
l’enceinte du four à micro-ondes et tracez une ligne
centrale correspondante sur la plateforme du bas de
l’enceinte.
Aligner
l’encoche et
la marque
de la ligne
centrale
Fond du
conduit et
enceinte
alignés com-
me illustré
Top

31-7000180 Rev. 1
8
Instructions d’installation
8REPLACER TOUT ARTICLE
LIBRE
Votre trousse de garniture est maintenant entièrement
installée. Replacez tous les articles qui ont été retirés
de l’intérieur du four à micro-ondes.
Conservez ces instructions d’installation pour
consultation ultérieure.
Remplacez le fusible de la maison ou fermez le
disjoncteur pour rétablir l’alimentation au panneau de
service.
7MONTER L’ASSEMBLAGE DU
FOUR À MICRO-ONDES
Montez l’assemblage sur l’enceinte. En utilisant la
garniture comme gabarit, percez des trous de guidage
pour fixer la garniture aux points indiqués.
6INSTALLER L’ASSEMBLAGE
DU FOUR À MICRO-ONDES
Branchez le cordon d’alimentation dans la prise
murale. Faites glisser doucement l’assemblage du four
à micro-ondes dans l’enceinte, en prenant soin de ne
pas pincer le cordon d’alimentation. Veillez à maintenir
l’assemblage centré lorsqu’il glisse vers l’arrière.
5MONTER LA PARTIE
SUPÉRIEURE DU CONDUIT
Montez la partie supérieure du conduit sur le dessus
supérieure du conduit aux points indiqués.
Printed in China

¿Preguntas? Llame a un Centro de Consultas de GE comunicándose al 800.626.2000
o visite nuestro sitio web en: GEAppliances.com
LEA DETENIDAMENTE.
CONSERVE ESTAS INSTRUCCIONES.
Instrucciones Kits Ajustables para Empotrar
de Instalación
ANTES DE COMENZAR
Lea estas instrucciones en su totalidad y atentamente.
• IMPORTANTE – Conserve estas instrucciones para
uso del inspector local.
• IMPORTANTE – Cumpla con todos los códigos y
ordenanzas gubernamentales.
• Nota para el Instalador – Asegúrese de que el Comprador
conserve estas instrucciones.
• Nota para el Comprador – Conserve estas instrucciones
para referencia futura.
• Para una instalación más fácil y para su seguridad personal,
recomendamos que la instalación del horno microondas sea
realizada por dos personas.
• Desenchufe el horno microondas antes de intentar instalar
este kit.
• Nivel de habilidad – La instalación de este
electrodoméstico requiere un nivel básico de habilidades
mecánicas.
• Tiempo de instalación – 30 minutos – 1 hora
• La correcta instalación del producto es responsabilidad del
instalador.
• Si se producen fallas en el producto debido a una
instalación inadecuada, la Garantía no cubrirá las mismas.
HERRAMIENTAS QUE NECESITARÁ
Destornillador Phillips nº2
Lápiz
Cinta métrica
MODELOS
FOR YOUR SAFETY
ADVERTENCIA
switch power off at service panel and lock the service
disconnecting means to prevent power from being switched
on accidentally. When the service disconnecting means
cannot be locked, securely fasten a prominent warning
device, such as a tag, to the service panel.
ADVERTENCIA Este horno deberá estar enchufado en
un receptáculo de 3 orificios y 120V correctamente conectado
a tierra, de acuerdo con lo requerido por el Código Nacional
de Electricidad (National Electrical Code).
PIEZAS INCLUIDAS
Part Image Part Name Quantity
Trim 1
1
Duct Upper 1
Phillips Pan
Head Sheet
Metal Screws
8
Phillips Flat
Head Wood
Screws
8

31-7000180 Rev. 1
10
Instrucciones de Instalación
PRECAUCIÓN
Este kit ajustable usa el flujo de aire desde la parte
superior, inferior y los costados de la estructura ajustable.
funcione de forma inadecuada y ocasionar daños sobre el
mismo.
estructura ajustable para brindar el flujo de aire
apropiado.
INSTRUCCIONES DE CONEXIÓN A
TIERRA
Este electrodoméstico deberá estar conectado a tierra. En
reduce el riesgo de descarga eléctrica, brindando un cable
de escape de la corriente eléctrica. Este electrodoméstico
está equipado con un cable de corriente que posee un cable
deberá conectar en un tomacorriente instalado y conectado
a tierra de forma adecuada. Consulte a un electricista
calificado o al personal del servicio técnico en caso de
completamente, o si tiene dudas sobre si el electrodoméstico
está conectado a tierra de forma apropiada.
ADVERTENCIA
El uso inadecuado del
tierra puede provocar
riesgos de descargas
eléctricas. No use
un prolongador. Si el
cable de corriente es
demasiado corto, solicite
a un electricista calificado
o al personal del servicio
técnico que instale un
tomacorriente cerca del electrodoméstico.
Instalación Correcta y Permanente
Enchufe de 3 clavijas
Receptáculo de 3 clavijas
Caja con receptáculo conectado a tierra
REQUISITOS ELÉCTRICOS
conectado a un circuito con un suministro de voltaje y
frecuencia correcta. El tamaño del cable deberá cumplir
con los requisitos del Código Nacional de Electricidad o
con el código local obligatorio en relación a la cantidad de
kilowatts. El cable y enchufe de suministro de corriente se
tomacorriente deberá ser ubicada en el gabinete sobre el
horno. La caja del tomacorriente y el circuito de suministro
deberán ser instalados por un electricista calificado y cumplir
con el Código Nacional de Electricidad o con el código local
obligatorio.
DIMENSIONES DEL RECORTE
Mínimo
Altura
Ancho
Profundidad
N/A
* Profundidad mínima con el receptáculo fuera del gabinete
Depth
Width
Height
31-7000180 Rev. 1
11
Instrucciones de Instalación
2
UBIQUE E INSTALE LA PARTE
INFERIOR DEL CONDUCTO
Coloque la Parte Inferior del Conducto como se
frontal del Gabinete, y la abertura central estará
alineada directamente con la línea central creada en
el Paso 1. Usando la Parte Inferior del Conducto como
de los tornillos. Monte la Parte Inferior del Conducto
3REVISE EL MARCO
Tome el Marco y realice un control de éste. La parte
superior se reconoce por su lado más ancho con
agujeros de ventilación.
4MONTE EL MARCO
Monte el Marco con el Microondas como se
suministrados para ajustar el Marco en los puntos
indicados. Una vez montados, evite el uso del marco
para sostener el peso del microondas.
1
MARQUE LA LÍNEA CENTRAL DE
LA PARTE INFERIOR DEL
CONDUCTO
Ubique la línea central del frente del recorte del
gabinete del microondas y dibuje una línea central
correspondiente sobre el piso en la parte inferior del
gabinete.
Alinee la Ab-
ertura con
la Marca
de la Línea
Central
La Parte Inferior
del Conducto y
el Gabinete se
alinean como se
muestra
Parte
superior

31-7000180 Rev. 1
12
Instrucciones de Instalación
8REEMPLACE CUALQUIER
ÍTEM FLOJO
Su kit ajustable se encuentra ahora completamente
instalado. Reemplace cualquier ítem flojo que haya
sido retirado del interior del horno microondas.
Guarde estas instrucciones de instalación como
referencia para el futuro.
Reemplace el fusible del hogar o cierre el disyuntor
para reiniciar la corriente en el panel de servicio.
7MONTE EL ENSAMBLE DEL
HORNO MICROONDAS
Monte el Ensamble en el Gabinete. Use el Marco
Madera restantes para ajustar el Marco en los puntos
indicados.
6INSTALE EL ENSAMBLE DEL
HORNO MICROONDAS
Enchufe el cable de corriente en el receptáculo de
pared. Deslice el ensamble del horno microondas
de forma suave en el gabinete, teniendo cuidado de
que no haya pellizcos sobre el cable de corriente.
Asegúrese de mantener el ensamble centrado
mientras se desliza hacia atrás.
5MONTE EL CONDUCTO MÁS
ARRIBA
Monte el Conducto Más Arriba en la parte superior
para ajustar el Conducto Más Arriba en los puntos
indicados.
Impreso en China
Table of contents
Languages:
Other GE Kitchen Appliance Accessories manuals

GE
GE RAK27 User manual

GE
GE Profile PB909SPSS User manual

GE
GE JEM31WF - Spacemaker II Microwave Oven User manual

GE
GE JX7230DLWW User manual

GE
GE JX1527 User manual

GE
GE JE740BK - 7 cu. Ft Capacity Countertop Microwave... User manual

GE
GE 169089 User manual

GE
GE JX2127 User manual

GE
GE PEB2060SMSS - Countertop Microwave Oven User manual

GE
GE ZPSS360 User manual