www.moffatappliances.ca
Loading the Washer
Proper Use of Detergent
Sorting Wash Loads
Sort by color (whites, lights, colors), soil level, fabric type (sturdy cottons, easy care, delicates) and whether the
fabric produces lint (terry cloth, chenille) or collects lint (velveteen, corduroy). Wash lint producers such as cotton
towels and socks separate from lint collectors including synthetic garments and dress pants.
- Fire Hazard
WARNING
Never place items in the washer that are dampened with gasoline or other flammable liquids.
No washer can completely remove oil.
Do not dry anything that has ever had any type of oil on it (including cooking oils).
Doing so so can result in death, explosion, or fire.
Using too little or too much detergent is a common
cause of laundry problems.
Use less detergent if you have soft water, a smaller
load or a lightly soiled load.
For spots, apply pre-treatment to items as
recommended on the product label. Application should
be made in the basket to prevent overspray which may
cause the coloring on the lid or graphics to fade.
Place detergent pods in the bottom of the wash basket
before adding clothes.
GE recommends the use of High Efficiency detergents
such as he in your energy efficient washer.
HE detergents are formulated to work with low
water wash and rinse systems. HE detergents reduce
the oversudsing problems commonly associated with
regular detergents.
When using high efficiency or concentrated
detergents, consult the product label to determine
amount required for optimum performance. Excessive
detergent will negatively impact wash performance.
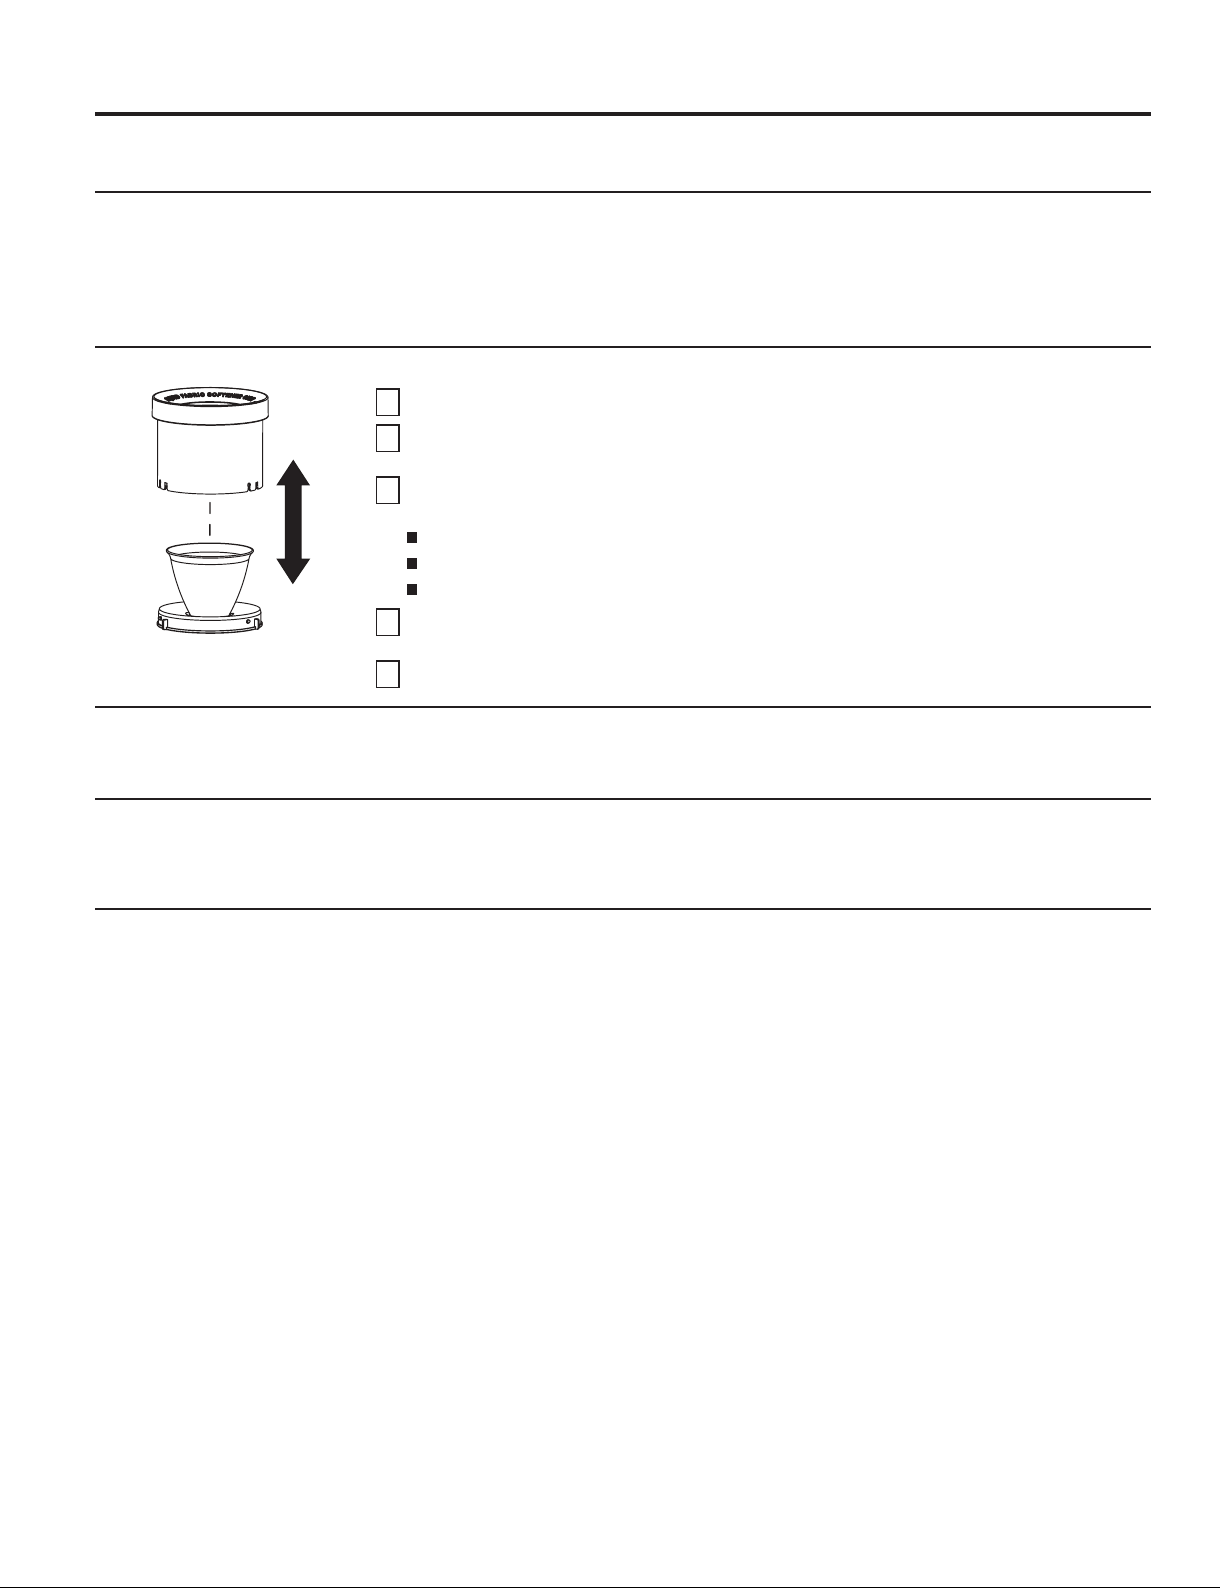
Loading and using the washer.
Always follow fabric manufacturer’s care label when laundering.
Load dry items loosely in the washer basket. For best
results, load items evenly and loosely around the
outside of the basket, filling in towards the center on
larger loads. To add items after washer has started,
press Start/Pause if the lid is locked; wait until the Lid
Lock indicator on the display is no longer illuminated
before attempting to open the lid. Lift the lid and
submerge additional items around the outside of
the basket. Close the lid and press Start to resume.
Adjust load size selection and/or use Deep Filloption if
necessary.
Do not place large items such as sheets, blankets
and towels across the Infusor (Not all features are
on all models).
Load them around the outside of the basket.
Do not put lawn or sofa cushions into the washer as
they are too big to move. Remove outer covers and
ONLY wash them.
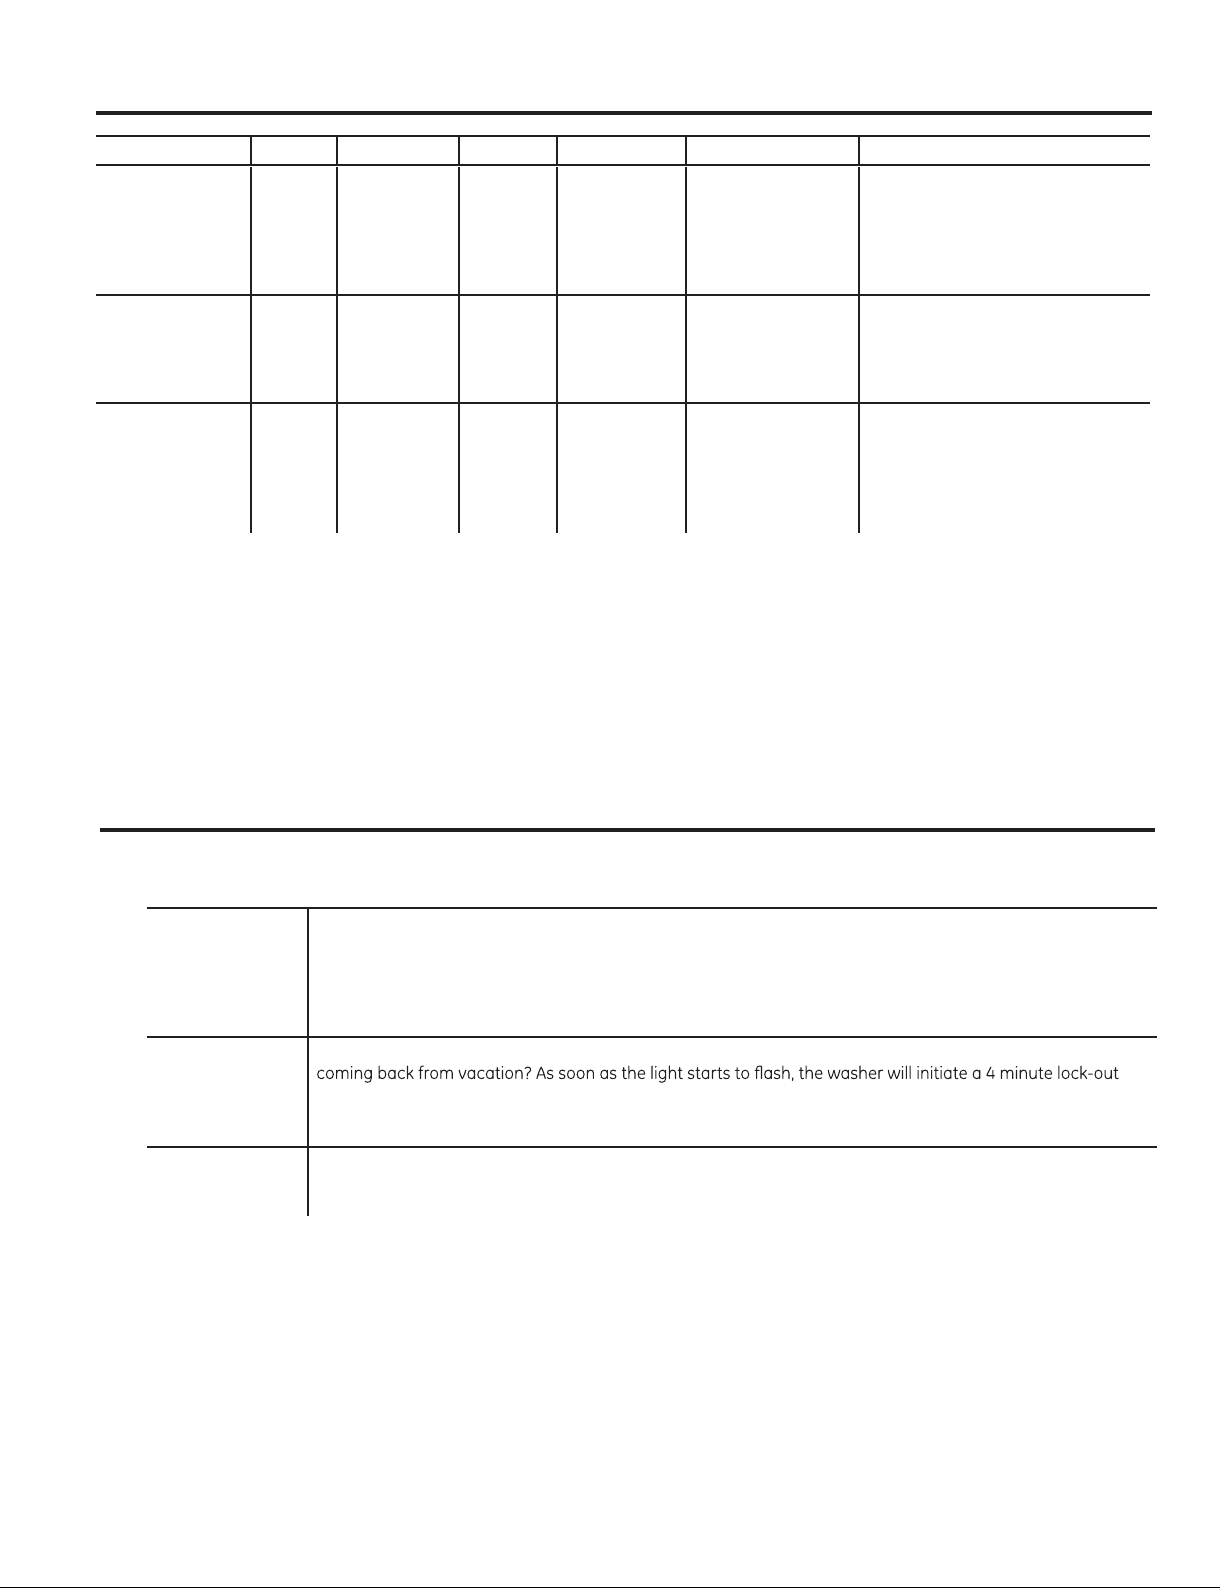
Average Small Load
Clothes Level
Water Level
Average Medium Load
Clothes Level
Water Level
Clothes Level
Water Level
Average Large Load
7