manuals.online logo
Brands
  1. Home
  2. •
  3. Brands
  4. •
  5. GE
  6. •
  7. Washer
  8. •
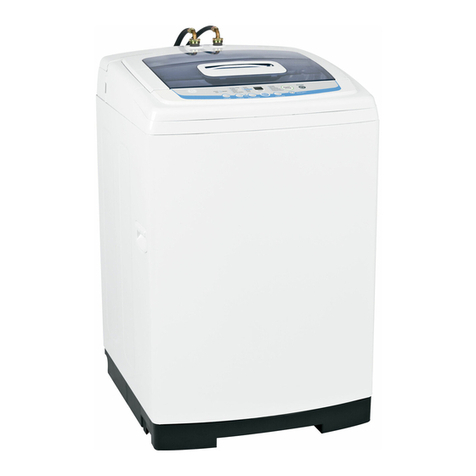
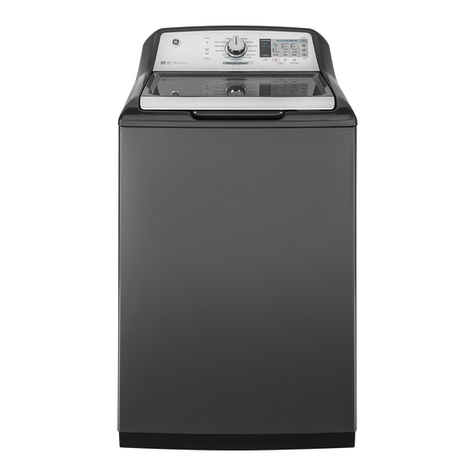
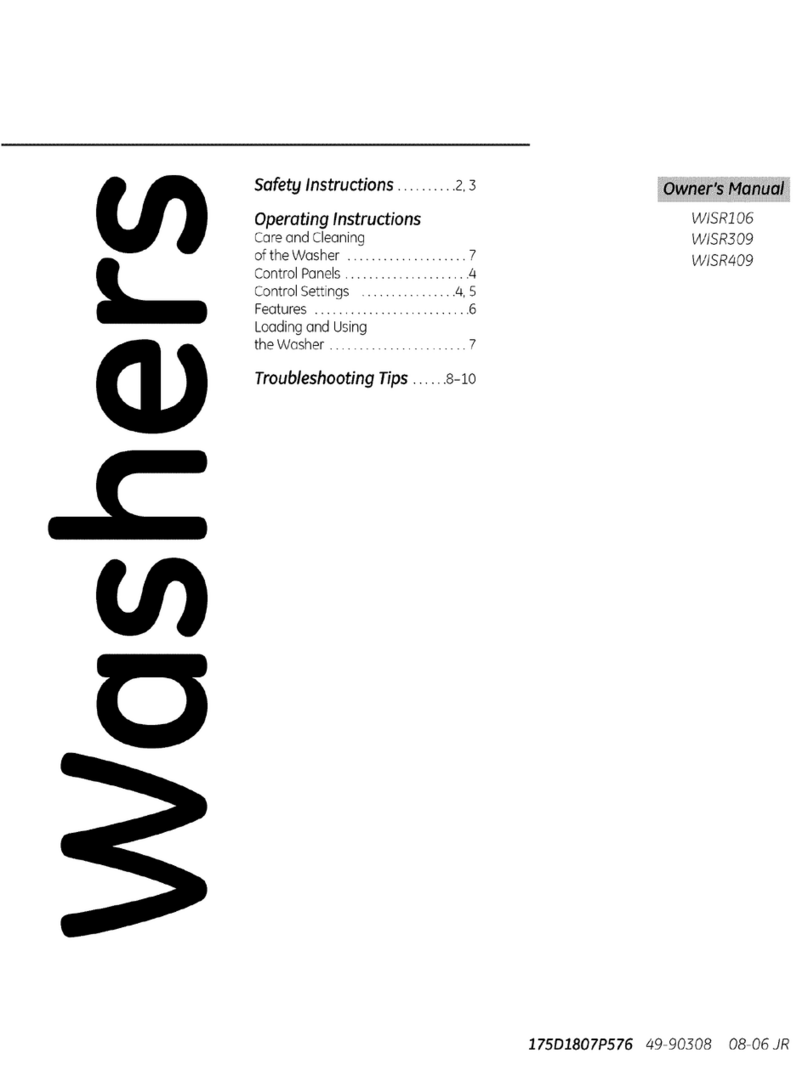
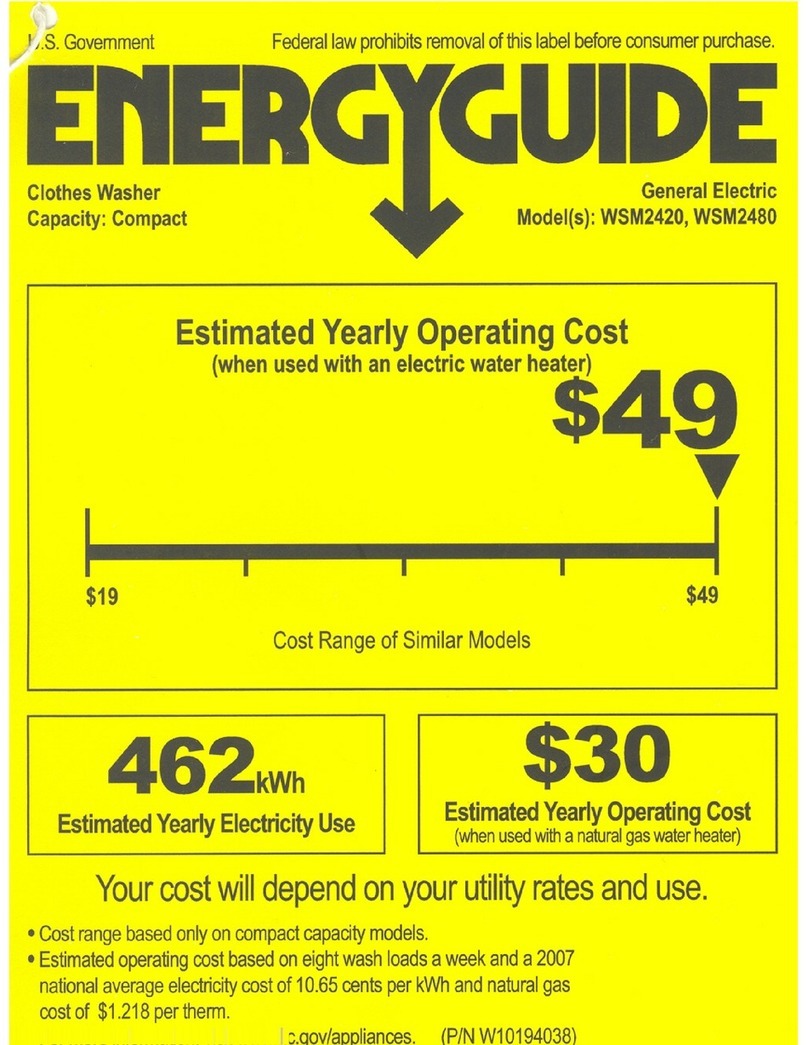
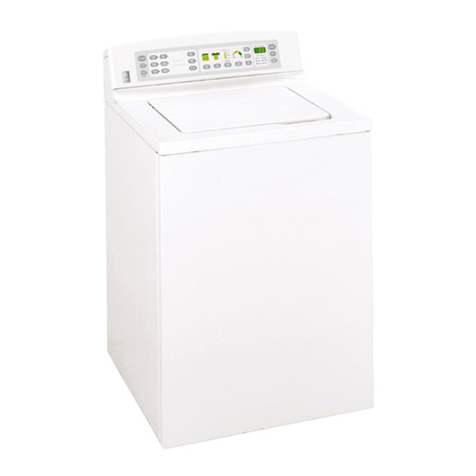
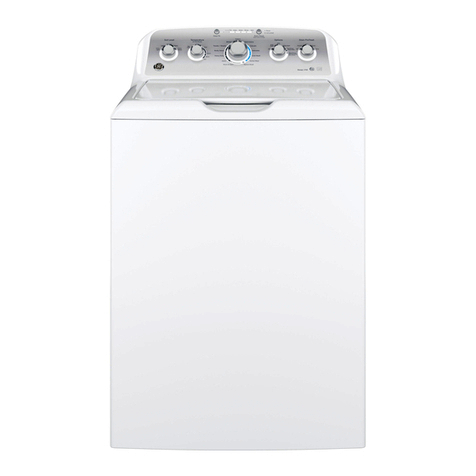
  9. GE Spacemaker WSLP1100H User manual

GE Spacemaker WSLP1100H User manual

This manual suits for next models

1

Other GE Washer manuals

GE GFWR4805 Original instructions

GE

GE GFWR4805 Original instructions

GE WDSR2080G6CC User manual

GE

GE WDSR2080G6CC User manual

GE GFW850 Original instructions

GE

GE GFW850 Original instructions

GE WNCD2050 User manual

GE

GE WNCD2050 User manual

GE WBVH Installation guide

GE

GE WBVH Installation guide

GE 175D1807P407 User manual

GE

GE 175D1807P407 User manual

GE Appliances GTWN3000M1WS User manual

GE

GE Appliances GTWN3000M1WS User manual

GE WWA8800R User manual

GE

GE WWA8800R User manual

GE VISR208CT User manual

GE

GE VISR208CT User manual

GE S2200 User manual

GE

GE S2200 User manual

GE 175D1807P283 User manual

GE

GE 175D1807P283 User manual

GE Appliances GFWN1100 Operating instructions

GE

GE Appliances GFWN1100 Operating instructions

GE G161 User manual

GE

GE G161 User manual

GE WCVH6800J1WW Operating instructions

GE

GE WCVH6800J1WW Operating instructions

GE EWA5600 User manual

GE

GE EWA5600 User manual

GE Profile PFQ97HS Technical Document

GE

GE Profile PFQ97HS Technical Document

GE Profile WJRE5550H1WW User manual

GE

GE Profile WJRE5550H1WW User manual

GE WLW3700R User manual

GE

GE WLW3700R User manual

GE 113D5497P183 User manual

GE

GE 113D5497P183 User manual

GE WCVH4800KWW User manual

GE

GE WCVH4800KWW User manual

GE GCVH6260 Original instructions

GE

GE GCVH6260 Original instructions

GE GTWN5050MWS Assembly instructions

GE

GE GTWN5050MWS Assembly instructions

GE GHDRES26 User manual

GE

GE GHDRES26 User manual

GE 500M Installation instructions

GE

GE 500M Installation instructions

Popular Washer manuals by other brands

Zanussi ZWF 14080 W user manual

Zanussi

Zanussi ZWF 14080 W user manual

Zanussi FV 825 N Instruction booklet

Zanussi

Zanussi FV 825 N Instruction booklet

LG WM8000HVA Specifications

LG

LG WM8000HVA Specifications

Whirlpool 3RGSC9400 Use and care guide

Whirlpool

Whirlpool 3RGSC9400 Use and care guide

Zanussi TJ 1284 H instruction manual

Zanussi

Zanussi TJ 1284 H instruction manual

AEG KO-LAVAMAT 74740 User information

AEG

AEG KO-LAVAMAT 74740 User information

Beko WSRE7512PRA user manual

Beko

Beko WSRE7512PRA user manual

Whirlpool LA5OOOXP Use and care guide

Whirlpool

Whirlpool LA5OOOXP Use and care guide

Miele PW 6207 operating instructions

Miele

Miele PW 6207 operating instructions

Bush WMNB712EB instruction manual

Bush

Bush WMNB712EB instruction manual

ALLIANCE UW60AV Information manual

ALLIANCE

ALLIANCE UW60AV Information manual

Bosch WAN280H3 User manual and installation instructions

Bosch

Bosch WAN280H3 User manual and installation instructions

Maytag MAT15MNAW installation instructions

Maytag

Maytag MAT15MNAW installation instructions

LG T2109VSAL owner's manual

LG

LG T2109VSAL owner's manual

Indesit IWC 61481 Instructions for use

Indesit

Indesit IWC 61481 Instructions for use

Electrolux EWF12843 user manual

Electrolux

Electrolux EWF12843 user manual

Indesit WIN 70 Instructions for use

Indesit

Indesit WIN 70 Instructions for use

Whirlpool Cabrio WTW6400SW2 quick start guide

Whirlpool

Whirlpool Cabrio WTW6400SW2 quick start guide

manuals.online logo
manuals.online logoBrands
  • About & Mission
  • Contact us
  • Privacy Policy
  • Terms and Conditions

Copyright 2025 Manuals.Online. All Rights Reserved.

Dimensions and Installation Information (in inches)
Circuit Requirements: An individual, properly-grounded
branch circuit, with a three-prong grounding-type
receptacle, protected by a 15 or 20 amp circuit breaker
or a time-delay fuse, is required.
Electrical Rating: 115V, 60Hz, 10A
Washer Note: Washer wall outlet must be located
within 36" of service cord entry. Wall outlet must not
be located behind dryer.
Installation Information: For complete information, see
installation instructions packed with your washer.
For answers to your Monogram,® GE Profile™or
GE®appliance questions, visit our website at
ge.com or call GE Answer Center®service,
800.626.2000.
360437
WSLP1100H
GE Spacemaker®Portable Washer
Listed by
Underwriters
Laboratories
Specification Created 12/06
WSLP/WSLS1100DWW
07/07-03
Spacemaker Dryer
PREWASH
NORMAL
WASH
RINSE ONL
Y
SPIN ONL
Y
PREWASH
NORMAL
WASH
RINSE ONL
Y
SPIN ONL
Y
COLORS
WHITES
DELICA
TES
QUICK WASH
LOADRINSING
HOT/COLD
WARM/COLD
COLD/COLD
TIME
REMAINING
MIN
CLOTHES CARE CYCLE SELECTION
WASH
OPTIONSLOAD
SIZEWASH
CY
CLE
TEMP
WASSH/RINSE
ST
ART
P
AUSE
POWER
ON/OFF
For answers to your Monogram,® GE Profile™or
GE®appliance questions, visit our website at
ge.com or call GE Answer Center®service,
800.626.2000.
360437
WSLP1100H
GE Spacemaker®Portable Washer
Listed by
Underwriters
Laboratories
Specification Created 12/06
20" Max.
Opening
120V 20A or
208-240V 30A
3-3/4
3
3
Rear
Exhaust
5-1/8
8
74-1/8
78 74-1/8
Service
Cord
Entry at
Bank of
Appliances
R.H
EXH
5-1/8
4" Dia.
Exhaust
3-1/8
Both
Sides
33-1/4
38
79-1/4
32
2 x 4
2 x 4
6
24-1/2
DSKS433
DSKS333
WSLP1100
WSLS1100
Standpipe
33" Minimum
If Less Than 33"
Use Syphon
Break Kit
WH49X228
26
28
23-7/8
6
120V
15 or 20A
1-1/2
23-5/8
Standpipe
& Faucets
33" Min.
portbl_or_statnry_bifl_wshr.eps
46
20" Max.
Opening
120V 20A or
208-240V 30A
3-3/4
3
3
Rear
Exhaust
5-1/8
8
68-1/8
72 68-1/8
Service
Cord
Entry at
Bank of
Appliances
R.H
EXH
5-1/8
4" Dia.
Exhaust
3-1/8
Both
Sides
33-1/4
38
73-1/4
32
2 x 4
2 x 4
6
24-1/2
DSKS433
DSKS333
WSLP1100
Standpipe
33" Minimum
If Less Than 33"
Use Syphon
Break Kit
WH49X228
26
28
23-7/8
6
120V
15 or 20A
1-1/2
23-5/8
Standpipe
& Faucets
33" Min.
40
Use this drawing when space will not allow for opening of
washer lid. Washer must be rolled forward for use.
Usethisdrawingwhenspaceallowsforstandardinstallation
with room for washer lid opening.
Dimensions and Installation Information (in inches)
360437
WSLP1100H
GE Spacemaker®Portable Washer
Specification Created 12/06
This kit consists of the following:
1 Wall mounting bracket
2 Bottom Brackets
6-1/4 x 3 inch wood screws
7-1/4 x 1-1/2 inch wood screws
12 washers
Dryer Requirements
Carefully read and follow
individual dryer installation
instructions for exhausting
requirements.
GENERAL INFORMATION:
The back of the dryer is not accessible for service or maintenance after dryer mounting installation is
complete. It is recommended that the dryer be checked and electrical installation completed prior to
mounting. For service or maintenance requiring rear access, the dryer must be removed from the wall.
CAUTION: DISCONNECT ELECTRICAL CURRENT BEFORE INSTALLING OR SERVICING DRYER.
The electrical outlet must be located above the dryer, or beside the dryer if adequate dryer-to-wall
clearance is available. The outlet must be within three feet on a 240 volt dryer or a 120 volt dryer from
the service cord entry on the rear of the dryer.
DRYER MOUNTING POSITION
These instructions explain two mounting positions for your 24 inch dryer.
INSTALLATION PROCEDURE:
1. Obtain two pieces of 2x4 long enough to span at least two wall studs and the width of the dryer.
2. Locate wall stud center lines. Mark wall stud center lines on two pieces of 2x4 in relationship to
position dryer is to be mounted.
3. Referring to dimensional drawing, draw a horizontal reference line (78") from the floor to locate
upper 2x4 support.
4. Position, level and secure upper 2x4 with four 1/4 x 3 inch wood screws. The bottom of the 2x4
should be positioned on reference line.
5. Referring to dimensional drawing, draw a horizontal reference line 32" down from the bottom of the
upper 2x4 support.
6. Position, level and secure lower 2x4 with two 1/4 x 3 inch wood screws. The center line of the 2x4
should be positioned on reference line.
7. Referring to figure 1, mount the metal wall bracket 1/8 inch from the bottom of the upper 2x4
support with five 1-1/2 inch wood screws.
8. Referring to figure 2, remove one screw from each lower rear corner of dryer and, using same
screws, secure lower brackets (supplied) as shown.
9. Dryer is supplied with exhaust at the top, locate and install outside exhaust duct referring to the
dimensional drawing. For other optional exhaust directions as shown in dimensional drawing
(rear and sides) refer to dryer installation instruction sheet.
10. Position the dryer on the wall mounting bracket and check that the dryer is plumbed.
11. If the dryer needs plumbing, use some of the twelve washers supplied with the kit as spacers
behind lower brackets of figure 2 and secure the dryer to the lower 2x4 support using the
remaining 1-1/2 inch wood screws.
CAUTION
The 120 volt receptacle on the back of the
240 volt dryer must not be used with this
wall mount kit.
WALL BRACKET
REAR VIEW FRONT VIEW
2 x 4
figure 1
figure 2
wall_bracket_lineart.eps
1
/
8
" MAX
WMK-35 Wall Kit Installation
Figure 1
Figure 2
Dimensions and Installation Information (in inches)
360437
WSLP1100H
GE Spacemaker®Portable Washer
Specification Created 12/06
Features and Benefits
• 2.5 cu. ft. extra-large capacity
• Electronic One-Touch Controls with LED Read-Out – Simplify cycle
selection and provide accurate cycle times
• One-Touch Loading Sensing – Eliminates guesswork and helps reduce
water waste
• 10 Wash Cycles – Delivers optimal cleaning results
• Three Wash/Rinse Temperatures – Offer better wash results and
longer fabric life
• One Wash/Spin Speed – Matches wash action to fabric type for better
cleaning and clothes care
• Four Water Levels – Offers water and energy savings
• Stainless Steel Basket – It resists rust and won’t chip, peel or
snag clothes
• Model WSLP1100HWW – White
WSLP/WSLS1100DWW
07/07-03
Spacemaker Dryer
PREWASH
NORMAL
WASH
RINSE ONL
Y
SPIN ONL
Y
PREWASH
NORMAL
WASH
RINSE ONL
Y
SPIN ONL
Y
COLORS
WHITES
DELICA
TES
QUICK WASH
LOADRINSING
HOT/COLD
WARM/COLD
COLD/COLD
TIME
REMAINING
MIN
CLOTHES CARE CYCLE SELECTION
WASH
OPTIONSLOAD
SIZEWASH
CY
CLE
TEMP
WASSH/RINSE
ST
ART
P
AUSE
POWER
ON/OFF