8
Flush System and Check Operation
With all components in place, complete final tubing connections using these guidelines:
- Tubing should follow contour of the cabinets
- Cut tubing to desired length using square cuts and proper cutting device
- Make no sharp bends
- Keep tubing from the post-filter to the faucet as short as practical for good flow.
- Leave enough tubing that the system can easily be pulled out from the cabinet for easy filter
changes.
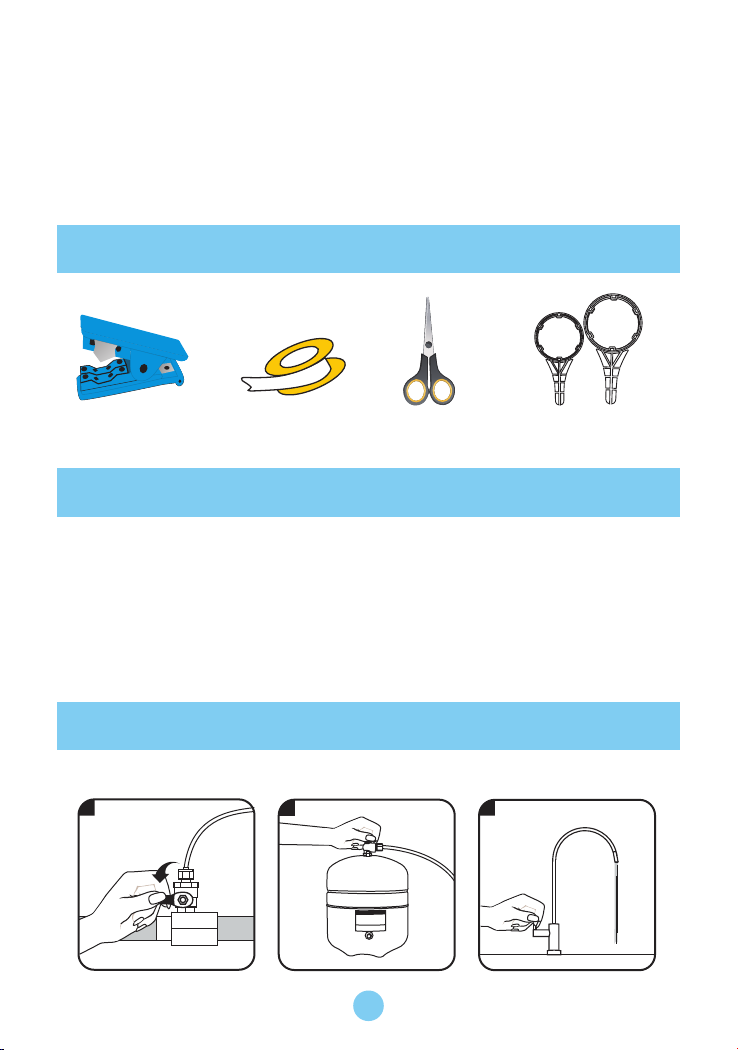
Connect 3/8" white tube from faucet to RO unit.
Connect 3/8" white tube from tank to RO unit.
Connect 1/4" white tube from supply valve to RO unit.
Connect 1/4" red tube from drain valve to RO unit.
Check all connections to be sure they are secure.
Turn on feed water diverter valve and check for leaks.(turn off and correct leaks if leaks occur).
Procedure (Standard Faucet)
1.
2.
3.
4.
5.
6.
PS.It is basis of Geekpure RO system.(If not Geekpure RO system,it may 1/4”tube or
other color)
Check all connections to be sure they are secure.
Turn on feed water valve and check for leaks. (turn off and correct leaks if leaks occur).
Close faucet and wait 5 minutes to see if leaks result. (turn off and correct leaks if leaks occur).
Start-up
1.
2.
3.
Open faucet handle and allow tank to completely drain. Do not use this water. (When tank is
empty, faucet will steadily drip. This is the rate of R/O system processes water).
Close faucet and reinspect system for leaks.
Allow system to process water for approximately 2 hours, at which point tank will be practical-
ly full.
Open faucet again and allow tank to empty for a second time. Do not use this water.
Wait another 2 hours to allow tank to re-fill.
Flush System and Check Operation
1.
2.
3.
4.
5.