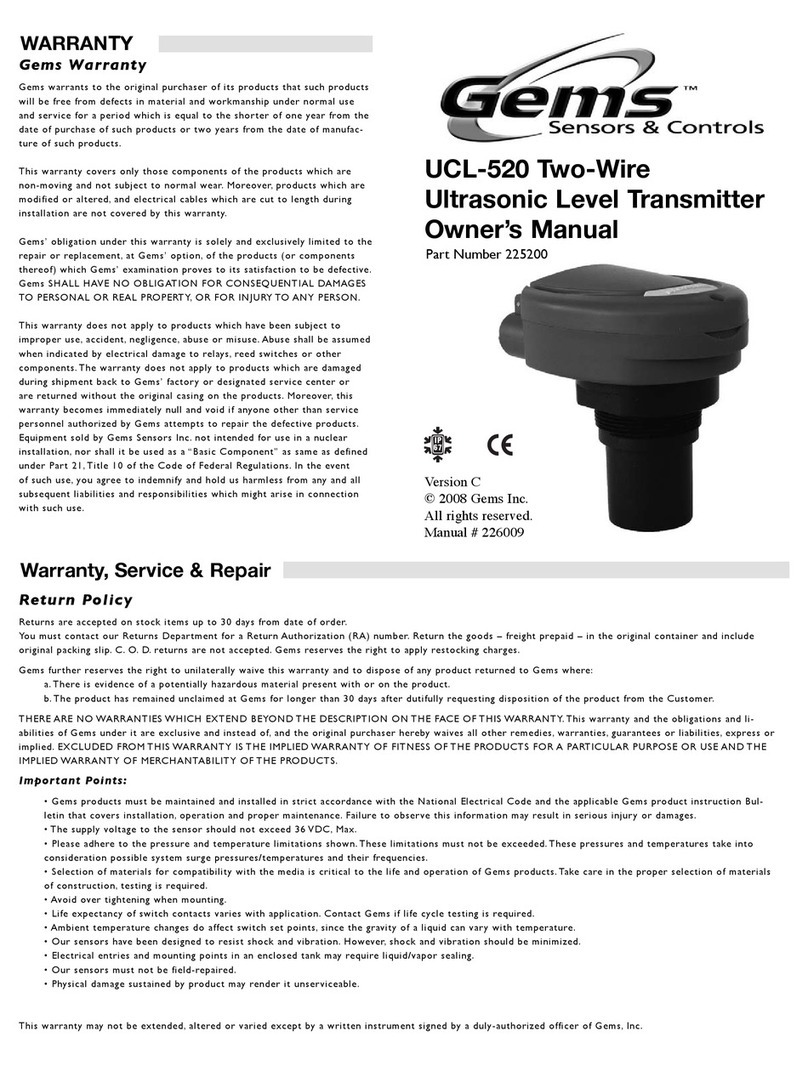
Gems Sensors & Controls UCL-510 User manual

Warranty
Gems Warranty
Gems warrants to the original purchaser of its products that such products will be free from defects in material and
workmanship under normal use and service for a period which is equal to the shorter of one year from the date of
purchase of such products or two years from the date of manufacture of such products.
This warranty covers only those components of the products which are non-moving and not subject to normal wear.
Moreover, products which are modified or altered, and electrical cables which are cut to length during installation are
not covered by this warranty.
Gems’ obligation under this warranty is solely and exclusively limited to the repair or replacement, at Gems’ option, of
the products (or components thereof) which Gems’ examination proves to its satisfaction to be defective. Gems SHALL
HAVE NO OBLIGATION FOR CONSEQUENTIAL DAMAGES TO PERSONAL OR REAL PROPERTY, OR FOR INJURY
TO ANY PERSON.
This warranty does not apply to products which have been subject to improper use, accident, negligence, abuse or misuse.
Abuse shall be assumed when indicated by electrical damage to relays, reed switches or other components.The warranty
does not apply to products which are damaged during shipment back to Gems’ factory or designated service center or
are returned without the original casing on the products. Moreover, this warranty becomes immediately null and void if
anyone other than service personnel authorized by Gems attempts to repair the defective products.
Equipment sold by Gems Sensors Inc. not intended for use in a nuclear installation, nor shall it be used as a “Basic Com-
ponent” as same as defined under Part 21, Title 10 of the Code of Federal Regulations. In the event of such use, you
agree to indemnify and hold us harmless from any and all subsequent liabilities and responsibilities which might arise in
connection with such use.
Return Policy
Returns are accepted on stock items up to 30 days from date of order.
You must contact our Returns Department for a Return Authorization (RA) number. Return the goods – freight prepaid
– in the original container and include original packing slip. C. O. D. returns are not accepted. Gems reserves the right
to apply restocking charges.
Gems further reserves the right to unilaterally waive this warranty and to dispose of any product returned to Gems
where:
a.There is evidence of a potentially hazardous material present with or on the product.
b.The product has remained unclaimed at Gems for longer than 30 days after dutifully requesting disposition of
the product from the Customer.
THERE ARE NO WARRANTIES WHICH EXTEND BEYOND THE DESCRIPTION ON THE FACE OF THIS WAR-
RANTY.This warranty and the obligations and liabilities of Gems under it are exclusive and instead of, and the original
purchaser hereby waives all other remedies, warranties, guarantees or liabilities, express or implied. EXCLUDED FROM
THIS WARRANTY IS THE IMPLIED WARRANTY OF FITNESS OF THE PRODUCTS FOR A PARTICULAR PURPOSE
OR USE AND THE IMPLIED WARRANTY OF MERCHANTABILITY OF THE PRODUCTS.
Important Points:
• Gems products must be maintained and installed in strict accordance with the National Electrical Code and the
applicable Gems product instruction Bulletin that covers installation, operation and proper maintenance. Failure to
observe this information may result in serious injury or damages.
• The supply voltage to the sensor should not exceed 36 VDC, Max.
• Please adhere to the pressure and temperature limitations shown. These limitations must not be exceeded.
These pressures and temperatures take into consideration possible system surge pressures/temperatures and
their frequencies.
• Selection of materials for compatibility with the media is critical to the life and operation of Gems products.Take
care in the proper selection of materials of construction, testing is required.
• Avoid over tightening when mounting.
• Life expectancy of switch contacts varies with application. Contact Gems if life cycle testing is required.
• Ambient temperature changes do affect switch set points, since the gravity of a liquid can vary with tempera-
ture.
• Our sensors have been designed to resist shock and vibration. However, shock and vibration should be mini-
mized.
• Electrical entries and mounting points in an enclosed tank may require liquid/vapor sealing.
• Our sensors must not be field-repaired.
• Physical damage sustained by product may render it unserviceable.
This warranty may not be extended, altered or varied except by a written instrument signed by a duly-authorized officer
of Gems, Inc.
8
225835 REV: D1
© 2007 Gems, Inc.
All Rights Reserved
Made In USA
Manual
UCL-510
Part Number 225100

Level sensing at its best!
Thank you for purchasing Gems new innovative small tank solution.The
UCL-510 is a general purpose sensor that combines switch, controller and
transmitter capabilities for small tanks 49.2” (1.25 m) or less.
Configuration
UCL-510 is configured through Configuration, a PC software program. Con-
figuration is a free download from Gems website. You must download and
install Configuration prior to plugging in the USB® Fob. Please go to http://
www.Gemssensors.com/software.
Configuration Software
System Requirements
Windows® XP or 2000
10 mB hard drive space
256 mB RAM
1 USB® 2.0 port
Internet connection
Range:
Accuracy:
Resolution:
Beam width:
Dead band:
Supply voltage:
Loop resistance:
Consumption:
Signal output:
Contact type:
Loop fail-safety:
Relay fail-safety:
Hysteresis:
Configuration:
Temp. comp.:
Process Temp.:
Ambient Temp.:
Pressure:
Enclosure:
Encl. material:
Strain relief mat.:
Trans. material:
Cable length:
Cable jacket mat.:
Process mount:
Mount. gasket:
Classification:
Approvals:
49.2” (1.25 m)
0.125" (3 mm)
0.019" (0.5 mm)
2" (5 cm)
2" (5 cm)
24 VDC (loop)
400Ωmax
0.5W
4-20 mA , two-wire
(when loop powered)
(4) SPST relays 1A
4 mA, 20 mA, 21 mA,
22 mA or hold last
Power loss: Hold last
Power on: Open, close
or hold last
Selectable
Software, PC Windows®
USB 2.0
Automatic over range
F: 20˚ to 140˚
C: -7˚ to 60˚
F: -31˚ to 140˚
C: -35˚ to 60˚
MWP = 30 PSI
Type 6P
encapsulated, corrosion
resistant & submersible
PC/ABS FR
Santoprene
PVDF
48” (1.2 m)
Polyurethane
1" NPT (1" G)
Viton®
General purpose
CE, cFMus
Specifications
Safety
1. Installation should be done by properly trained staff
2. Supply voltage should never exceed a maximum of 24 VDC
3. Always use stepper relays between the sensor and external loads
4. Make sure the sensor is chemically compatible with your application
5. Design a fail-safe system that accommodates the possibility of sensor and/or power failure.
6. This sensor should not be used in classified hazardous environments
2 7
Wiring
Dimensions
RoHS
Compliant

RED
BLAC
K
G
REE
N
WHITE
USB® Fob Interface
UCL-510 communicates with the configuration software through a USB® in-
terface called a Fob. Before plugging your Fob into your computer’s USB®
2.0 port, be sure that you have installed the configuration software on your
computer.
Connect the red, green, white and black wires from UCL-510 into the correct
terminals on the Fob.Tighten the screws on the terminals and plug your Fob
into the USB® 2.0 port of your computer.
Configuration
With UCL-510 connected to your computer, open the Configuration soft-
ware. Follow steps 1-3 (pg. 4-5) to configure the UCL-510. Click “Help” in the
lower right hand corner and follow the help menu for further assistance.
Mounting Guide
1. Do not mount at an angle
2. Liquid should never enter the 2” dead band
3. Mount at least 2” from the side wall
4. Do not mount where obstacles will intrude on 2” beam width
5. Do not mount in a vacuum
6. Never screw directly into tank, always use a non-metallic fitting
7. Always use a tank adapter with the minimal height possible
Height
Inner Diameter
Inner Dia.
2" (5 cm)
3" (7.6 cm)
4" (10 cm)
6" (15 cm)
Max. Height
4” (10 cm)
6" (15 cm)
8” (20 cm)
12” (30 cm)
Riser Specifications
6 3
Wiring UCL-510
After you have finished positioning and mounting the UCL-510, use the wir-
ing diagram created in the configuration software to wire the unit. Always
use an external relay in-between UCL-510 and any components. Gems
Sensors recommends using a licensed electrician to wire UCL-510 and your
application’s components. Once the UCL-510 is mounted and wired, observe
your application and double check your relay set points.
Tank Adapter: Select a tank adapter with
minimum height to ensure that UCL-510’s
transducer will not be substantially elevated
inside the fitting. Gems recommends using a
2” x 1”, thread by thread, reducer bushing.
Riser: Use the riser specifications guide and
match your riser’s inner diameter with the
height.
Flange: Select a flange with a thread that is
above the plane of the flange. If your instal-
lation requires the use of a blind flange, tap
a 2” thread and use a thread by thread re-
ducer bushing (see tank adapter).
Stand Pipe: Use a stand pipe when surface
foam or turbulence are present. Use a 2”
diameter pipe or larger with a length that
runs the distance of the span. Cut a 45º
notch at the bottom and a 1/4” hole within
2” from bottom of the transducer face.
Dead Band
Ventilation
Hole
Operational Range
Highest
Liquid
Level
Lowest
Liquid
Level
2" Minimum
Diameter
* Once the unit has been configured, the
White and Green wires must be isolated
from the active power to prevent a shorting
of the configuration circuit.

4 5
This section of Configuration is where you select
the application’s configuration settings. Start
from the top and work to the bottom, choosing
the selections that are applicable to your con-
figuration. “Not Applicable” will automatically
show when a selection doesn’t apply to your
configuration settings, and you may move on. All
configuration settings must be selected or have
“Not Applicable” before you can continue to
step 2.
Right click on any menu that you may have ques-
tions on to open the help menu.
Configuration Step 3: Write to Unit
After you have entered configurations and tank values, click “Write to Unit”
and send the configuration to UCL-510. Now use the configuration soft-
ware’s file management features to save your configuration by clicking “Save
Config File” and print your wiring diagram by clicking “Wiring Diagram.”
Position and Mount
Positioning and mounting UCL-510 is critical to the sensor performing cor-
rectly. UCL-510 should always be mounted perpendicular to the liquid in
the tank, clear of any obstructions in the beam path. Not doing so will result
in poor performance. Refer to Gems mounting guide on pg. 6 for further
instruction.
Always use
supplied Viton®
Gasket
Always use cor-
rect tank adapter
(refer to Mounting
Guide on pg. 6)
Always mount
perpendicular to
the liquid in the
tank and clear of
any obstructions
in the beam path.
Sensor Height: Distance from the bot-
tom of the tank to the bottom of the
transducer.
Fill Height: Distance from the bottom
of the tank to the maximum liquid
height.
Relay Set Points: Distance from the
bottom of the tank to set-points.
Right click on any value you may have
questions on to open the help menu.
Configuration Step 2: Tank Levels
Configuration Step 1: Configuration
This section of Configuration is where you enter application measurement
values. All values must be filled in before moving to step 3.
Example Wiring Diagram
UCL-510
Other Gems Sensors & Controls Transmitter manuals