General Data Healthcare TBS SHURDry Slide Dryer III Series User manual

®
A Division of General Data Healthcare
Histology Innovation for a NEW Generation
Operator’s Manual
Product Name
Here
SHURDry™ Slide Dryer III
Catalog #s
SD-III-120; SD-III-220
Pub No.: OM SD-III
June 2013, Version 3.0
SD-III-120, SD-III-220

2 | Page
General Data Healthcare, Inc.
Contents
1.0 INTRODUCTION ............................................................................................................................3
1.1 Contact Information......................................................................................................................3
2.0 UNPACKING...................................................................................................................................4
2.1 Contents ........................................................................................................................................4
2.2 Serial Number...............................................................................................................................5
3.0 SETUP and INSTALLATION..........................................................................................................6
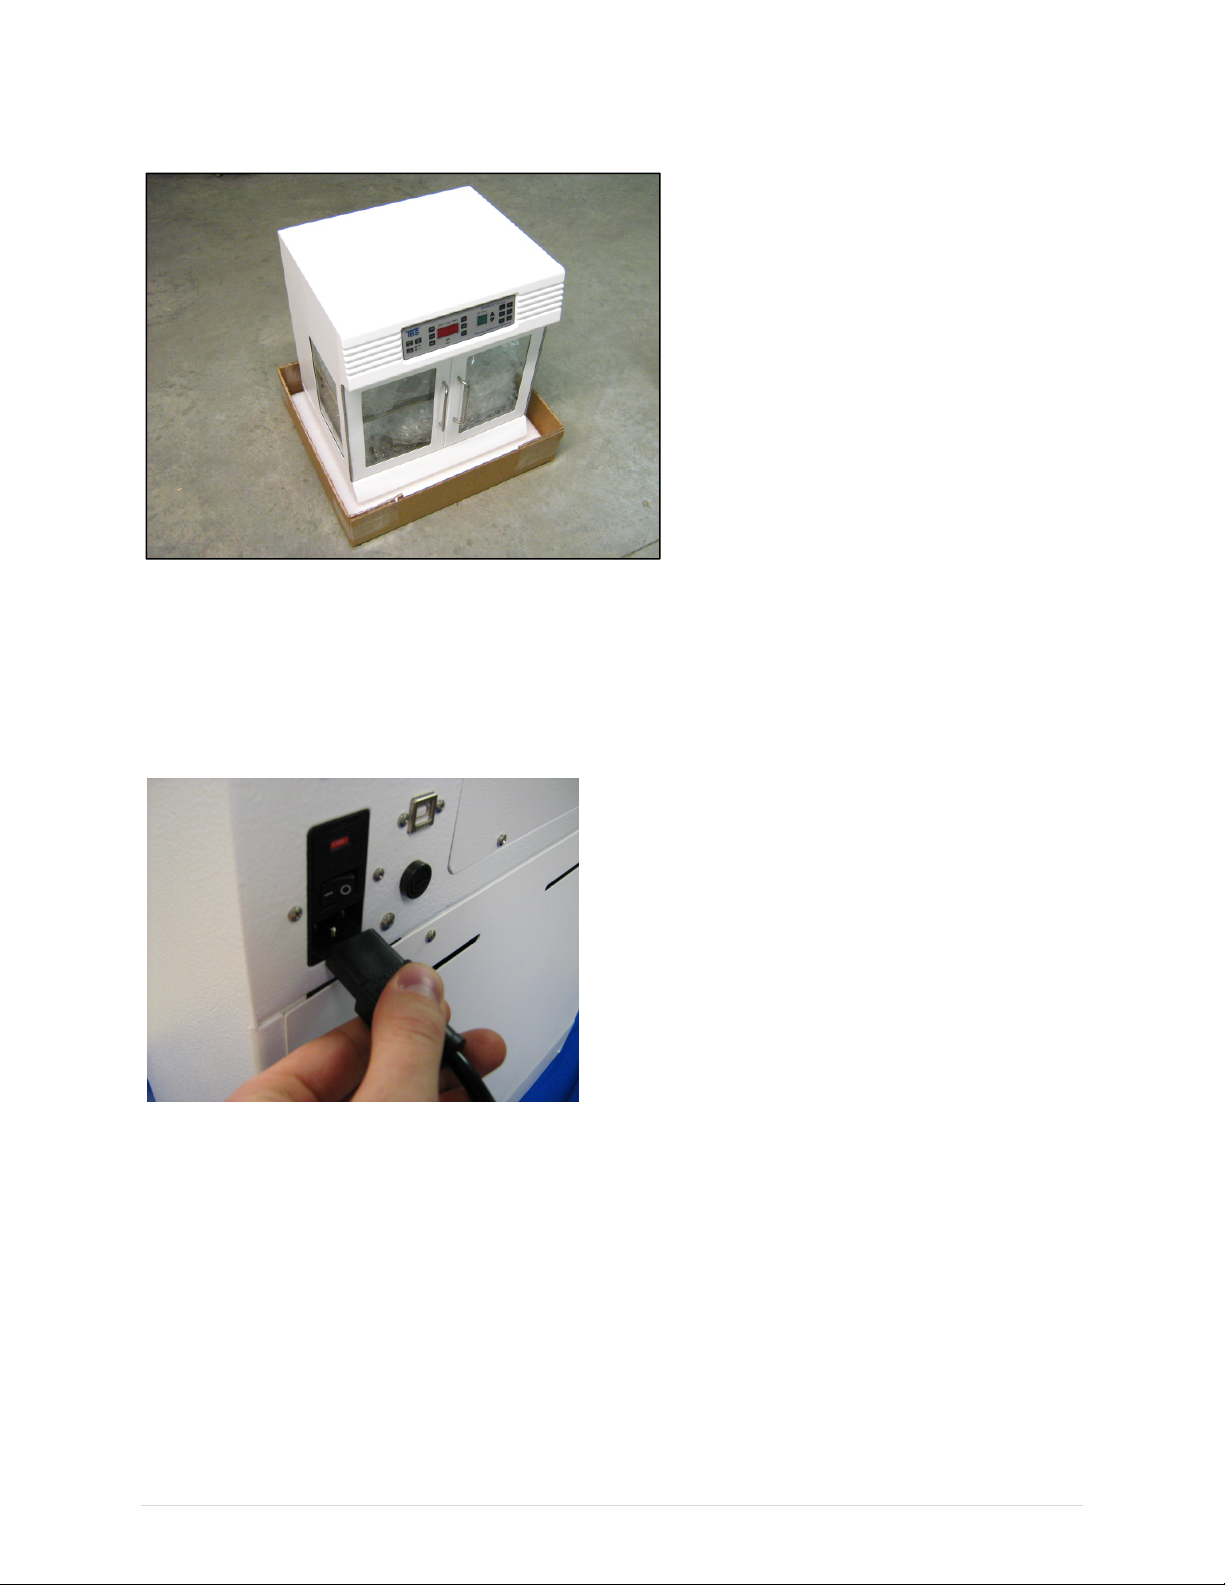
3.1 Step 1 ............................................................................................................................................6
3.2 Step 2 ............................................................................................................................................7
3.3 Step 3 ............................................................................................................................................8
3.4 Pull Doors to Open........................................................................................................................9
4.0 SPECIFICATIONS.........................................................................................................................10
4.1 SD-III-120 or -220......................................................................................................................10
5.0 OPERATING INSTRUCTIONS....................................................................................................12
5.1 Control Panel Key Descriptions..................................................................................................12
5.2 Typical Use Instructions .............................................................................................................13
6.0 MAINTENANCE ...........................................................................................................................14
6.1 Cleaning......................................................................................................................................14
6.2 FUSE REPLACEMENT.............................................................................................................16
7.0 WARNING.....................................................................................................................................17
7.1 Sharp Edges ................................................................................................................................17
7.2 Electric Shock.............................................................................................................................17

3 | Page
General Data Healthcare, Inc.
1.0 INTRODUCTION
Thank you for selecting TBS’ SHURDry™Slide Dryer III. This instrument was carefully designed to be
easy to use, safe to operate and capable of producing consistent, high quality results.
This operation manual introduces the instrument’s components, key features and proper use. Please read
this operation manual carefully before utilizing the fume hood.
The employees of TBS thank you for your support. Feel free to call TBS customer service at 919-384-
1.1 Contact Information
1.1.1 TBS Corporate Headquarters
Phone: 919-384-9393
Fax: 919-384-9595
E-mail: [email protected]
Web: http://www.trianglebiomedical.com
1.1.2 Product Service Department
Phone: 919-384-9393
E-mail: [email protected]

4 | Page
General Data Healthcare, Inc.
2.0 UNPACKING
Be certain to inspect the shipping container carefully for any signs of damage to the outer carton. In the
event of apparent mishandling, note the damage accordingly on the bill of lading and take pictures for
future reference. Save the shipping carton and all packing material for proof of noted damage and / or for
future shipment of the instrument back to the manufacturer for any future service needs. Failure to
document external damage to the carton may limit your ability to obtain compensation from the carrier for
damage. Remove the equipment from the shipping carton carefully. Notify the carrier immediately if
there is any visible damage to the contents.
2.1 Contents
Description Qty Illustration
Operator’s Manual 1
Slide Dyer III 1
Power Cord 1
PARAGard
™
Paraffin
Repellent 1

5 | Page
General Data Healthcare, Inc.
2.2 Serial Number
2.2.1 Location
2.2.2 Serial Number Label
2.2.2.1 120V Version Serial Number

6 | Page
General Data Healthcare, Inc.
2.2.2.2 220V Version Serial Number
3.0 SETUP and INSTALLATION
3.1 Step 1
3.1.1 Remove Slide Dryer from Packaging

7 | Page
General Data Healthcare, Inc.
3.2 Step 2
3.2.1 Install the Power Cord
3.2.1.1 Ensure Power Switch is in “OFF” position.

8 | Page
General Data Healthcare, Inc.
3.3 Step 3
3.3.1 Turn the Power “ON”
3.3.2 When powering on, Unit Firmware type is displayed.
3.3.3 When powering on, Firmware version is displayed.

9 | Page
General Data Healthcare, Inc.
3.4 Pull Doors to Open

10 | Page
General Data Healthcare, Inc.
4.0 SPECIFICATIONS
4.1 SD-III-120 or -220
4.1.1 Specifications Illustration

11 | Page
General Data Healthcare, Inc.
4.1.2 Specifications Table

12 | Page
General Data Healthcare, Inc.
5.0 OPERATING INSTRUCTIONS
5.1 Control Panel Key Descriptions
5.1.1 Clock
This button changes the 4 digit display to now show the current time. When the
clock is being displayed, the period between the hours and minutes digits will be on
(no blinking).
5.1.2 TEMP/CLOCK/TIMER Display Screen
Displays the clock time, temperature, or timer value depending on the current mode.
5.1.3 CLOCK/TEMP/TIMER Setting Keys
Pressing the “+” button increases the HRS or MIN and pressing the “-“ button
decreases the HRS or MIN of the time.
5.1.4 FAN
Press this button to turn the fan on high, low and off.
5.1.5 MIN
This button places the unit into a set mode. If the clock is currently being displayed,
it causes the minute LED to blink indicating to the user that they may now set the
minutes. The minutes are then set with the + and – keys on the far right. The set
mode will exit if any key other than the + or – key are depressed. The same is true
when setting the TIMER or individual timers F1-F6.

13 | Page
General Data Healthcare, Inc.
5.1.6 HRS
This button places the unit into a set mode. If the clock is currently being displayed,
it causes the hour’s button to blink indicating to the user that they may now set the
hours. The hours is then set with the + and – keys on the far right. The set mode will
exit if any key other than the + or – key are depressed. The same is true when setting
the TIMER or individual timers F1-F6.
5.1.7 HEAT LED (RED LED)
These LEDs indicates that the heater is ON. The LED blinks when the heater is
working to reach the set temperature.
5.1.8 LIGHT
This button activates the fluorescent tube light.
5.1.9 START
This button starts the TIMER.
5.2 Typical Use Instructions
5.2.1 Setting Clock Time
Utilize CLOCK button to display time in CLOCK/FILTER LIFE window. Press
HRS button then utilize +/- buttons to increase/decrease hour setting. Press MIN
button to utilize +/- buttons to increase/decrease minute setting. Depress CLOCK
button once to display time in 12 hour format, twice to display time in 24 hour
format. A colon will blink in 1 second increments when clock is being displayed.
5.2.2 Operating TIMER
Press TIMER button to display the timer. The readout is in hours and minutes. The
hours and minutes are adjusted by pressing the HRS or MIN buttons and using the
+/- buttons to increase/decrease the values. The START button is used to start the
timer. The HEAT button interrupts the timer and resets it to the set value. The
bottom decimal, separating the hours and minutes LED segments, blinks when the
timer is running.
5.2.3 Function Key Operation (F1-F6)
The function keys currently serve as individual timers in addition to the main
TIMER. These timers default to the main TIMER setting value. Press and hold the
function key in order to start the timer. Quick press a function key to display the
time remaining on the individual timer. Press and hold the function key in order to
interrupt and reset the timer. Press the function key to stop the alarm when the timer
expires. In addition to the alarm, values T1-T6 are momentarily displayed in the
Temperature LED to indicate to the user which timer has expired.

14 | Page
General Data Healthcare, Inc.
6.0 MAINTENANCE
6.1 Cleaning
6.1.1 Remove Tray
6.1.2 Remove Baffles

15 | Page
General Data Healthcare, Inc.
6.1.3 Remove Base Pan
6.1.4 Clean Components and SD-III Base Surface

16 | Page
General Data Healthcare, Inc.
6.2 FUSE REPLACEMENT
6.2.1 Fuse may need to be replaced if unit does not power up.
6.2.2 See Specifications Sheet for fuse specifications.
6.2.3 Open Fuse Cover On Power Entry Module
6.2.4 Gently Remove the Fuse Housing

17 | Page
General Data Healthcare, Inc.
6.2.5 Gently Remove Two Fuses from Fuse Housing
7.0 WARNING
7.1 Sharp Edges
7.1.1 Take care to exercise caution when performing maintenance. Protect
yourself against edges on internal.
7.2 Electric Shock
7.2.1 Make sure the instrument is not plugged in to a power source when
performing maintenance. Do not touch internal wiring or
electronics.

18 | Page
General Data Healthcare, Inc.
CONTACT INFORMATION
Customer service (919) 384-9393
Fax (919) 384-9595
Mailing address TBS – A Division of General Data Healthcare, Inc.
3014 Croasdaile Drive
Durham, NC 27705 U.S.A.
Please visit us at
http://www.trianglebiomedical.com

©2014 General Data Healthcare, Inc. All rights reserved. Specications are current at the time of publication; however, they are subject to change without notication. All trademarks and
registered trademarks are property of General Data Healthcare, Inc., Cincinnati, Ohio, USA.
General Data Healthcare, Inc.
Headquarters: 4354 Ferguson Drive, Cincinnati, OH 45245
TBS Facility: 3014 Croasdaile Drive, Durham, NC 27705
Sales Inquiries:
PH: 844.643.1129
Email: [email protected]
Web: www.general-data.com/hc
Service:
PH: 800.245.5029
Email: [email protected]
General Data Healthcare helps labs enhance
productivity and improve workflow with
innovative products, solutions and support that
focus on delivering better patient safety & care.
More Information
PH: 844.643.1129
www.general-data.com/hc
This manual suits for next models
2
Table of contents
Other General Data Healthcare Medical Equipment manuals
Popular Medical Equipment manuals by other brands

Aether Biomedical
Aether Biomedical Zeus Hand Application Instructions

BIOTRONIK
BIOTRONIK Eluna 8 Technical manual

FujiFilm
FujiFilm CR-IR 357 Service manual

Biegler
Biegler ESH 04 operating instructions

Kowa
Kowa AP-7000 instruction manual

Invacare
Invacare CareGuard Series Owner's operator and maintenance manual