P/ GE SLICERMA
RevA 10-2011
1
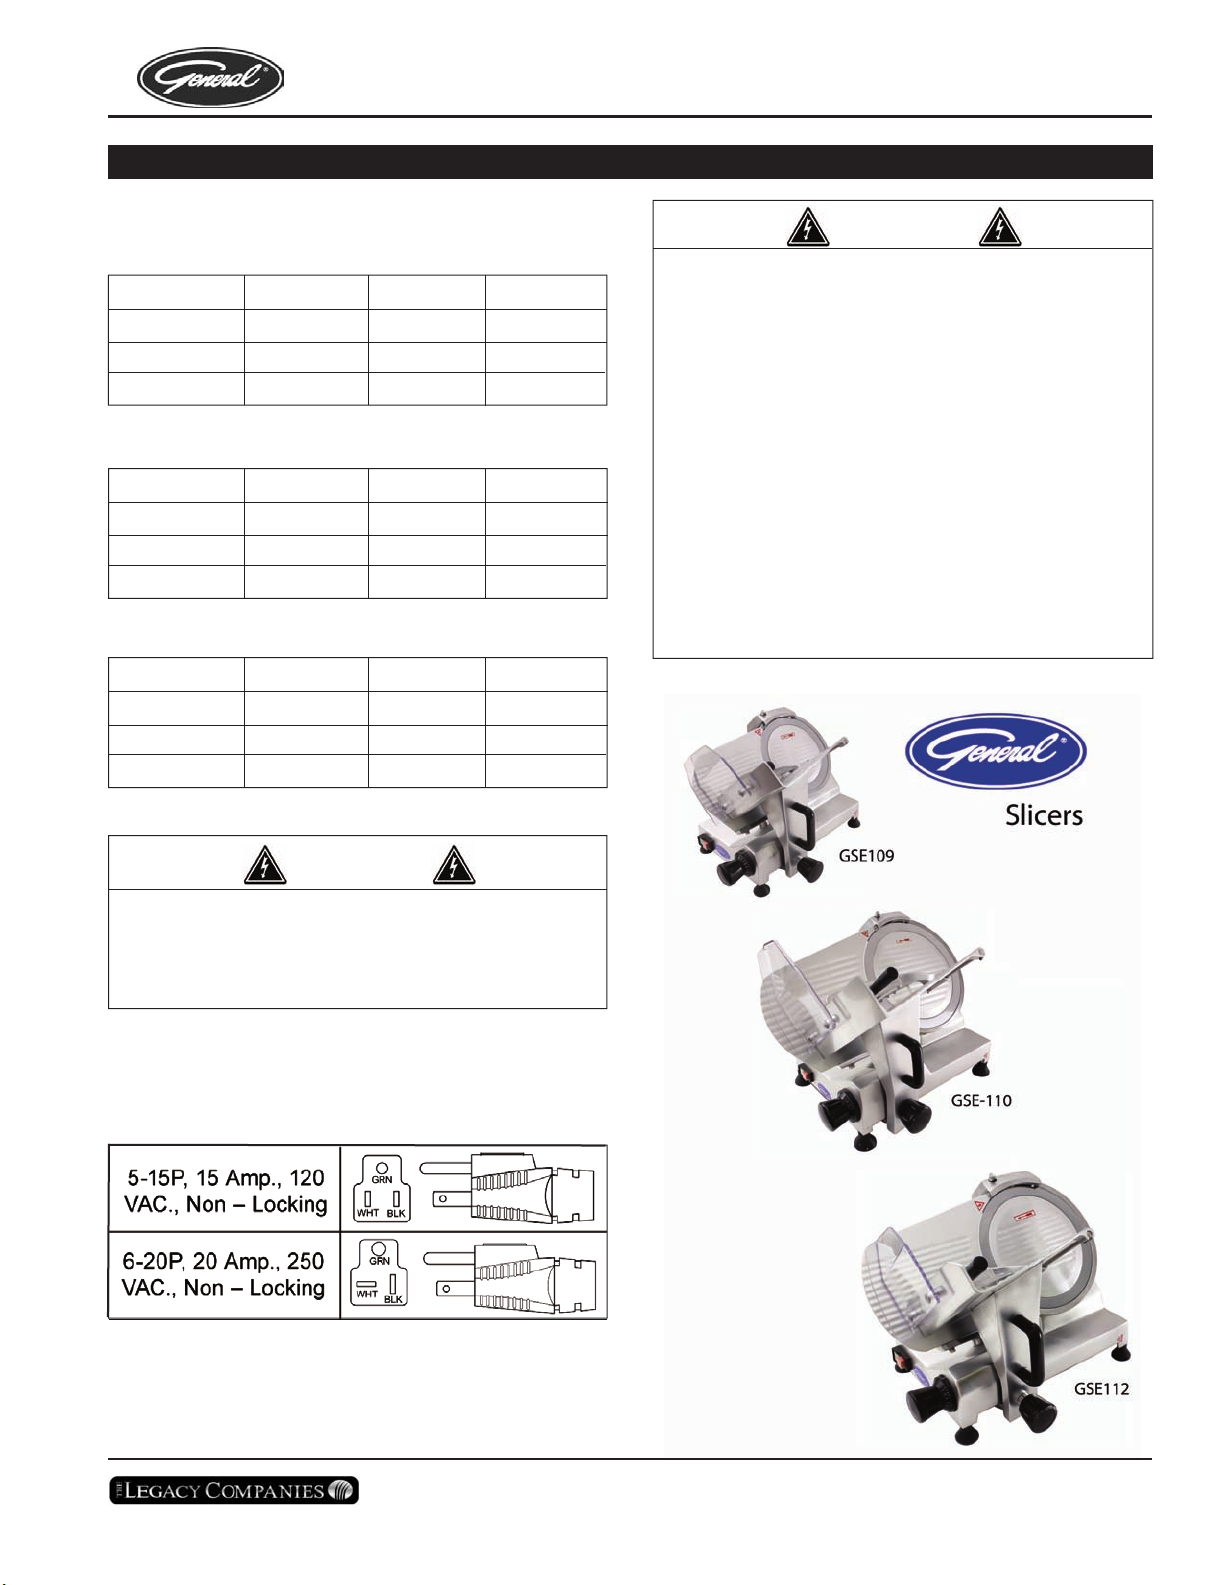
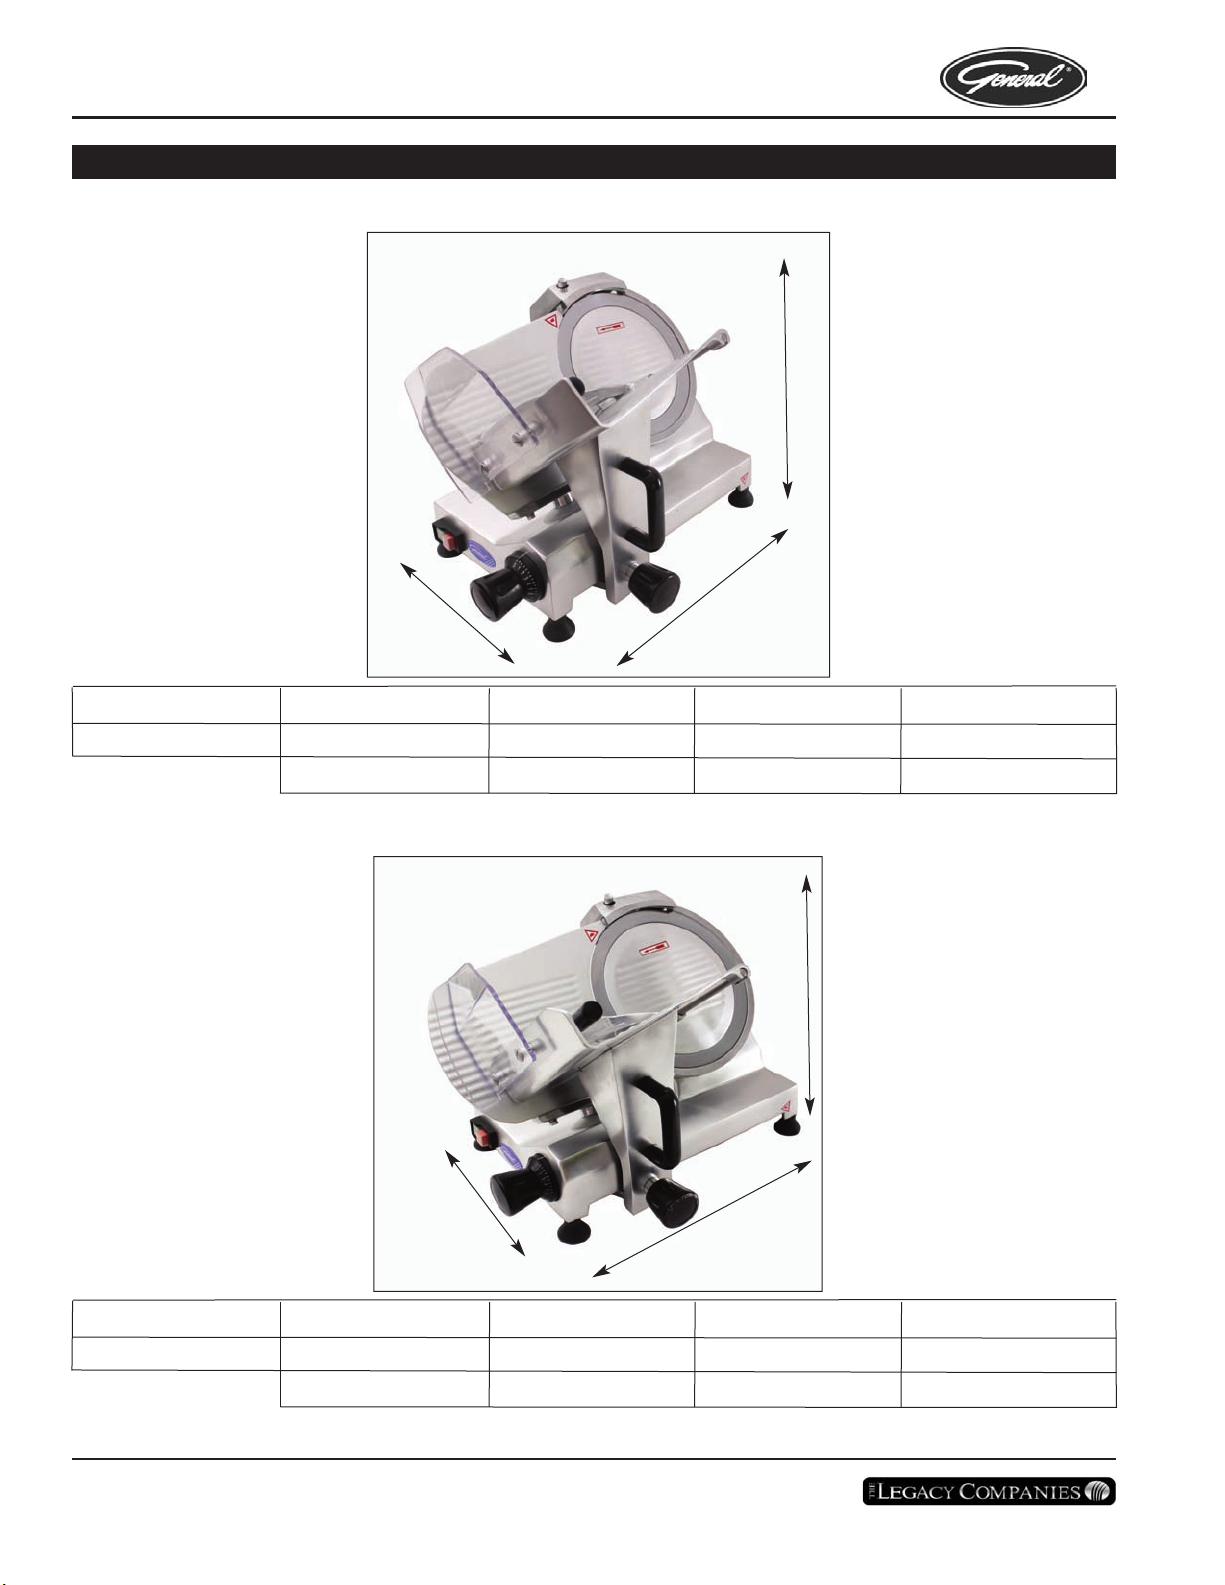
GSE-109-110-112 SLICER
Thank you for purchasing this quality General product
brought to you by The egacy Companies. Your new
General GSE-109, GSE-110 and/or GSE-112 was
designed with advanced performance and safety fea-
tures that make it a valued addition to your kitchen
equipment package. Like all General products and
accessories the GSE-109, GSE-110 and GSE-112 are
manufactured to give years of reliable service.
The General GSE-109 (nine inch), GSE-110 (ten inch)
and GSE-112 (twelve inch) slicers are heavy duty pre-
cision crafted, versatile units. These all-purpose slicers
use an all stainless steel drive system that provides for
years of corrosion free operation. The heat treated
carbon steel knife was designed for years of use.
Each slicer comes standard with a stainless steel drive
system, On board knife sharpener, safety interlock
switch, easy to use controls, smooth rounded corners
and edges and a anti-microbrial finish. The power con-
trol switch has a moisture resistant protective covering
and all units come equipped with a motor overload
switch to protect the motor from amperage overload.
The GE ERAL brand GSE-109, GSE-110 and GSE-
112 SLICERS remove the guesswork and produce a
uniform finished product from one operator to the next.
Thank You Again for Your Purchase!
OWNER INFORMATION
GE ERAL warrants to the original purchaser of the
GSE-109, GSE-110 and GSE-112 slicers, all parts
thereof to be free from defects in material and work-
manship while under normal use. Outlined below are
the specific warranty periods and leval of coverage:
GSE-109 90 days parts
GSE-110 90 days parts
GSE-112 90 days parts
Warranty registration must be completed and received-
within 10 days of installation for warranty activation.
Warranty registration can be mailed by completing the
enclosed warranty card or can be completed at our
website; www.thelegacycompanies.com.
GE ERAL’s obligation under this warranty shall be lim-
ited to the repair or at the sole discretion of TLC
Technical Service, the replacement of the appliance.
Authorized on-site service is not authorized for these
appliances, however the end user may be directed to
take the appliance to the nearest authorized service
agency. In the event of a malfunction, GE ERAL will
not be held responsible for spoilage of products, loss of
sales or consequential damages. In the event a
replacement unit is to be supplied, TLC will cover all
costs to replace the defective product including associ-
ated shipping costs to deliver a new product to the cus-
tomer but only after satisfactory evaluation of the origi-
nal unit by an authorized TLC service agent. See the
back cover of this manual for all limited warranty
details.
GENERA IMITED WARRANTY PROVISIONS
Owner Information ...............................................1-2
General....................................................................1
Limited Warranty Provisions ...................................1
Servi e/Te hni al Assistan e ..................................2
General Product Information ..............................2-3
General Features .................................................2-3
Important Safety Information ..............................3-4
Specifications .......................................................5-7
Ele tri al Ratings ....................................................5
Ele tri al Cord & Plug Configurations.....................5
Weights and Dimensions .....................................6-7
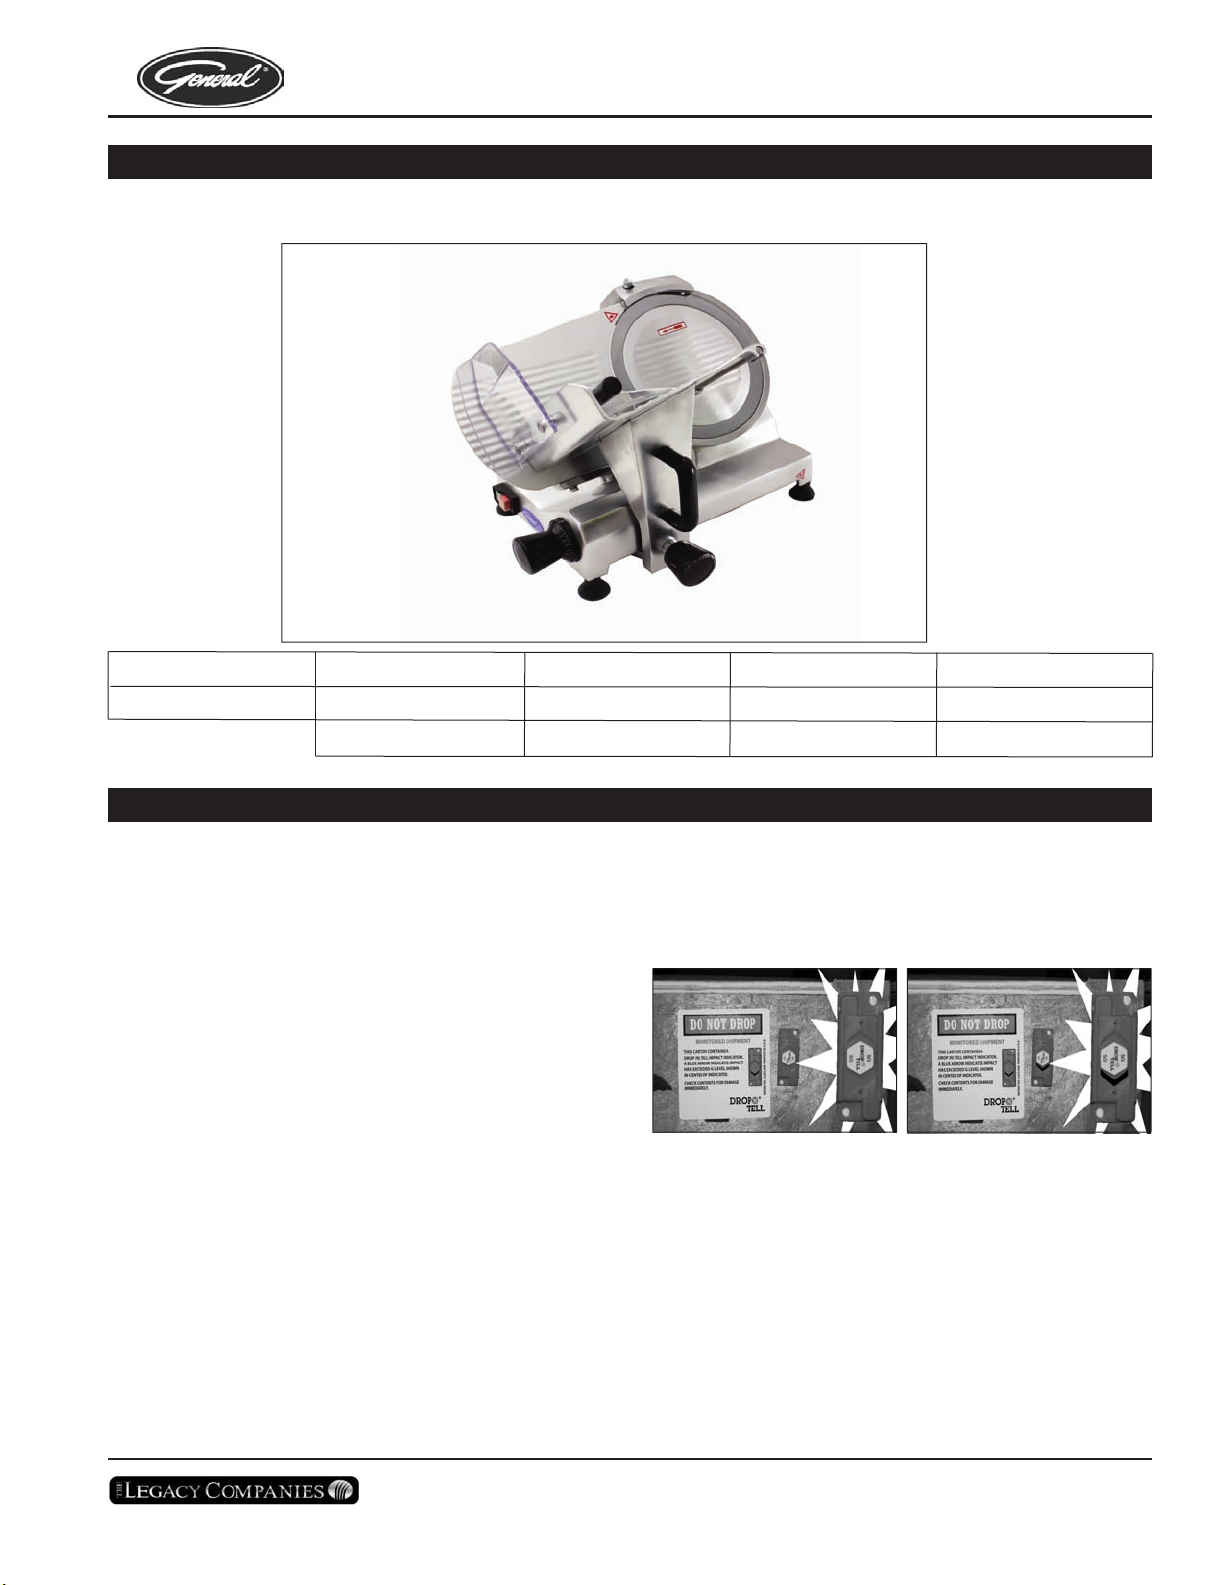
Recieving..................................................................7
Installation................................................................8
Unpa king ...............................................................8
Equipment Setup.....................................................8
Ele tri al..................................................................8
TAB E OF CONTENTS
Operation ............................................................9-12
Cleaning...............................................................10-11
Maintenan e........................................................11-12
Replacement Parts ...........................................13-17
GSE-110...........................................................13-15
GSE-112...........................................................16-17
Notes.......................................................................18