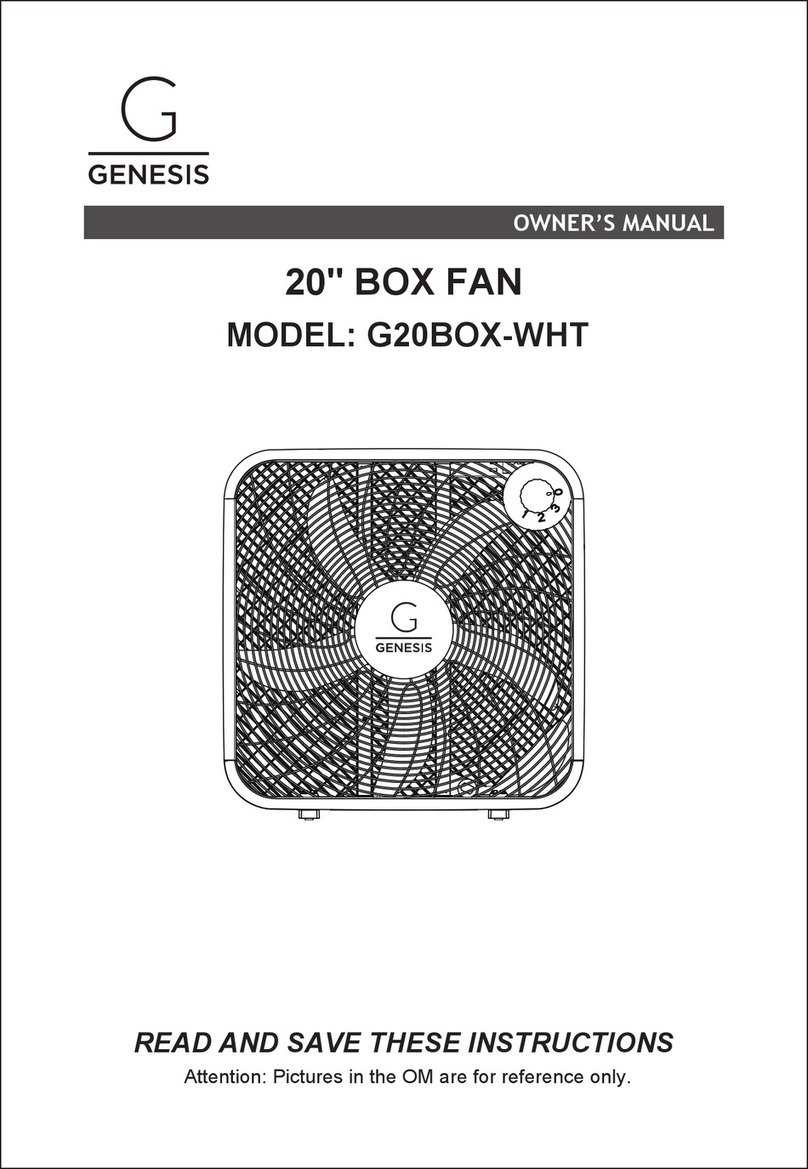
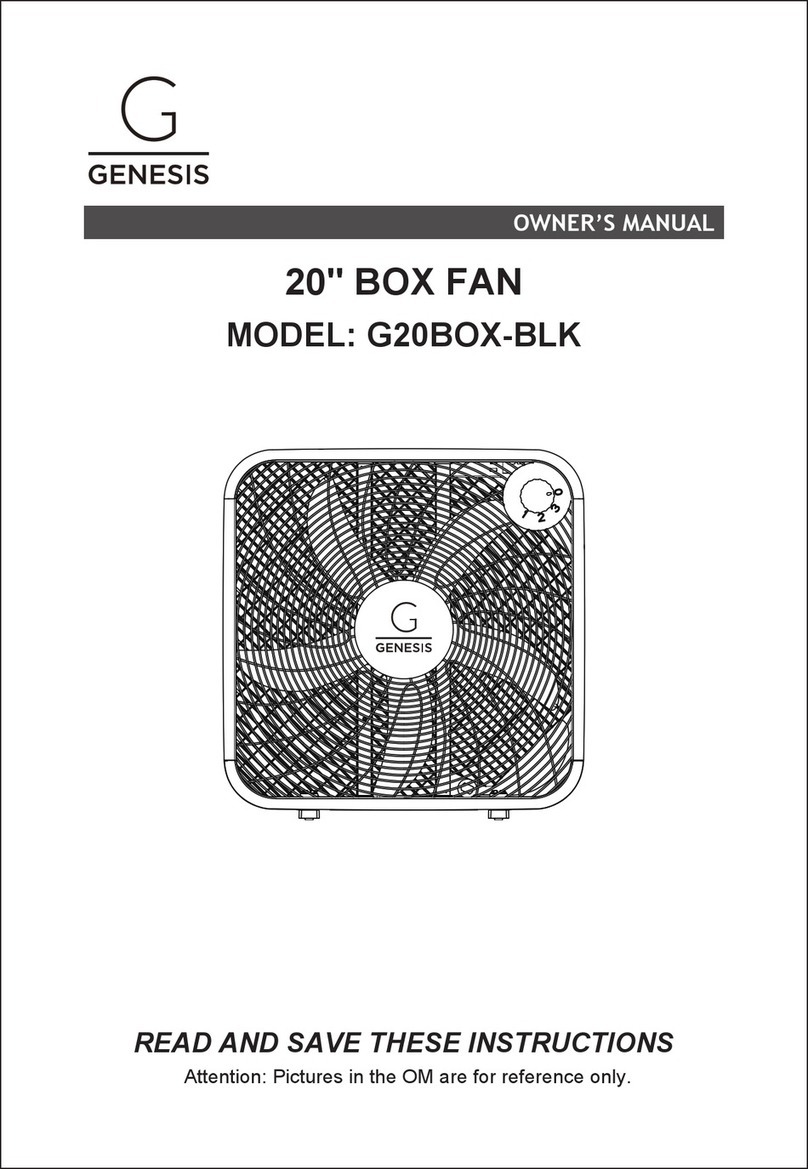
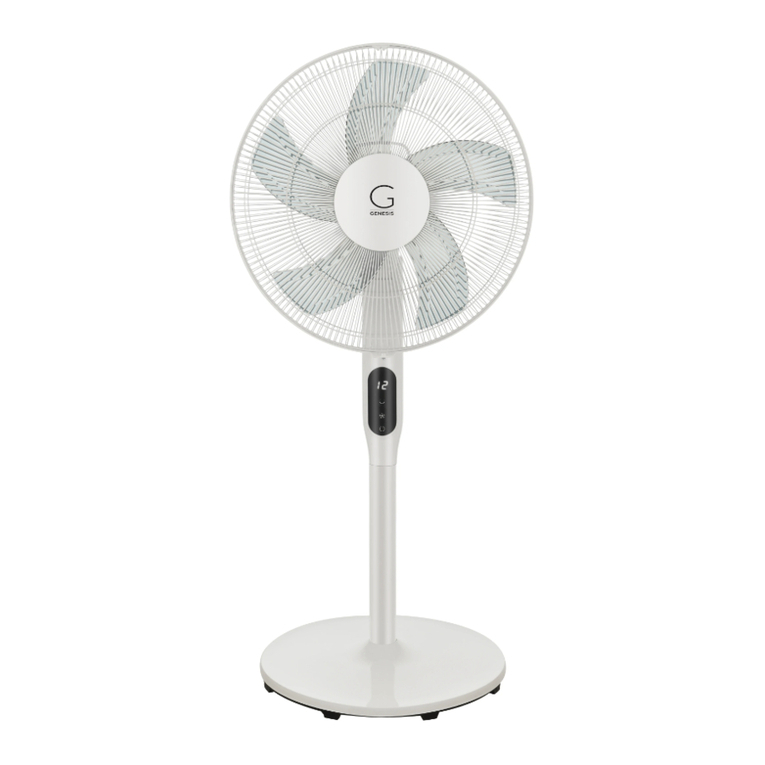
Genesis G16WALL User manual

1 1
1:1
K
项目
库
文件名
A
1246
35
1246
35
B
C
D
E
F
G
H
A
B
C
D
E
F
G
H
技术要求(版本号:B,2020-01)
2.该说明书的幅面大小为: A5 ;
4.说明书警语及认证标志应满足CE/UL标准,CE:警语部分大写字母高度不低于3mm,CE标志不低于5mm,WEEE标志不低于7mm;
UL:大写字母字高不小于1/12”(2.11mm),小写字母字高不小于1/16”(1.6mm),“IMPORTANT SAFEGUARDS”,“SAVE
THESE INSTRUCTIONS”等词,其字高不小于3/16”(4.8mm),IMPORTANT SAFEGUARDS 必须在最前面。
5.产品应符合QMG-J53.021《产品说明书技术条件》的有关要求。
6.有ROHS指令要求的物料应符合美的企业标准QML-J11.006《产品中限制使用有害物质的技术标准》。
1.文字图案印刷颜色为: 黑色 ;
广东美的生活电器制造有限公司
会 签
材料:双胶纸 80 克
钟冠华 卢灿飞
古广君
古广君
2020-03-26
制 图
设 计
校 对
审 核
标准化
审 定
日 期
标记 处数 更改文件号 签 字 日 期
风扇
说明书
重点
校对项
1.版面尺寸
2.材质标注
3.物料编码
4.颜色标注
5.客户型号
6.产品名称
7.重量标注
8.电压功率
-----
-----
-----
9.说明书装
订要求
10.警语/认证
标志高度
11.档位检查
3.该说明书的装订方式为: 钉装 ;[70P以下为钉装,70P以上为胶装(特殊要求除外)]
注意:最后一页年份每年变,见清单备注
genesis-FW40-6H
(G16WALL)-0501
16156000A36369
OWNER’S MANUAL
16" WALL FAN
MODEL: G16WALL
READ AND SAVE THESE INSTRUCTIONS
Attention: Pictures in the OM are for reference only.

OWNER’S MANUAL
16" WALL FAN
MODEL: G16WALL
READ AND SAVE THESE INSTRUCTIONS
Attention: Pictures in the OM are for reference only.


Read Rules for Safe Operation and Instructions Carefully.
CAUTION
IMPORTANT SATETY INSTRUCTIONS
WARNING
1. This appliance has a polarized plug (one blade is wider than
the other). To reduce the risk of electric shock, this plug is
intended to fit in a polarized outlet only one way. If the plug
does not fit fully in the outlet, reverse the plug. If it still does not
fit, contact a qualified electrician. Do not attempt to defeat this
safety feature.
2. WARNING - To reduce the risk of fire or electric shock, Do not
use this fan with any solid-state speed control device.
3. Do not leave the fan running unattended.
4. Keep electrical appliances out of reach from Children or infirm
persons. Do not let them use the appliances without supervi-
sion.
5. If the supply cord is damaged, it must be replaced by manufac-
turer or its serviceagent or a similarly qualified person in order
to avoid a hazard.
6. This appliance is not intended for use by persons (including
children) with reduced physical, sensory or mental capabilities,
or lack of experience and knowledge, unless they have been
given supervision or instruction concerning use of the appli-
ance by a person responsible for their safety Young children
should be supervised to ensure that they do not play with the
appliance.
1

RULES FOR SAFE OPERATION
1. Never insert fingers, pencils, or any other object through the
grille when fan is running.
2. Disconnect fan when moving from one location to another.
3. Be sure fan is on a stable surface when operating to avoid
overturning.
4. DO NOT use fan in window, rain may create electrical hazard.
5. Household use only.
7. When the fan was assembled, the rotor blade guard shall not
be taken off anymore
- Prior cleaning unplug the fan.
- The rotor guard shall not be dissembled/opened to clean the
rotor blades.
- Wipe the fan enclosure and rotor blade guard with a slightly
damp cloth.
8. This product employs overload protection (fuse). A blown fuse
indicates an overload or short-circuit situation. If the fuse
blows, unplug the product from the outlet. Replace the fuse as
per the user servicing instructions (follow product marking for
proper fuse rating) and check the product. If the replacement
fuse blows, a short-circuit may be present and the product
should be discarded or returned to an authorized service facili-
ty for examination and/or repair.
a) “Do not operate any fan with a damaged cord or plug. Dis-
card fan or return to an authorized service facility for examina-
tion and/or repair.”
b) “Do not run cord under carpeting. Do not cover cord with
throw rugs, runners, or similar coverings. Do not route cord
under furniture or appliances. Arrange cord away from traffic
area and where it will not be tripped over.”
2

INSTALLATION INSTRUCTIONS
Name of components
Considerate Hint:
Remove parts from the component before performing installation.
Motor
Rear grill
Lock nut
of grill
Lock nut
of blade
Blade
Front grill
Install by
aligning
3
GUARD & FAN BLADE ASSEMBLY
1. Unscrew and remove the spinner clockwise (or obtain
from parts bag), and the plastic nut counterclockwise
(Fig. 2). You may have to hold the shaft in place with
one hand to unscrew the spinner with the other. Mount
the rear guard against the motor face so that the pin
at the motor face bottom fits through the tear drop
hole in the rear guard mounting ring. When correctly mounted the set of two
tabs on each side of the motor face will also fit through their designated holes
in the mounting ring, and the rear guard will rest flat and evenly on the motor
face. Screw the plastic nut back onto the motor face to secure the rear
guard in place. Fig. 1
2. Mount the blade set onto the motor shaft through the center hole in the blade
set. Insert the retaining pin on the motor shaft into the slots in the Blade set
core. Turn the spinner counterclockwise onto the shaft to tighten the blade set
into place. Fig. 3
3. Open the five latch clips on the rear guard. Align the logo on the front guard
so that it will read horizontally. Insert the edge of the front guard into the
fixed clip at the bottom of the rear guard. Use the five latch clips to secure the
two guards together. Fig. 4
Fig.2 Fig.3 Fig.4
Fig.1

Fixed Installation
Considerate Hint:
All Fixing Screws must be tightened.
Ceiling
Wall
Surface
Wall-mount
Plate
Fan Body
At least
30 cm
At least
45 cm
SPEED ADJUSTMENT
Switch on/off the fan and Adjust to the desired speed
by pulling the switch cord (B).
0---Off 1---Low
2---Medium 3---High
OSCILLATION CONTROL
Pull switch cord (C) to start and stop fan oscillation.
TO ADJUST THE WIND DIRECTION
Push the guard lightly to the desired up or down direction.
BC
10
01
22
3
3
OPERATING INSTRUCTION
4
MOUNTING ON THE WALL
Secure the supplied bracket (A) on the wall by using
wooden screw or plastic screw, make sure the wider
opening should be upward, insert the hook of the wall
fan into the bracket slot.

USER SERVICING INSTRUCTIONS
CLEANING
1. Grasp plug and remove from the receptacle or
other outlet device. Do not unplug by pulling on
cord.
2. Open fuse cover. Slide open fuse access cover
on top of attachment plug towards blades.
3. Remove fuse carefully. Push the fuse from the
other side to remove fuse.
4. Risk of fire. Replace fuse only with 2.5 Amp,
125 Volt fuse (provided with product.)
5. Close fuse cover. Slide closed the fuse access
cover on top of attachment plug.
6. Risk of fire. Do not replace attachment plug.
Contains a safety device (fuse) that should not
be removed. Discard product if the attachment
plug is damaged.
1. When you replace the fuse, please don’t operate suddenly or overexert, or else
the product will be damage or cause accident.
2. Confirm positioning is correct to avoid any complexity when operating.
NOTE:
1. Be sure to unplug the power cord from the outlet before cleaning.
2. Plastic parts should be cleaned thoroughly with clean water, mild
soap and damp cloth or sponge.
3. Be sure not to get water or other liquid enter the inside of the motor.
4. Dry all parts completely before plugging into socket.
5

6
Copyright 2020 Genesis Distributed by BHRS Group LLC
TM
If you encounter any issues or have any concerns,
or call 1800-341-9164.
Please see our website to learn more about our products www.genesisco.com
Table of contents
Other Genesis Fan manuals
Popular Fan manuals by other brands

Airflow
Airflow iCON eco15 Installation and operating guide

sunair
sunair PFS20 user manual

Harbor Breeze
Harbor Breeze MAYFIELD BTH44AB5CS manual

Most Modern Fan
Most Modern Fan Ball Flush Installation instructions and owner's manual

netta
netta FTC5-E User instruction

Greenheck
Greenheck WTHD series Assembly and installation instructions

NSB FAN
NSB FAN ALOHA instructions

TI
TI CF-31120 installation instructions

S&P
S&P ERV TRC1600 P1 Installation, operation & maintenance manual

anko
anko HEG LF-02 user manual

Westinghouse
Westinghouse ETL-ES-Tulsa LED-WH20 owner's manual

Monte Carlo Fan Company
Monte Carlo Fan Company 8EER60 Series Owner's guide and installation manual