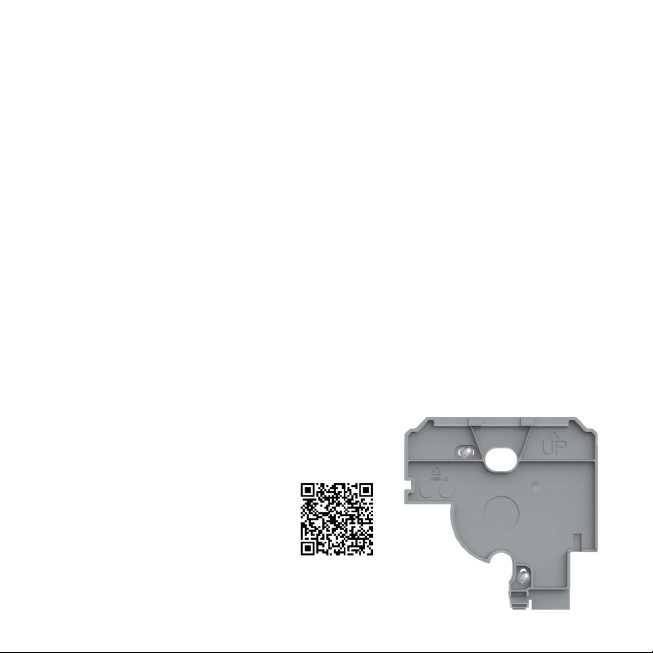
Mount mounting plate to the wall
For ixation of mounting plate to the wall you can use wo options:
. Mount with screws and plugs (if applicable).
. Mount with pre-atached tape.
Mount with screws (and plugs):
Depending on the wall suface you can use the shot screws (e.g. wooden
walls) or the long screws with plugs (e.g. concrete walls). In case of using
the plugs: use the mounting plate to mark the location to drill holes.
If needed a drilling template is available on htps:genexis.euproduct
ibewistdownloadsbracket
Drill holes and inset the plugs. Screw the mounting plate to the wall with
the long screws.
In case of using the shot screws, screw directly to the wall.
Optionally, you can pre-drill holes to the wall.
inside mounting plate