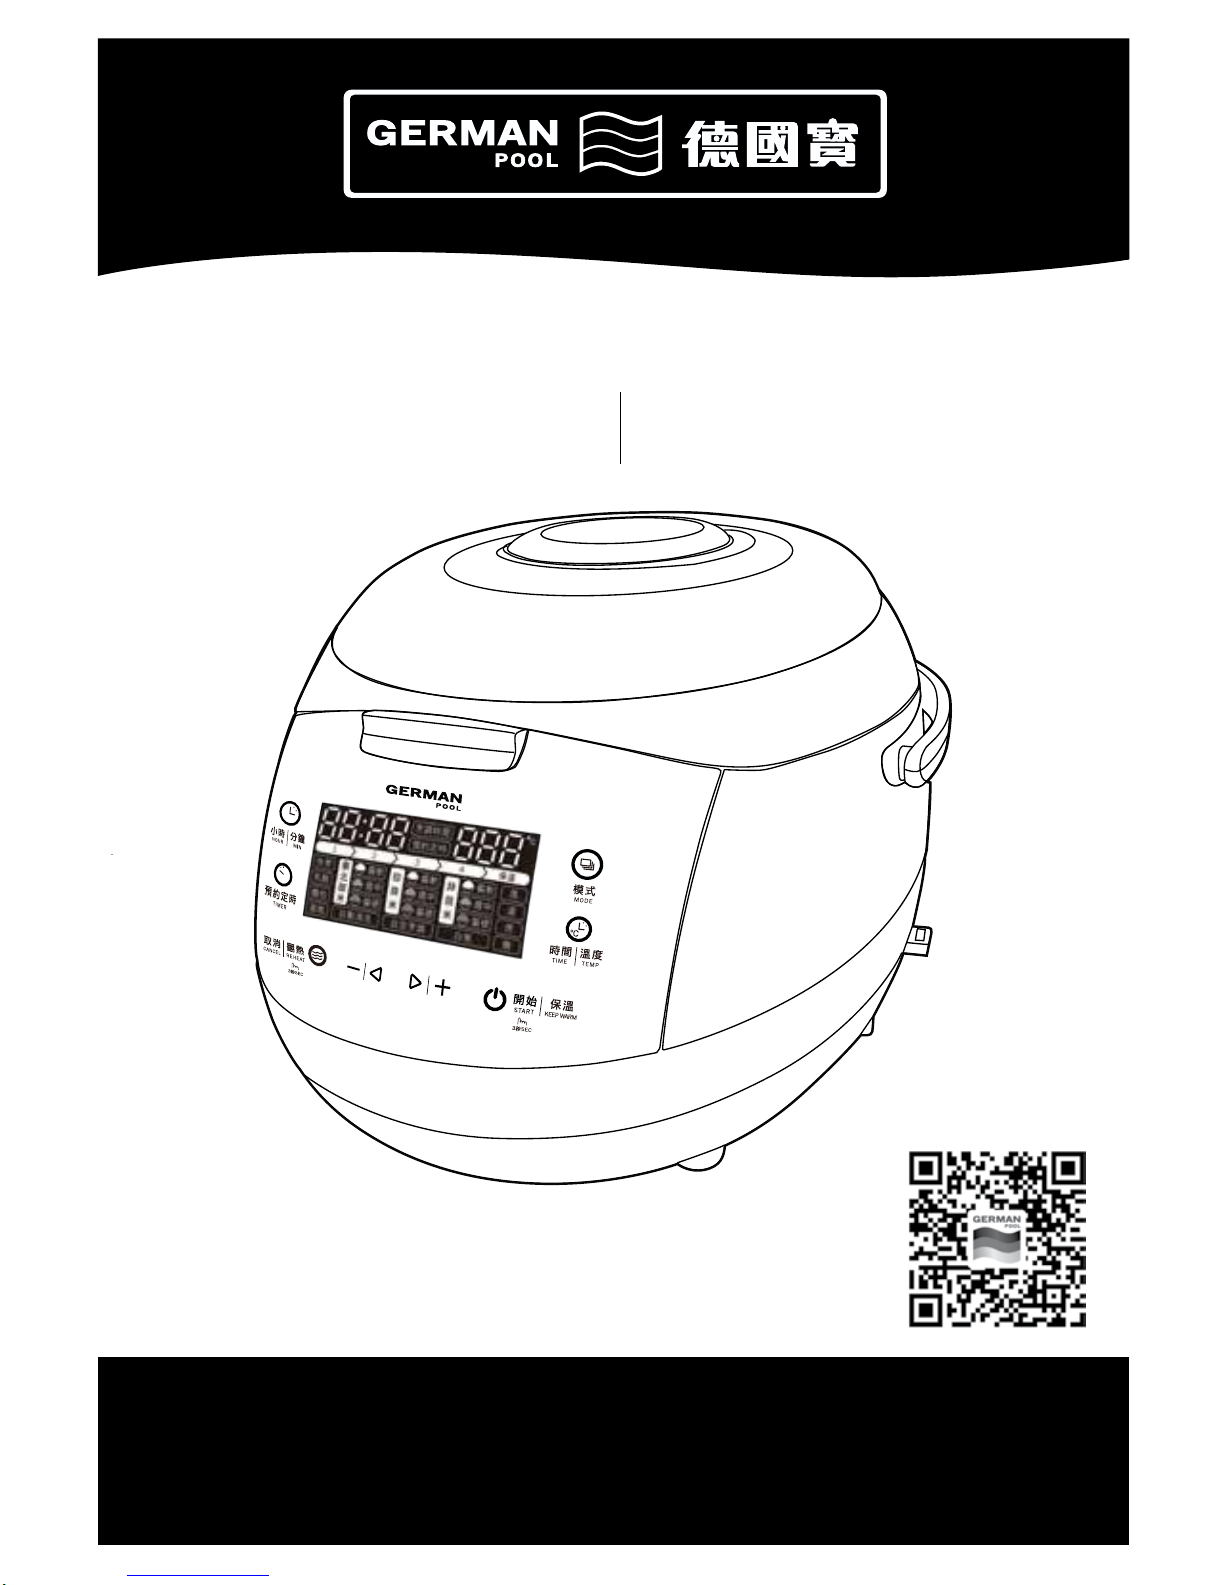
German pool MRC-205 User manual

P.1
多功能智能電飯煲MRC-205
Multifunctional Rice Cooker
Please read these instructions and warranty information carefully
before use and keep them handy for future reference.
在使用之前請詳細閱讀「使用說明書」及「保用條款」,並妥為保存。
使 用 說 明 書 U S E R M A N U A L
即時網上登記保用
Online Warranty Registration

P.2
Please register your warranty information now !
For Warranty Terms & Conditions,
please refer to the last page of this user manual.
有關保用條款細則,請看本說明書最後一頁。
請即進行保用登記﹗

P.3
目錄
For English instructions, please refer to P.15.
英文版說明書請參閱 P.15。
全新多功能智能電飯煲特色 04
注意事項 05
產品結構 06
操作說明 07
A. 按鍵說明 07
B. 控制面版 07
C. 預約操作的使用方式 08
D. 功能表操作詳解 08
清潔與保養 13
電路原理圖 14
技術規格 14
保用條款 27

P.4
幼長甘香,色澤潔白,口感煙韌
彈牙。泰國茉莉香米在泰國東
北地區才可種植,帶天然茉莉花
香,飯粒幼長香糯。
珍珠米顆粒飽滿、米質油潤、味
道香甜,含豐富蛋白質及不飽和
脂肪等。珍珠米煮成的米飯,粘
而不膩,為米中佳品。
中國東北地區晝夜溫差大,特别
適合大米生長。東北御米屬於粳
米,粒形短圓,含水量較高,直
鏈澱粉含量適中,煮出來的米飯
潔白透亮,口感細膩。
絲苗米 珍珠米 東北御米
白米種類繁多,大致可分為長米粒和短米粒。長米粒較細長,形狀扁平,黏性弱,當中包括
口感香爽之絲苗米等。短米粒粗短闊厚,黏性較長米粒強,口感香軟,包括珍珠米及東北御
米等。由於白米形狀、特徵及黏性各有不同,所需的烹調時間及溫度亦不盡相同。德國寶多
功能智能電飯煲,特設九種煮飯模式,針對絲苗米、珍珠米及東北御米的特性,通過微電腦
悉心調節溫度及時間,配合1:1黃金比例,只需1杯米加一杯水,按鍵即煮出軟糯、軟硬適
中或嚼勁極致的香噴噴米飯,叫人食指大動!
全新多功能智能電飯煲特色
9種內設模式:
九種煮飯模式
1:1黃金煮飯比例
針對絲苗米、珍珠米及東北御米

P.5
注意事項
1. 此款飯煲不適合殘疾人和兒童操作,當飯煲工作時,切勿讓兒童接觸飯煲。
2. 切勿直接將飯煲放入水中清洗,以免造成短路和觸電。
3. 切勿將任何金屬插入飯煲縫隙中,以免觸電。
4. 切勿用濕手插入或拔出插頭,以免觸電。拔出插頭時切勿直接拉扯電源線。不要用力拉扯
或屈曲電源線。
5. 切勿將電源線用於其他加熱設備,以避免火災。使用過後,應及時拔出插頭。
6. 定時清潔插頭金屬部位,以免接觸不良。
7. 插頭需使用容量大於10A的獨立插座。確保插頭完全插入插座,連接良好。
8. 請勿將臉或手靠近排氣孔,以免燙傷。切勿用布蓋住排氣孔,以免鍋蓋因為過熱而扭曲變
形。
9. 飯煲工作時,請勿用手直接接觸鍋蓋或任何金屬部位,以免燙傷。如需搬動飯煲,請妥為
蓋好飯煲,以免燙傷。
10. 切勿將飯煲放在不穩定或不耐高溫的物體上,以免引發火災。
11. 請勿將飯煲放在易燃或者潮濕的環境,以免引發任何災害。
12. 使用之前請先清潔發熱盤、溫度感測器和內鍋外側,避免接觸不良。
13. 不可劇烈敲擊內鍋,內鍋變形可能造成飯煲出現故障或引發使用危險。
14. 切勿使用損害性工具清潔內鍋,以免損壞不粘塗層。
15. 切勿使用其他燃料加熱飯煲,切勿使用其他內鍋代替原裝內鍋,以免引發危險。
16. 內鍋未放置好;無放置內鍋;或者內鍋未為裝有食材或水時,請勿通電工作。
17. 使用後,飯煲發熱盤會很燙,請勿觸摸,以免燙傷。
18. 如未經培訓,使用者請勿自行拆卸產品或更換零件。如需維修,請聯繫售後維修點。
19. 若電源線損壞,請勿擅自更換其他電源線,請聯繫維修點更換合適的電源線。
重要說明
為安全起見,使用產品前請先細閱本說明書,並保存說明書,以便作參考之用。
本產品只供家居使用。請必須依照本說明書內的指示操作。

P.6
產品結構
飯勺 湯勺 量杯 蒸籠 電源線
配件
機身
(產品外觀與圖片可能有所不同,請以實物為準。)
2
4
6
8
CupWater Level
WATER
提手
可拆式
鋁蓋
*使用前,請確保裝有大
密封圈
*提手適用於拿取飯煲
*煲飯時,勿移動飯煲
*請輕拿輕放
內鍋
溫度傳感器
開蓋按鍵
外殼
控制面板
發熱盤
電源開關

P.7
操作說明
B.控制面版
A.按鍵說明
溫度顯示
時間顯示
11種內置功能9種米飯烹調模式 烹調過程顯示
(1=吸水 2=加熱 3=煮飯 4=焗飯)
開始/保溫鍵
長按此鍵3秒開始工作,工作狀
態下按此鍵可開啟和關閉保溫功
能。最長保溫時間為24小時。
電源開關
按下開啟/關閉電源
取消/翻熱鍵
按此鍵可取消當前程序;待機時
長按此鍵3秒開啟翻熱功能。
「+」「-」功能鍵
在先按下時間/溫度鍵的情況
下,可以按下此鍵調節時間和
溫度,也可按此鍵選擇烹飪
功能表。
小時/分鐘鍵
按下此鍵可以更改時間。
模式鍵
按此按鍵可以選擇所需要的
功能。
預約定時鍵
當某一功能有「預約」功能
時,按下此鍵可以預約時間。
時間/溫度鍵
當某一功能有調節溫度和時間
的功能時,可以在先按下此鍵
的情況下再按鍵調節烹飪溫度
和烹飪時間。

P.8
自定烹調 1)按 「模式」鍵或 鍵選擇 功能
(該功能默認工作時間為30分鐘,預設工作溫度為100℃)。
2)按 「時間/溫度」鍵,然後按 鍵調節烹飪時
間,調節範圍:2分鐘-15小時(調節時可以按 「小時/分鐘」
鍵進行分鐘與小時的切換),一小時內每一間隔為1分鐘,超過一
小時每一間隔為5分鐘。
3)再按 「時間/溫度」鍵,通過按 鍵調節烹飪溫
度,調節範圍:35℃-180℃,每按一次,溫度增減為5℃。
4)長按 「開始/保溫」鍵3秒進入工作狀態。
5)烹飪結束後,如溫度在75℃或以上,飯煲自動進入保溫狀態(除
非手動取消保溫)。
小提示:如果烹飪溫度低於75℃,烹飪結束後飯煲不會自動保溫。
如果烹飪溫度超過140℃,烹飪時間不能超過2個小時。
該功能可以進行24小時預約工作。
C.預約操作的使用方法
a.選擇烹飪功能後,按 「預約定時」鍵,數碼屏顯示預約時間,可按 鍵調節
預約時間,設置完成後長按 「開始/保溫」鍵3秒進入預約模式,並開始倒數計時 。
b.預約設置完成後,如需調整烹飪時間,先不按 「開始/保溫」鍵,而是按 「時間/溫
度」鍵,當數碼屏顯示烹飪時間時,可按 鍵調整烹飪時間,設置完成後,長
按 「開始/保溫」鍵3秒進入預約模式,預約時間結束後按設定的烹飪程序開始工作。
c.預約時間調節範圍為5分鐘到24小時。預約時間為程式開始工作時間,以 功能
為例:如當前時間為中午12:00,晚飯時間為下午6:00,因白粥的烹煮時間為2小時,故將
預約時間調為下午4:00(4小時後開始工作)即可,按下 「開始/保溫」鍵,下午6:00即
可享用白粥。
D.功能表操作詳解
自定烹 調
注意:
本機設有斷電記憶功能,於斷電後2小時內接通電源,飯煲將會自動繼續之前的烹飪程序。如要中途
結束烹調程序,請務必先按取消鍵,再關閉電源開關,否則於2小時內再次接通電源時,飯煲將自動
按上次設定的烹調程序繼續進行運作。

P.9
快煮 1)按 「模式」 鍵或 鍵選擇 功能(該功能
默認工作時間為15分鐘)。
2)烹飪時間不可調校。
3)長按 「開始/保溫」鍵3秒進入工作狀態。
4)烹飪結束後,飯煲自動進入保溫狀態(除非用戶手動取消保溫)。
小提示:該功能不可以進行24小時預約工作。
煲1)按 「模式」鍵選擇 功能(該功能默認工作時間為1小
時)。
2)按 「時間/溫度」鍵,然後按 鍵調節烹飪時
間,調節範圍:10分鐘-12小時(調節時可以按 「小時/分
鐘」鍵進行分鐘與小時的切換),每一間隔為5分鐘。
3)長按 「開始/保溫」鍵3秒進入工作狀態。
4)烹飪結束後,飯煲自動進入保溫狀態(除非用戶手動取消保溫)。
小提示:該功能可以進行24小時預約工作。
白粥 1)按 「模式」鍵或 鍵選擇 功能
(該功能默認工作時間為2小時)。
2)按 「時間/溫度」鍵,然後按 鍵調節烹飪時
間,調節範圍:5分鐘-4小時(調節時可以按 「小時/分鐘」
鍵進行分鐘與小時的切換),每一間隔為5分鐘。
3)長按 「開始/保溫」鍵3秒進入工作狀態。
4)烹飪結束後,飯煲自動進入保溫狀態(除非用戶手動取消保溫)。
小提示:該功能可以進行24小時預約工作。

P.10
湯1)按 「模式」鍵或 鍵選擇 功能(該功能
默認工作時間為1小時)。
2)按 「時間/溫度」鍵,然後按 鍵調節烹飪時
間,調節範圍:10分鐘-8小時(調節時可以按 「小時/ 分
鐘」鍵進行分鐘與小時的切換),每一間隔為5分鐘。
3)長按 「開始/保溫」鍵3秒進入工作狀態。
4)烹飪結束後,飯煲自動進入保溫狀態(除非用戶手動取消保溫)。
小提示:該功能可以進行24小時預約工作。
9項米飯功能 1)按 「模式」鍵或 鍵選擇心儀的米飯功能:
2)烹飪時間取決於米量和水量的多少,不可調節。米和水的建議
比例為1:1。
3)長按 「開始/保溫」鍵3秒進入工作狀態。
4)開始煮食時時間區域顯示00:12,在燜飯階段才以倒計時的形
式顯示剩餘工作時間,此階段為12分鐘。
5)烹飪結束後,飯煲自動進入保溫狀態(除非用戶手動取消保溫)。
小提示:該功能可以進行24小時預約工作。
1 東北御米偏軟功能 4 珍珠米偏軟功能 7 絲苗米偏軟功能
2 東北御米適中功能 5 珍珠米適中功能 8 絲苗米適中功能
3 東北御米偏硬功能 6 珍珠米偏硬功能 9 絲苗米偏硬功能

P.11
燉1)按 「模式」鍵或 鍵選擇 功能(該功能
默認工作時間為5小時)。
2)按 「時間/溫度」鍵,然後按 鍵調節烹飪時
間,調節範圍:10分鐘-8小時(調節時可以按 「小時/分
鐘」鍵進行分鐘與小時的切換),每一間隔為10分鐘。
3)長按 「開始/保溫」鍵3秒進入工作狀態。
4)烹飪結束後,飯煲自動進入保溫狀態(除非用戶手動取消保溫)。
小提示:該功能可以進行24小時預約工作。
麵包 1)按 「模式」鍵或 鍵選擇 功能(該功能
默認工作時間為2小時30分鐘)。
2)按 「時間/溫度」鍵,然後按 鍵調節烹飪時
間,調節範圍:10分鐘-6小時(調節時可以按 「小時/分
鐘」鍵進行分鐘與小時的切換),每一間隔為5分鐘。
3)長按 「開始/保溫」鍵3秒進入工作狀態。
4)烹飪結束後,飯煲自動進入保溫狀態,繼續保溫兩小時(除非用
戶手動取消保溫)。
小提示:該功能可以進行24小時預約工作。
蛋糕 1)按 「模式」鍵或 鍵選擇 功能(該功能
默認工作時間為50分鐘)。
2)按 「時間/溫度」鍵,然後按 鍵調節烹飪時
間,調節範圍:10分鐘-8小時(調節時可以按 「小時/分
鐘」鍵進行分鐘與小時的切換),每一間隔為5分鐘。
3)長按 「開始/保溫」鍵3秒進入工作狀態。
4)烹飪結束後,飯煲進入待機狀態,不保溫。
小提示:該功能不可以進行24小時預約工作。

P.12
乳酪 1)按 「模式」鍵或 鍵選擇 功能(該功能
默認工作時間為8小時)。
2)按 「時間/溫度」鍵,然後按 鍵調節烹飪時
間,調節範圍:10分鐘-12小時(調節時可以按 「小時/分
鐘」鍵進行分鐘與小時的切換),每一間隔為5分鐘。
3)長按 「開始/保溫」鍵3秒進入工作狀態。
4)烹飪結束後,飯煲進入待機,不保溫。
小提示:該功能可以進行24小時預約工作。
蒸1)按 「模式」鍵或 鍵選擇 功能(該功能默
認工作時間為20分鐘)。
2)按 「時間/溫度」鍵,然後按 鍵調節烹飪時
間,調節範圍:5分鐘-2小時(調節時可以按 「小時/分鐘」
鍵進行分鐘與小時的切換),每一間隔為5分鐘。
3)長按 「開始/保溫」鍵3秒進入工作狀態。
4)當水煮開了,提示音響起,然後開始倒計時。
5)烹飪結束後,飯煲自動進入保溫狀態(除非用戶手動取消保溫)。
小提示:該功能不可以進行24小時預約工作。
自動清洗 1)按 「模式」鍵或 鍵選擇 功能
(該功能默認工作時間為30分鐘)。
2)按 「時間/溫度」鍵,然後按 鍵調節烹飪時
間,調節範圍:5分鐘-2小時(調節時可以按 「小時/分鐘」
鍵進行分鐘與小時的切換),每一間隔為5分鐘。
3)長按 「開始/保溫」鍵3秒進入工作狀態。
4)當水煮開了,提示音響起,然後開始倒數計時。
5)烹飪結束後,飯煲自動進入保溫狀態(除非用戶手動取消保溫)。
小提示:該功能可以進行24小時預約工作。

P.13
1.清洗前,請先關閉電源開關,拔下電源插頭。
2.將內鍋取出,使用家用清潔劑清洗,然後用柔軟的布料擦乾。
3.不使用時,請將飯煲放置於乾燥的環境中。
4.使用過後,請將可拆式鋁蓋卸掉,用水清洗乾淨,並用柔軟的布料擦乾。
5.使用過後,請清洗蒸氣出氣口,避免產生異味,避免蒸氣口出現故障。
鋁蓋,塑膠面蓋及塑膠外殼
請用柔軟的濕布擦拭清潔。
溫度傳感器及發熱盤
溫度傳感器和發熱盤上如有
雜質,會影響烹飪效果。請
在每次使用之前,將溫度傳
感器和發熱盤清潔乾淨。
集蒸氣水區域
此區域會聚集烹飪過程中水
蒸氣聚集生成的水。每次烹
飪後,請使用柔軟布料將水
擦拭乾淨。
清潔與保養
蒸氣座
每次使用過後,請將蒸氣座
清洗乾淨。

P.14
電路原理圖
技術規格
型號 MRC-205
電壓/頻率 220-240 V ~ 50/60 Hz
額定功率 950W
容量 5L
產品規格及設計如有變更,恕不另行通知。
中英文版本如有出入,一概以中文版為準。
本產品使用說明書以www.germanpool.com網上版為最新版本。
L
E
N
保險絲 溫度限幅器組合
底部感應器
PCB版 電源版
頂部感應器
發熱器
錯誤代碼
編號 顯示幕顯示 原因
1E1 底部感測器開路
2E2 頂部感測器開路
3E3 底部感測器短路
4E4 頂部感測器短路

P.15
Table of Contents
Feature of Multifunctional Rice Cooker 16
Notice Before Use 17
Product Structure 18
Operation Instructions 19
A. Control Buttons 19
B. LED Display Panel 19
C. Using the Timer 20
D. Detailed Operation 20
Cleaning and Maintenance 21
Circuit Diagram 22
Specications 23
Warranty Terms & Conditions 24

P.16
This slender and fragrant strain of
rice has an al dente texture and an
ivory colour. Thai rice is grown in the
northeastern region of Thailand, and
has a natural hint of jasmine.
Japanese rice has a pearly round
shape and has a rich and sweet
texture. This strain of rice is rich in
protein and unsaturated fat. A bowl
derived from Japanese rice is slightly
sticky without being overwhelmingly
so.
The northeastern part of China is es-
pecially suited for the growth of rice
for the region experiences huge diur-
nal temperature variation. Chinese
rice has a round shape and is abun-
dant in water content. The cooked
rice is deliciously translucent with a
delicate texture.
Thai rice Japanese rice Chinese rice
There are many different strains of rice. They can be roughly divided into long and short
grain rice. The long grain rice is slenderer in shape, and is generally less sticky than the
short grain variant. Thai fragrant rice is a type of long grain rice. Short grain rice is typified
by Japanese and Chinese rice, both of which are stout and has a softer texture. Long grain
rice and short grain rice require different cooking conditions for bringing out the best flavour
and texture. The Multifunctional Rice Cooker has 9 built-in cooking modes that target
the specific property of each kind of rice. Now, delicate, al dente, and hard tasting rice
is available at the touch of a button!
Feature of Multifunctional Rice Cooker
9 Modes:
9 Innovative Rice Cooking Modes
1:1 Golden Ratio
For Chinese, Japanese, Thai Rice Grains For
Different Palates

P.17
Notice Before Use
1. This appliance is not suitable for children and handicapped people. Please always keep children from
the appliance during operation.
2. Never wash this appliance in water directly to avoid short circuit and electric shock.
3. Never plug any metal into the gaps or holes on this appliance to avoid possible electric shock.
4. Never plug or unplug the power supply plug with a wet hand to avoid electric shock. Never unplug the
power cord by pulling the cable. The power cable should not be pulled or twisted violently.
5. Thepowercordshouldnotbeincontactwithotherheatingappliancetoavoidrehazards.Always
unplug the power cord after use.
6. Clean the metal parts on the plug from time to time to avoid weak contact.
7. Please always connect this appliance to an independent socket with the capacity above 10A, and
make sure that the plug is completely plugged in and well contacted.
8. Always keep hand and face away from the steam outlet to avoid scalding by the steam, and never
cover the steam outlet with cloth, otherwise the cover may be distorted due to over heating.
9. During the operation, never touch the cover or any metal parts of the appliance to avoid scalding.
When carrying the appliance, please keep the cover closed to avoid scalding.
10. This appliance should not be used on any unstable or other objects which can not resist high
temperature,otherwiserehazardmayhappen.
11. Pleasekeeptheappliancesfromre,dampsurroundingtoavoidpossiblehazard.
12. Before use, please always clean the heating element, the temperature sensor and the exterior bottom
of the inner pot to avoid weak contact.
13. The inner pot is not allowed for any violent impact. Any distortion of the inner pot may cause mal-
function and other hazards.
14. Never clean the inner pot with any abrasive or hazardous tools to avoid damage to the non-stick coating.
15. Never heat the inner pot with other heating source, and never use other pot to replace the inner pot of
this appliance to avoid any possible hazards.
16. Never start the appliance without the inner pot in position or with the absence of any water or other
food in an empty pot.
17. The heating disk will be very hot after use, never touch it with hand to avoid scalding.
18. No untrained person is allowed to disassemble the appliance. If repair is needed, please contact the
service center.
19. If the power cord is damaged, never replace it with any other power cables, please contact the service
center for the correct power cord.
Important
For safety, you should read the instructions carefully before using the appliance. Retain the instructions
for future reference.
The appliance is designed for domestic use only, and may only be installed and operated in accordance
with this instruction manual.

P.18
Rice Spoon Soup Spoon Measuring Cup Steaming Basket Power Cord
Accessories
2
4
6
8
CupWater Level
WATER
*Please make sure that the
silicon seal ring is installed
before using the appliance.
a.The handle is for carrying
b. Never carry the appliance
with the handle during
operation
c. Please handle gently with
care
Product Structure
The actual product may be different from the images below, the appearance of the actual product shall
prevail.
Handle
Heating Element
Temperature
Sensor
Open Lid Button
Body
Control Panel
Inner pot
Detachable
Aluminium Cover
Power Switch

P.19
A. Control Buttons
B. LED Display Panel
Operation Instructions
TEMPERTURE DISPLAY
11 BUILT-IN FUNCTIONS9 RICE COOKING MODES
TIME DISPLAY
COOKING PROCESS DIAPLAY
(1=bsorption 2=Heating 3=Cooking 4=Braising)
START/KEEP WARM BUTTON
Press this button for 3 seconds to
start the programme. The KEEP
WARM function can be cancelled
or restarted by pressing this button
during the cooking process. Maximum
keep warm period is 24 hours.
POWER SWITCH
Press to turn on / off the rice cooker.
CANCEL/REHEAT BUTTON
Press to cancel the current program
or press for 3 seconds to reheat.
“+”OR”-”BUTTON
press to adjust time or
temperature after pressing the
timer button. You can also press
this button to select a cooking
programme.
HOUR/MIN BUTTON
Press to change the time between
hour and minute.
MODE BUTTON
Press to choose a
programme.
TIMER BUTTON
Press to preset the time before
cooking if the selected programme
has the “timer” function.
TIME/TEMP BUTTON
If the cooking time or cooking
temperature of the selected pro-
gramme can be adjusted, the user
can press this button and then
press “+” or “-” to adjust the
cooking time and temperature .

P.20
Manual 1)Press “Mode” button or to choose
function. (Default cooking time is 30 minutes, default cooking temperature
is 100℃).
2)Press “Time/Temp” button, then press button to
adjust cooking time between range of 2 minutes-15 hours (can switch
between hour adjustment and minute adjustment by press ”Hour/
minute” button), adjusting step is 1 minute within one hour and adjust-
ing step is 5 minutes above one hour.
3)Press “Time/Temp” button again, then press
button to adjust cooking temperature within range of 35℃-180℃, at
5℃per step.
4)Keep pressing “Start/Keep warm” button for three seconds to
start the cooking programme.
5)When finishing cooking, the appliance automatically keeps warm
if cooking temperature is 75℃and above, unless user cancels the
keep warm function manually during cooking process.
Tips: The appliance will not “keep warm” after cooking finishes if cooking
temperature is below 75℃, if cooking temperature is more than 140℃,
cooking time cannot exceed 2 hours; 24-hour preset cooking is available
for this mode.
D.Detailed Operation
Notice:
The rice cooker is equipped with memory function. It will automatically continue the previous pro-
gramme once connect to power within 2 hours. To stop a cooking programme halfway, please press the
cancel button, and then switch off power, or the cooker will automatically start with the latest selected
programme when connect to power within 2 hours.
a. Select the cooking programme. Press the “Timer ”button,then the display will show the
preset time. The user can adjust the preset time by pressing the button. Keep
pressing “Start/Keep warm” button for 3 seconds after all settings are done, and the preset
time will count down.
b. If the user wants to adjust the cooking time after setting the timer, the user should not press the
“Start/Keep warm” button. The user should press “Timer/Temperature” button and
press to adjust the cooking time. Then keep pressing “Start/Keep warm”
button for 3 seconds, the preset time will count down. When preset time count down to 00:00,
relevant cooking program will start.
c. Preset time adjusting range is 5 minutes to 24 hours. The preset time refers to “how long it will
take” to make cooking programme start. Take the cooking programme for example: The cooking
time of is 2 hours. It’s 12 o‘clock now, the user wants to have dinner at 6:00p.m. The
user can set the preset time to 4:00p.m. (After 4 hours). Then press the “Start/Keep warm” but-
ton. The congee will be ready at 6:00p.m.
C. Using the Timer
Table of contents
Other German pool Rice Cooker manuals

German pool
German pool URC-14R User manual

German pool
German pool Ultimate URC-24 User manual

German pool
German pool SRC-103 User manual

German pool
German pool URC-14 User manual

German pool
German pool IRC-150 User manual

German pool
German pool URC-8 User manual

German pool
German pool MRC-105 User manual

German pool
German pool SRC-204 User manual

German pool
German pool IRC-501 User manual

German pool
German pool URC-6 User manual