10 Original Instructions
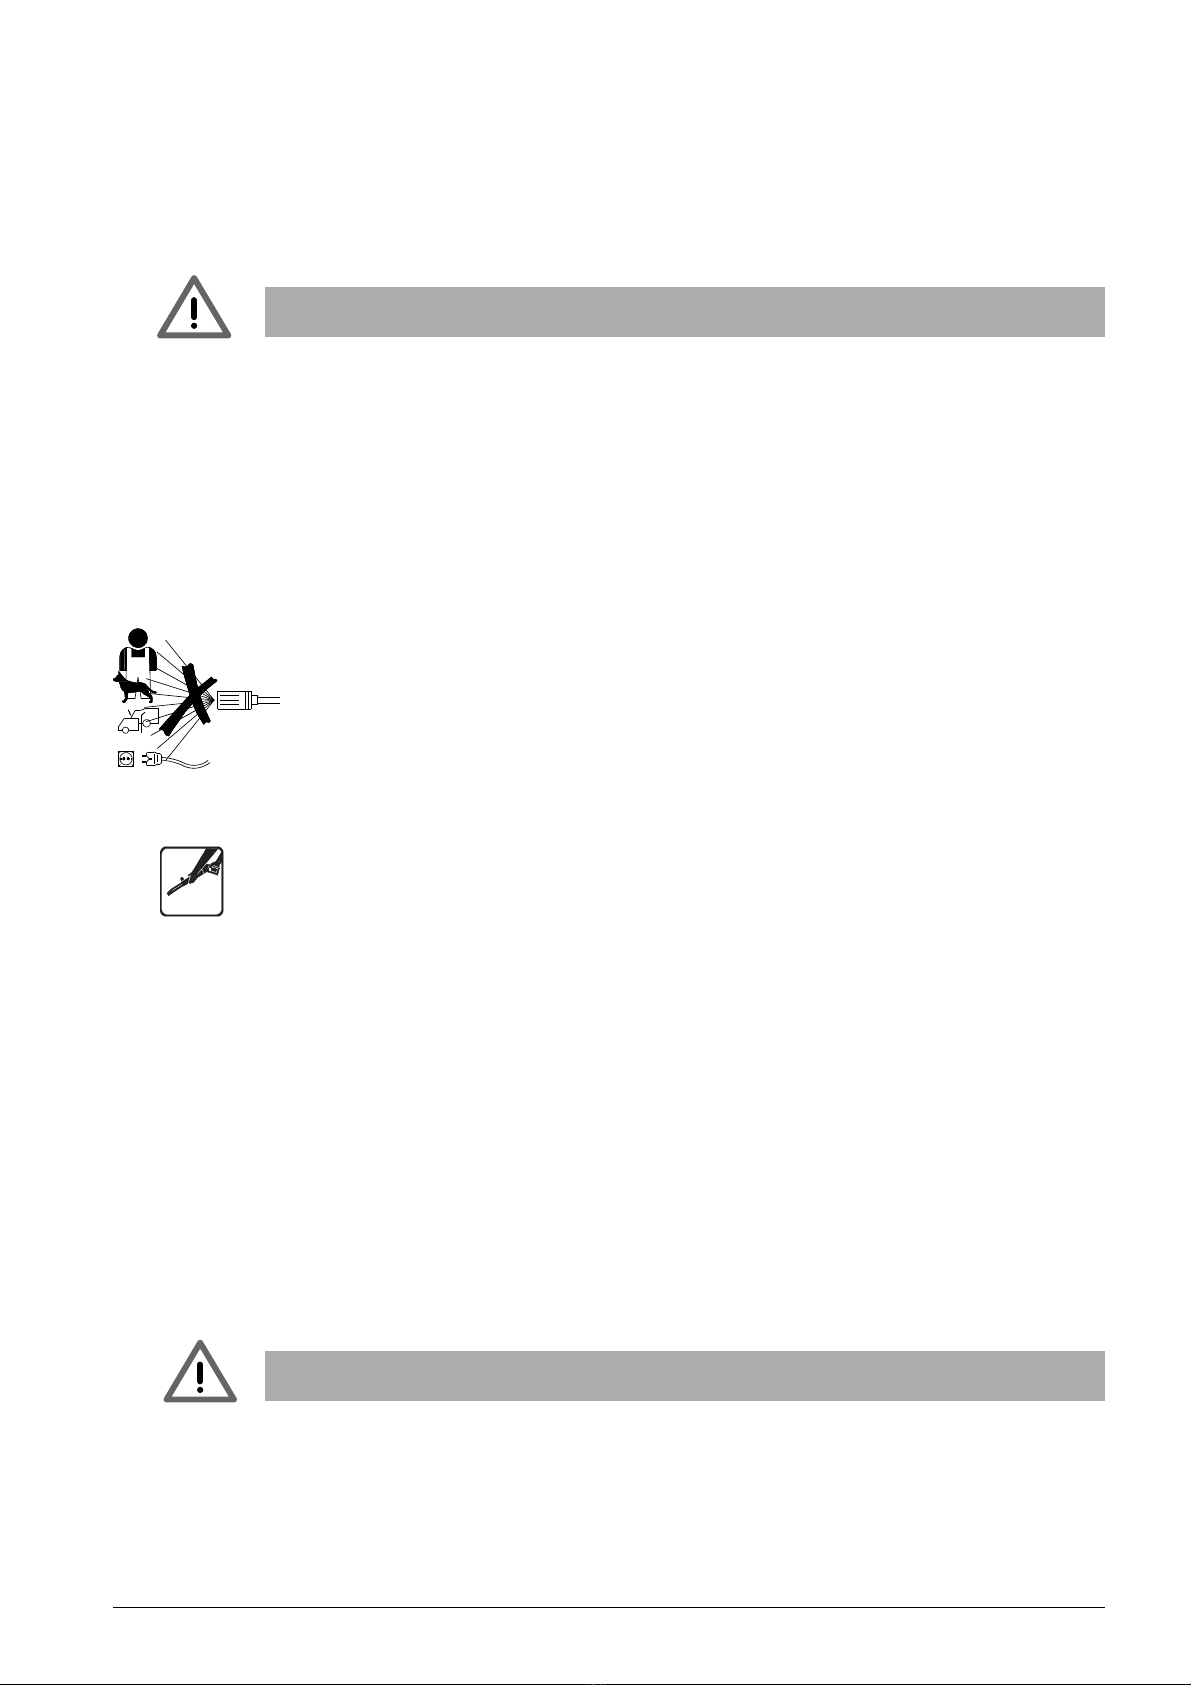
3 Before you start using your high pressure washer
See the pictorial quick reference guide – unpacking.
Illustration shows the operation elements and how to prepare your machine for use.
Operation elements
1 Start/stop switch
2 Water inlet (with filter)
3 High pressure connection
4 High pressure hose
5 Electric cable
6 Click & Clean spray lance
7 Spray gun with lock (7a)
8 Click & Clean Tornado®PR nozzle
9 Click & Clean Powerspeed®nozzle
10 Click & Clean foam sprayer
11 Nozzle cleaning tool
12 Trolley Handle
13 Hose reel (not standard)
14 Hose hook / cable hook
15 Model tag
16 Warning sign
17 Quick coupling
3.1 Mounting of trolley handle, hose hook and hose reel
Mounting of trolley handle and hose hook (standard modelsl)
A1 Mount the trolley handle (12) on the machine. Mount the hose hook (14) on the handle.
Mounting of trolley handle and hose reel (models with hose reel)
A2 Mount the trolley handle (12) on the machine. Mount the hose reel (13) on the handle.
3.2 Mounting of quick coupling
A3 When mounting the quick coupling for the first time, check that the factory fitted filter is
positioned in the water inlet pipe.
IMPORTANT!
The inlet filter must always be fitted in the water inlet pipe to filter out sand, limestone and other
impurities as these will damage the pump valves. The filter is factory fitted.
If the filter is removed this will invalidate the guarantee.
3.3
Mounting of Battery (Cell battery – CR 2032) – Only for models with Wireless regulation
A4 Unscrew (1) the lid (2) to access the battery compartment in the wireless spray handle.
Gently push the battery (3) into the battery holder (4), + sign facing upwards as
illustrated.
Mount the lid (1) to the battery compartment (2). Make sure that the lid gasket (3) is still
placed properly in the groove at the spray handle.
A5 When the battery is mounted correctly, the orange LED (1) will flash for two minutes or
until the spray handle has been paired with the machine. If pairing is not executed within
2 min., the spray handle enters into stand-by mode (battery saving) -> for pairing see
section 4.7.
• If in standby mode and no pairing is in place, then the pairing process can be revital-
ized by pressing the up/down keys to activate the spray handle. Orange LED will then
flash until pairing is completed or resuming standby mode.
A