manuals.online logo
Brands
  1. Home
  2. •
  3. Brands
  4. •
  5. Giant
  6. •
  7. Bicycle
  8. •
  9. Giant HALFWAY Configuration guide

Giant HALFWAY Configuration guide

This manual suits for next models

1

Other Giant Bicycle manuals

Giant FCR 2 User manual

Giant

Giant FCR 2 User manual

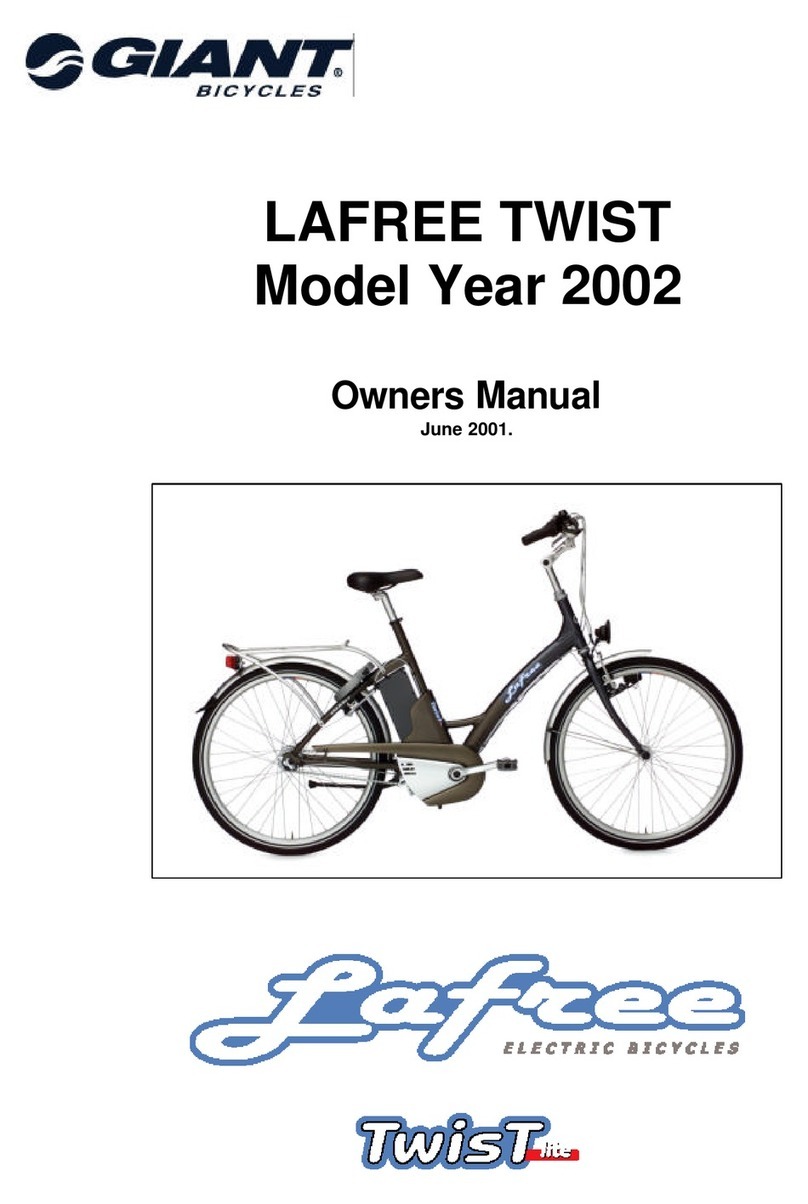
Giant TwisT LaFree Twist 2002 Motorized Bicycle User manual

Giant

Giant TwisT LaFree Twist 2002 Motorized Bicycle User manual

Giant CYPHER 2 User manual

Giant

Giant CYPHER 2 User manual

Giant XTC JR.24 - DATASHEET 2 User manual

Giant

Giant XTC JR.24 - DATASHEET 2 User manual

Giant SEDONA DX User manual

Giant

Giant SEDONA DX User manual

Giant BOWERY 72 Owner's manual

Giant

Giant BOWERY 72 Owner's manual

Giant RINCON Bicyle User manual

Giant

Giant RINCON Bicyle User manual

Giant DEFY 1 User manual

Giant

Giant DEFY 1 User manual

Giant TWIST EXPRESS RS 2 W User manual

Giant

Giant TWIST EXPRESS RS 2 W User manual

Giant TWIST FREEDOM DX User manual

Giant

Giant TWIST FREEDOM DX User manual

Giant REIGN 0 User manual

Giant

Giant REIGN 0 User manual

Giant TWIST FREEDOM DX User manual

Giant

Giant TWIST FREEDOM DX User manual

Giant Anthem 29 Series User manual

Giant

Giant Anthem 29 Series User manual

Giant SEDONA LX User manual

Giant

Giant SEDONA LX User manual

Giant CITYSTORM User manual

Giant

Giant CITYSTORM User manual

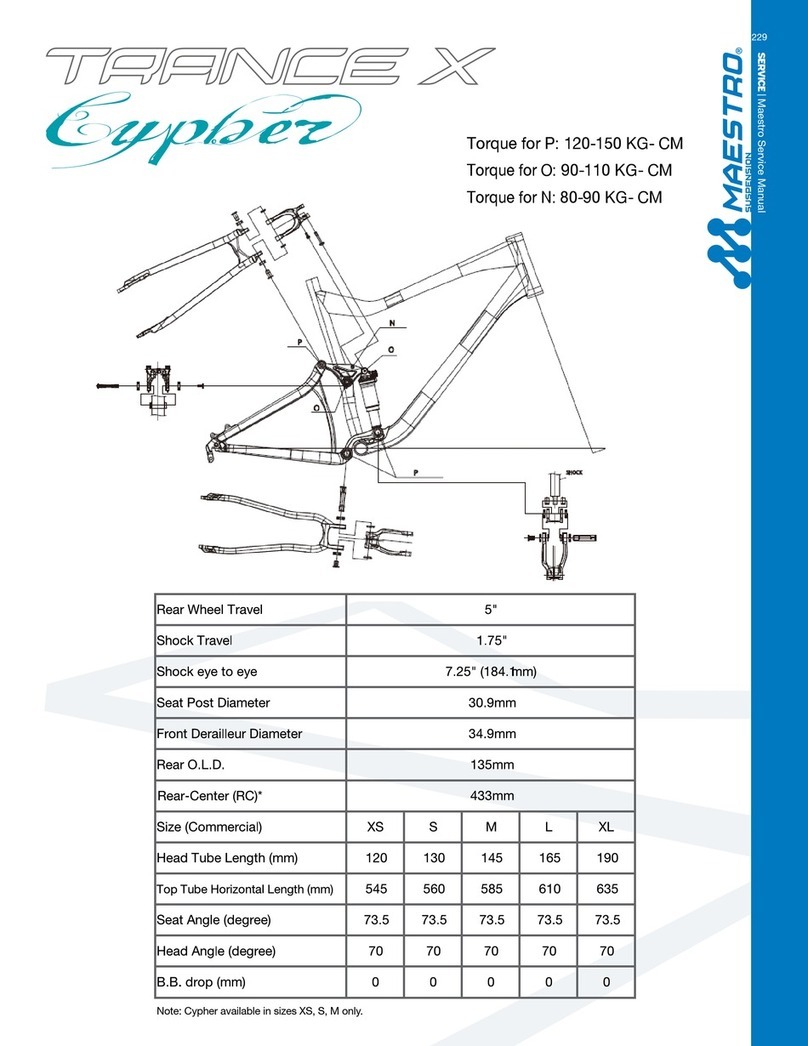
Giant TRANCE X User manual

Giant

Giant TRANCE X User manual

Giant FAITH - SERVICE User manual

Giant

Giant FAITH - SERVICE User manual

Giant ANTHEM - SERVICE User manual

Giant

Giant ANTHEM - SERVICE User manual

Giant SIMPLE 3 User manual

Giant

Giant SIMPLE 3 User manual

Giant ANTHEM X User manual

Giant

Giant ANTHEM X User manual

Giant REVEL 0 User manual

Giant

Giant REVEL 0 User manual

Giant XTC 1 User manual

Giant

Giant XTC 1 User manual

Giant TwisT LAFREE TWIST Model Year 2002 User manual
Giant

Giant TwisT LAFREE TWIST Model Year 2002 User manual

Giant REIGN User manual

Giant

Giant REIGN User manual

Popular Bicycle manuals by other brands

Grace ONE manual

Grace

Grace ONE manual

Woosh Gran Camino manual

Woosh

Woosh Gran Camino manual

Razor FLASHRIDER 360 user manual

Razor

Razor FLASHRIDER 360 user manual

TAUBIK SOHO 2.0 user manual

TAUBIK

TAUBIK SOHO 2.0 user manual

Oxybul FREEbul 331067 manual

Oxybul

Oxybul FREEbul 331067 manual

Cycle Force Group BICYCLE BABY TRAILER & JOGGER Assembly instructions

Cycle Force Group

Cycle Force Group BICYCLE BABY TRAILER & JOGGER Assembly instructions

RAMBO R1000X2M-FF-BFD manual

RAMBO

RAMBO R1000X2M-FF-BFD manual

Vermeiren SAFARI Maintenance manual

Vermeiren

Vermeiren SAFARI Maintenance manual

Velec A2/36V owner's manual

Velec

Velec A2/36V owner's manual

Cervélo S3 2019 Assembly manual

Cervélo

Cervélo S3 2019 Assembly manual

Festo EGSC-BS-KF Instructions & Operating

Festo

Festo EGSC-BS-KF Instructions & Operating

Gio Electric H1 Volt owner's manual

Gio Electric

Gio Electric H1 Volt owner's manual

Huka orthros manual

Huka

Huka orthros manual

DAHON CIAO - 2009 manual

DAHON

DAHON CIAO - 2009 manual

Aprimatic ONDA 500 Installation, use and maintenance instructions

Aprimatic

Aprimatic ONDA 500 Installation, use and maintenance instructions

Greyp G6 Series user manual

Greyp

Greyp G6 Series user manual

Babboe Carve-E user manual

Babboe

Babboe Carve-E user manual

Xtracycle Stoker 2021 Assembly manual

Xtracycle

Xtracycle Stoker 2021 Assembly manual

manuals.online logo
manuals.online logoBrands
  • About & Mission
  • Contact us
  • Privacy Policy
  • Terms and Conditions

Copyright 2025 Manuals.Online. All Rights Reserved.

NEW HALFWAY/SUBWAY
OWNER’S MANUAL
SUPPLEMENT
8
5
9
10
2 1
11
3
12
5
6
7
13
4
Your bike
1
Contents
p1. Why you should read this manual
p1. Your bike
p2. Before you ride your bike -1st time setup
p2. Saddle height adjustment-seat post memory
system setup
p3. H/bar stem height & angle adjustment procedure
p4. Folding procedure.
p5. Unfolding procedure.
WHYYOU
SHOULDREAD
THISMANUAL.
Thank you for buying Giant bicycles.
With latest technology and brand-new
design we are pleased to present you
the New Halfway/Subway.
The new Halfway/Subway is design for
lighter and faster, more suitable for your
daily or recreational use. Before you ride
(use) the Halfway/Subway, please read
the manual, you will nd more features
and friendly design on this bike, it will
help you to setup the bike with best
performance. Hope you enjoy your ride.
This isa supplemental owner’smanualfor
theHalfway/SubwayBicyclewhich covers
the unique features of the Halfway/
Subway.You should read and understand
the complete Bicycle Owner’s Manual
that came with your bicycle to get the
most enjoyment and satisfaction from
yourGiantbicycle.
CAUTION!
Your bike
1. Frame
2. Frame quick release
3. Fork
4. Wheel
5. Hub
6. Crank
7. Pedal
8. Chain
9. Saddle
10. Seat Post
11. Seat post quick release
12. Handlebar
13. Handlebar stem w / quick release
Seatpostmemorysystem /
heightadjustment procedure
The seat post is designed with memory
system. Before your rst ride, please set your
proper height following below procedure
picture
1. Pull the seat post out to the maximum
extended position (Until stopper touches
seatclamp)
2. Loosenthe stopper with 2mmAllenkey.(Turn
counterclockwise)
3. Adjust saddle height to the desired position
andtightenthe stopper.
4. Tightenseatpost quickrelease.
Caution:
Don’t remove the Allen key; otherwise the
stoppermightfall out.
Before you ride
your bike-1st
time setup
Be sure to tighten the saddle clamp and
quick release properly before riding. The
saddle and seat post cannot be twisted
when the fixing screw is in place. Check
with yourdealerifyouhave any doubt.
WARNINGS!
3
H/barstemheight &
angleadjustment
procedure
Put it in correct position
before you ride
Loosestemclampbolt with 6mm Allen key,
pullthequillto yourdesired height,and
then tighten the clampbolt.
Maximumtightenforce: 10 N-m.
Caution:
TheMinimumInsertionmarkofstem and
seatpostshould NOTbevisible.
It is essential to thoroughly check that
your bars and stem are tight and cannot
be moved after you have made any
adjustments.
Please make sure all the quick release and
bolt are probably tighten beforeyourride.
WARNINGS!
Openhandlebar quickrelease, rotate
handlebartoyourdesiredposition and
tightenthequickrelease securely.
Folding
Procedure
Each Halfway/Subway bicycle comes with a travel bag,
so you can carry your folded bike
in a convenient way.
Step 1.
Align crank with the seat tube and
fold open the pedal by pushing/
pulling the faces outward.
Step 3.
Slide safety button forward,
then open the frame quick
release.
Step 4.
Fold the frame.
Fold the bike and keep the handle
bar facing forward.
Secure it in folded position with
clip on front and rear hub.
Safetybutton
5
Step 2.
Loosen the seat post quick release
and push the saddle to the lowest
position. Then tighten the quick
release again.
Step 5.
Slide safety button up, then open the
handlebar stem quick release. Fold
handlebar stem and secure it in the stem
holder.
Warning:
Take care that the cables are not hooked
behind other parts or bent and kinked
while folding the stem.
UNFOLDING PROCEDURE
TounfoldthenewHalfway/Subway
for riding, reverse theprocedure.
Make sure all quick releases
for frame, seat post, handlebar
and handlebar stem are xed.
Do not ride the bicycle before
the pedals have been closed
completely.
Make sure the handlebar
stem has been xed properly
before cycling.
Maximum tightening torque:
10 N-m
IMPORTANT NOTES.
The quick release mechanism for
frame and handlebar stem have an
adjustment screw/nut that controls
the clamping force and the force
that is needed to open/close the
quick release.
MAKE SURE THAT THE
FUNCTION OF THE
QUICK RELEASE AND
ADJUSTMENT SCREW/NUT
IS DEMONSTRATED BY THE
BICYCLE DEALER BEFORE
USING THE BIKE.
Make certain the “Frame Release
Mechanism” is secured firmly in correct
closed position prior to each ride.
Mechanism may loosen over time and
slight adjustments may be needed. If you
are unable to secure release mechanism,
please see your Giant Authorized Dealer
for correct operating procedure for this
ReleaseMechanism prior toridingbike.
WARNINGS!
Safetybutton
©2009 Giant Bicycle, Inc. Giant and its symbol are trademarks of Giant Bicycle, Inc.All rights reserved.
Printed in Taiwan.
www.giant-bicycles.com
For complete detail of warranty, service and maintenance, please refer to the
completeBicycleOwner’s Manual thatcamewith your bicycle.
It is very important that your dealer carries out any repair or maintenance,
which is not described in this manual. Consult your dealer for help in
determiningyour maintenance needs.
CAUTION!
ride life. ride giant.