A
90 DAY LIMITED WARRANTY
The manufacturer warrants this product against defects in materials and workmanship. Gibraltar Mailboxes warrants to the original consumer purchaser of this mailbox product
for 90 days on which it is originally purchased that it is sold free of latent defects in materials, parts and workmanship. This warranty is limited to repair or replacement of the
defective mailbox product. At the discretion of Gibraltar Mailboxes, defective products must be returned freight prepaid to Gibraltar Mailboxes' factory, The Solar Group. If the unit
is determined to be defective, it will be repaired or replaced free of charge at Gibraltar Mailboxes' option. Please contact customer service first before mailing the product. This
FROM THE FRONT FACE OF CURB OR ROAD EDGE TO THE MAILBOX DOOR.
CARRIER OR TO THE LOWEST EDGE OF MAIL ENTRY (FOR LOCKED MAIL SLOT DESIGNS) AND ARE SET BACK 6-8 INCHES
INCHES FROM THE ROAD SURFACE TO EITHER THE INSIDE SURFACE OF THE MAILBOX THAT THE MAIL IS PLACED ON BY THE
product with a damp cloth and household detergent occasionally will help to maintain the condition of the product.
With a minimum amount of maintenance, your mailbox post can look like new for a long period of time. Cleaning the surfaces of the
Proper Care and Maintenance
CORRECT PLACEMENT AND HEIGHT AT THE STREET. GENERALLY, MAILBOXES ARE INSTALLED AT A HEIGHT OF 41-45
CUSTOMERS ARE REQUIRED TO CONTACT THE LOCAL POST OFFICE BEFORE INSTALLING THE MAILBOX TO ENSURE ITS
warranty does not include repair or replacement due to defects caused by abuse, misuse, fire, vandalism, substandard or nonconforming installation, contact with brick mortar or
SUPERFICIE DE LA ORILLA QUE DA A LA CALLE O DEL BORDE DEL CAMINO HASTA LA PUERTA DEL BUZÓN.
BUZÓN DE RANURA CON CERRADURA) Y SE ENCUENTRAN A UNA DISTANCIA DE 15 A 20 CM HACIA ATRÁS DESDE LA
CARTERO COLOCA EL CORREO O HASTA EL BORDE MÁS INFERIOR DE LA ABERTURA PARA EL CORREO (PARA DISEÑOS DE
condiciones, limpie la superficie con un paño húmedo y detergente de uso doméstico ocasionalmente.
Con un mantenimiento mínimo, su buzón lucirá como nuevo por mucho tiempo. Para ayudar a mantener el producto en buenas
Cuidado y Mantenimiento Apropiados
SE INSTALAN A UNA ALTURA DE 104 A 114 CM DESDE EL PAVIMENTO HASTA LA SUPERFICIE INTERIOR DEL BUZÓN DONDE EL
ASEGURARSE DE QUE SU COLOCACIÓN Y LA ALTURA EN LA CALLE SEAN LAS CORRECTAS. POR LO GENERAL, LOS BUZONES
LOS CLIENTES DEBEN COMUNICARSE CON LA OFICINA LOCAL DE CORREOS ANTES DE INSTALAR EL BUZÓN PARA
destructive weather conditions (includes salt air, road salt or other corrosive materials). This warranty does not cover the labor or any other cost of removal, reinstallation or
replacement of, or as a consequence of, the defective mailbox product. This warranty does not cover field expenses or the cost of any items other than the defective mailbox
product. Consequential damages to property are excluded.
GARANTÍA LIMITADA DE 90 DÍAS
El fabricante garantiza este producto contra defectos en los materiales y en la mano de obra. Gibraltar Mailboxes garantiza al consumidor comprador original por un período de
90 días a partir de la fecha de compra original que este buzón no tiene defectos latentes en sus materiales, piezas ni en su mano de obra. Esta garantía se limita a la reparación
o al reemplazo del buzón defectuoso. A discreción de Gibraltar Mailboxes, los productos defectuosos deben ser devueltos con flete prepago a la fábrica Gibraltar Mailboxes, The
Solar Group. Si se establece que la unidad presenta defectos, esta será reparada o reemplazada sin cargo, según lo decida Gibraltar Mailboxes. Comuníquese con Servicio al
Cliente primero, antes de enviar el producto por correo. Esta garantía no incluye la reparación ni el reemplazo por defectos ocasionados por abuso, uso incorrecto, incendio,
vandalismo, instalación indebida o de mala calidad, contacto con argamasa o por condiciones climáticas perjudiciales (lo que incluye aire salado, sal de carreteras u otros
materiales corrosivos). Esta garantía no cubre el trabajo de mano de obra ni ningún otro costo de remoción, reinstalación o reemplazo de un buzón defectuoso ni como resultado
de ello. Esta garantía no cubre los gastos de campo ni el costo de ningún artículo que no sea el buzón defectuoso. Se excluyen los daños resultantes a la propiedad.
sheet # 1331 last revision 9/20/2018
Installation Instructions for GHP4/ Instrucciones de instalación para GHP4
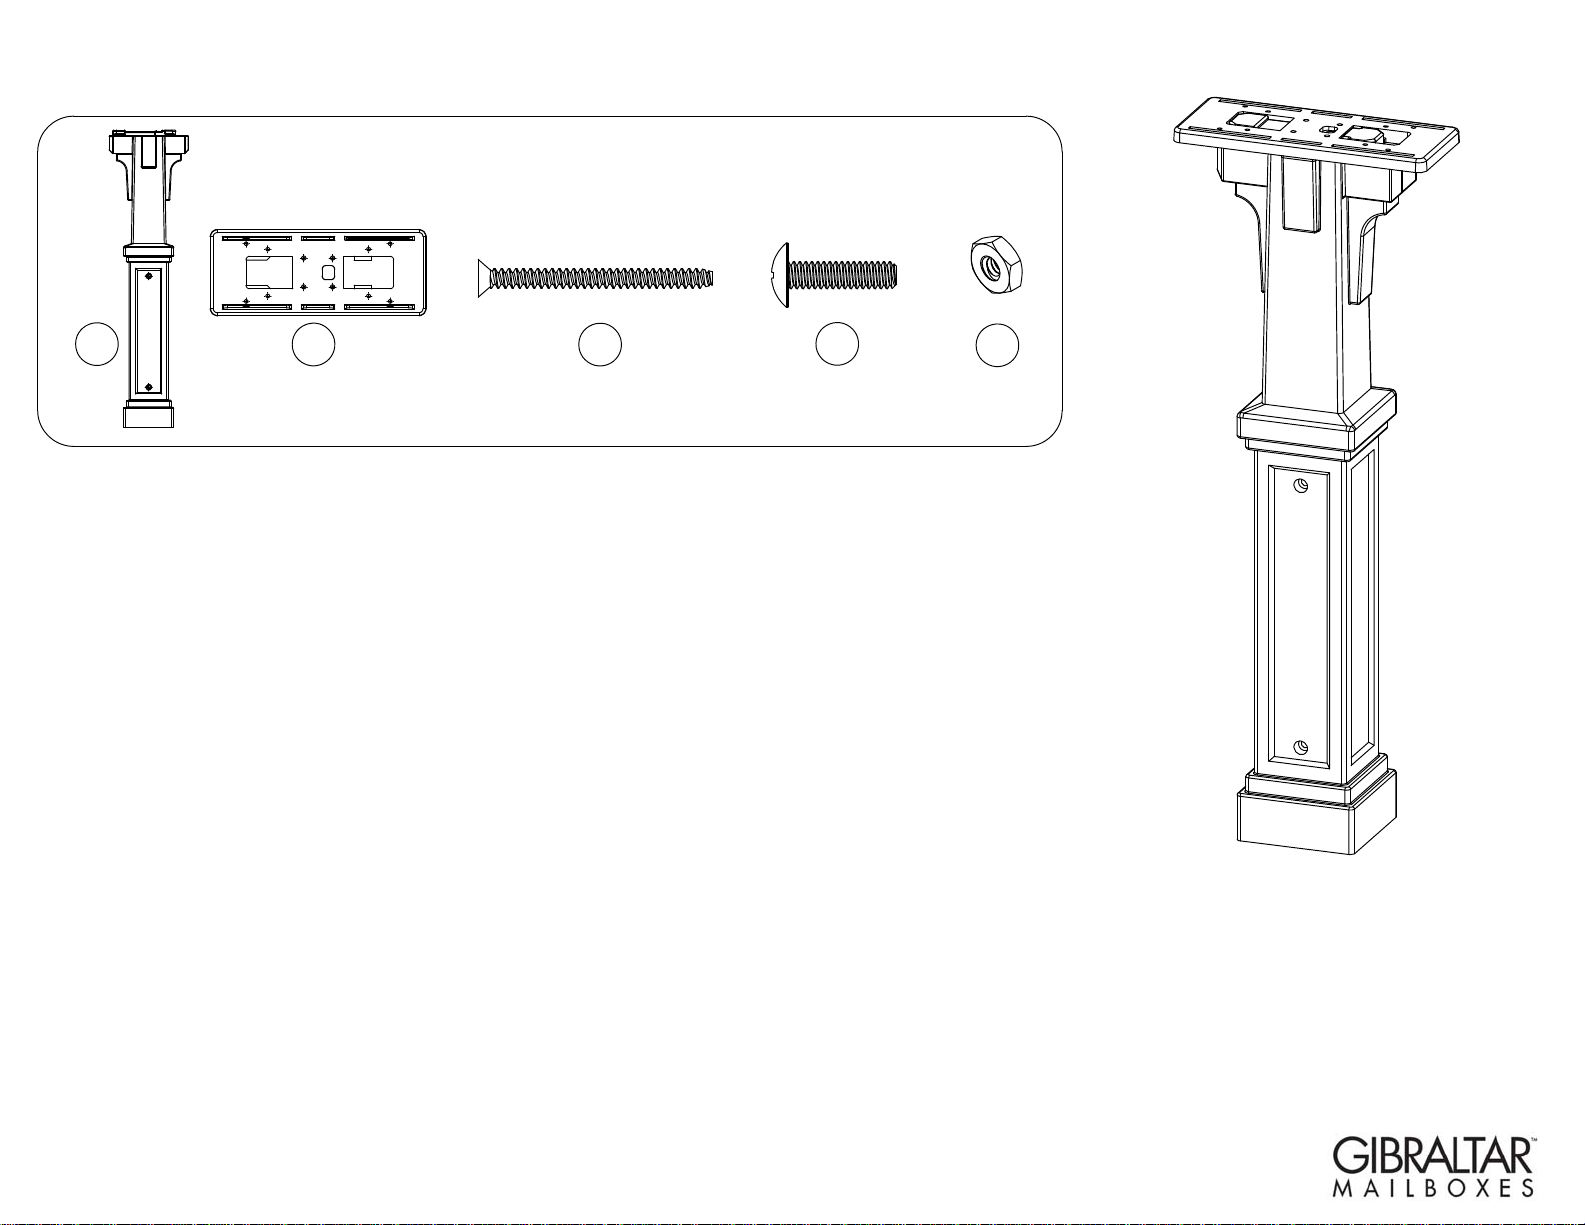
X4
Parts/ Piezas
Warning: Check for underground cables or pipes before digging./ Advertencia: Verifique que no haya cables ni tubos subterráneos antes de cavar.
X4 X4
C
BE
D


