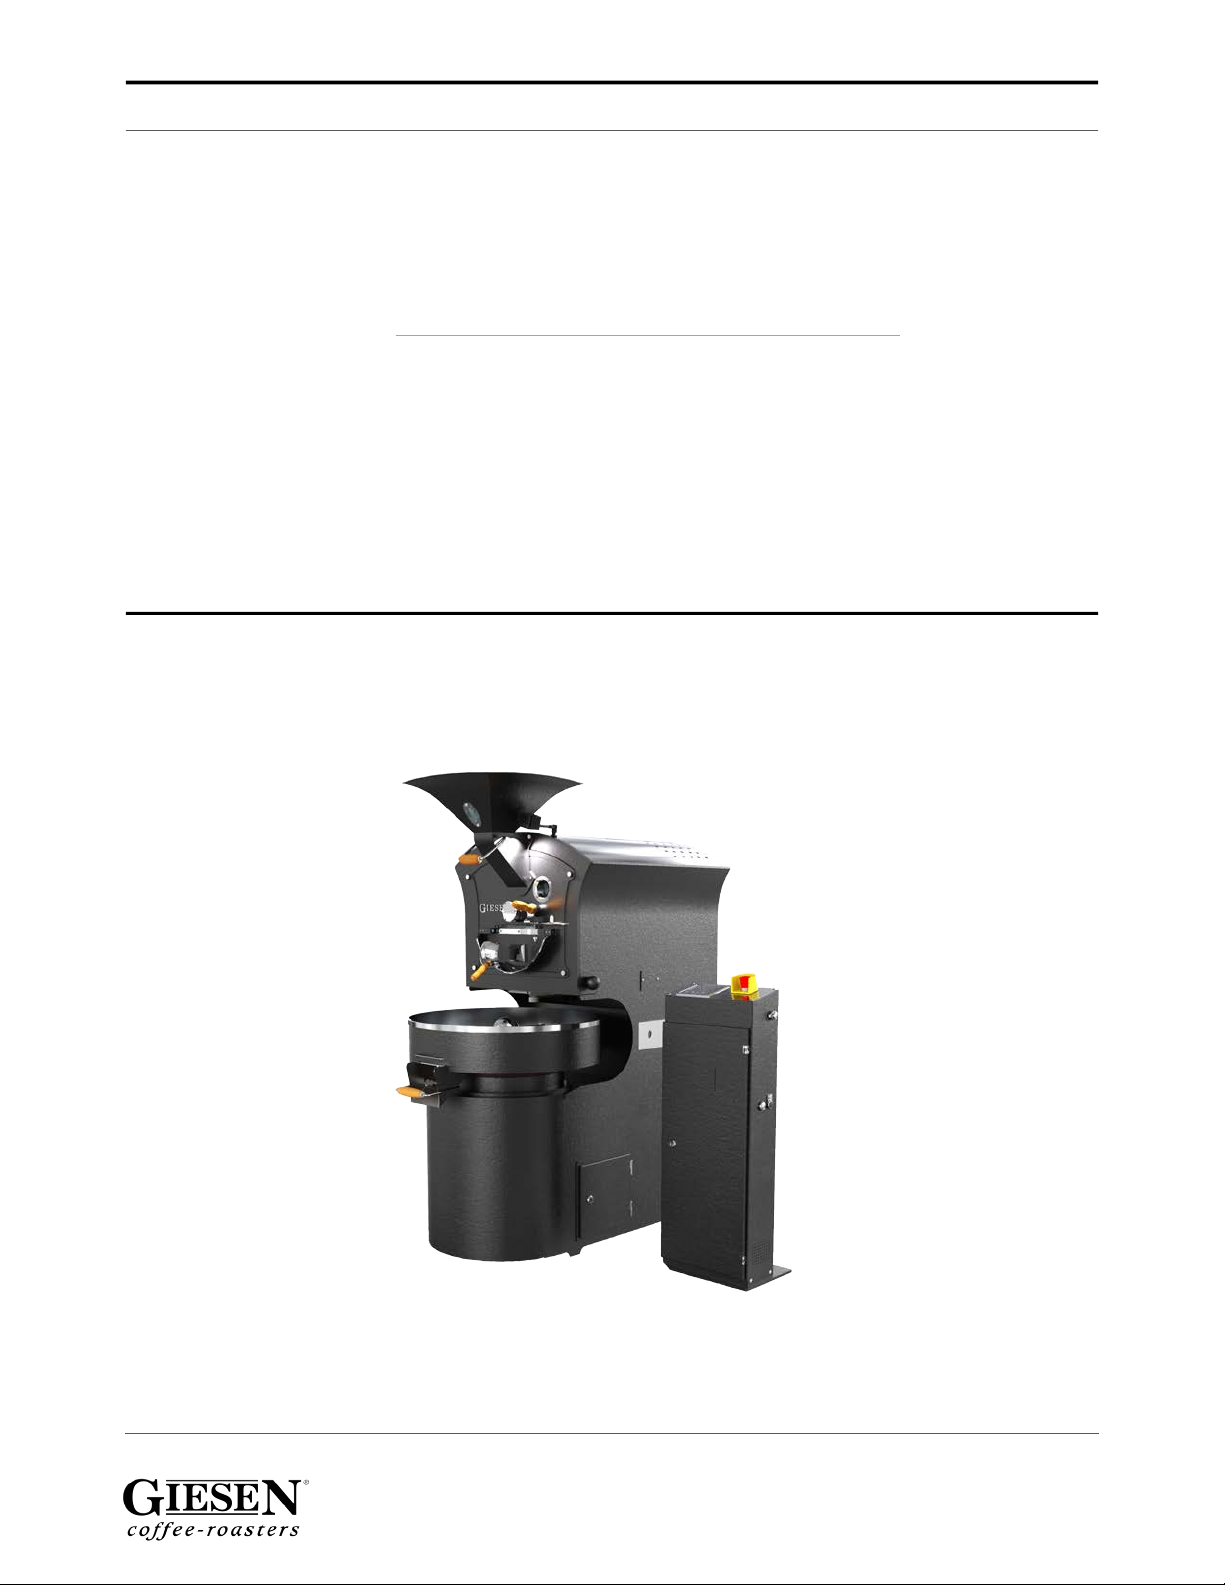
Giesen W6A Coffee Roaster - Version 1.0 2
Table of Contents
1.0 Manufacturer ........................................................ 4
2.0 Machine details..................................................... 5
3.0 Declaration of Conformity ................................... 6
4.0 Read carefully before installing .......................... 7
4.1 Follow the manual ........................................................ 7
4.2 Transporting the machine ........................................... 7
4.3 Installing the machine .................................................. 7
4.4 Caution - general........................................................... 7
4.5 Caution - electronics..................................................... 8
4.6 Caution - gas connection ............................................. 8
4.7 Caution - heat................................................................ 8
4.8 Caution - fire.................................................................. 8
4.9 Caution - ventilation ..................................................... 9
5.0 Important information......................................... 10
5.1 Shutdown procedure ................................................... 10
5.2 Location of the electric drawings................................ 10
5.3 Service for the roaster.................................................. 10
5.4 Acceptable products..................................................... 10
6.0 Placing your roaster; preparations..................... 11
6.1 What’s in the box?......................................................... 11
6.2 What do you need?....................................................... 11
6.3 Choose a location ......................................................... 12
6.4 Unloading the roaster .................................................. 12
6.5 Unpacking the roaster.................................................. 13
7.0 Placing and installing your roaster ..................... 16
7.1 Electric installation........................................................ 16
7.2 Electrical connection .................................................... 16
7.3 Ventilation...................................................................... 16
7.4 Gas connection ............................................................. 17
7.5 Connecting the roaster ................................................ 18
8.0 Your Giesen coffee roaster.................................. 20
9.0 General options .................................................... 21
10.0 Operating console ................................................ 24
10.1 F1 screen........................................................................ 24
10.2 F2 screen........................................................................ 24
10.3 F3 screen........................................................................ 25
10.4 F4 screens ...................................................................... 26
10.4.1 Underpressure / drum speed ............................................... 26
10.4.2 Temperature unit / languages .............................................. 26
10.5 In-depth operating buttons ......................................... 27
11.0 Cleaning and maintenance.................................. 30
11.1 Cleaning plan................................................................. 30
11.2 Daily cleaning steps ...................................................... 30