3. Configure the Switch
3.1 Configure the Switch from the Console Port
〔1〕Setup Hardware and Software for configuration
〔Hardware setup
Hardware setupHardware setup
Hardware setup〕
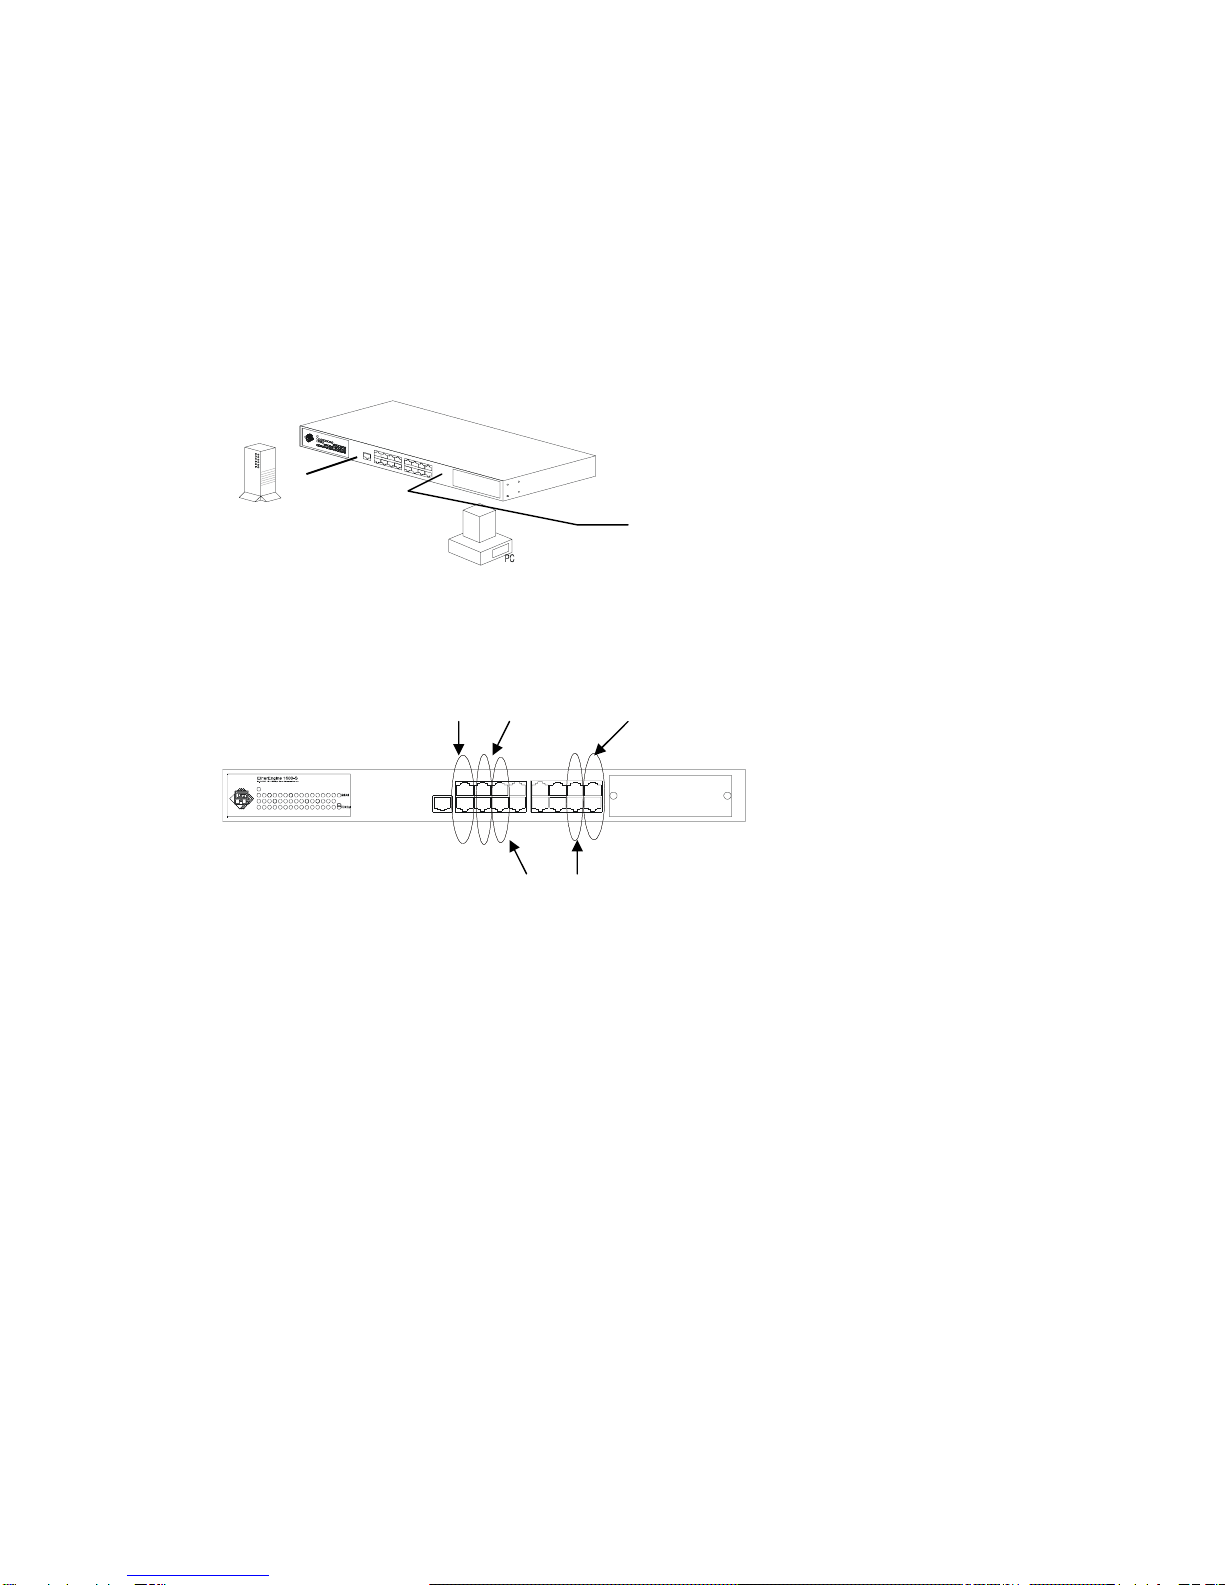
Connect from the console port (at rear panel) of the Switch to COM
port of PC with the RJ45-DB9 adapters and one network cable, or
standard RS232 cable.
〔Soft
SoftSoft
Software setup
ware setupware setup
ware setup〕
1. PC is running Win95/98/NT.
2. Start ->Program ->Accessory ->Terminal. Execute”Hypertrm” program.
3. If the connection file has been created, cancel the new connection request and
open the connection file. If the connection file has not been created, create a
new connection named “SW16F” ->Select COM port of PC ->Set COM port
parameters as “Baud Rate: 9600, Data Bits: 8, parity Check: None, Stop Bit: /,
Flow Control: None” Then OK.
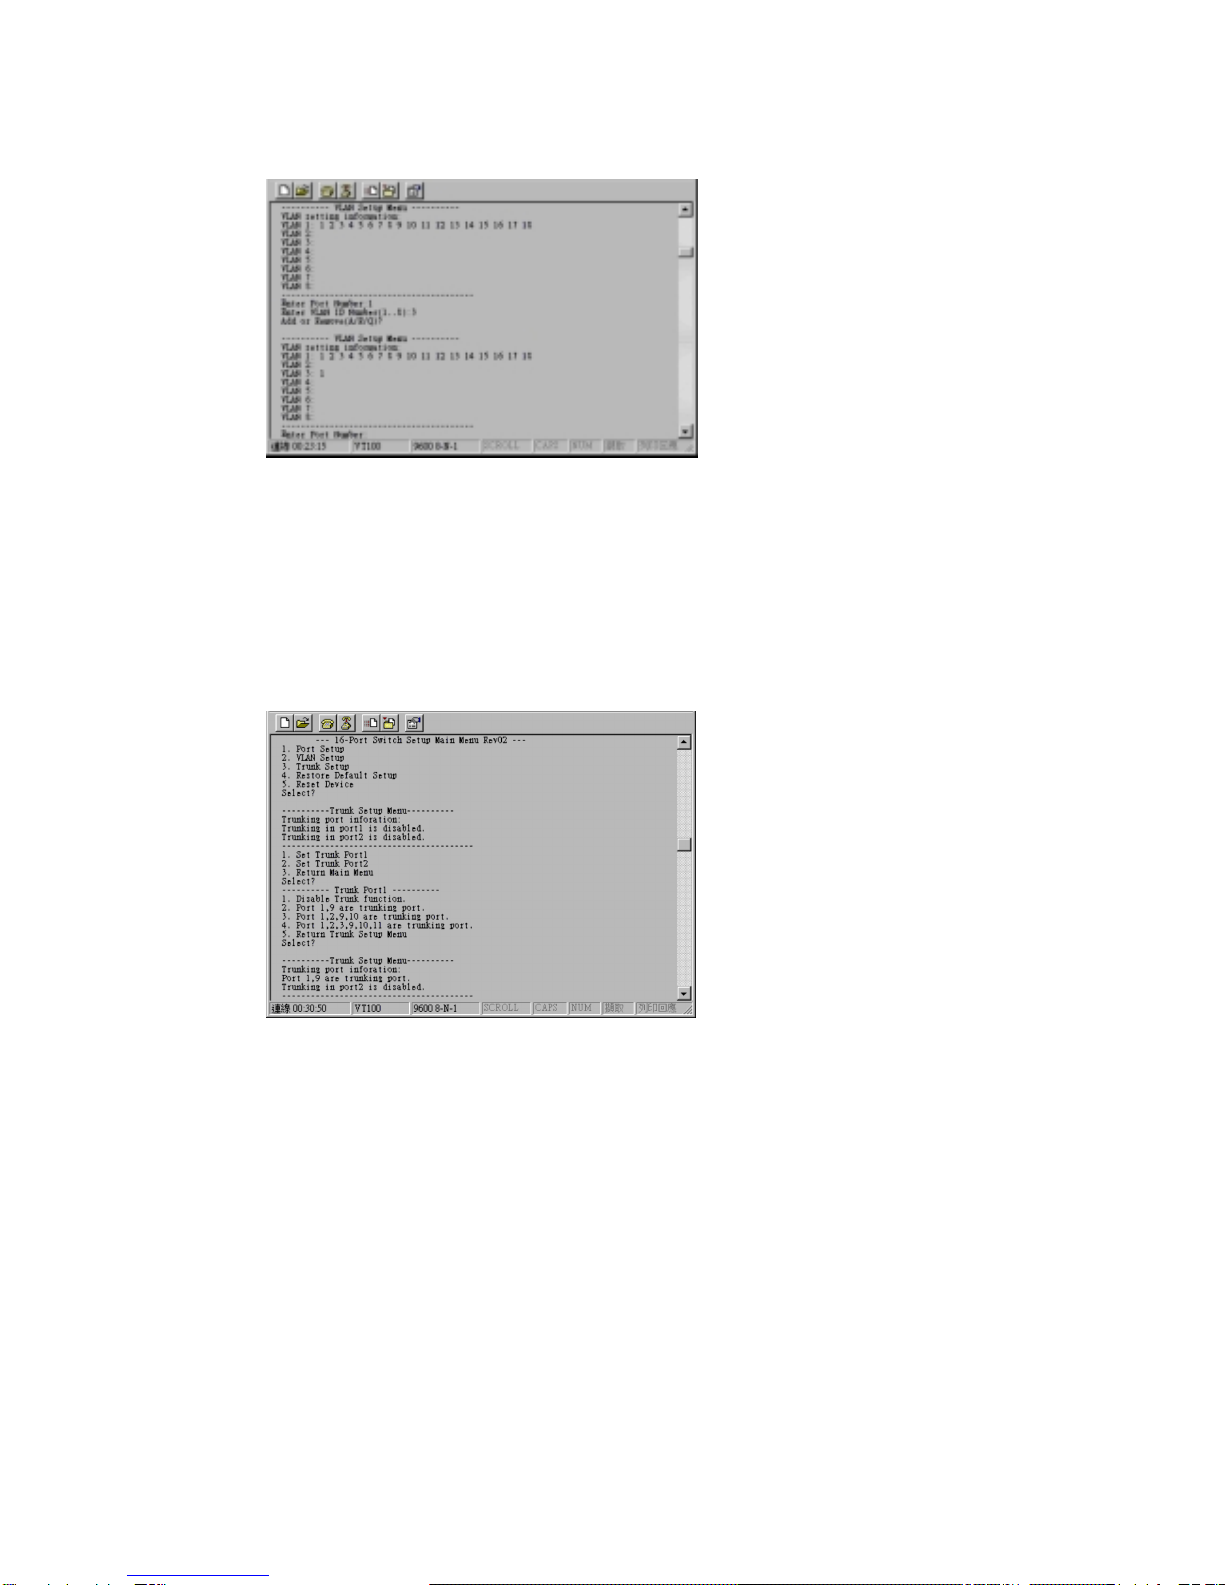
4. Power on the Switch and the setup console will appear as follow:
〔2〕Configure Connection Ports of the Switch
1. Users can enable/disable the auto-negotiation function of the
connection ports with this function. If the auto-auto-negotiation
is disabled, users can set the connection speed, full/half duplex
of the connection ports. The default setting is auto-negotiation
enable.
2. Follow the direction in the setup menu to setup the configuration
of the connection ports.
3. The indicators of the display panel of the Switch may ON/OFF depending on
the setting of the ports in this function when the cables are link connected.
Notes: If the connection ports are 100Base-FX SC/ST ports, the auto-
negotiation function of the ports will be always disable. User can set
the 100Base-FX ports to full/half duplex and enable/disable flow-
control in this function.