2
AS300 / ISRAEL eng / A31008-M2208-B501-1-UV19 / Overview.fm / 15.12.2010
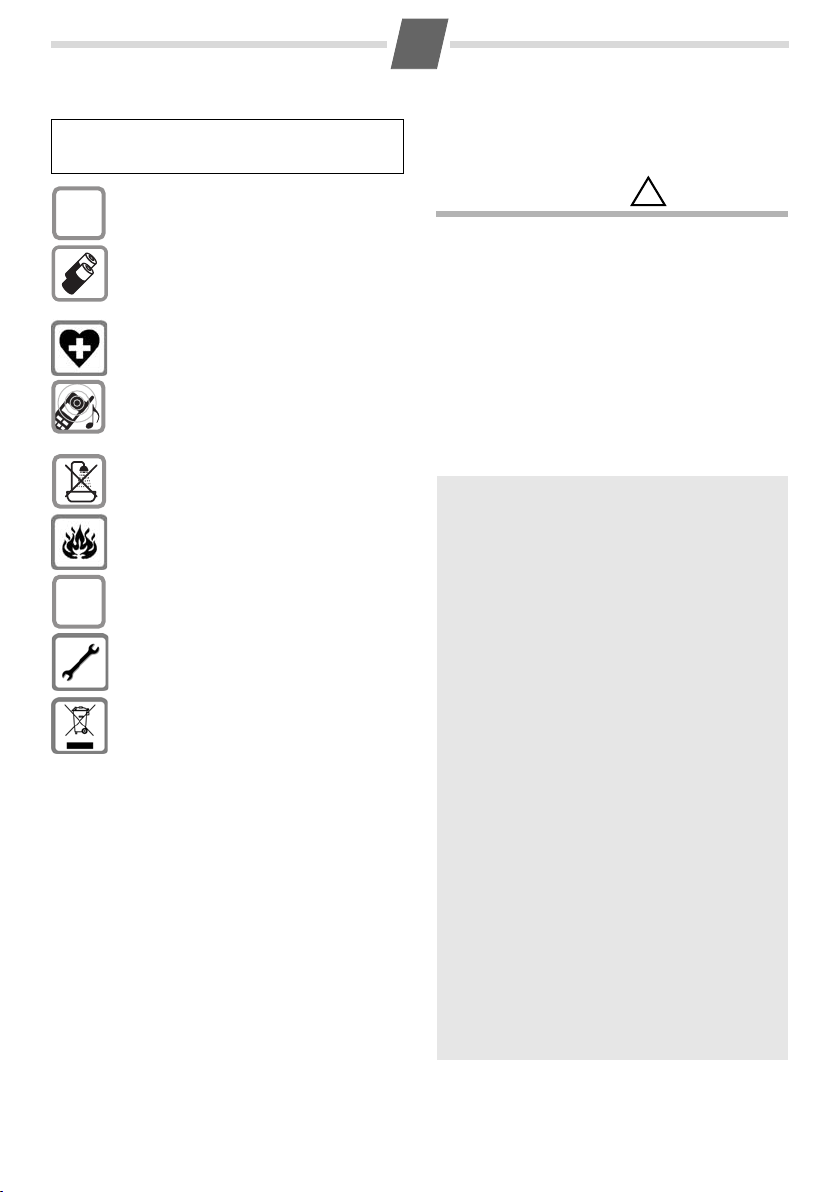
Safety precautions
Emergency numbers cannot be dialled if the keypad lock
(¢page 1) is activated!
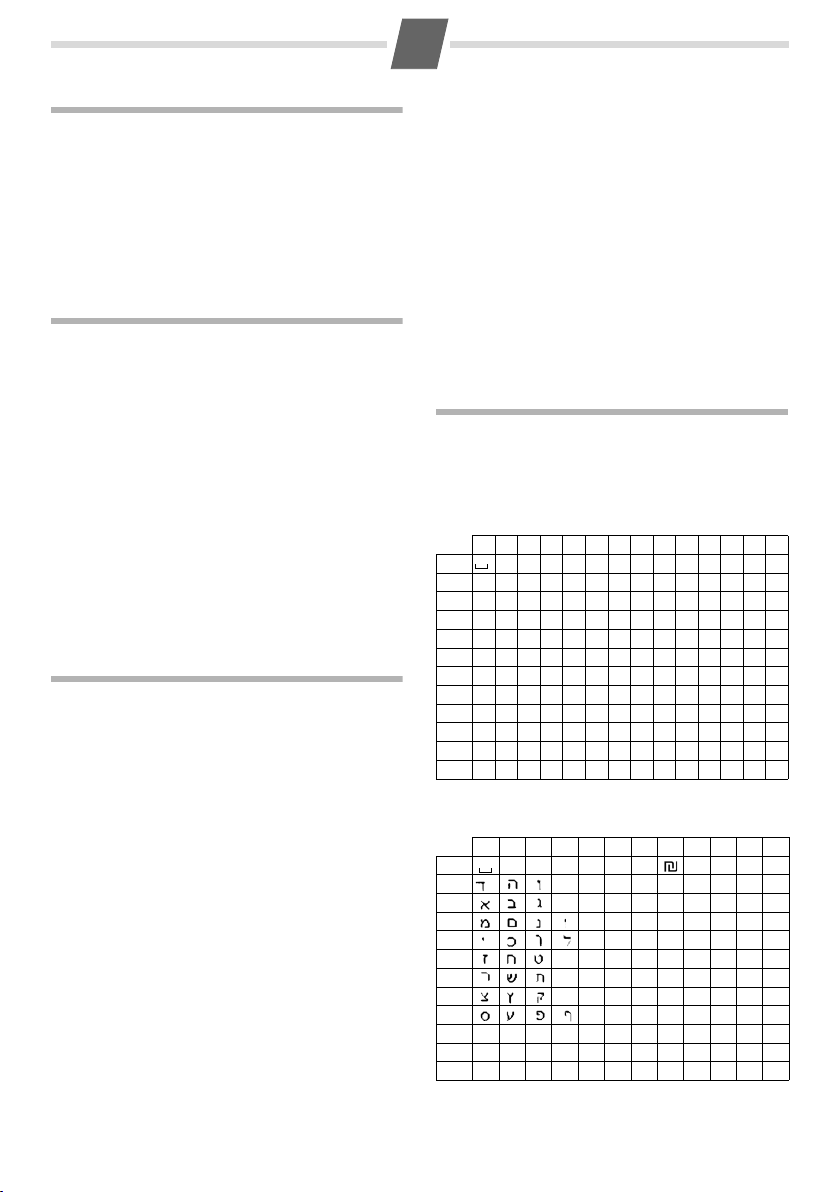
Not all of the functions described in this user guide are avail-
able in all countries.
Care
Wipe down the base station and handset with a
damp cloth (no solvents) or an antistatic cloth. Never
use a dry cloth. This can cause static.
Contact with liquid
If the handset should come into contact with liquid:
◆Switch the handset off and remove the batteries
immediately.
◆Allow the liquid to drain from the handset.
◆Pat all parts dry, then place the handset with the
battery compartment open and the keypad facing
down in a dry, warm place for at least 72 hours
(not in a microwave, oven etc.).
◆Do not switch on the handset again until it is
completely dry.
When it has fully dried out, you will normally be able
to use it again.
Read this user guide and the safety precautions carefully
before use. Explain their content and the potential hazards
associated with using the telephone to your children.
Only use the mains adapter supplied.
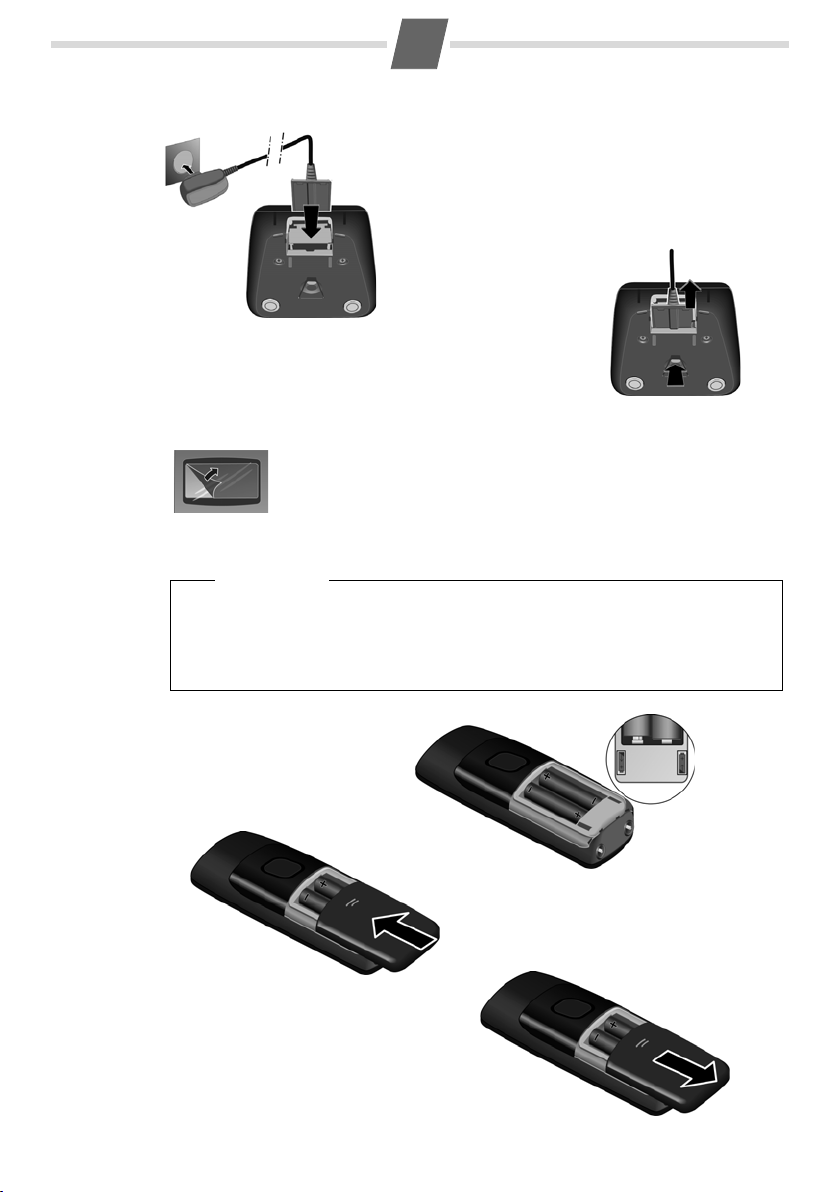
Fit only the recommended, rechargeable
batteries (¢page 11), i.e. never use any other
battery type or non-rechargeable batteries as this
could result in significant health risks and personal
injury.
The operation of medical appliances may be
affected. Be aware of the technical conditions
in your particular environment, e.g. doctor's sur-
gery.
Do not hold the rear of the handset to your ear
when it is ringing. Otherwise you risk serious and
permanent damage to your hearing.
The handset may cause an unpleasant humming
noise in hearing aids.
Do not install the phone in a bathroom or shower
room. The handset and base station are not
splashproof.
Do not use your phone in environments with a
potential explosion hazard, e.g. paint shops.
If you give your Gigaset to someone else, make
sure you also give them the user guide.
Please remove faulty base stations from use or
have them repaired by Service, as they could inter-
fere with other wireless services.
Disposal
Batteries should not be disposed of in general
household waste. Observe the local waste dis-
posal regulations, details of which can be obtained
from your local authority or the dealer you pur-
chased the product from.
All electrical and electronic equipment must be
disposed of separately from general household
waste using the sites designated by local authori-
ties.
If a product displays this symbol of a crossed-out
rubbish bin, the product is subject to European
Directive 2002/96/EC.
The appropriate disposal and separate collection
of used equipment serve to prevent potential
harm to the environment and to health. They are a
precondition for the re-use and recycling of used
electrical and electronic equipment.
For further information on disposing of your used
equipment, please contact your local authority,
your refuse collection service or the dealer you
purchased the product from.
ECO DECT
You are helping to protect the environment with
your Gigaset AS300.
Reduced energy consumption
Your telephone has a power-saving adapter plug
and uses less power.
Reduced transmission power
The transmission power of your telephone is
reduced automatically:
The handset's transmission power is reduced
depending on the distance to the base station. The
transmission power on the base station is reduced
to virtually zero when only one handset is regis-
tered and the handset is in the base station.
You can reduce the transmission power of the
handset and base station even more by using Eco
Mode/Eco Mode+ (see Menu tree ¢page 14):
◆Eco Mode: 80% transmission power reduction
in standby mode and during a call (the range of
the base station is reduced).
◆Eco Mode+: 100% transmission power deacti-
vation in standby mode (top left display icon ½).
Press and hold the talk key cto check that the
base station can be reached. You will hear the
ringing tone if the base station can be reached.
Registering handsets that do not support Eco
Mode+ causes the mode to be deactivated on
the base and all other handsets.