manuals.online logo
Brands
  1. Home
  2. •
  3. Brands
  4. •
  5. GigaTent
  6. •
  7. Tent
  8. •
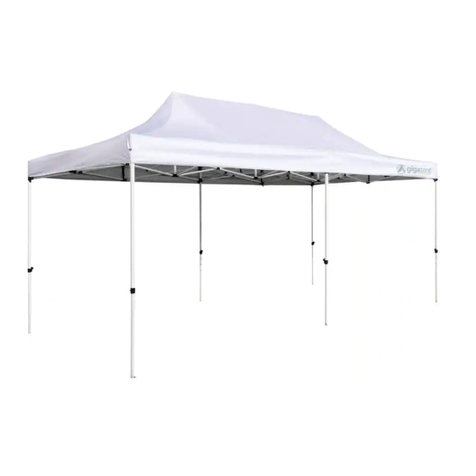
  9. GigaTent Giga Classic GT008 User manual

GigaTent Giga Classic GT008 User manual

This manual suits for next models

1

Other GigaTent Tent manuals

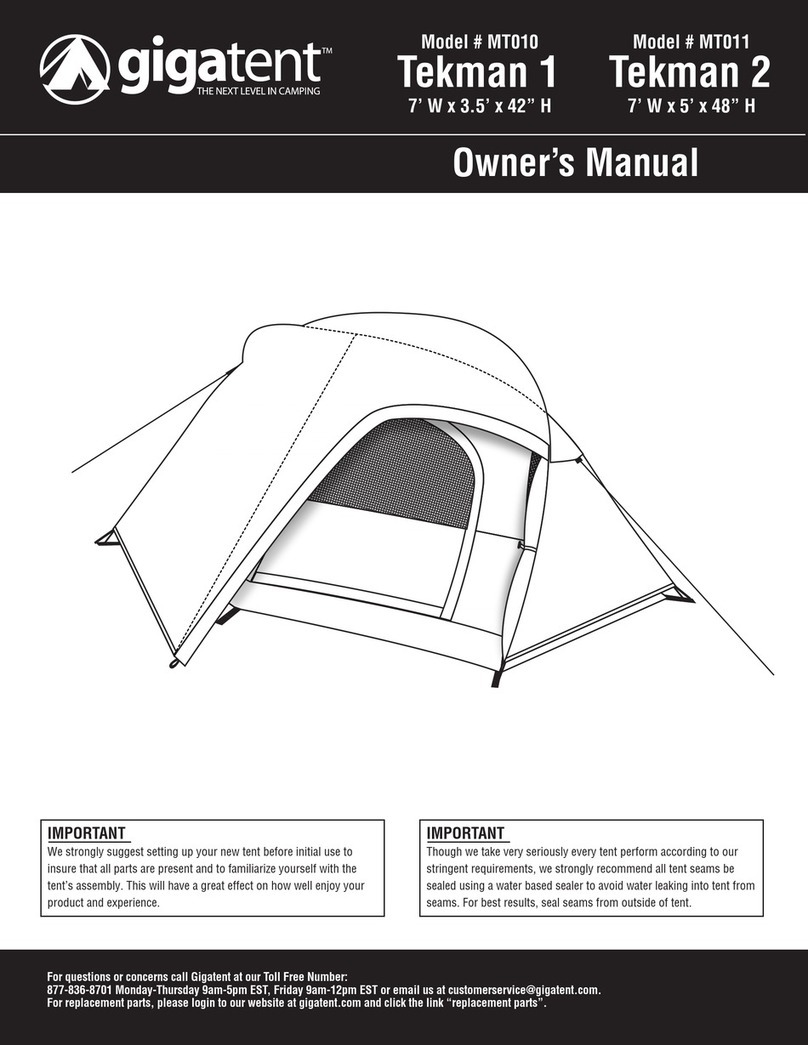
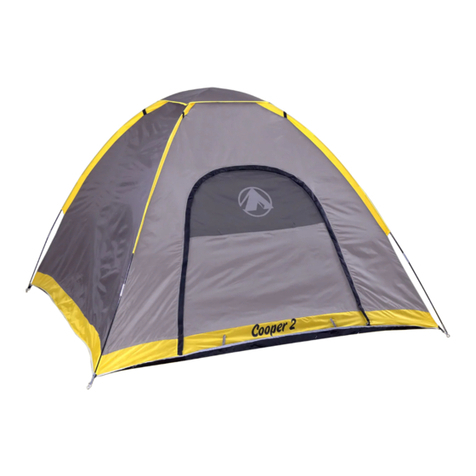
GigaTent COOPER 2 User manual

GigaTent

GigaTent COOPER 2 User manual

GigaTent ST002 User manual

GigaTent

GigaTent ST002 User manual

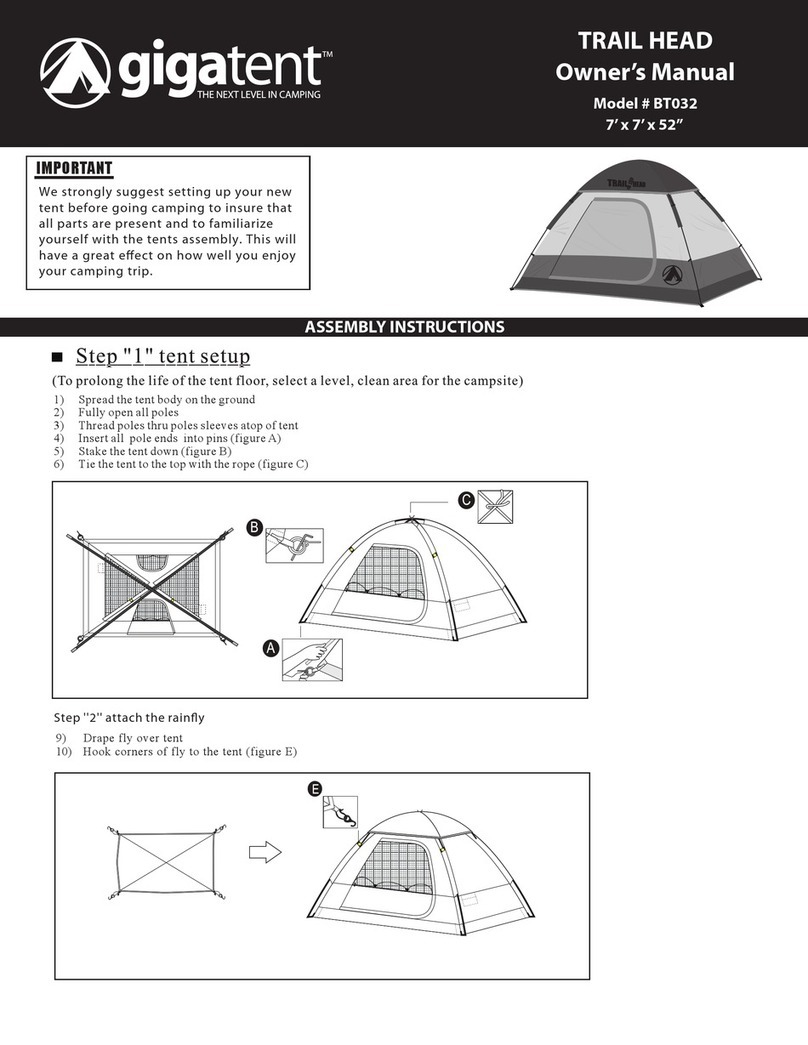
GigaTent TRAIL HEAD BT032 User manual

GigaTent

GigaTent TRAIL HEAD BT032 User manual

GigaTent BT018 Garfield MT80 User manual

GigaTent

GigaTent BT018 Garfield MT80 User manual

GigaTent Redleg 3 User manual

GigaTent

GigaTent Redleg 3 User manual

GigaTent Peppi the Puppy User manual

GigaTent

GigaTent Peppi the Puppy User manual

GigaTent GEN-012 User manual

GigaTent

GigaTent GEN-012 User manual

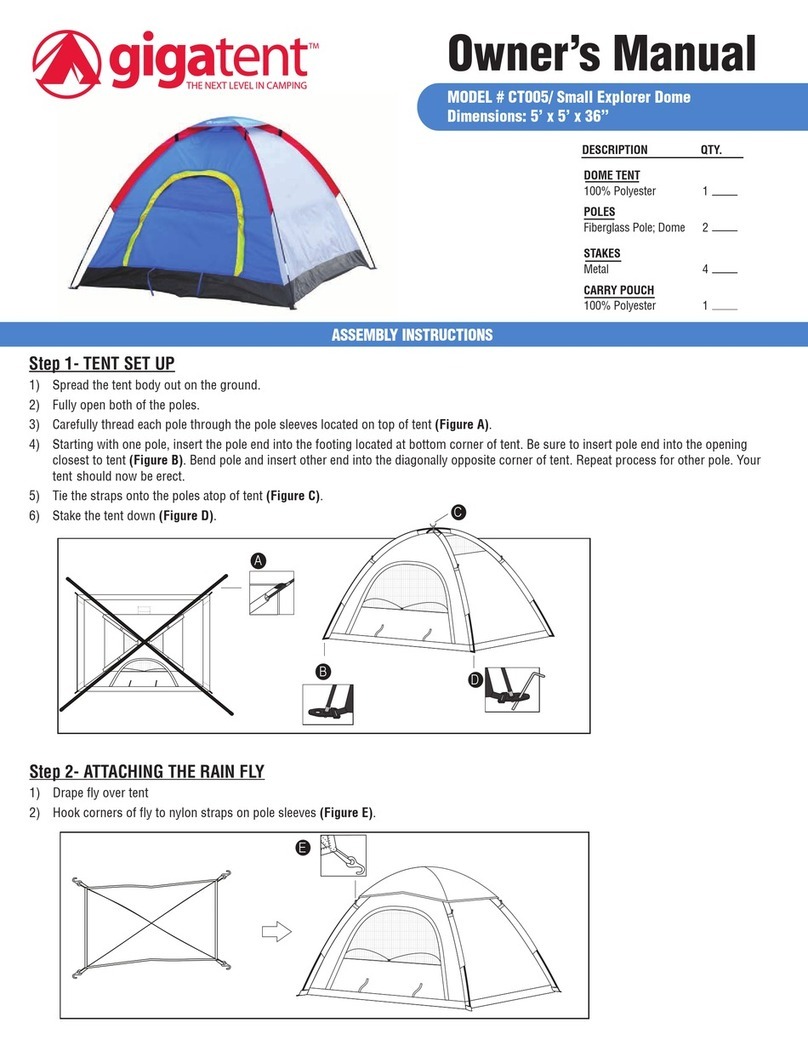
GigaTent GT005 User manual

GigaTent

GigaTent GT005 User manual

GigaTent Dream House CT032T User manual

GigaTent

GigaTent Dream House CT032T User manual

GigaTent My First Bakery User manual

GigaTent

GigaTent My First Bakery User manual

GigaTent SHT008 User manual

GigaTent

GigaTent SHT008 User manual

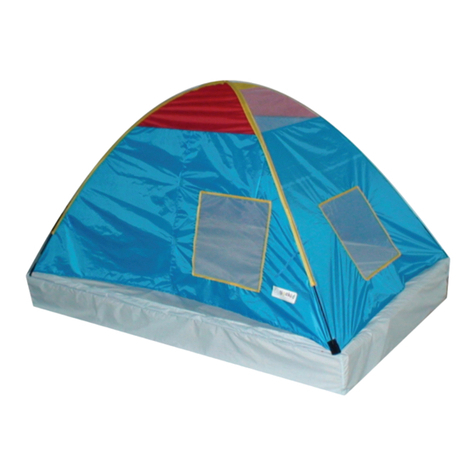
GigaTent Dream Catcher User manual

GigaTent

GigaTent Dream Catcher User manual

GigaTent My First School Bus User manual

GigaTent

GigaTent My First School Bus User manual

GigaTent CT148 User manual

GigaTent

GigaTent CT148 User manual

GigaTent Watermelonl Dome User manual

GigaTent

GigaTent Watermelonl Dome User manual

GigaTent AC001 User manual

GigaTent

GigaTent AC001 User manual

GigaTent GEN-040 User manual

GigaTent

GigaTent GEN-040 User manual

GigaTent My First Play House CT009 User manual

GigaTent

GigaTent My First Play House CT009 User manual

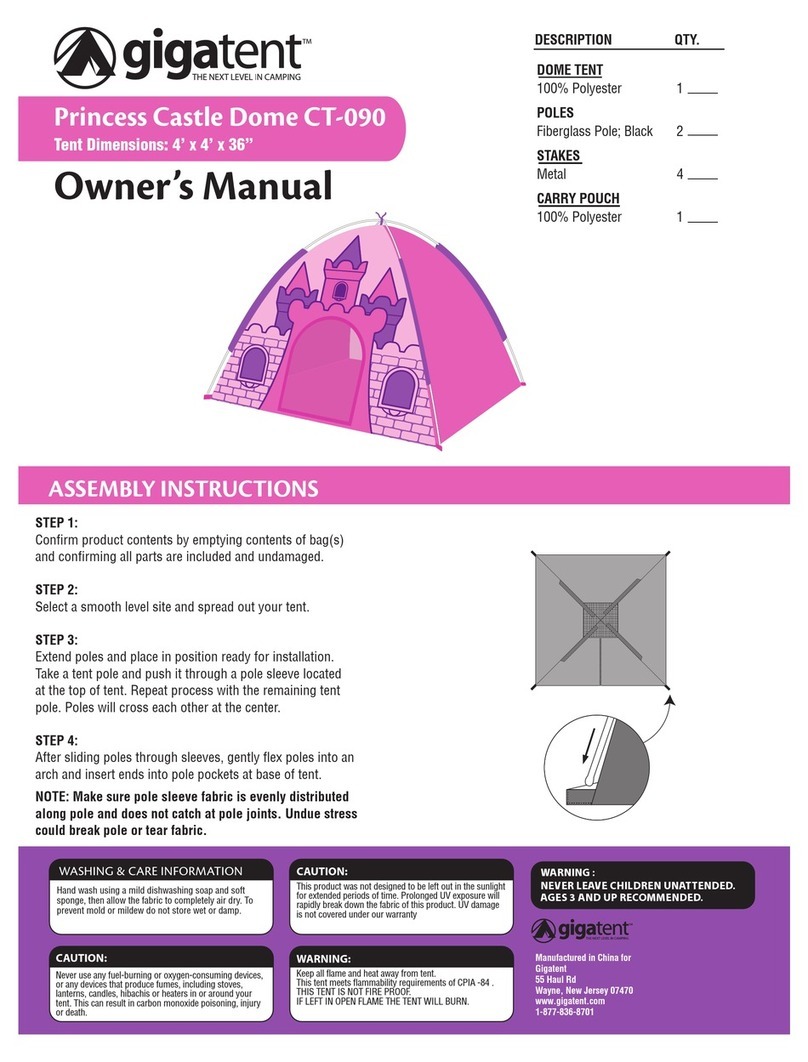
GigaTent CT-090 User manual

GigaTent

GigaTent CT-090 User manual

GigaTent CT085 User manual

GigaTent

GigaTent CT085 User manual

GigaTent CT041 User manual

GigaTent

GigaTent CT041 User manual

GigaTent FT054 BearMountain User manual

GigaTent

GigaTent FT054 BearMountain User manual

GigaTent CT078 User manual

GigaTent

GigaTent CT078 User manual

GigaTent Fantasy Palace User manual

GigaTent

GigaTent Fantasy Palace User manual

Popular Tent manuals by other brands

Nordcap Easy Up 400 Build-up instructions

Nordcap

Nordcap Easy Up 400 Build-up instructions

Zempire Neo Series instructions

Zempire

Zempire Neo Series instructions

CampTrails Grand Manan Assembly instructions

CampTrails

CampTrails Grand Manan Assembly instructions

Maanta ULISSE 90 Instructions and warnings

Maanta

Maanta ULISSE 90 Instructions and warnings

OZTENT JV SIGNATURE EDITION owner's manual

OZTENT

OZTENT JV SIGNATURE EDITION owner's manual

Outsunny 84C-230 manual

Outsunny

Outsunny 84C-230 manual

Crivit Outdoor 96716 instruction manual

Crivit Outdoor

Crivit Outdoor 96716 instruction manual

Reimo Marina instructions

Reimo

Reimo Marina instructions

Outsunny 84C-063 Assembly instruction

Outsunny

Outsunny 84C-063 Assembly instruction

EuroTrail ATLANTIS PRO manual

EuroTrail

EuroTrail ATLANTIS PRO manual

TiiTENT TB300 manual

TiiTENT

TiiTENT TB300 manual

Coleman 2000033134 Assembly & instruction manual

Coleman

Coleman 2000033134 Assembly & instruction manual

Ozark Trail W784.1 Assembly instructions and owner's manual

Ozark Trail

Ozark Trail W784.1 Assembly instructions and owner's manual

SlingFin CrossBow 2 instructions

SlingFin

SlingFin CrossBow 2 instructions

Coleman 9600-141 instructions

Coleman

Coleman 9600-141 instructions

Palram Arizona 5000 Wave - WINGS manual

Palram

Palram Arizona 5000 Wave - WINGS manual

COVERPRO 56184 Owner's manual & safety instructions

COVERPRO

COVERPRO 56184 Owner's manual & safety instructions

Vango Zenith 100 instructions

Vango

Vango Zenith 100 instructions

manuals.online logo
manuals.online logoBrands
  • About & Mission
  • Contact us
  • Privacy Policy
  • Terms and Conditions

Copyright 2025 Manuals.Online. All Rights Reserved.

Giga Classic
Owner’s Manual
Model # GT008 / GT008W
10’W x 10’ D x 10.5” H
For questions or concerns call Gigatent at our Toll Free Number:
877-836-8701 Monday-Thursday 9am-5pm EST, Friday 9am-12pm EST or email us at [email protected].
For replacement parts, please login to our website at gigatent.com and click the link “replacement parts”.
Warning
The canopy is very susceptible to damage from high winds and every precaution should be taken to
prevent damage to the canopy and frame. This is extremely important when the canopy is being used on
a hard surface such as a driveway or concrete. Weights such as sandbags or bricks can be used in place of
stakes. In very heavy torrential rain care must be taken to insure that water does not collect on the
canopy top as this added weight will cause damage to the frame. The canopy should NOT be left without
first detaching the canopy from the frame and allowing it to fall INSIDE the frame to reduce the risk of
collecting rain water, or the canopy can be taken down.
ASSEMBLY INSTRUCTIONS
Carefully pull frame apart
IMPORTANT
We strongly suggest setting up your new
canopy before initial use to insure that all parts
are present and to familiarize yourself with the
canopy’s assembly. This will have a great effect
on how well enjoy your product.
Warning
Trying to force the frame open will result in broken cross pieces. NEVER force
the frame to open.
C D
E
F
Step 1
1) Carefully remove the frame from the carry bag and stand upright.
2) With a partner on the oppositeside of the frame, hold onto the two outer legs and lift frame off the ground slightly
for clearance, taking a few steps backward until you have extended the frame a full arms length-approx. 4’ (Figure A).
To improve the opening and closing action of your frame, place the canopy top over the top of the frame (Figure B).
Step 3
5) Grab the bottom of the middle frame section
where it forms a “V” shape (Figure E) and lift
frame off the ground slightly and walk
backward until frame is fully extended.
6) With both people holding the “X” truss on the
opposite sides, expand it until it touches the
eaves of the top, (Figure F) taking care not to
pinch your hands or fingers.
Attach “hook and loop” strips Attach “hook and loop” strips
Step 2
3) Use the “hook and loop” strips to secure each
corner of the top to the frame on corresponding
“hook and loop” strips already attached to frame
(Figure C and D).
4) Your top is now attached to frame.
ASSEMBLY INSTRUCTIONS
G
H
I
Step 4
7) Prior to locking the upper leg sliders, partially
fold back the canopy at each corner (Figure G).
Next, hold the leg frame with one hand and lift
the slider with the other hand. For ease in
opening, depress the button while pushing the
slider up until the slider passes over the
locking button (Figure H). Return folded corner
of the canopy to proper position
Step 5
8) The adjustable legs offer multiple height levels.
To adjust, lift the leg up and pull the inner leg
until the bottom pops into place (Figure I).
Repeat on the other legs making sure all legs are
the same height and fully locked.
9) Tighten the eave panels of canopy to the frame
by attaching the clips on the inside of canopy
top to the frame (Figure J).
10)Stake out the bottom of the legs using the steel
hook stakes provides.
11) In windy conditions use the nail stakes and
guy lines to add extra stability (Figure K).
Step 6
12)Use the opposite process to fold the canopy
and then place the canopy inside the carry bag for
easy transport and storage.
Warning
The canopy top should be removed from the frame to prevent the frame from damaging the material.
Warning
The canopy is very susceptible to damage from high winds and every precaution should be taken to
prevent damage to the canopy and frame. This is extremely important when the canopy is being used on
a hard surface such as a driveway or concrete. Weights such as sandbags or bricks can be used in place of
stakes. In very heavy torrential rain care must be taken to insure that water does not collect on the
canopy top as this added weight will cause damage to the frame. The canopy should NOT be left without
first detaching the canopy from the frame and allowing it to fall INSIDE the frame to reduce the risk of
collecting rain water, or the canopy can be taken down.
Approx.
48”
Canopy
40
Stakeplacement
J
K
INSIDE
Warranty covers product to be free from defects in material and workmanship for 14 days after date of purchase.
Warranty does not cover natural breakdown of materials that occur inevitably with extended use (e.g., damage, exhausted zippers, defects caused by accident, abuse,
alteration, animal attack, storm damage, misuse or improper care.
This product is covered for 14 days from date of purchase. Please check all contents to verify product has no missing or broken parts. Gigatent will mail replacement parts
free of charge within the 14 Day Manufacturer’s Warranty by calling 1-877-836-8701 or emailing [email protected]. We highly recommend logging on to our
website at www.gigatent.com should you need customer service.
This product was not designed to be left out in the sunlight for extended periods of time. Prolonged UV exposure will rapidly break
down the color and integrity of this product. UV damage is not covered under our warranty.
WARNING : NEVER LEAVE BURNING FIRE UNATTENDED
Wind may topple product. Use extra caution.
Keep all Flame and Heat away from product.
THIS PRODUCT IS NOT FIRE PROOF.
IF LEFT TOO CLOSE OR ON OPEN FLAME THE PRODUCT WILL BURN OR BE SEVERELY DAMAGED.
CAUTION: Use caution when using propane stove on this product. Unintended fire my result in damage of product or bodily harm.
Manufactured in China for
Gigatent
55 Haul Rd
Wayne, New Jersey 07470
www.gigatent.com
Manufacturer’s Warranty
WARNING:
TipsandTricks
Care
Ultra Violet (UV) Exposure
Your tent is made of UV resistant
polyester fabric which is resistant but
NOT impervious to the damaging effects
of long term sun exposure. We DO NOT
suggest long term set up of ANY of our
products as this will severely damage the
tent fabric.
Seam Sealing
Gigatent suggests that at a MINIMUM the
seams at the bottom of the windows
should be sealed using a product like
McNetts Seam Sure to prevent moisture
from coming through the needle holes.
Follow the manufacturer's instructions
when applying seam sealer.
Structural Integrity
Although the tent was constructed to
rigid specifications periods of wind and
soaking rain may loosen the stakes and
guylines to the point of allowing the
rainfly to flap. This can in turn cause the
poles to loosen weakening the overall
structure. Loosening of the rainfly can
also create pockets that can collect water
which can lead to pole failure. To insure
that this does not occur take care during
windy or rainy conditions that all of the
stakes and guylines are secure and tight.
Storage
DO NOT under any circumstances store
your tent wet or damp. Mildew will
quickly destroy a tents waterproof
coating. Allow your tent to dry and then
store in a cool dry place.
Washing Your Tent
NEVER machine wash a tent as this can
cause damage to the waterproof coating.
Hand wash with a mild soap and rinse
with clean water and allow to
COMPLETELY dry before storing. An
extremely dirty tent can be set up and
washed like a car or it can be washed in a
bathtub using your hands to agitate the
water or a soft brush.
When using the canopy on hard surfaces such as concrete, weights may be substituted for stakes. Gigatent highly
recommends using Gigatent brand Canopy Weights (sold separately). Care must be taken as the canopy will not be
as stable as if it were staked. The legs have different height settings and will allow the canopy to be tilted slightly
to provide the most protection from the elements. Do not collapse the frame with the canopy top attached as this
can allow the fabric to be damaged. Remove the canopy top prior to fully collapsing the frame. In sandy soil a
longer and wider stake will hold best. Even better use a heavy anchor made out of a piece of wood with a loop of
rope around it and buried in the sand with the other end tied to the canopy. When using the canopy in heavy rains
be sure that water does not start to collect on top as this will cause damage to the frame. Use the guy lines and
Velcro to maintain proper tension on the canopy top.