GiGGO Toys 90315 User manual

USER’S
MANUAL
ITEM# 90315
MOTORTYCLE
Illustrations are representative only, design and style may vary.
Please carefully
readthis
manual before
use andkeepfor
future
reference.
Customer Service:
1-855-GIGGOTY (1-855- 444- 4689)
custom[email protected]om

ASSEMBLY INSTRUCTIONS
WARNING:
Assembly should be performed by adults only. Never allow children to play with the
small parts or the plastic bag covering the vehicle. Injury may occur. Small parts
could be a choking hazard! Polybags could be a suffocation hazard to small
children. Dispose of these bags in appropriate refuse container.
TECHNICAL DATA
Speed: 3 MPH, 3.5 km/hr
Battery: 6V7AH sealed dry cell battery
Time for charging: 8 –12 hours
Ages: 3 –6
Load Max capacity: 66 pounds/ 30 kgs.
Charger: Input 120 - 240Volt, depending on local voltage; Output –DC 6V1000mAh
or 7.5V1000mAh
Life of Battery: Approximately 200 hours, 300 charges. Depending on usage.
Working time: About 40 to 90 minutes, depending on rider, road surface and
whether the battery was fully charged.
Functions: Forward, backward, stop, working headlight and engine sound.
PARTS LIST
Vehicle body
Rear seat rest
restt
Rear fender
Front wheel
Front fork assembly
Handlebar assembly
Charger
Hardware Bag
1
Cap Bushing
Nut
Washer
W
WARNING:
CHOKING HAZARD - Small parts
not for children under 3 years!
W
WARNING:
ADULT ASSEMBLY REQUIRED!

ASSEMBLY OF VEHICLE
Tools Needed (not included): Phillips head screwdriver and two (2) adjustable wrenches.
1. Insert a cap bushing into each side of
the front wheel. Position front wheel
between the front fork legs. Insert
axle through fork leg then through
the front wheel, and continue
through opposite fork leg.
Add a washer and hand-tighten
the nut on each end of axle.
Now, using two (2) adjustable
wrenches, hold one nut as
you tighten the other.
Reverse this process
to tighten the nut on
opposite side.
Note: It is helpful if you have
assistance with this
portion of the assembly.
2. Remove the steering rod, two (2) round cap
bushings and nut from the front fork
assembly. Insert a round cap bushing into
each hole (top and bottom) of the body.
3. Line up the holes on the front fork
assembly with the holes on the body
(as shown). Insert the steering rod
and attach the nut. Tighten the steering
rod and nut with two (2) adjustable
wrenches.
2

4. Remove the two (2) bolts and nuts from
the handlebar assembly. Position the
handlebar assembly into the metal plate
of the front wheel assembly. Insert the
two (2) bolts into the holes on the handle-
bar assembly and through the holes of
the upper plate of the front wheel
assembly. Attach the nut and tighten the
bolt with phillips head screwdriver and
adjustable wrench.
5. Insert the rear seat rest rods into the holes of the metal fork at the back of the
vehicle body. Align the holes on the metal fork with the holes on rods of the rear
seat rest.
3

6. Remove the nuts from the bolts. Position
the rear fender between the two rear forks
and against the bottom of the seat. Line up
the hole on the fork with the hole on the rear
fender. Insert the bolt through the fender and
attach the nut. Tighten the bolt and nut with
phillips head screwdriver and
adjustable wrench. Repeat this
process for the other side of
the rear fender.
7. Connect the two (2) plugs for the headlight and engine
sound.
Never force the plugs together. Always male plug to female
female. plug.
CHARGING THE BATTERY
8. Check the two (2) plugs, one is from the battery, the
other wire is from the motor.
9. Unplug the battery wire from the motor wire.
10. Plug the charger into the battery.
11. Insert the charger plug into a wall outlet.
After 8 - 12 hours vehicle battery should be fully
charged. Unplug the charger from the wall outlet
and disconnect the charger from the battery.
12. After fully charged, plug the battery wire into the vehicle wire.
Vehicle is now ready to use
REPLACING BATTERY
13. Unplug the battery from wire.
14. Unscrew and remove the battery compartment cover.
15. Unplug the battery connectors and remove the used battery from the battery
compartment then put the new battery into the battery compartment.
16. Plug the battery connectors as specifically designed, always red to red, black to
black.
17. Replace the battery compartment cover securely.
18. To charge the new battery, refer to “Charging the Battery” section.
19. Dispose of the exhausted battery in an appropriate waste collection center.
You can help protect the environment! Please remember to respect local regulations:
Turn in the non-working electrical equipment to an appropriate waste disposal center.
4

RECHARGING PRECAUTIONS
AND
WARNING
1.
2.
3.
The charger is not a toy. The battery should be charged by adults
only.
Do not allow children to play with the charger or to recharge the
battery.
Before the first use, you should fully charge the battery for 8 -12
hours.
Do not charge the battery for more than 15 hours to avoid
overheating
the
charger.
To recharge the battery, plug the charger into vehicle then into
household
wall outlet, the battery will begin charging. After the battery is fully
charged,
unplug the charger from the battery and wall
outlet.
It is normal for the charger to feel warm during charging. I f the
charger
feels
hot, stop charging and check the battery and charger for
damage.
When the
vehicle begins to run slowly, recharge the
battery.
To lengthen the life of the battery, always recharge the battery before
storing
and at least every thirty (30) days
thereafter.
Use only battery and charger of the same type as recommended by
the
manufacturer.
Do not connect the battery terminals together or the vehicle will short
circuit.
4.
5.
6.
7.
8.
9.
10. Charger should be examined regularly for damage to the cord, plug
and
other parts. If any damage is found, charger should be repaired or
replaced
immediately.
11. Do not use a damaged
charger.
12. For long term
storage, disconnect
the wires from the battery
terminals.
IMPORTAN
T
:
To prolong battery life, you must
recharge
the battery after each use. You must
also
charge your battery if it has not
been
used for thirty (30) days.
OPERATION
1. To change the direction of the vehicle, set the direction switch
to:
•
•
•
2.
“Forward” position, step on the accelerator, the vehicle moves
forward.
“Reverse” position, step on the accelerator, the vehicle moves in
reverse.
Middle position “Neutral”, step on the accelerator, the vehicle will not
move.
Headlight comes on when pressing the button on the right
handlebar.
3. Engine sound comes on when pressing the button on the left
handlebar.
OVERLOAD
PROTECTION
This vehicle (battery) is equipped with an auto - recovery device. If the vehicle
is overloaded, operated incorrectlyor if the power current is greater than the electrical
system is designed to accept, the device will shut off power automatically. The vehicle
will stop working. After two minutes, the device will reset itself and the vehicle will
work normally.
WARNING:
1. NEVER change the direction by pressing the
Forward/Backward
switch
while
the vehicle is moving. You must always come to a stop before changing
direction.
2. This toy is unsuitable for children under 3 years due to its maximum
speed.
5
W
WARNING:
Protective equipment should be
worn. Not to be used in traffic!

IMPORTANT!
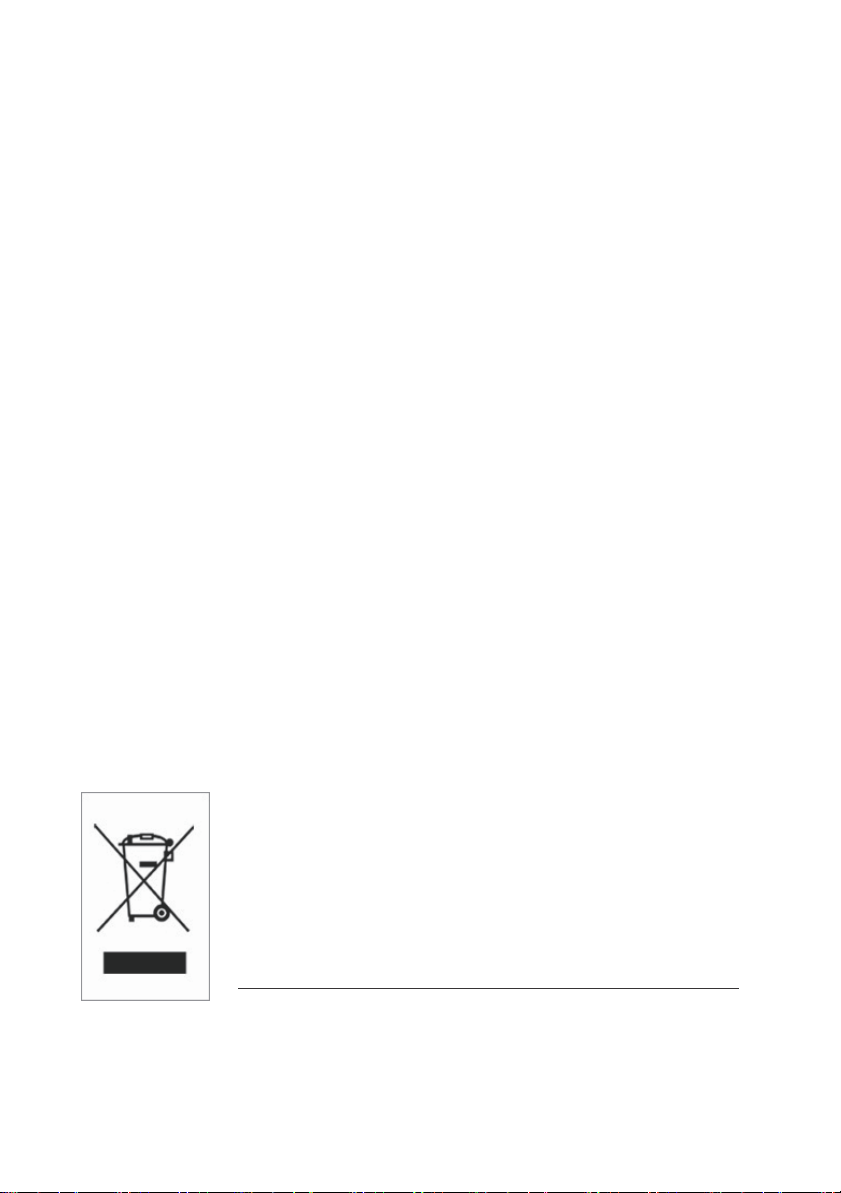
ELECTRICAL AND ELECTRONIC
EQUIPMENT
THAT ARE SUPPLIED WITH
BA
TTERIES
(INCLUDING INTERNAL
BA
TTERIES)
WEEE Directive & Product Disposal
At the end of its serviceable life, this product should not be
treated as household or general waste. It should be handed
over to the applicable collection center for the recycling of
electrical and electronic equipment.
Internal / Supplied Batteries
Notice to customers
This symbol on the battery indicates that the battery is
to be collected separately.
The following applies only to users in European countries.
This battery is designed for separate collection at an appropriate
collection center.
Do not dispose of as household waste.
For more information, contact the retailer or local authorities in
charge of waste management.
6
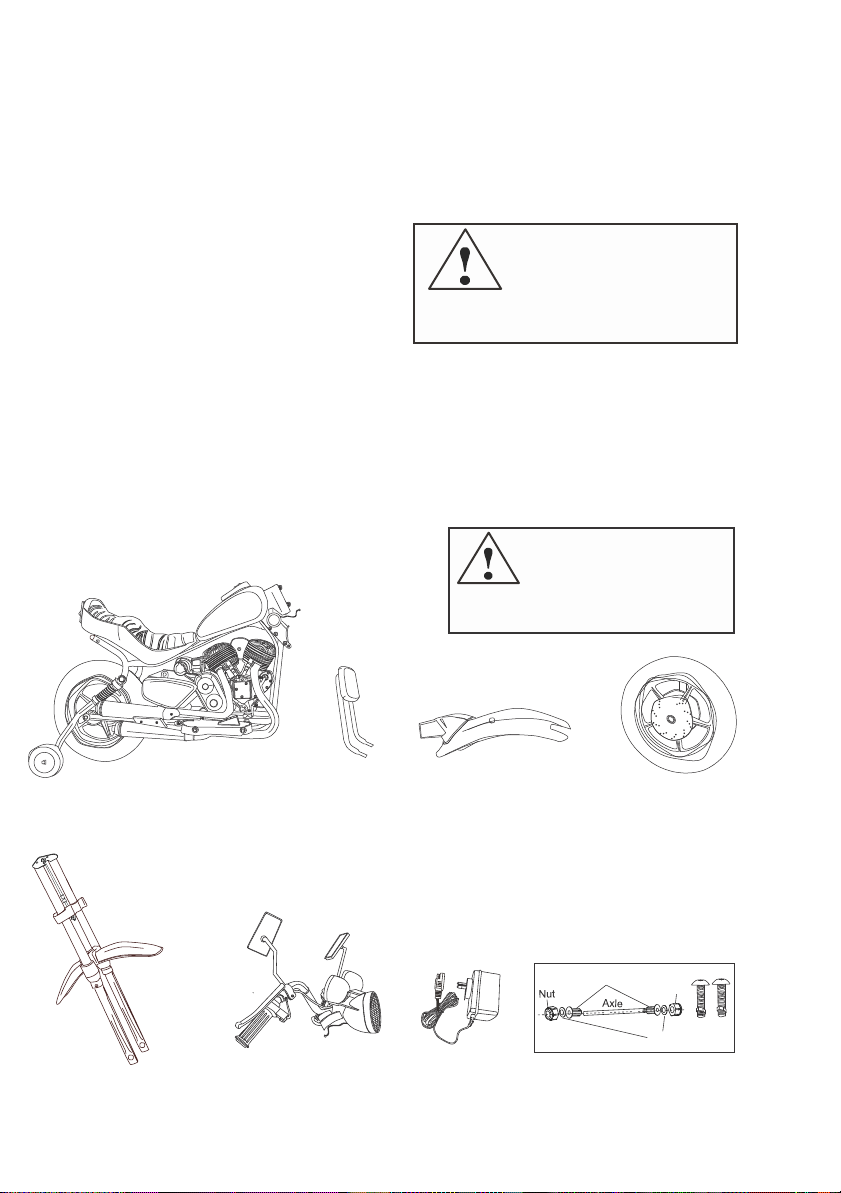
Adults should read this manual carefully before allowing a child to use the
vehicle. Vehicle should be assembled by an adult.
Child should always be supervised by an adult when operating the vehicle.
Do not overload: Maximum weight 66LBS/30kgs.
Only one (1) child should ride on this vehicle at a time.
Do not operate vehicle on sand, mud or rugged surfaces to avoid damage to
the vehicle.
Do not ride the vehicle in dangerous places such as busy streets, roads or
highways.
Never ride the toy in hilly areas or on slopes.
Never ride in the dark or dimly lit areas.
Use only battery recommended by manufacturer.
Use only charger specified by the manufacturer.
Do not clean the vehicle while the charge is attached.
Clean the vehicle with damp cloth only. NEVER submerge vehicle in water or
spray vehicle with water from hose.
The toy should be used with caution since skill is required to avoid falls or
collisions causing injury to the user or third party.
Recommend protective equipment when in use; such as helmet, gloves,
kneepads, elbow pads, etc
Dispose of all batteries and non-working electrical equipment in appropriate
waste containers.

TROUBLE
SHOOTING
1. If the vehicle fails to
move:
•
•
•
•
•
Make sure the direction switch is not set to the middle
position.
Make sure the battery wires are connected
properly.
Recharge battery, if
necessary.
Check to see if overload, relay is
tripped.
Check the battery. If it is damaged or exhausted, replace it.
2. If the vehicle runs slowly: Recharge the
battery.
3. If the battery cannot be recharged: Battery or charger may need to be
replaced.
4. If the headlight or taillight does not work, check to see if the wires are
loose.
5. If the vehicle still fails to
operate, contact
our service
center.
Include the item number found and brief description of the part.
7
WARNING:
TO REDUCE THE RISK OF INJURY, ADULT SUPERVISION IS REQUIRED. NEVER USE IN
ROADWAYS,
NEAR MOTOR VEHICLES, NEAR INCLINES OR
STEPS,
SWIMMING POOLS OR OTHER BODIES OF
WATER.
USE
THE TOY ONLY ON FLAT SURFACES SUCH AS INSIDE YOUR HOUSE, SIDEWALKS
OR PLAYGROUND.
ALWAYS WEAR SHOES AND NEVERALLOW MORE THAN ONE (1)
RIDER.
Customer Service:
1-855-GIGGOTY(1-855-444-4689)
customerservice@giggotoys.com
Table of contents
Popular Toy manuals by other brands

VTech Baby
VTech Baby Lullaby Lambs Mobile Parents' guide

Reely
Reely Thunder 500 operating instructions

BVM
BVM Go Fly eBandit Evo Assembly & operation manual

Ripmax
Ripmax J!VE Fun Fly instruction manual

Arizona
Arizona Lozenge Camouflage instructions

Modellbau Laffont
Modellbau Laffont N501 quick start guide

Timberkits
Timberkits Pianist manual

The World Models Manufacturing
The World Models Manufacturing tucano 60 instruction manual

EB Excalibur
EB Excalibur Night Raider XC9893 user guide

Eduard
Eduard MiG-25RBT quick start guide

Reely
Reely SKYLAND operating instructions

Laser Dollhouse Designs
Laser Dollhouse Designs Kristiana Tudor Assembly instructions