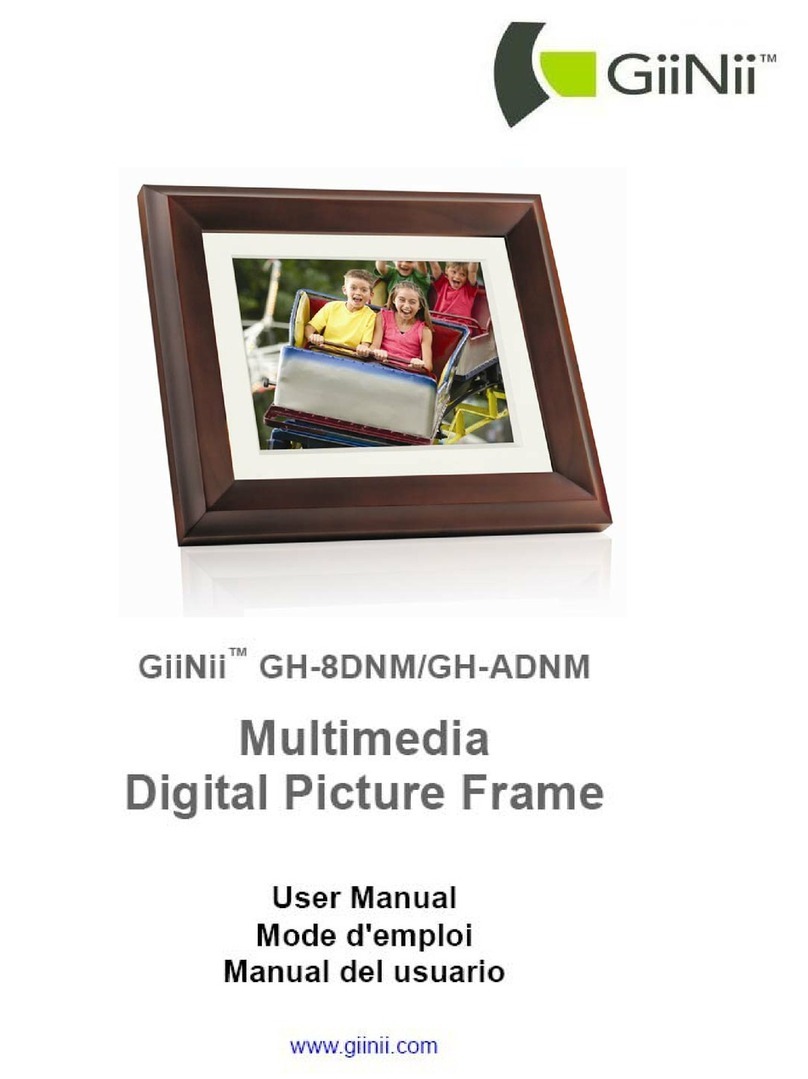
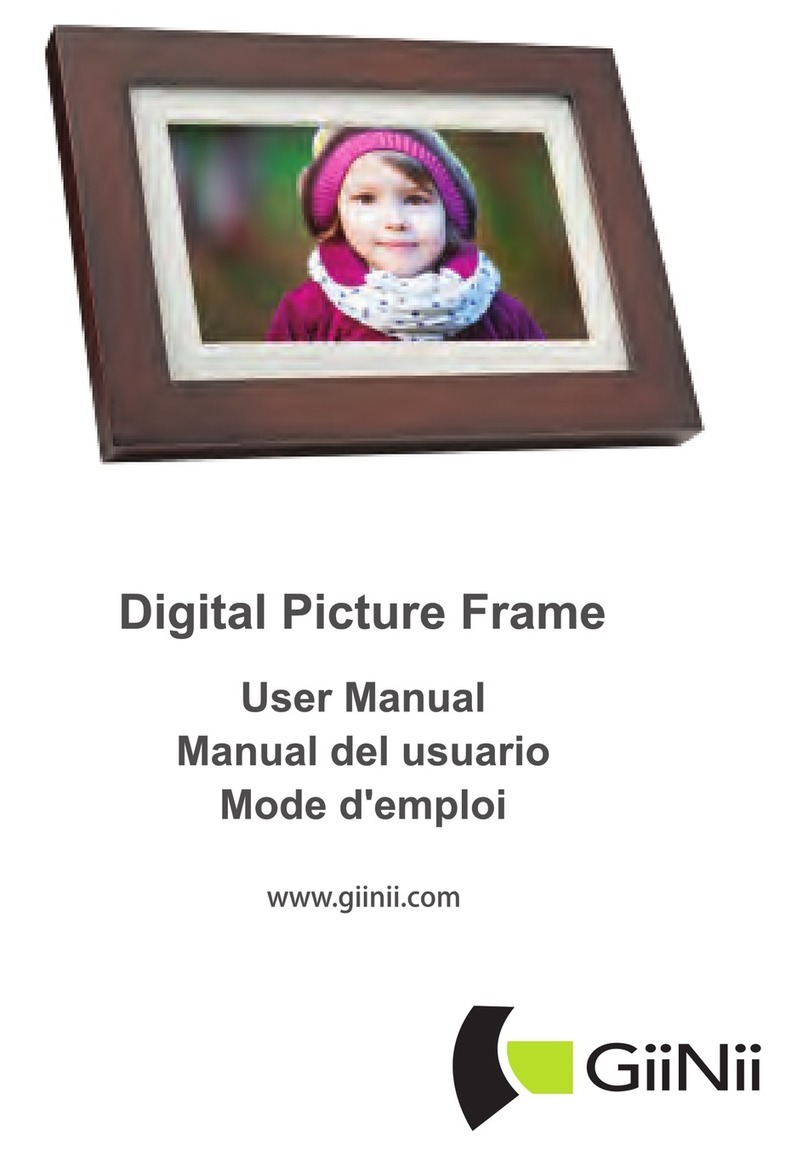
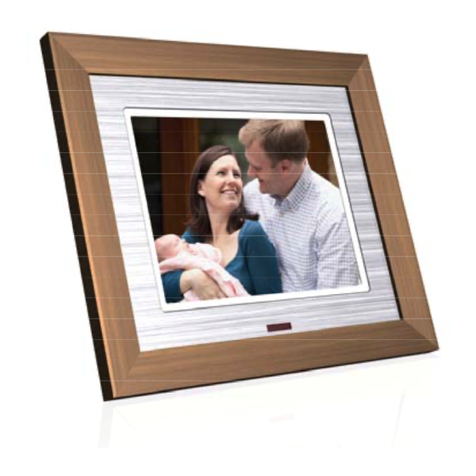
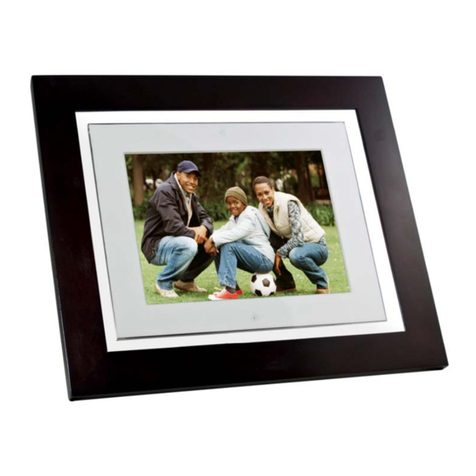
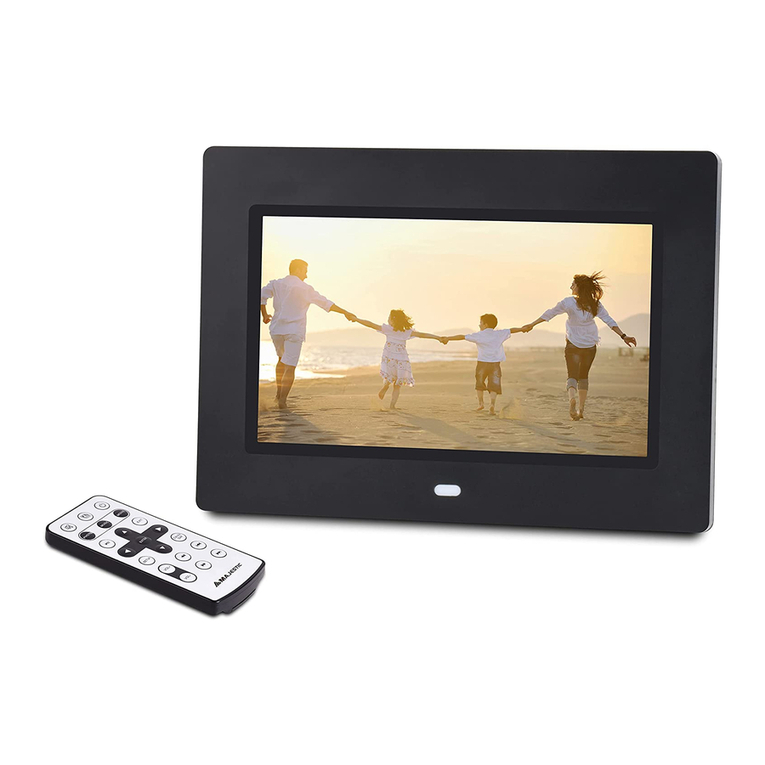
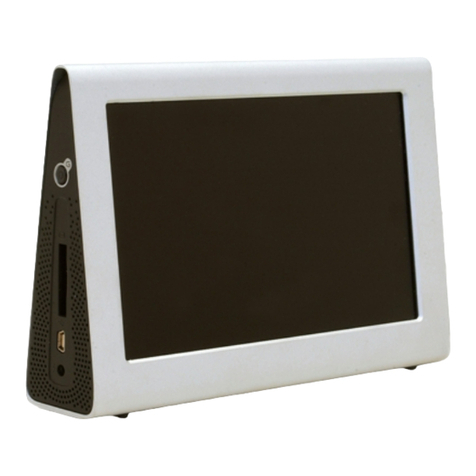
GiiNii GT-7AWP-1 User manual

GT-7AWP-1
Digital Picture Frame
User Manual
www.giinii.com


Digital Picture Frame
EN - i
© GiiNii™ 2010.All rightsreserved. No partof this publication
may be reproduced,transmitted, transcribed, storedin a
retrieval system ortranslated into anylanguage or computer
language, in anyform or byany means, electronic,mechanical,
magnetic, optical, chemical,manual or otherwise,without the
prior written permissionby GiiNii™.
GiiNii™ makes norepresentations or warranties,either
expressed or implied,with respect tothe contents hereofand
specifically disclaims anywarranties, merchantability orfitness
for any particularpurpose. Further,GiiNii™ reserves theright to
revise this publicationand to makechanges from timeto time in
the contents hereofwithout obligation tonotify any personof
such revision orchanges.
Before operating the Picture Frame, carefully read and follow the
instructions below.
· Retain thisUser Manual for future reference.
· Read thesafety and operating instructions carefully before
using the product. All warningson the productand in the
operating instructions should be observed.
· Do notplace this product under direct sunlight or near heat
sources, such as in a closedcar under sunlight or near a stove.
The outer casingof this product may become deformed and the
sophisticated sensors inside may become damageddue to
excessive heat.
· Do notuse this product near water, in the rainor allow any liquid
to get inside this product. Water and moisture may cause short-
circuit to the electronic components andlead to malfunctions.
Safety First!
Copyright
Disclaimer
Copyright

GiiNii Digital PictureFrame
· Do notuse this product near strong electromagnetic sources,
such as amicrowave oven. Theelectromagnetic interference
may cause thisproduct to malfunction.
· Do notdrop or apply shock/vibration to this product. Strong
impacts may damagethe components inside.
· Do notinsert objects other than compatible memory cards into
the memory cardslots of this product. The metal contacts inside
the slots caneasily become damaged by foreign objects.
· Do notuse an unknown power adapter other than the one
supplied with thePicture Frame. Connecting this product to an
unknown power adapteris very dangerous and may lead to fire
or explosion.
· Do notcut, bend, modify, place heavyobjects, or step on the
power adapter cord.Otherwise the external insulation may be
damaged and resultin short-circuit or fire.
· If thereare strange odors or heat emitting from this productor
any signs ofmalfunction, disconnect the Picture Frame from the
power immediately andcontact your dealer for inspection or
service.
· Use asmooth, soft cloth to clean the surface of thescreen. Do
not use liquidcleaners or glass cleaners.
· If aforeign substance or water gets in this product, turnthe
power off immediatelyand disconnect thepower adapter.Next,
remove the foreignsubstance or water, and thensend the
product to yournearest service center.
· Do notattempt to disassemble or modify this product. There
are no userserviceable parts inside this product, and any
unauthorized modifications will void the warranty.
· Althoughthe LCD panel is made with high-precision
technology and haseffective pixels of99.99% or more,black
dots or brightpoints of light (red, blue or green) may appear
constantly on theLCD panel. This is astructural property of the
LCD panel andis not a malfunction.
EN - ii Safety instructions
GiiNii Digital PictureFrame
Table of contents
Tableof contents EN - iii
Key features . . . . . . . . . . . . . . . . . . . . . . . . . . . . . . . . . . . 1
What's in the box . . . . . . . . . . . . . . . . . . . . . . . . . . . . . . . 2
Overview . . . . . . . . . . . . . . . . . . . . . . . . . . . . . . . . . . . . . . . 3
Right view. . . . . . . . . . . . . . . . . . . . . . . . . . . . . . . . . . . . . 3
Rear view . . . . . . . . . . . . . . . . . . . . . . . . . . . . . . . . . . . . . 4
Operating the Picture Frame . . . . . . . . . . . . . . . . . . . . . 5
Using the control buttons . . . . . . . . . . . . . . . . . . . . . . . . 5
Getting started . . . . . . . . . . . . . . . . . . . . . . . . . . . . . . . . . 6
Using the back stand . . . . . . . . . . . . . . . . . . . ………. 6
Connecting to power . . . . . . . . . . . . . . . . . . . . . . . . . . . 7
Inserting a memory card/USB flash drive. . . . . . . . . . . 8
Compatible memory card formats . . . . . . . . . . . . . . . . . 9
Starting slideshows automatically
Basic setup. . . . . . . . . . . . . . . . . . . . . . . . . . . . . . . . . . . . 10
Selecting a language . . . . . . . . . . . . . . . . . . . . . . . . . . . 10
Setting the date and time . . . . . . . . . . . . . . . . . . . . . . . . 11
Using the main menu . . . . . . . . . . . . . . . . . . . . . . . . . . . . 12
Managing Photos . . . . . . . ………. . . . . . . . . . . . . . . . . . . 13
Sorting photos into a default album . . . . . . . . . . . . . . . 13
Creating a new album . . . . . . . . . . . . . . . . . . . . . . . . . . 16
Modifying an album . . . . . . . . . . . . . . . . . . . . . . . . . . . . 16
Deleting an album . . . . . . . . . . . . . . . . . . . . . . . . . . . . . 17
Using other options in the ALBUM mode . . . . . . . . . . . 17
Deleting photos . . . . . . . . . . . . . . . . . . . . . . . . . . . . . . . . 17
Rotating photos . . . . . . . . . . . . . . . . . . . . . . . . . . . . . . . . 18
Applying photo effects . . . . . . . . . . . . . . . . . . . . . . . . . . 18
Viewing Photos……………………………………………19
. . . . . . . . . . . . . . . . 9

GiiNii Digital PictureFrame
EN - iv Tableof contents
Using EnerGiiNii. . . . . . . . . . . . . . . . . …………………… 20
Using the CLOCK (G-Button). . . . . . . . . . . . . . . . . . . . . 21
Selecting a clock skin. . . . . . . . . . . . . . . . . . . . . . . . . . 21
Switching between Clock view and Slideshow view
. . . 21
Using the SCRAPBOOK . . . . . . . . . . . . . . . . . . . . . . . 22
Using SETTING. . . . . . . . . . . . . . . . . . . . . . . . . . . . 22
Date and Time page . . . . . . . . . . . . . . . . . . . . . . . . . . . 23
General Setting page . . . . . . . . . . . . . . . . . . . . . . . . . . 23
Information page . . . . . . . . . . . . . . . . . . . . . . . . . . . . . 24
Frequently asked questions . . . . . . . . . . . . . . . . . . . . . 24
Regulation and compliance . . . . . . . . . . . . . . . . . . . . . . 26
Recycling . . . . . . . . . . . . . . . . . . . . . . . . . . . . . . . . . . . 26
Appendix . . . . . . . . . . . . . . . . . . . . . . . . . . . . . . . . . . . . . . 27
Specifications . . . . . . . . . . . . . . . . . . . . . . . . . . . . . . . . 27
.
.
.. . .

EN - 1
GiiNii Digital PictureFrame
Dear ValuedCustomer:
Thank you forbringing our GiiNii(pronounced “genie” likethe
magical friend inlegends) Digital PictureFrame into yourhome.
Now you willbe able toview your growingdigital picture library
in stunning clarityand share greatmemories with friendsand
family.
This new GiiNiiPicture Frame includesa brand new, easier
operation program thatallows you toorganize photos thatare
stored on yourmemory card orUSB drive righton the device.
It's a totallynew and easierway to enjoyseeing your favorite
photos. You can actuallycreate your ownphoto albums with
unique names usingthe soft-keyboard builtin to yourpicture
frame.
Toget the mostout of yournew GiiNii product,please read
through this entireUser Manual beforeuse.
And, if youhave any questionsabout our product,please don't
return this tothe store. Allow us tohelp you bycalling our
customer service team.
Sincerely,
The GiiNii Team
· New Easy-To-Use operation usingflash-animated menu icons
and a muchsimplified two-button andscroll wheel controls.
· Display clearand bright photos.
· Enables you toplay back photofiles that arestored in amemory
card or aUSB flash drive.
· Allowsyou to selecta preferred power-savingoption for the
Picture Frame usingthe EnerGiiNii feature.
· Allows you to usealbums to manageand sort yourphotos easily.
· Allows you to display photos inslideshow using variouskinds of
templates available inthe SCRAPBOOK feature.
· Multi-language On-ScreenDisplay (OSD) menus.
· Clock /Calendarfunction
Key Features
This Picture Frameis equipped withthe following features:

EN - 2
GiiNii Digital PictureFrame
What's in the Box
Carefully open thepacking box andensure that youhave the
following items.
1.Digital PictureFrame x 1
3.Detachable BackStand (black rodwith locking end)
4. Quick StartGuide x 1
5. User Manualx 1
6. Registration Cardx 1
Actual productappearance may varyfrom the illustrations
shown in thisUser Manual.
Available accessories may vary dependingon the area where
you purchased thePicture Frame.
What's in thebox
2. ACpower adapter x1

EN - 3
GiiNii Digital PictureFrame
Overview
Right Rear View
1
2
3
4
5
No. Description
Back Stand
See "Using theback stand" on page 6 fordetails.
Power Button
Press the Powerbutton to turn on/off the Picture
Frame. See
"Connecting to power"on page 7 for details.
USB Port
Allows for aUSB flash drive. You can display
photos stored inthe inserted drive.
Memory Card Slot
Allows for an SD™/SDHC™,MultiMedia Card (MMC),
Memory Stick™ (MS), Memory Stick PRO™ (MS PRO),
Memory Stick Duo™ and xD-Picture Card™ (xD) memory
card. Youcan play back photos stored in the inserted memory
card.
Power Adapter Port
Connect one endof theAC power adapter into the power
port and theother end intoa power outlet.
1
2
3
4
5
Overview

GiiNii Digital PictureFrame
EN - 4
Rear view Straight On
No. Description
1
2
3
4
5
MENU Button
See "Operating thePicture Frame" on page 5 fordetails.
G - Button
See "Operating thePicture Frame" on page 5 fordetails.
ESC Button
See "Operating thePicture Frame" on page 5 fordetails.
Scroller Wheel Button
See "Using thecontrol buttons" on page 5 fordetails.
Kensington® Security Slot
You can attach an anti-theft Kensington lock and cable to
this slot tohelp prevent possible theft.
Wall Mount Hanging Slot (for landscape wall mounting)
Allows you to hang the Picture Frame horizontally on a wall
Wall Mount Hanging Slot (forportrait wall mounting)
Allows you tohang the Picture Frame vertically ona wall
6
7
Overview
3
1
2
45
6
7

GiiNii Digital PictureFrame
EN - 5
Operating the Picture Frame
You can use thecontrol buttons on the back to operate the
Picture Frame.
In this UserManual, instructions orexamples provided

are based uponoperation. To know how to use the
control buttons, referto "Using the control buttons" on
page 5 fordetails.
No. Icon Description
ESC
1
2
3
4
ESC button (ESC= Escape)
Cancels current operationand/or returns tothe
previous page ormain menu.
OK Button (The Scroller Wheel)
Press down on this button to enter or confirm your
operation/selection.
Scroll this button to the left to move left, or select
the previous item.
Scroll this button to the right to move right, or
select the next item.
MENU button
This button allowsyou to select sub-menu items.
G-button
Instantly switches betweenSlideshow view and
Clock view.
Overview

GiiNii Digital PictureFrame
EN - 6
Getting Started
Using the Back Stand
1. The detachable back-stand is a black rod. Insert the key-end
into the holewhere indicated inthe diagram belowand rotate
clockwise until itlocks in place.
2. Place the Picture Frame horizontally or vertically for landscape
or portrait modes.
GiiNii Digital PictureFrame
It is recommendedto place the Picture Frame horizontally,
because this directionprovides the best viewing and operating
experience.

GiiNii Digital PictureFrame
EN - 7
1. Place thePicture Frame ona flat surface.
2. Connect thepower adapter asbelow (1), andpress the Power
button to turnon the PictureFrame (2).
Connecting to Power
Power systems andplug types mayvary depending on
your country/region.
To turn off the Picture Frame, press the Power button.
This GiiNii Picture Frame comes with pre-installed photos that
you can instantly start playing without any supplemental Memory
Card or USB drive. To do this, go to the Photo Slide Show icon
and click on the Pre-Installed photo album.
Getting started
Note: Upon first usage,the Picture Framestarts playing a
slideshow tutorial. To cancel the tutorial, press any button and
go through thesequence on thescreen with theflashing green
arrow. This tutorial is automatically disabled after the first
usage. You can re-installthe tutorial bygoing into SETTING.

GiiNii Digital PictureFrame
EN - 8
Inserting a Memory Card/USB
Flash Drive
You can turn on the Picture Frame and play back the pre-installed
photos without any memory card/USB flash drive inserted.
Toplay back your own files, insert a compatible memory card/
USB flash drive that contains supported files into the
corresponding slot on the Picture Frame as illustrated below.
SD / SDHC Multi-Media Card Memory Stick Memory Stick
PRO
Memory Stick Duo USB flash drive
For more informationabout the supported file formats,
refer to"Specifications" onpage 27.
Getting started
USB
USB
XD-Picture Card
xD

GiiNii Digital PictureFrame
EN - 9
Compatible memory card formats
Memory card formats
Secure Digital (SD™ / SDHC™)
Micro SD/micro SDHC(A card adapter is required.)
Mini SD/mini SDHC(A card adapter is required.)
Multi-Media Card™ (MMC)
Memory Stick™ (MS)
MS PRO Duo
Maximum
capacity
16GB
16GB
16GB
8GB
8GB
8GB
Maximum ca pacity specifications listed above are subject
to change without prior notice.
The memory card slot supports hot-swap function. In
other words, you can change or remove the memory card
when the power of the Picture Frame is either turned on or
turned off.
When formatting your memory cards, use FAT16 and
FAT32 file systems in Windows only.
When the PictureFrame is turnedon and thena memory card
(or USB flashdrive) is inserted,a slideshow willbe started
automatically.
Starting Slideshows Automatically
Getting started
xD-Picture Card™ (xD) 2GB

GiiNii Digital PictureFrame
EN - 10
Basic Setup
Select a languageand set thedate and timebefore using the
Picture Frame forthe first time.
Selecting a language
1. In themain menu, press or to selectSETTING, and then
press .
2. Press to General Setting,and thenpress .
3. Press to select Language, and thenpress agai n.
4. Press or to select alanguage you wishto use, andthen
press ,
5. Press toexit.
to confirm thesetting.
Getting started

GiiNii Digital PictureFrame
EN - 11
1. In themain menu, press or to selectSETTING, and then
press .
2.Press or toselect Date and Time, and then pressOK.
Setting the Date and Time
Getting started
3 Press and thenpress or totoggle among Date,Time,
Mode, Current Time Zone and Second Time Zone.
4. Select Dateand then press to highlight theYearfield.
Press again andpress and toselect a year, and then
press to confirmthe setting.
5. Repeat Step4 for theremaining fields, includingMonth, Date,
Hour, Minute, Mode, Current Time Zoneand Second Time Zone
6. Press toescape.

GiiNii Digital PictureFrame
EN - 12
When you turnon the PictureFrame, the mainmenu below
appears. You can press or to selectthe desired mode,
and then press to enter theselected mode.
Using the Main Menu
No. Description
1
2
3
4
5
6
EnerGiiNii™
Allows you to select a power-saving option for the
Picture Frame.
See "Using the EnerGiiNii mode" on page 20 for details.
CLOCK
Allows you toset your favoriteclock skin (different
clock faces).
See "Using theCLOCK” on page21 for details.
DIGITAL SCRAPBOOK
Allows you todisplay photos inslideshow with
various preloaded templates.
See "Using theSCRAPBOOK" on page22 for details.
PHOTO SLIDESHOW
Allows you todisplay photos inslideshow.
See "Viewing Photos"on page 19for details.
ALBUM
Allows you tomanage your photosand sort themby
using different albums.
See "Managing Photoson page 13for details.
SETTING
Allows you to configure the settings of the Picture
Frame. See "Using the SETTING” on page 22 for details.
Using the mainmenu
1
2
3
4
5
6

GiiNii Digital PictureFrame
EN - 13
Managing Photos
You can use theALBUM mode to manage photos in memory
card or USBflash drive.
Sorting photos into a default album
1.In themain menu, press or to selectALBUM, and then
press .
The screen shows:
the file source, including USB, Memory Card.
The default albums:
Uncategorized, Family, Friends, Vacation,TIMELINE and
Pre-Install Library.
The “USB” and“Memory Card” filesource will only
appear when aUSB flash driveand a memory card have
been inserted tothe Picture Frame.
“TIMELINE” allows youto display photosaccording to
the time spanspecified. For example,if you specify
“2010” in the“Year” fieldand “All” in the “Month”
field, all photofiles that aretaken in year 2010
will be displayed.
Using theALBUM mode

GiiNii Digital PictureFrame
EN - 14
You can also searchfor photos taken in a specific
period of time,under the TIMELINE album by pressing the
menu button andselecting the timeframe.
2. Press or to select thesource of yourphotos, such as
the MEMORY CARDalbum, and thenpress . (You can
also select theUSB album, if available.)
The screen shows the thumbnail view of photos in that
particular album.
3. Press toenable the selectionmark, showing ingreen.
4. Press or to go tothe photo youwish to select,and then
press to confirmthe selection.
The selected photo wil lection markl have ayellow se
Using theALBUM mode
Table of contents
Other GiiNii Digital Photo Frame manuals

GiiNii
GiiNii 7" GN-711W User manual

GiiNii
GiiNii GH-7AWP User manual

GiiNii
GiiNii GN-A19-N User manual

GiiNii
GiiNii GP-702P-1 User manual

GiiNii
GiiNii Digital Photo Frame User manual

GiiNii
GiiNii GN-811 User manual

GiiNii
GiiNii GN-311 User manual

GiiNii
GiiNii 8" Digital Picture Frame User manual

GiiNii
GiiNii GN-818 User manual

GiiNii
GiiNii GN-705W User manual