GILBARCO VEEDER-ROOT Hybrid Card Reader S User manual

MDE-5387D Hybrid Card Reader S (HCRS) Kit Installation Instructions · May 2020 Page 1
Introduction
Purpose
This manual provides instructions to install the Hybrid Card Reader S (HCRS) Kits
(M13940K901, M12492K004, M12765K004) in Gilbarco® dispensers. This card reader will
read magnetic strip, as well as chip and PIN payment cards. It is Payment Card Industry (PCI)
2.X compliant.
Note: To enable chip and PIN payment, you need appropriate versions of Point of Sale (POS)
and CRIND®software installed.
The HCRS Kit is used for the following models with FlexPay™ II CRIND upgrade:
• Encore® 300
• Encore 500/500 S
• Encore S E-CIM™
• Encore 700 (FlexPay II CRIND)
• The Advantage® Series
Table of Contents
Topic Page
Introduction 1
Important Safety Information 4
Before You Begin 6
High-Level Installation Procedure 7
Installing the HCRS Kit 8
Appendix A: Configuring/Activating FlexPay II CRIND 18
Appendix B: HCRS Card Reader LED Matrix 23
Appendix C: Troubleshooting HCRS 24
Required Tools and Materials
The following tools and materials are required to install the HCRS Kit:
• Nut Drivers, 5/16-inch
Note: Use magnetic nut drivers for convenience.
• Phillips® and Flat-blade Screwdrivers
• 1/4-inch Ratchet/Socket Set
• Static Guard Wrist Strap
• Diagonal Cutters
• Putty Knife (to remove the old gasket)
• 5/32 or 3/8-inch Allen® Wrench Set
• Dismount Sensor Clamp (M14601B001)
• Clean Cloth or Rag
• Torque Wrench Driver (1/4-inch, T15 Torx)
MDE-5387D
Hybrid Card Reader S (HCRS) Kit
Installation Instructions
May 2020

Introduction
Page 2 MDE-5387D Hybrid Card Reader S (HCRS) Kit Installation Instructions · May 2020
Parts List
The following table lists the different HCRS Kits:
Part Number Description
M13940K901 Spare kit that includes card reader and gasket.
M12765K004 Upgrade kit with Encore brackets only.
M12942K004 Upgrade kit with Encore and The Advantage brackets.
The following table lists key parts included in the HCRS Kits:
Item# Description Part Number Quantity
1Secure HCRS, Without Heater M13940B001 1
2Bracket, Card Reader (for Encore/E-CIM) M13674B001 1
3Bracket, Card Reader (for The Advantage Series) M13378B001 1
4Screw Sel Tp Hex Hd 6-20X.38 Stl Zn Pl Q11677-24 4
5 Screw, Torx Head M 3.5-10 Long M14757B001 4
6Nut, Metric Hexagonal Serrated Flange M00414B005 4
7Card, Card Reader Cleaning M16086A001 1
8Gasket, Card Reader (Non-adhesive) M13127B006 1
9Cable, HCRS Interface M12471A001 1
Notes: 1) This kit is for one side. Order two kits for two sides.
2) This kit contains two card reader mounting brackets for different unit types. Ensure
that you use the correct mounting bracket.
Important Software Information
When installing an HCRS, the CRIND software for both sides must be upgraded to the latest
manufacturing release (minimum version for HCRS functionality is 03.4.06). However, it is
important to adhere to any Technical Resource Page (TRP) bulletins or any Gilbarco directive
to use the more recent approved software versions.
The software can be obtained by connecting to the Gilbarco extranet and downloading it using
the Gilbarco Laptop Tool. Software is loaded onto the CRIND with the FlexPay Maintenance
Tool (Basic or Advanced).
Notes: 1) You must be a Gilbarco-certified technician to have access to the Gilbarco extranet
and Gilbarco Laptop Tool/FlexPay Maintenance Tool.
2) Units may have an HCRS on one side and a Secure Card Reader (SCR) on the other
side.

MDE-5387D Hybrid Card Reader S (HCRS) Kit Installation Instructions · May 2020 Page 3
Introduction
Related Documents
Document
Number Title GOLDSM Library
MDE-2531 Gilbarco Pump and Dispenser Start-up and Service Manual • Pump and Dispenser Start-up and
Service Manual
• Service Manual
MDE-3804 Encore and Eclipse® Start-up/Service Manual • Encore and Eclipse
• Service Manual
MDE-4902 Encore 700 S Start-up and Service Manual • Encore and Eclipse
• CRIND and TRIND®
MDE-5062 FlexPay Maintenance Tool for FlexPay/SPOT CRIND System • CRIND and TRIND
•FlexPay EMV
®
MDE-5165 Card Reader Door Boss Repair Kit (M07450K999) Installation
Instructions
Encore and Eclipse
Abbreviations and Acronyms
Term Description
ASC Authorized Service Contractor
CAT5 Category 5
CPR Cardiopulmonary Resuscitation
CRIND Card Reader in Dispenser
D-Box Distribution Box
DEF Diesel Exhaust Fluid
E-CIM Enhanced Customer Interface Module
EMV Europay®, MasterCard®, and Visa®
ESD Electrostatic Discharge
FCB FlexPay Control Board
FCC Federal Communications Commission
GCM Global Contactless Module
GOLD Gilbarco Online Documentation
HCRS Hybrid Card Reader S
HIP Hub Interface PCB
IP Internet Protocol
LED Light Emitting Diode
NEC®National Electrical Code
NFPA®National Fire Protection Association
OSHA Occupational Safety and Health Administration
PCB Printed Circuit Board
PCI Payment Card Industry
POS Point of Sale
PPN Product Part Number
SCR Secure Card Reader
STP Submersible Turbine Pump
TAC Technical Assistance Center
TRIND Transmitter/Receiver in Dispenser
TRP Technical Resource Page

Page 4 MDE-5387D Hybrid Card Reader S (HCRS) Kit Installation Instructions · May 2020
Important Safety Information
Notes: 1) Save this Important Safety Information section in a
readily accessible location.
2) Although DEF is non-flammable, Diesel is flammable.
Therefore, for DEF cabinets that are attached to
Diesel dispensers, follow all the notes in this section
that pertain to flammable fuels.
This section introduces the hazards and safety precautions
associated with installing, inspecting, maintaining, or servicing
this product. Before performing any task on this product, read this
safety information and the applicable sections in this manual,
where additional hazards and safety precautions for your task will
be found. Fire, explosion, electrical shock, or pressure release
could occur and cause death or serious injury, if these safe
service procedures are not followed.
Preliminary Precautions
You are working in a potentially dangerous environment of
flammable fuels, vapors, and high voltage or pressures. Only
trained or authorized individuals knowledgeable in the related
procedures should install, inspect, maintain, or service this
equipment.
Emergency Total Electrical Shut-Off
The first and most important information you must know is how to
stop all fuel flow to the pump/dispenser and island. Locate the
switch or circuit breakers that shut off all power to all fueling
equipment, dispensing devices, and Submerged Turbine Pumps
(STPs).
Total Electrical Shut-Off Before Access
Any procedure that requires access to electrical components or
the electronics of the dispenser requires total electrical shut off of
that unit. Understand the function and location of this switch or
circuit breaker before inspecting, installing, maintaining, or
servicing Gilbarco equipment.
Evacuating, Barricading, and Shutting Off
Any procedure that requires access to the pump/dispenser or
STPs requires the following actions:
• An evacuation of all unauthorized persons and vehicles from
the work area
• Use of safety tape, cones, or barricades at the affected
unit(s)
• A total electrical shut-off of the affected unit(s)
Read the Manual
Read, understand, and follow this manual and any other labels or
related materials supplied with this equipment. If you do not
understand a procedure, call the Gilbarco Technical Assistance
Center (TAC) at 1-800-743-7501. It is imperative to your safety
and the safety of others to understand the procedures before
beginning work.
Follow the Regulations
Applicable information is available in National Fire Protection
Association (NFPA) 30A; Code for Motor Fuel Dispensing
Facilities and Repair Garages, NFPA 70; National Electrical
Code (NEC), Occupational Safety and Health Administration
(OSHA) regulations and federal, state, and local codes. All these
regulations must be followed. Failure to install, inspect, maintain
or service this equipment in accordance with these codes,
regulations, and standards may lead to legal citations with
penalties or affect the safe use and operation of the equipment.
Replacement Parts
Use only genuine Gilbarco replacement parts and retrofit kits on
your pump/dispenser. Using parts other than genuine Gilbarco
replacement parts could create a safety hazard and violate local
regulations.
Federal Communications Commission (FCC) Warning
This equipment has been tested and found to comply with the
limits for a Class A digital device pursuant to Part 15 of the FCC
Rules. These limits are designed to provide reasonable
protection against harmful interference when the equipment is
operated in a commercial environment. This equipment
generates, uses, and can radiate radio frequency energy, and if
not installed and used in accordance with the instruction manual
may cause harmful interference to radio communications.
Operation of this equipment in a residential area is likely to
cause harmful interference in which case the user will be
required to correct the interference at his own expense.
Changes or modifications not expressly approved by the
manufacturer could void the user’s authority to operate this
equipment.
Safety Symbols and Warning Words
This section provides important information about warning
symbols and boxes.
Alert Symbol
This safety alert symbol is used in this manual and on
warning labels to alert you to a precaution which must be
followed to prevent potential personal safety hazards. Obey
safety directives that follow this symbol to avoid possible injury
or death.
Signal Words
These signal words used in this manual and on warning labels
tell you the seriousness of particular safety hazards. The
precautions below must be followed to prevent death, injury, or
damage to the equipment:
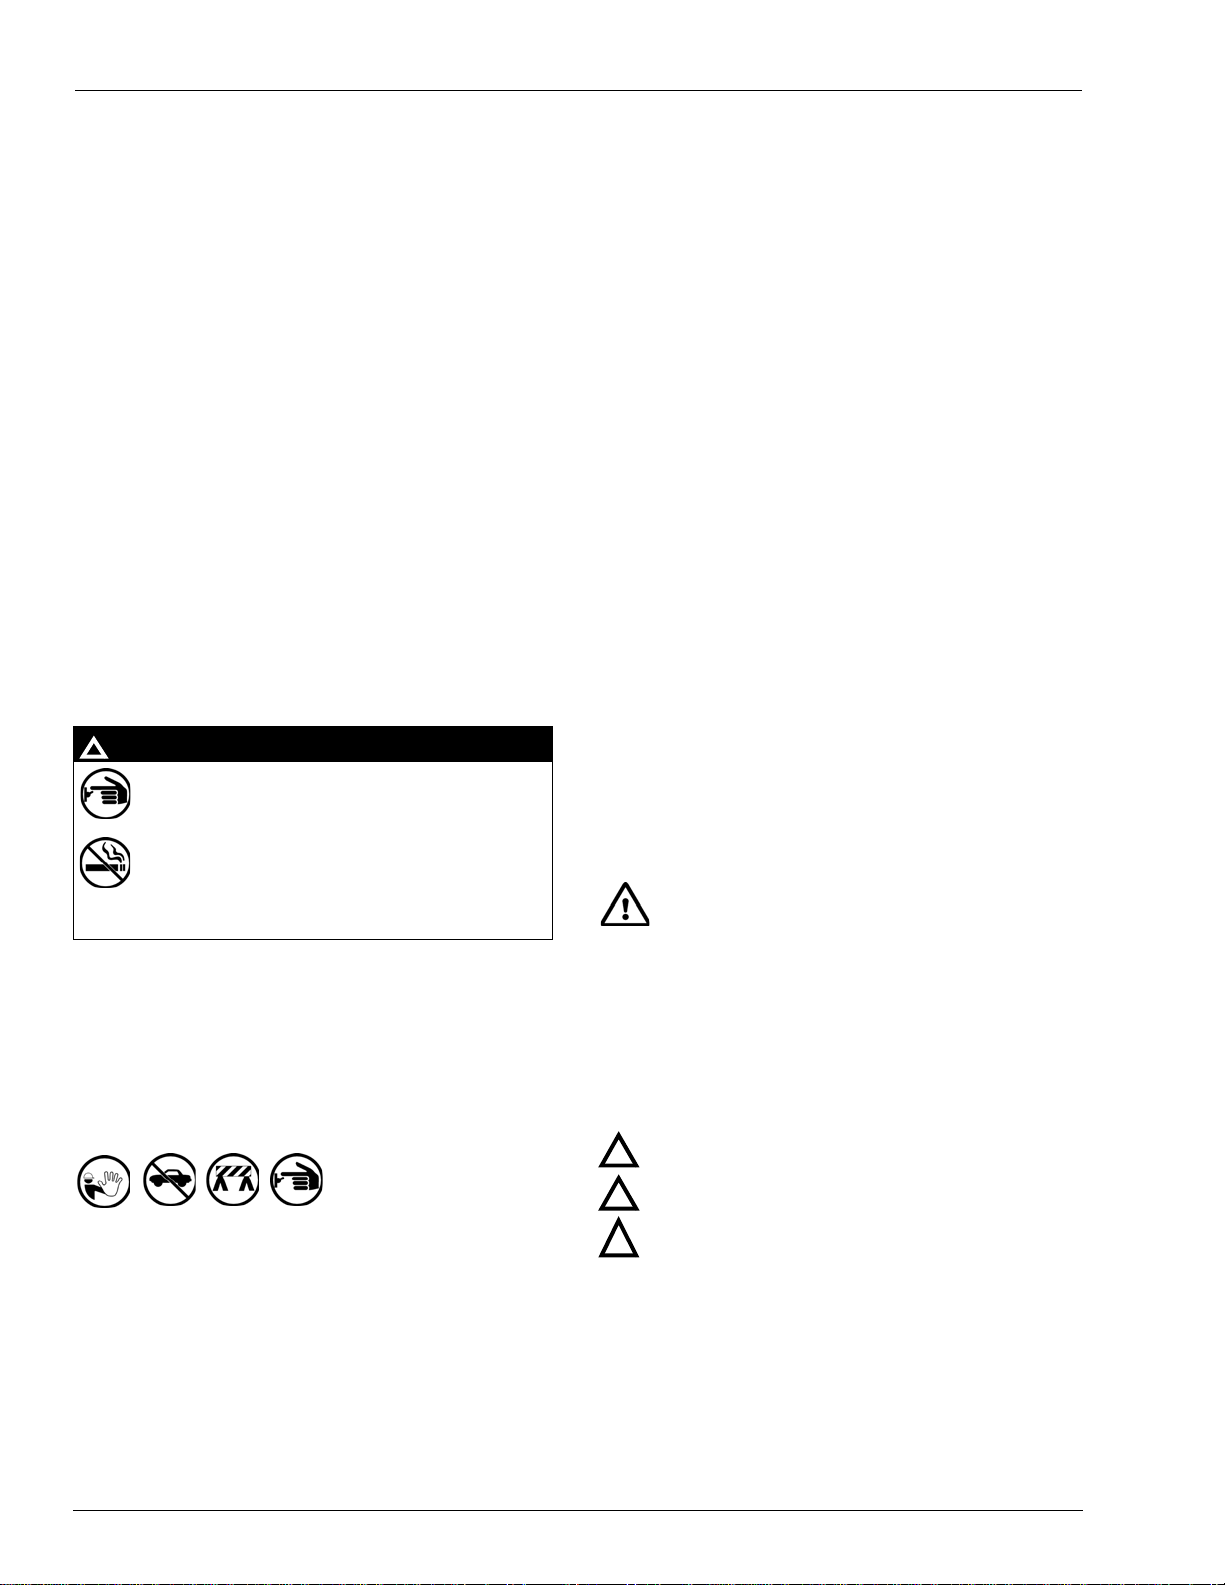
DANGER: Alerts you to a hazard or unsafe practice
which will result in death or serious injury.
WARNING: Alerts you to a hazard or unsafe practice tha
could result in death or serious injury.
CAUTION with Alert symbol: Designates a hazard or
unsafe practice which may result in minor injury.
CAUTION without Alert symbol: Designates a hazard or
unsafe practice which may result in property or
equipment damage.
Working With Fuels and Electrical Energy
Prevent Explosions and Fires
Fuels and their vapors will explode or burn, if ignited. Spilled or
leaking fuels cause vapors. Even filling customer tanks will cause
potentially dangerous vapors in the vicinity of the dispenser or
island.
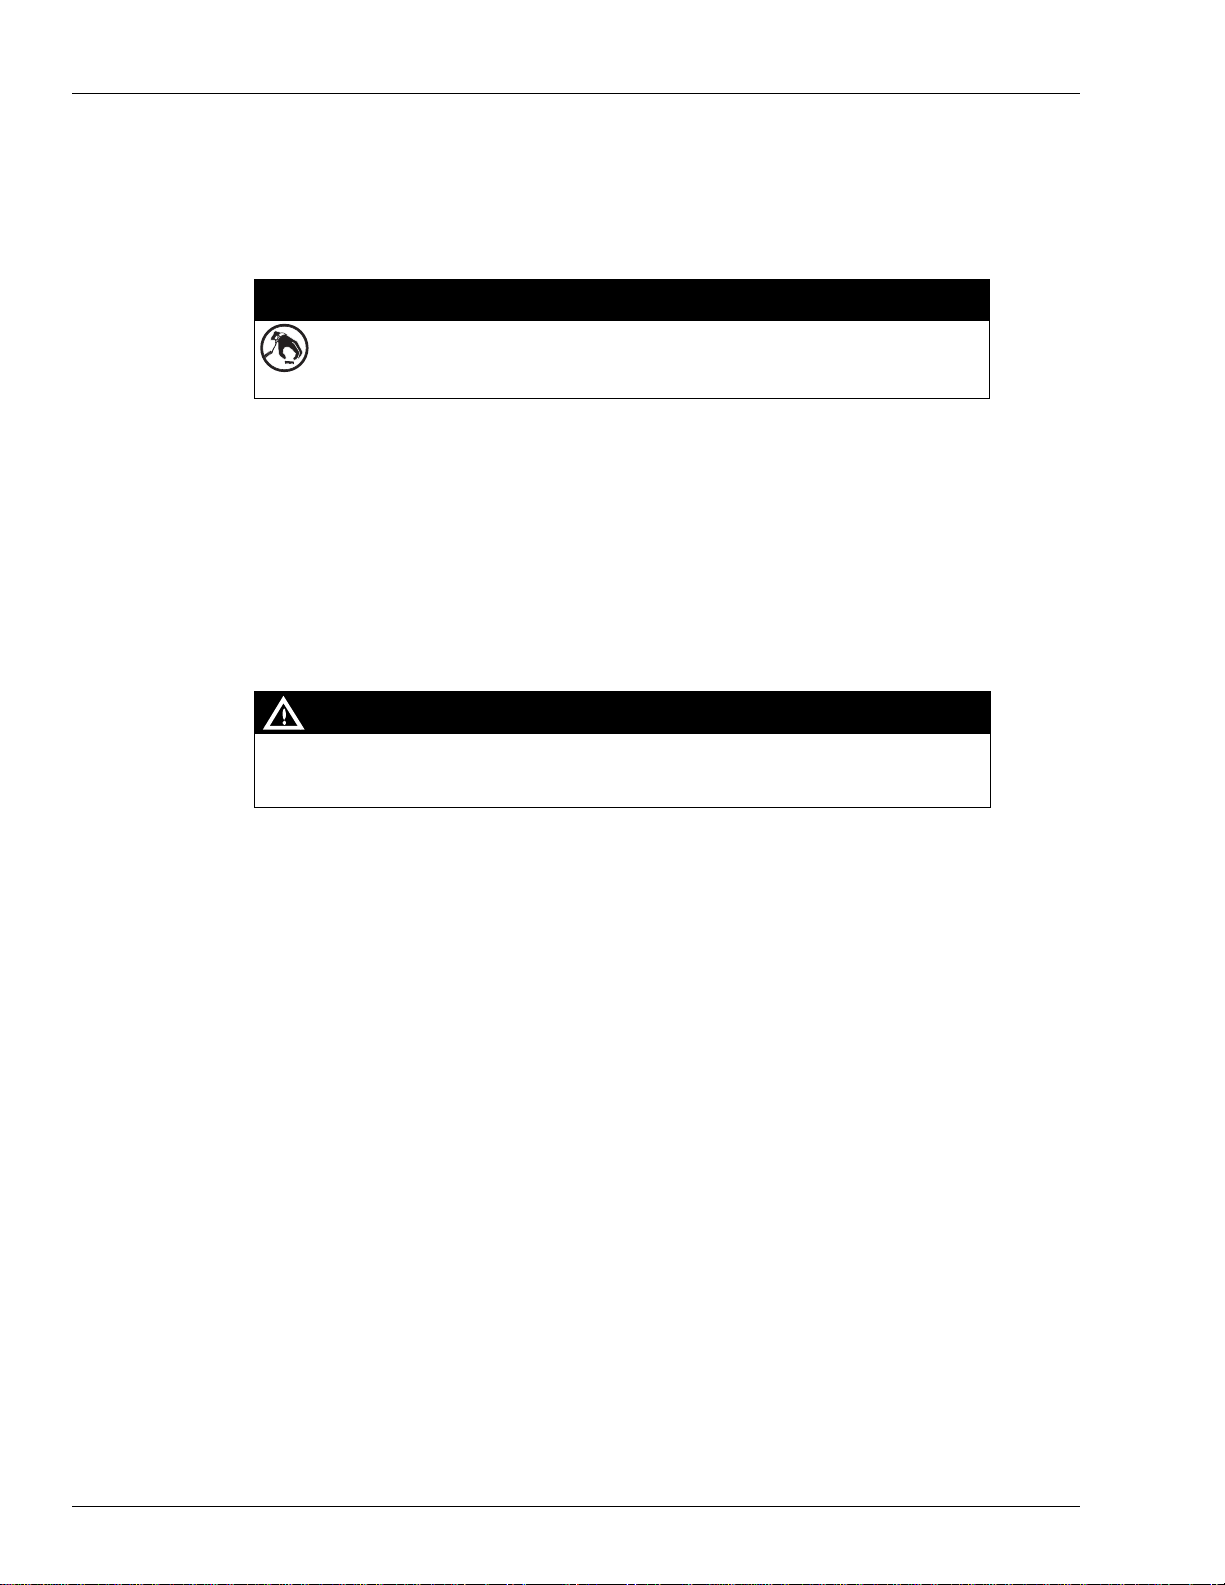
DEF is non-flammable. Therefore, explosion and fire safety
warnings do not apply to DEF lines.
The EMERGENCY STOP, ALL STOP, and PUMP
STOP buttons at the cashier’s station WILL NOT
shut off electrical power to the pump/dispenser. This
means that even if you activate these stops, fuel
may continue to flow uncontrolled.
You must use the TOTAL ELECTRICAL SHUT-OFF
in the case of an emergency and not the console’s
ALL STOP and PUMP STOP or similar keys.
!
WARNING
!
!
!
!

MDE-5387D Hybrid Card Reader S (HCRS) Kit Installation Instructions · May 2020 Page 5
Important Safety Information
No Open Fire
Open flames from matches, lighters, welding torches,
or other sources can ignite fuels and their vapors.
No Sparks - No Smoking
Sparks from starting vehicles, starting, or using power tools,
burning cigarettes, cigars, or pipes can also ignite fuels and
their vapors. Static electricity, including an electrostatic charge
on your body, can cause a spark sufficient to ignite fuel vapors.
Every time you get out of a vehicle, touch the metal of your
vehicle, to discharge any electrostatic charge before you
approach the dispenser island.
Working Alone
It is highly recommended that someone who is capable of
rendering first aid be present during servicing. Familiarize
yourself with Cardiopulmonary Resuscitation (CPR) methods, if
you work with or around high voltages. This information is
available from the American Red Cross. Always advise the
station personnel about where you will be working, and caution
them not to activate power while you are working on the
equipment. Use the OSHA Lockout/Tagout procedures. If you
are not familiar with this requirement, refer to this information in
the service manual and OSHA documentation.
Working With Electricity Safely
Ensure that you use safe and established practices in working
with electrical devices. Poorly wired devices may cause a fire,
explosion, or electrical shock. Ensure that grounding
connections are properly made. Take care that sealing devices
and compounds are in place. Ensure that you do not pinch
wires when replacing covers. Follow OSHA Lockout/Tagout
requirements. Station employees and service contractors need
to understand and comply with this program completely to
ensure safety while the equipment is down.
Hazardous Materials
Some materials present inside electronic enclosures may
present a health hazard if not handled correctly. Ensure that
you clean hands after handling equipment. Do not place any
equipment in the mouth.
In an Emergency
Inform Emergency Personnel
Compile the following information and inform emergency
personnel:
• Location of accident (for example, address, front/back of
building, and so on)
• Nature of accident (for example, possible heart attack, run
over by car, burns, and so on)
• Age of victim (for example, baby, teenager, middle-age,
elderly)
• Whether or not victim has received first aid (for example,
stopped bleeding by pressure, and so on)
• Whether or not a victim has vomited (for example, if
swallowed or inhaled something, and so on)
IMPORTANT: Oxygen may be needed at scene if gasoline has
been ingested or inhaled. Seek medical advice immediately.
Lockout/Tagout
Lockout/Tagout covers servicing and maintenance of machines
and equipment in which the unexpected energization or
start-up of the machine(s) or equipment or release of stored
energy could cause injury to employees or personnel.
Lockout/Tagout applies to all mechanical, hydraulic, chemical,
or other energy, but does not cover electrical hazards.
Subpart S of 29 CFR Part 1910 - Electrical Hazards, 29 CFR
Part 1910.333 contains specific Lockout/Tagout provision for
electrical hazards.
The pump/dispenser contains a chemical known to the
State of California to cause birth defects or other
reproductive harm.
WARNING
!
The pump/dispenser contains a chemical known to the
State of California to cause cancer.
WARNING
!
Gilbarco Veeder-Root encourages the recycling of
our products. Some products contain electronics,
batteries, or other materials that may require special
management practices depending on your location.
Please refer to your local, state, or country
regulations for these requirements.
Gasoline/DEF ingested may cause
unconsciousness and burns to internal organs.
Do not induce vomiting. Keep airway open.
Oxygen may be needed at scene. Seek medical
advice immediately.
!
DEF generates ammonia gas at higher temperatures.
When opening enclosed panels, allow the unit to air out to
avoid breathing vapors. If respiratory difficulties develop,
move victim away from source of exposure and into fresh
air. If symptoms persist, seek medical attention.
WARNING
!
WARNING
Gasoline inhaled may cause unconsciousness
and burns to lips, mouth, and lungs. Keep airway
open. Seek medical advice immediately.
WARNING
!
Gasoline/DEF spilled in eyes may cause burns to
eye tissue. Irrigate eyes with water for
approximately 15 minutes. Seek medical advice
immediately.
WARNING
!
Gasoline/DEF spilled on skin may cause burns.
Wash area thoroughly with clear water.
Seek medical advice immediately.
WARNING
!
DEF is mildly corrosive. Avoid contact with eyes, skin, and
clothing. Ensure that eyewash stations and safety
showers are close to the work location. Seek medical
advice/recommended treatment if DEF spills into eyes.
WARNING
!

Before You Begin
Page 6 MDE-5387D Hybrid Card Reader S (HCRS) Kit Installation Instructions · May 2020
Before You Begin
Before you begin, read and understand all safety information found in MDE-3804 Encore and
Eclipse Start-up/Service Manual and in “Important Safety Information” on page 4.
A properly grounded Electrostatic Discharge (ESD) wrist strap must be worn while
servicing any electronic devices or components. Failure to use electrostatic
precautions may damage electronic components and void warranty.
CAUTION
To prepare the site and unit for the upgrade, proceed as follows:
1Inform the manager that the power will be disconnected.
2Barricade the unit to be worked on.
3Update the CRIND Software bundle before removing power to the unit.
4
Failure to turn off the unit during kit installation may cause injury or bodily harm from
electrical shock. Ensure that all power to the unit is switched off before opening the door to
the unit and during kit installation.
WARNING
Remove power to the unit at the breaker panel. Follow OSHA lockout/tagout procedures.
5Match the parts received in kits with “Parts List” on page 2.

MDE-5387D Hybrid Card Reader S (HCRS) Kit Installation Instructions · May 2020 Page 7
High-Level Installation Procedure
To upgrade the CRIND software to the latest available version, proceed as follows:
If the site uses a POS system, isolate the CRIND two-wire from the CRIND device. For
specific software instructions, refer to MDE-4902 Encore 700 S Start-up and Service Manual.
Note: Some third-party POS systems may require the two-wire to be isolated at the
Distribution Box (D-Box).
1Connect the Category 5 (CAT5) cable from the laptop to the Hub Interface PCB (HIP)/HIP 2/
AFP/DCM2.X board.
Note: You can connect your CAT5 cable directly to the FlexPay Control Board.
2Download the appropriate CRIND Software bundle to the CRIND device.
Notes: 1) You can load sides A and B at the same time by opening two sessions of the FlexPay
Maintenance Tool (Basic or Advanced).
2) For more information, refer to “Important Software Information” on page 2.
3In some instances, the CRIND will automatically coldstart after downloading the new
software.
Note: If the latest CRIND software is already installed, then proceed to step c.
a Reprogram the CRIND ID and CRIND Mode.
b Enable the required options (for example, TRIND, contactless, and so on).
c Warmstart the dispenser. Allow the POS to download the CRIND software application if
applicable. After the download is complete, ensure that all graphics on the display are
correct.
4Proceed to “Installing the HCRS Kit” on page 8 and complete the steps to install, activate, and
configure the HCRS.
5Re-establish two-wire communication to the POS.
6Perform test transactions to validate the installation.
Note: CRIND software V03.4.06 and later is designed to warm start after installation. If any
unexpected behavior occurs when performing test transactions, purge the CRIND to
force a cold start. Retest the unit to verify proper operation of the card reader.

Installing the HCRS Kit
Page 8 MDE-5387D Hybrid Card Reader S (HCRS) Kit Installation Instructions · May 2020
Installing the HCRS Kit
A properly grounded ESD wrist strap must be worn while servicing any electronic
devices or components. Failure to use electrostatic precautions may damage
electronic components and void warranty.
CAUTION
Removing the Existing Card Reader
To remove the existing card reader, proceed as follows:
Note: Read all instructions before beginning and observe all safety precautions.
1Open the door.
Encore 500/500 S/700 S:
a Remove the lower hydraulics panel to access the security latch underneath the lower left
main door corner; open the latch.
b Locate the upper main door lock. Insert the main door key and open the door.
Other Encore models:
Insert the main door key and open the door.
The Advantage Series:
a Open the left and right option doors using the key.
b On side A, unlatch the door latches located behind the right and left option doors. Loosen the
four screws at the bottom of the main access door using a 5/32 or 3/8-inch Allen wrench.
c On side A, open the main access door by lifting it slightly. Place the main access door hinge
bracket pin into the end slot/lock position. This locks into a maximum 90-degree angle.
2Unplug the connector from the card reader only. Do not remove the cable harness from the
dispenser.

MDE-5387D Hybrid Card Reader S (HCRS) Kit Installation Instructions · May 2020 Page 9
Installing the HCRS Kit
3Remove the four hexagonal-head screws that secure the card reader bracket and card reader to
the option door using a 1/4-inch nut driver or ratchet and socket. Remove and discard the
existing card reader and card reader bracket.
Note: A bracket is provided in the kit.
Figure 1: Top View of SCR
Screws (4X)
Card Reader (SCR)
Card Reader Bracket
4Carefully remove the old card reader gasket from the option door. Use a putty knife if
required.
5Ensure that the door surface where card reader is installed is smooth and free of debris.
Removing the existing card reader is now complete.
6Go back to step 1a (for Encore or The Advantage Series depending on the type of the model)
on page 8 to begin the procedure for Side B of the unit.

Installing the HCRS Kit
Page 10 MDE-5387D Hybrid Card Reader S (HCRS) Kit Installation Instructions · May 2020
Installing the HCRS (M13940B001)
To install the HCRS, proceed as follows:
A properly grounded ESD wrist strap must be worn while servicing any electronic
devices or components. Failure to use electrostatic precautions may damage
electronic components and void warranty.
CAUTION
1Obtain the HCRS card reader, Card Reader Bracket (M13674B001/M13378B001), and Card
Reader Gasket (M13127B006) from the kit.
Notes: 1) Card Reader Bracket M13674B001 is for Encore/E-CIM, and M13378B001 is for
The Advantage Series.
2) Do not remove the foam block from the connector on the card reader until after
installation is complete. This is to protect the connector pins from damage during
installation.
2Inspect the bosses on the door before installing the card reader. If the door has threaded inserts
(see Figure 2), use the M14757B001 screws for installation. If the door does not have threaded
inserts (standard bosses), use the Q11677-24 screws. If the door has stripped bosses or is
damaged, use the Boss Repair Kit (M07450K999). For more information, refer to MDE-5165
Card Reader Door Boss Repair Kit (M07450K999) Installation Instructions.
Figure 2: Examples of Threaded Insert, Standard, and Stripped Bosses
Threaded Insert Standard Boss
M14757B001 Screw
(i) (ii)
(iii)
Stripped Boss
(iv) (v)
Q11677-24 Screw

MDE-5387D Hybrid Card Reader S (HCRS) Kit Installation Instructions · May 2020 Page 11
Installing the HCRS Kit
3Place the non-adhesive gasket over the front of the card reader making sure the gasket is
seated on the flange and covers the dismount buttons as shown in Figure 3.
Note: Installing this non-adhesive gasket is different from previous gasket installation. It is
laid over the card reader snout first, then the card reader is inserted into the card
reader opening on the door. In this application, the card reader becomes your insertion
tool.
Figure 3: HCRS Card Reader
(i)
Front View
(ii)
Side View Gasket Card Reader
4From the rear of the main door, position the HCRS card reader and then the card reader
bracket on the door so that the opening on the bracket is positioned at the top. Loosely secure
the card reader bracket and HCRS card reader to the main door using the four screws as
determined in step 2 on page 10.
Note: When installing the card reader bracket onto the HCRS card reader, the lip on the
bottom of the card reader bracket must face toward you [toward the data/power
connector (see Figure 4 on page 12)].
5Align the HCRS card reader and card reader bracket. Securely tighten the four mounting
screws in stages in a diagonal pattern using a torque wrench driver to ensure correct seating of
the card reader (see Figure 4 on page 12). Do not overtighten the screws. Overtightening of
the screws can strip or break the card reader bosses.
The following are the torque settings for the different door types:
• Self-threading (plastic boss) doors: 18-20 inch-lbs
• Threaded (metal insert) doors: 12 inch-lbs
6Check the gasket from outside of the door to ensure no gasket material is visible around the
card reader bezel.

Installing the HCRS Kit
Page 12 MDE-5387D Hybrid Card Reader S (HCRS) Kit Installation Instructions · May 2020
Figure 4: HCRS Card Reader Mounted
Card Reader Bracket
10-pin HCRS Interface
Cable (M12471A001)
Screws (4X)
Card Reader
10-pin Power/Data
Connector (J6)
Ground
Connector
7Remove the protective foam block from the card reader connector.
8Connect the cables (see Figure 7 on page 13). To connect the cables, proceed as follows:
a Plug in connector JHCRS of the HCRS cable on the 10-pin connector J6 on the HCRS
(see Figure 4). Connect the 10-pin HCRS Interface Cable (M12471A001) to the 10-pin
power/data connector on the HCRS card reader.
Note: Orient the connector as shown in Figure 4.
b Plug in connector P501 of the HCRS cable to connector P501 on the FlexPay Control Board
(FCB) as shown in Figure 5.
Figure 5: Connecting P501 on FCB
P501
Connector
c Remove connector J411 of the FCB power cable from the P411 connector of the FCB and
connect to the P411A connector on the HCRS cable (as shown in Figure 6 and Figure 7 on
page 13).

MDE-5387D Hybrid Card Reader S (HCRS) Kit Installation Instructions · May 2020 Page 13
Installing the HCRS Kit
d Plug in connector J411 of the HCRS cable on to the connector P411 on the FCB as shown in
Figure 6 and Figure 7.
Figure 6: Connecting J411
J411 to P411A on HCR 2 Cable J411 to P411 on FCB
Figure 7: Connecting J411 on FCB

Installing the HCRS Kit
Page 14 MDE-5387D Hybrid Card Reader S (HCRS) Kit Installation Instructions · May 2020
e Connect the ground cable to the U-channel inside the dispenser using the supplied Screw
(M00417B101). The other end is already connected to the two-pin ground connector. Place
the three Cable Mounts (Q13558-04) as shown in Figure 8. Route the ground cable through
the cable mounts, keeping it separate from the data cables.
Figure 8: Connecting J411
Ground Cable
U-channel
Cable routing is critical. It is very important to route and dress the cables properly.
Exercise care in routing the cables, keeping in mind that the door(s) opens and closes
for service. The cables must be dressed neatly. Ensure that there is no interference after
the cables are connected and routed.
ESD ground straps can be bundled together, but need to be separated from data and
power cables.
IMPORTANT INFORMATION
Ensure that the power/data cables are secured to the unit with sufficient slack to prevent cable
pull and pinching when opening or closing the door.
Note: Do not route cables near the Global Contactless Module (GCM). Route ground cable
away from the data cable.
Installing the HCRS card reader is now complete.

MDE-5387D Hybrid Card Reader S (HCRS) Kit Installation Instructions · May 2020 Page 15
Installing the HCRS Kit
Completing Installation
To complete the installation, proceed as follows:
1Dress the cables neatly. Inspect the work performed (for example, ensure that there are no
pinched wires and the cables are routed securely).
2
Cable routing is critical. It is very important to route and dress the cables properly.
Exercise care in routing the cables, keeping in mind that the door(s) opens and closes
for service. The cables must be dressed neatly. Ensure that there is no interference after
the cables are connected and routed.
IMPORTANT INFORMATION
Ensure that the cables are not stretched when the door is opened.
3Remove Lockout/Tagout and turn power back on to the unit.
4Ensure that the HCRS card reader is activated. For more information, refer to
“Appendix A: Configuring/Activating FlexPay II CRIND” on page 18.
5Close and secure the main doors using the main door lock. Reinstall and lock the lower panel
door.
6To change the card reader settings, proceed as follows:
Figure 9: Main Menu

Installing the HCRS Kit
Page 16 MDE-5387D Hybrid Card Reader S (HCRS) Kit Installation Instructions · May 2020
a From the Main Menu, press 2 Device Config. The Device Config screen is displayed .
Figure 10: Device Configuration Screen
b Press 5 Card Reader. The Card Reader Menu is displayed.
Figure 11: Card Reader Menu

MDE-5387D Hybrid Card Reader S (HCRS) Kit Installation Instructions · May 2020 Page 17
Installing the HCRS Kit
c Press 5 Card Remove Timeout. The Set card Remove Timeout Time screen is displayed.
Note:Change Timeout Time from 60 seconds to 5 seconds.
Figure 12: Set Card Remove Timeout Time Screen
7Run a debit, credit, fleet, and loyalty cards to verify proper operation of the card reader.
Installing the HCRS Kit is now complete.
Note: CRIND software V03.4.06 and later is designed to warm start after installation. If any
unexpected behavior occurs when performing test transactions, purge the CRIND to
force a cold start. Retest the unit to verify proper operation of the card reader.

Appendix A: Configuring/Activating FlexPay II CRIND
Page 18 MDE-5387D Hybrid Card Reader S (HCRS) Kit Installation Instructions · May 2020
Appendix A: Configuring/Activating FlexPay II CRIND
To activate a FlexPay II CRIND device, you must enter the Service Menu. To enter the Service
Menu and perform the activation, proceed as follows:
1Power up the FlexPay II CRIND device. The Product Part Number (PPN) is displayed on the
screen (see Figure 13). Note the 8-digit serial number when the unit first powers up. The
right-most six digits of the serial number is the password for the Service Menu.
Note: The message,“Out of Service”, is normally displayed when the unit first powers up.
Figure 13: Powering up FlexPay II CRIND Device
The PPN is also printed on the rear of the unit (see Figure 14).
Figure 14: PPN on Rear of FlexPay II CRIND Device
Location of PPN

MDE-5387D Hybrid Card Reader S (HCRS) Kit Installation Instructions · May 2020 Page 19
Appendix A: Configuring/Activating FlexPay II CRIND
The Service Menu is displayed when the FlexPay II CRIND requires activation
(see Figure 16). Otherwise, a white screen with the Gilbarco logo and software package
versions appears momentarily (see Figure 15).
Figure 15: Software Packages Screen
<1> enter setup is displayed at start-up
2Press 1 > Enter. The Service Menu is displayed.
Figure 16: Service Menu - Screen 1
3Enter the right most six digits of the PPN and press ENTER/OK. The Service
Menu - Main Menu is displayed.
Note: If you do not enter the password within 5 minutes, the unit automatically restarts.
Figure 17: Service Menu - Main Menu

Appendix A: Configuring/Activating FlexPay II CRIND
Page 20 MDE-5387D Hybrid Card Reader S (HCRS) Kit Installation Instructions · May 2020
4Press 3 > Enter to enter the System Configuration Menu. This menu is used to set the reader
type to HCR.
Figure 18: Service Menu - Main Menu
5Press 1 > Enter to set Contact Card-Reader Select.
6
If Internet Protocol (IP) address changes are required, they must be changed using
CRIND diagnostics. Using the Service Menu to change IP addresses may result in
communication issues with the dispenser.
WARNING
CAUTION
Press Enter to select HCR2 and press Enter again to go back to the main Service Menu.
7Press 2 > Enter to enter the Security Setup Menu. This menu is used to activate security
mounting sensors.
The FlexPay II CRIND software modules are not activated and system communications are
not possible until the unit’s mounting sensors are activated.
The menu displays the following:
• UNIT SERIAL NUMBER: PPN shown at start-up.
• UNIT CHALLENGE NUMBER: Variable code generated when the FlexPay II CRIND
device starts.
• ENTER MATCHING PASSWORD: Matching password is the answer to the challenge
number.
Note: The Gilbarco Call Center provides the MATCHING PASSWORD by a secure process
that uses the serial number and challenge number, and produces a unique matching
password. It must be entered within a time limit (one minute) of the challenge number
being displayed or the screen times out and reverts to the main Service Menu.
This manual suits for next models
4
Table of contents
Other GILBARCO VEEDER-ROOT Card Reader manuals
Popular Card Reader manuals by other brands

Hama
Hama 91047 operating instructions

Hama
Hama 00039878 "All in One" operating instructions

Sony
Sony MRW-FC1 operating instructions

Transcend
Transcend m2 Quick instruction guide

Panasonic
Panasonic AJ-MPD1G operating instructions

UTC Fire and Security
UTC Fire and Security Interlogix ATS1190 Installation sheet