Giussani Techniques E-PRL User manual

User Manual
E-PRL
REPROGRAMMABLE ELECTRONIC
LOCK
UNIQUE CODE version

1
INDEX
✓General description p. 2
✓System characteristics p. 2
✓Key characteristics p. 2
✓Lock characteristics p. 3
✓Operating mode p. 3
✓General lock assembly p. 3
✓Rear latch assembly p. 4
✓Preparing the lock for initial programming p. 4
✓Initial lock programming WITHOUT “ACCESS CONTROL” p. 5
✓Initial lock programming with “ACCESS CONTROL” p. 5
✓Opening the lock p. 6
✓Reset lock with MASTER key p. 6
✓Switching to ACCESS CONTROL FUNCTION p. 6
✓DOWNLOAD key (with GSN-KEY Access Control Software) p. 7
✓Loss/Key failure
•MASTER key p. 7
•USER key p. 8
•DOWNLOAD key p. 8
✓Key battery p. 8
✓Declaration of Conformity p. 8
Manual Rev
Date
Description
0
01.09.2017
First issue
1
02.10.2017
Modified logs that can be stored on the lock
2
03.11.2017
Insert 132° rotation washer

2
Congratulations on choosing the E-PRL reprogrammable electronic lock system.
WE RECOMMEND READING THIS USER MANUAL BEFORE USING THE SYSTEM
GENERAL DESCRIPTION
✓The E-PRL is a high-tech reprogrammable electronic locking system consisting of universal locks and various self-powered key sets.
The system can also be paired with the GSN-KEY access control software (see Access Control System User Manual). This manual
refers only to the UNIQUE CODE version of the system.
SYSTEM CHARACTERISTICS
✓CE certified system
✓High forced entry resistant
✓Operating temperature: between -40 ° C and + 70 ° C
✓Electric shock resistant
✓Self-powered system that does not require an electrical system
✓Encrypted and inviolable communication system
✓Over 10 billion combinations
✓Access control via the dedicated GSN-KEY software
KEY CHARACTERISTICS
✓Modern ergonomic design for practical use
✓Anti-duplication profile
✓Powered by 2x CR2430 lithium batteries already supplied with the key (Duracell DL2430 is recommended), that also provide
power to the locks
✓2 green and red coloured LEDs
✓Low battery LED indicator
✓Store up to 32,000 events on the DOWNLOAD key
✓Provided with identification cards (Key Identifier) for after sales assistance
✓Key codes and characteristics:
KEY TYPE
KEY COLOUR
PRODUCT CODE
ACCESS CONTROL
ENABLED
MASTER
Red
EMK-00
MASTER
Red
EMK-01
USER
Black
EUK-00
DOWNLOAD
Blue
EDK-00

3
LOCK CHARACTERISITCS
✓High resistance to wear and weather due to the use of stainless steel on all components
✓IP65 water and dust resistance
✓Lock face in stainless steel
✓Mechanical compatibility with existing fixing holes
✓Memory of the last 3,300 events on each lock with date, time and user
✓No cabling or maintenance: power is supplied by the keys
OPERATING MODE
✓In the UNIQUE CODE version, the MASTER key (red) allows the use of each lock with one unique code; all USER keys (black) and
all DOWNLOAD keys (blue) having that code (identified by the production lot) will be able to open that lock or to download the
history event log.
✓The user can at any time implement the Access Control feature without having to change the locks already installed; the lock is in
fact compatible with both versions (with or without Access Control).
GENERAL LOCK ASSEMBLY

4
REAR ROTATION WASHER ASSEMBLY
✓Depending on the type of rotation you want to obtain (clockwise-counterclockwise, 90 ° -180 °), one of the two rotation washers
supplied in the package must be installed on the back of the lock, as shown in the diagram below.
PREPARING THE LOCK FOR INITIAL PROGRAMMING
✓The lock is supplied unlocked (open) already in the correct position for programming.
✓We recommended you perform the mechanical lock installation before programming. For assemblies that require programming
prior to mechanical installation, contact Technical Support.
✓We recommend you carry out the mechanical installation following this procedure: insertion in the installation location, insertion
of washer, tighten the nut and then assemble the necessary accessories such as rotation washer, cam, flat washer and nut.
✓Before programming the lock, be sure to align the lock as shown below.

5
INITIAL LOCK PROGRAMMING WITHOUT ACCESS CONTROL FUNCTION
✓Follow the procedure below if the MASTER key (red) does not include the Access Control feature (codice standard EMK-01)
1. Insert the MASTER key (red) WITHOUT ACCESS CONTROL FUNCTION (product code EMK-03)
A single fast blink of the green LED will flash ( ) to indicate the start of the key pairing procedure; Remove the key from the lock
after the above signal has occurred.
2. Insert a USER key (black) that you want to pair with the lock.
A single long blink of the green LED will flash ( ) to indicate the pairing of the mono code key; Remove the key from the lock
after the above signal has occurred.
Caution: The initial insertion of the USER key (black) is only functional for lock programming. The USER key (black) can only open
the lock after the next insertion.
3. The programming procedure is now complete and all USER keys (black) using this mono code can now open the lock.
4. Repeat this process for each lock pairing the same key code or a different key code.
Note: From now on, no MASTER key (red) other than the one used for the initial programming will be able to perform any operation
on the lock.
INITIAL LOCK PROGRAMMING WITH ACCESS CONTROL FUNCTION
✓Lock Programming with Access Control requires:
•MASTER Key (red) with access control function (product code EMK-00)
•ACCESS CONTROL KIT (product code EPOD-00)
✓Follow the procedure below to program the lock
1. Before programming the lock and storing the USER keys (black), it is recommended to synchronize the USER keys (black) as
indicated in the "Access Control System" User Manual under the heading "Registration" of the keys "; If this step is not completed,
the USER keys (black) will not work, they will not be paired, and an error message will be shown via a blinking red LED ( )
2. Insert the MASTER key (red) into the lock with ACCESS CONTROL FUNCTION (product code EMK-02)
A single fast blinking of the green LED will flash ( ) to indicate the start of the mono code key pairing procedure; Remove the
key from the lock after the above signal has occurred.
3. Insert the USER key (black) that you want to pair.
A single long blink of the green LED will flash ( ) to indicate the correct pairing of the mono code key; Remove the key from
the lock after the above signal has occurred.
Caution: The initial insertion of the USER key (black) is only functional for lock programming. The USER key (black) can only open
the lock after the next insertion.
5. The programming procedure is now complete and all USER keys (black) using this mono code can now open the lock.
6. Repeat this process for each lock pairing the same key code or a different key code.
Note: From now on, no MASTER key (red) other than the one used for the first programming will be able to perform any operation
on the lock.

6
OPENING THE LOCK
1. Enter the previously stored mono code USER key inside the lock.
A single long blink of the green LED will flash ( ) to indicate the correct key recognition; Now the lock can be opened by
rotating the key.
In the event of an error in the recognition of the key or key insertion, it is advisable to wait 3-4 seconds before repeating
the operation.
Attention: in order to avoid an excessive consumption of the batteries contained inside each single key, it is
advisable, once the key has been opened, not to leave it in the lock for a period of more than 2 minutes.
2. A long blink of the red LED ( ) indicates an error message: Incorrect key insertion, unpaired key or unprogrammed lock.
RESET LOCK WITH MASTER KEY
Caution: The reset procedure will inhibit the operation of all mono code keys previously paired with the lock by restoring the factory
configuration. Therefore, at the end of the operation, the lock will be in the "Initial Programming" waiting state, therefore it can accept
any MASTER key (red) for programming.
1. In order to reset the lock, it is necessary to insert and extract the paired MASTER key (red) (used for the initial programming) in
succession for 5 times
1° insert (1 long red LED blink)
2° insert (1 long red LED blink + 1 fast green LED blink)
3° insert (1 long red blink + 2 fast green LED blink)
4° insert (1 long red blink + 3 fast green LED blink)
5° insert (1 long green LED blink and 1 long red LED blink)
The 5th signal on the key ( ) shows the effective lock reset, it has therefore reverted to the factory settings "Before
Programming"
SWITCHING TO ACCESS CONTROL FUNCTION
✓The Access Control feature can be enabled at any time, in a configuration that originally was not anticipated, using the Access
Control Kit (EPOD-00 product code) and the use of a new MASTER key (Red) EMK-00
✓To upgrade your system follow the steps below:
1. Perform the lock reset (see "Reset Lock with Master Key" on page 6) using the MASTER key (red) used for the initial
programming.
2. Re-execute the lock programming procedure with the NEW MASTER key (red) EMK-00 (see "Initial Lock Programming with
Access Control Function" on page 5)
✓Repeat this process for each lock

7
DOWNLOAD KEY (WITH GSN-KEY ACCESS CONTROL SOFTWARE)
✓The DOWNLOAD key (blue) is the key required for downloading the history access logs from the locks and to view them through
the GSN-KEY software.
✓The DOWNLOAD key (blue) can contain up to 32,000 logged events in its memory. It is recommended that you delete events from
the key once they have been transferred to the GSN-KEY software.
✓The lock can store up to 4,000 access events. Once the maximum memory capacity is reached, new events will overwrite the old
ones automatically
✓In the Unique Code version, the DOWNLOAD key is paired automatically during the programming of the lock and is matched to
the unique code of the production lot. For this reason, when the USER key (black) is paired with the lock, the DOWNLOAD key
having the same code will automatically be authorized to download the historical events on the lock.
✓To download the history of access events from the lock
1. Insert the DOWNLOAD key (blue) into the lock
Depending on the amount of data on the lock, long blink of the green LED will flash ( ) sequentially, with approximately
one second waiting between each.
2. A single long blink of the green LED will flash ( ) to indicate the correct transfer of the data in the lock onto the DOWNLOAD
key. Pull the key out of the lock after the above indicated signal.
3. If the DOWNLOAD key is extracted from the lock before completing the transfer of all the data in the lock, an error signal will
be output with a single fast blink of the red LED ( ). In this case, re-insert the DOWNLOAD key into the lock and retrieve the
data, awaiting the signal as indicated in step 2 before extracting the key.
✓To clear the history of access events in the lock memory
1. After downloading the data provided by the DOWNLOAD key (blue) and without opening the lock, insert the DOWNLOAD key
(blue) for the second time in the lock.
A single fast blink of the green LED will flash ( ) followed by a single long red blink of the red LED ( ) indicating that all
previously logged events on the lock have been cleared
✓To clear access data in the DOWNLOAD key memory (blue) you will need the ACCESS CONTROL KIT (refer to the Access Control
System User Manual for the process).
LOSS OR KEY FAILURE
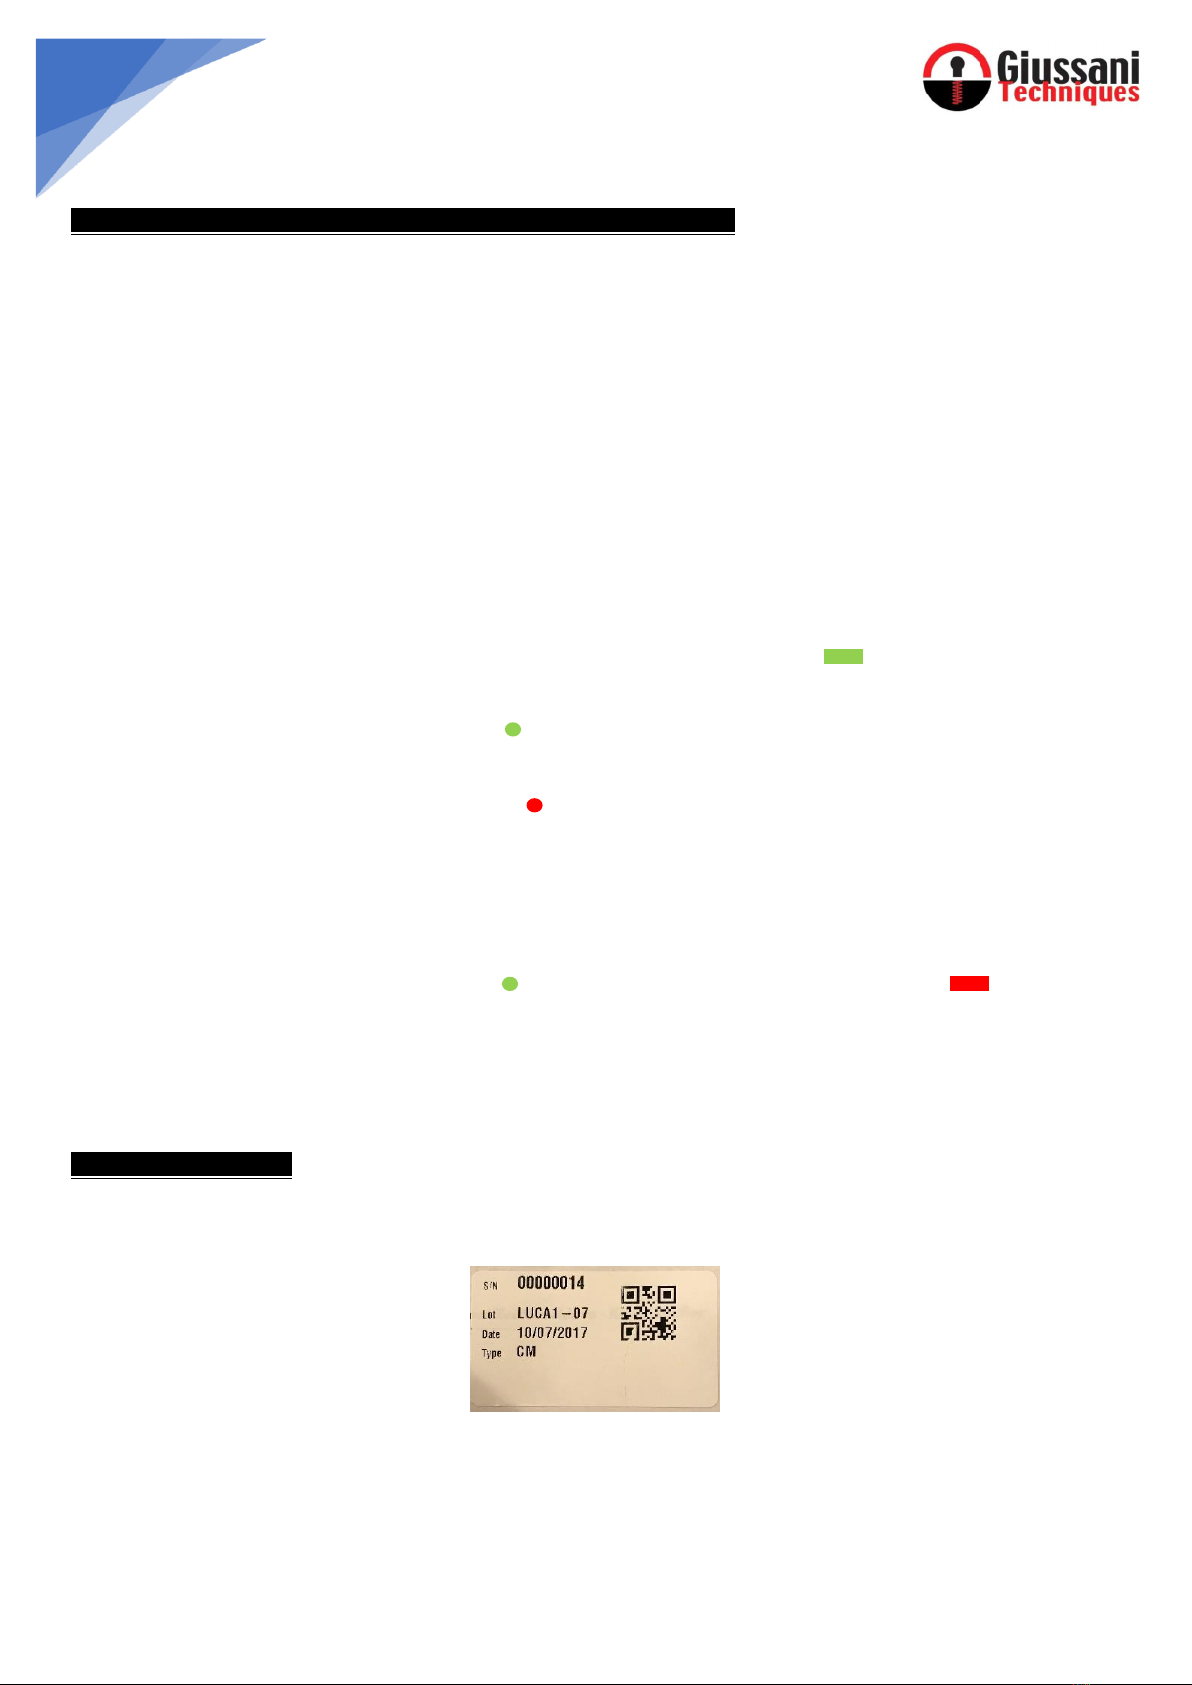
✓Each key is supplied with an Identification Card (Key Identifier) that has all the necessary data for any duplication in case of
failure or loss. YOU ARE ADVISED TO STORE IT IN A SAFE PLACE AND TO NOT LOSE THE KEY IDENTIFIER.
✓MASTER KEY
•In the event of loss or failure of the MASTER key (red) it may be necessary to duplicate the key but only by presenting the key
identifier provided with the key at the time of purchase (see above)
•If lost, you must reset the lock using the MASTER COPY (red) with the identification card bearing the initials "RMC" and then
reprogram the locks using a new MASTER key (red) using procedure “Initial Lock Programming”.

8
✓USER KEY
•If you lose one or more USER keys (black), it is recommended that you change the lock code. You must then perform the "Reset
Lock" procedure (page 6) and then pair a new key with a code different to the one previously used.
•The recommended "Reset Lock" procedure will inhibit the use of ALL keys with the old code, including the lost ones.
•The remaining USER keys (black) with a code no longer in use can be reprogrammed by Giussani Techniques S.p.A. with a new
code.
•The "Reset Lock" procedure is not advisable and is not required in the case of a key failure.
✓DOWNLOAD KEY
•If you lose one or more DOWNLOAD keys (blue), it is advisable to change the lock code. You must perform the "Reset Lock"
procedure (page 6) and pair a new key with a different code to the one previously used.
•The recommended "Reset Lock" procedure will inhibit the use of ALL keys with the old code, including the lost ones.
•The remaining USER keys (blue) with a code no longer in use can be reprogrammed by Giussani Techniques S.p.A. with a new
code.
•The "Reset Lock" procedure is not advisable and is not required in the case of a key failure.
KEY BATTERY
✓We recommend to use DURACELL DL2430 batteries (2 batteries for each key)
✓When the key batteries approach their end of life, they will be queued at the main signal (see the messages indicated in the
previous points) a double red LED blink ( )
✓If "low battery" indication occurs at each use of the key, it is advisable to change the battery within the next 50 lock openings.
✓All keys are equipped with an on-board clock that is only used if the Access Control feature is enabled on the lock using the MASTER
key; It is advisable to make the battery change within 2 minutes of the key opening in order to avoid the reset of the internal clock.
If more than the above times (2 minutes) pass, the clock synchronization with the Access Control Software must be performed
again.
DECLARATION OF CONFORMITY
Giussani Techniques S.p.A. Declares that the E-PRL system meets all the requirements applicable to the type of product and required
by telecommunications regulations in accordance with Directive 2014 / 30UE and 2011/65 / EC, using the rules published in the Official
Journal of the European Community.
The CE Certificate of Conformity can be downloaded from www.giussanilocks.it
Other manuals for E-PRL
1
Table of contents
Other Giussani Techniques Lock manuals
Popular Lock manuals by other brands

AutoMotionShade
AutoMotionShade 4285P Quick reference guide

PacSafe
PacSafe Retractasafe 100 instructions

Phoenix
Phoenix SELO-A operating instructions

Safety 1st
Safety 1st OutSmart HS289 user guide

GEZE
GEZE IQ lock Series Commissioning and connection instructions

Belwith
Belwith FIRST WATCH 1381 instructions