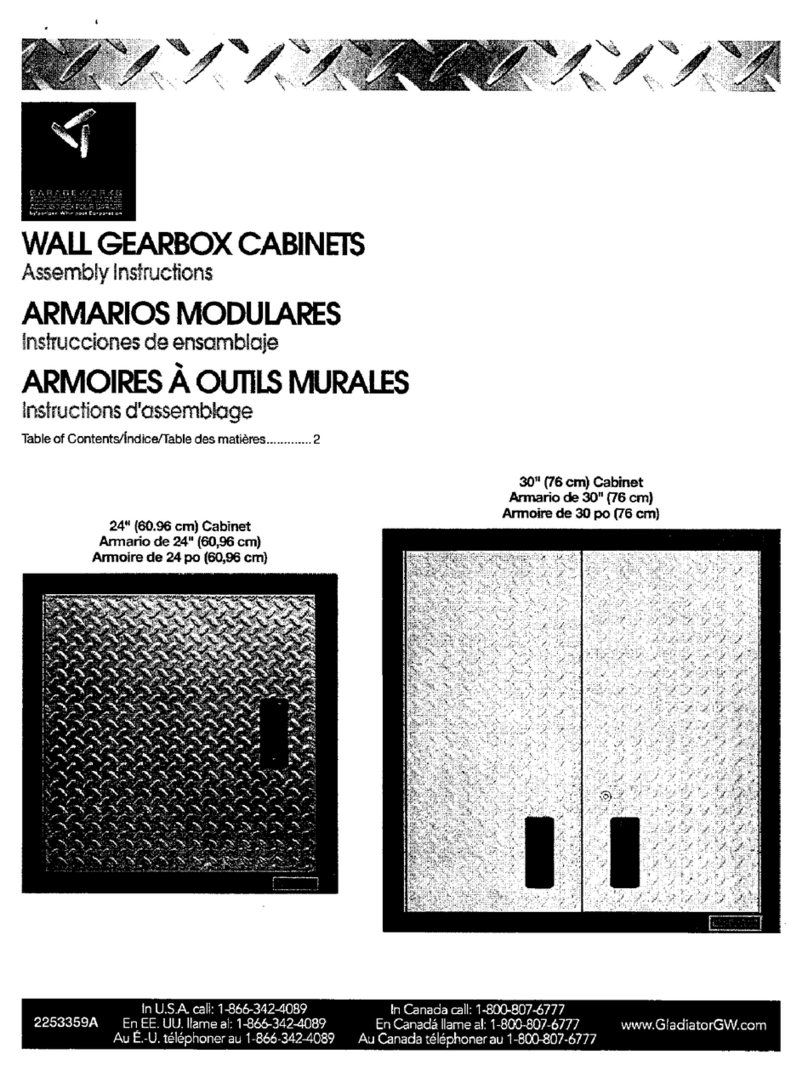
Gladiator GAMGD027LG01 User manual

MODULARGEARDRAWERSCABINET
Assemblyinstructions
ARMARIOMODULARCON CAJONESPARAHERRAMIENTAS
ARMOIREMODULAIREA TIROIRA OUIILS
Instructionsd'assemblage
TableofContents/fndice/'l'abledes mati_res....,._......2

TABLEOF CONTENTS
CABINET/LOCKER SAFETY ......................................................... 3
ASSEMBLY INSTRUCTIONS ......................................................... 3
Tools and Parts ............................................................................ 3
Cabinet Use Requirements.......................................................... 3
Unpack the Cabinet ..................................................................... 3
Installthe Bumpers ...................................................................... 4
Installthe Casters......................................................................... 4
Installthe Drawers........................................................................ 5
GlideAdjustment .......................................................................... 5
WARRANTY .................................................................................... 6
e=
INDICE
SEGURIDAD DEL ARMARIO ........................................................ 8
INSTRUCCIONES DE ENSAMBLAJE ........................................... 8
Piezasy Herramientas ................................................................. 8
Requisitosde use del armado ..................................................... 8
Desempaque del armario............................................................. 8
Instalacibndel parachoques........................................................ 9
Instalacibnde las ruedecillas....................................................... 9
Instalacibnde los cajones.......................................................... 10
Ajuste del riel.............................................................................. 10
GARANT|A..................................................................................... 11
TABLEDESMATIERES
SI=CURITE DE L'ARMOIRE ......................................................... 12
INSTRUCTIONS D'ASSEMBLAGE .............................................. 12
Outillage et pi_ces n_cassaires ................................................. 12
Sp6cificetionsd'utilisationde rarmoire ..................................... 12
D6ballage de I'armoire............................................................... 12
Installationdes pere-chocs ........................................................ 13
Installationdes roulettes............................................................ 13
Installationdestiroirs................................................................. 14
R6glage des glissi_ras............................................................... 14
GARANTIE ..................................................................................... 15

CABINET/LOCKERSAFETY
Your safety and the safety of others are very important.
We have provided many importantsafety messages inthis manual and on your appliance. Always read and obey all
safety messages.
l_ his isthe safety alert symbol,
This symbolalerts you to potentialhazards that can killor hurtyou and others,
All safety messages willfollowthe safety alert symboland eitherthe word"DANGER" or
"WARNING," These wordsmean:
You can be killed or seriously injured if you don't
immediately follow instructions.
You can be killed or seriously injured if you don't
follow instructions.
Allsafety messages willtell you what the potentialhazard is, tell you how to reduce the chance ofinjury,and tell you
what can happen if the instructions are not followed.
ASSEMBLYINSTRUCTIONS
Toolsand Pads
Check that you have everything necessary for correct assembly.
Proper assembly is your responsibility.
Tools Needed:
m 7A6in.Wrench •Flat-bladescrewdriver
Parts Supplied:
• Keys (2)
•Top mat (1)
• Drawer liners (5)
•"L"-shaped bumpers (2)
• Hex-keywrench (1)
• Socket-head cap screws (8)
• Washers (8)
• Rigid casters (2)
•Swivel casters (2)
•1/4in. -20 Self-locking
nuts (16)
• 1/4in.- 20 x 1/2in.
Carriage-head bolts (16)
Cabinet UseRequirements
•Intendedfor useina garage.
• Maximumweightlimit is65 Ibs (29kg)forthe tray/shelf.
• Maximumweightlimit is 1,400Ibs (635kg)Ibsfor thecabinet.
Unpack theCabinet
NOTE:Keepthepacking materialsto cushionthe cabinetduring
assemblyandthendiscard.
1. Removethekeysandunlockthedrawers.
2. Verifycontents(see"PartsSupplied").

install Bumpers
NOTE: The drawers must be pushed in completely to lock.
1, Close and lock the drawers, Remove the key,
2. Remove the top mat from the cabinet,
3. Using two or more people, turn the cabinet upside down,
4. Attach the bumpers to the front comers ofthe teol chest
using 4 washers and 4 socket-head cap screws for each
bumper,
NOTE: To keep from strippingthe screws, do notovertighten,
5. Using the hex-key wrench provided, tighten all the screws,
1. Bumper
2. Washer
3. Socket-head cap screw
1. Insert the carriage-head bolts intothe keyhole slots and slide
to the narrow end, seating the bolt in place as shown,
\
2. Attach the 2rigid casters (with left-side brakes) to the front
caster plates and start the 4 self-locking nuts for each caster.
3. Hold the casters in place making surethe bolts are seated in
the narrow ends of the keyhole slots. Tighten the self-locking
nuts with a 7/18in. wrench.
4. Repeat steps 2and 3 to attach the 2swivel casters to the
rear caster plates as shown.
1
2
1. Swivel casters
2. Caster p/ate
3. Rigid casters
4. Frontof cabinet
5, Return the cabinet to its uprightposition.
6. Replace the top mat with the textured side facing up.
7. Unlock the drawers.
8. Place the linersin the drawers.
4

Installthe Drawers Glide Adjustment
Removing the Drawers (op_ior_lJ)
For drawer flexibility, you can remove the drawer glides and
1. Unload the contentsfrom the drawer, reinstallthem inthe desired locations.
2. Slide the drawer out to its fullyopen position. Removing the Drawer Glide
3. Press the leverdown onthe right-hand track and liftthe lever
up on the lefttrack to release the drawer. Continueto pull the
drawer until it comes free.
1. Back ofgfde
1
1. Lever
Replacing the Drawers
1. Align the drawer guides with the receiving glides,
2. Holdingthe receivingglides firmly in place, insertthe drawer
guide.
NOTE: it is normalfor the drawer to dose tightlythe firsttime
after it has been removed.
3. Pushthe drawer in completely.
Changing Drawer Location
Follow the steps for glide adjustment before following the steps
for replacingthe drawer.
1. Unload the drawer and remove (see "Install the Drawers").
2. Insert a flat-blade screwdriver behind the first slet between
the glide and cabinet panel.
3. Using the screwdriver,prythe glide away from the cabinet
panel while pushing the glide toward the rear ofthe cabinet
untilthe glide comes free.
Replacing the Drawer Glide
1. Determine the desired heightfor the drawer.
2, Insertthe glide tabs intothe openings inthe cabinet panel.
3. Hold{ngontothe back of the glide, pullit toward you untilit
locksin place.
4. Replace the drawer (see "Install the Drawers").
5
Table of contents
Languages:
Other Gladiator Kitchen Appliance manuals