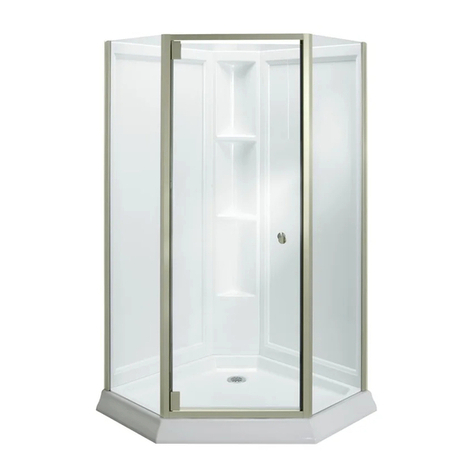
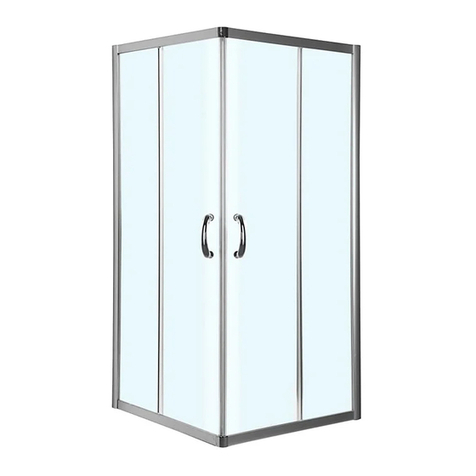
Glass Warehouse 90-WH User manual

Shower Enclosure
Installation Guide
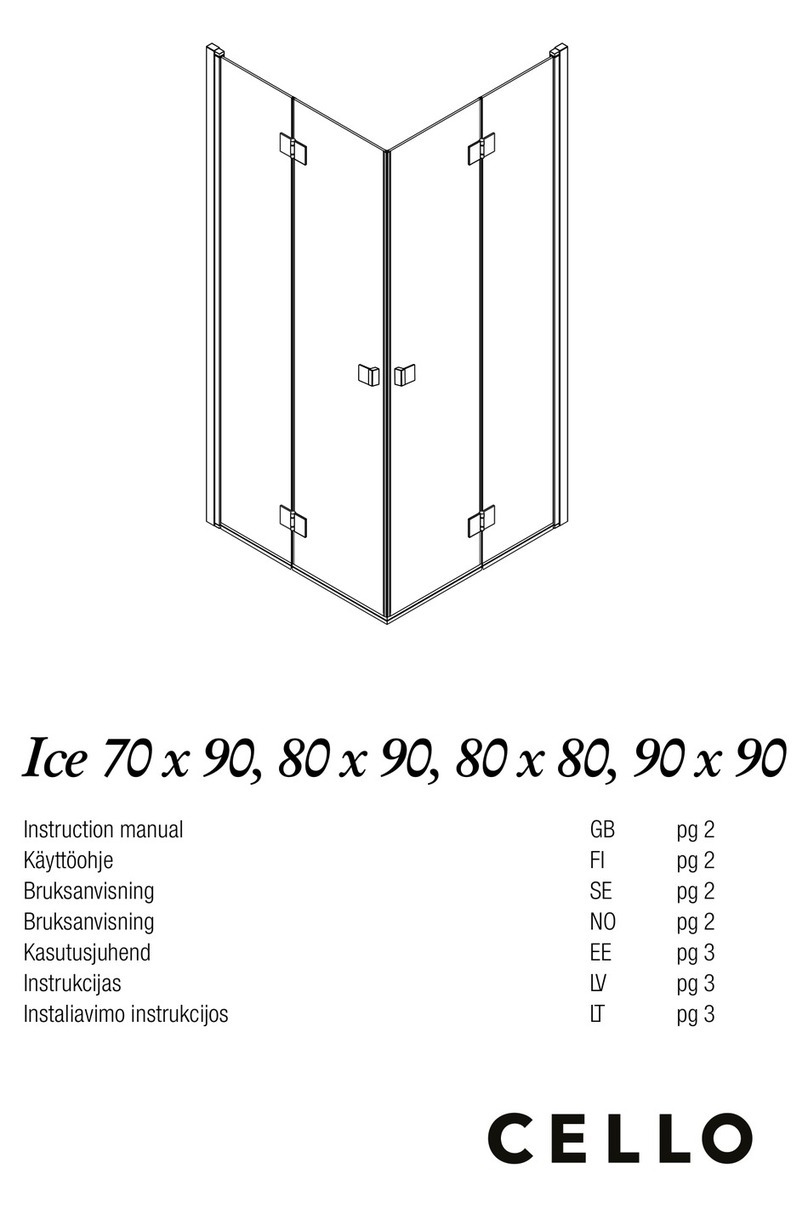
Illume 90º Wall Hinge
90-WH

!
!
INSTALLATION VIDEO
!
VIMEO LINK
https://vimeo.com/378378532
Follow the link above to view installation animation video to assist
in installing your brand new Glass Warehouse 90° Wall Hinge
Shower Enclosure
!

BEFORE YOU START
The most fragile parts of tempered glass panels are the corners. Therefore, it is critical you have the rubber blocks in place so the glass never touches
the tile surface you are installing onto. Please make sure the glass is always on blocks while out of the packaging prior/during install. Rubber block is provided in
your hardware pack however you can use wood, cardboard or other rubber products to protect against breakage.
Silicon is not provided this will need to be purchased separately. We recommend using clear, mold resistant silicon which be purchased at your local
hardware store.
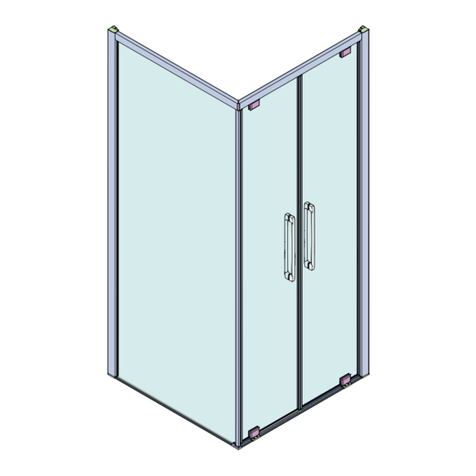
The items you should receive for this shower door model are listed below. This model ships in 5 packages.
1. Door panel
2. Fixed Panel
3. Fixed Panel
4. WH Sweep set – (1 full length sweep, 1 bottom sweep)
5. Hardware Pack – (2 hinges, 1 door handle, 4 mounting clips, 1 90° clamping bracket)
PART ONE – Install Fixed Panel (return)
1. The front panels (door and fixed panel) are to line up with the outside edge of the return panel. Measure from the wall
where the door will hang the width of the two front panels combined plus 3/16”. This is the center line for the return
panel to be placed.
2. Mark a level vertical line on this wall with a level.
a. This line is where you will be attaching the 2 clamps to the wall.
i. TIP: We recommend using a pencil so this can be easily removed.
3. Mark the center point for the two clamps on the wall.
a. Top Clamp: measure 70 ¼ inches from the floor along the vertical line.
b. Bottom Clamp: measure 7 ¾ inches from the floor along the vertical line.
c. The third clip for the floor should be placed 3” from edge furthest from the wall. Measure the same distance
you measured from the wall the door is hanging from as in step 1 to get your center line for this clip (combined
width of front 2 panels plus 3/16”). If placing the on a shower pan we recommend not using the floor
mounting clips, simply use the 1/8” rubber block provided and silicone to the pan.
4. Drill the holes for the clamps to the wall and floor
a. Using a ¼” drill bit drill the holes for the 3 clips /clamps.
b. Insert the provided plugs into the holes using a hammer, be careful not to hit the tile and crack.
c. Place clamp over holes and drill in screws to secure the clamp. Make sure these are tight and secure.
5. Set the fixed panel in place.
a. Place the 1/8” rubber block provided on the ground 1 ½ inches from the edge of the panel closest to wall and
place the 1/16” rubber block inside the clamp on the floor to prevent the glass touching tile or clamp on the
floor where all the glass weight will be. Rubber blocks are not required in the wall clamps.
b. Carefully place the fixed panel on the rubber blocks and slot the glass into the clamps.
i. IMPORTANT: The most fragile parts of the glass panels are the corners. Therefore, it is critical you
have the rubber blocks in place so the glass never touches the tile surface you are installing onto.
6. Ensure the fixed panel is level.
a. On the edge that will meet the door panel, use a spirit level to make sure the fixed panel is level and in line.
i. TIP: Use additional rubber blocks on either end of panel existing blocks to raise/drop the fixed panel if
required.
ii. IMPORTANT: This panel is to line up with the front of the shower.
PART TWO – Install Fixed Panel (front)
1. The edge of the front fixed panel lines up with the outside edge of the return panel that returns to the wall.
2. Set the fixed panel in place.
a. Place the 1/8” rubber block provided on the ground 1 ½ inches from the edge of the panel closest to return
panel and place the 1/16” rubber block inside the clamp on the floor to prevent the glass touching tile or clamp
on the floor where all the glass weight will be. Carefully place the fixed panel on the rubber blocks and line up
the two outside edges of the glass.
i. IMPORTANT: The most fragile parts of the glass panels are the corners. Therefore, it is critical you
have the rubber blocks in place so the glass never touches the tile surface you are installing onto.
3. Ensure the fixed panel is level and lines up with the return panel and is the same height
4. Slide the 90 degree clamping bracket over the top of both panels and tighten the screws so it is very firmly clamping
both glass panels
PART THREE – Install Door Panel (front)
1. Attach the hinges to the door panel.
a. Ensure you have the hinges placed in the correct direction, screws to mount to wall are on inside of shower
enclosure.
b. Lightly tighten each screw with the allen keys provided so the hinges are lightly secure only. They are going to
be removed again.
i. TIP: Center each hinge to the cutout allowing some space to adjust the height of the door panel once
installed.
2. Attach the door handle to the door panel.
i. IMPORTANT: Ensure the handle is firmly attached.
ii. TIP: Most DIY-ers wont have professional suction/vacuum equipment to lift the glass, so this is why we
recommend attaching the door handle first so when lifting the glass you have something secure to
hold onto.
3. Set the door panel in place.
a. Place some packers on the ground 1 ½ inches from each edge of the panel to keep the glass approx. 3/8” from
the ground.
b. Carefully place the door panel on the packers ensuring the tops of both the fixed and door panel are level and
the vertical gap between the door and fixed panel is even.
i. NOTE: The door panel is ¼ inch shorter than the fixed panel to allow for it to swing and not catch on
anything.
c. If the shower glass is sitting on top of a step/hob, make sure the edge of the glass to the edge of the step/hob
is even.
i. TIP: Use a tap measure on all four corners of each panel so everything lines up and the distance is even
for the entire width of your hob.
4. Mark the holes to drill for the hinges.
a. Once you have step 3 complete, make sure the glass door and fixed panel line up perfectly from bottom to top
of glass and use a pencil or marker pen to mark the three holes on the two hinges on the wall.
5. Remove the door panel.
i. IMPORTANT: The most fragile parts of the glass panels are the corners. Please make sure you have the
glass up on blocks or sitting on the packaging provided while doing this next step.
6. Drill the holes for the hinges.
a. Drill holes using a ¼” tile drill bit and put in the plugs provided.
7. Set the door in place.
a. Set the door back in place on the blocks.
b. Line the hinges over their respective holes and drill the screws in place so they are firmly secure.
c. IMPORTANT: All three screws are required for each of the hinges.
d. Make sure the gaps between the panels are even and door is not touching the wall or other glass panel.
e. Using the allen key, firmly secure the screws on the hinges.
f. Remove any rubber blocks or packing.
g. Swing door very gently to make sure the glass is not binding anywhere.
h. Apply the bottom door sweep provided to prevent any water leakage from under the door.
PART FOUR – Silicone Fixed Panels
IMPORTANT: Siliconing your panel is essential as not only does this prevent your panel from
leaking water it is also imperative to the integrity and strength of the shower enclosure.
1. Silicone the wall and floor surface of the fixed panels.
i. TIP: Spraying the silicone with water after applying the silicone and using a spatula of some kind to
remove the silicone residue will give you a nice clean and professional finish.
2. Once you have completed the silicone, its critical you leave the silicone to set for 24 hours.
Glass Warehouse is here to assist you, so if you run into any troubles or have any queries don’t hesitate to contact us on:
inquiries@glasswarehouse.us or (760) 536-3640

Care &
Maintenance
PCT Global: Manufacturers of easy clean surface treatments for glass, stainless steel, tiles and grout, scratch & stain removal systems
Maintaining the Treated Surface
For best results simply drying the glass with a squeegee or towel after each use will help keep the glass clean and reduce
mineral spots forming.The glass needs to be cleaned every few weeks using a damp microfiber cloth and a mild detergent to
break down soaps, oils, and conditioners on the glass. General glass cleaners are also suitable, however most of these are
finishing agents rather than cleaners, and are an added expense that is not required.
Hard Water Maintenance
In hard water areas, or areas where water drops dry and leave a noticeable dust mark, a build of minerals may occur on the
protective treatment.While these may not be removed as easily with the mild detergent, mild acids will often remove the marks
quickly.As needed white vinegar should be used to wipe down the glass. Keep in mind the vinegar may be diluted with water,
however dilution reduces the effectiveness.
Spray vinegar onto the glass and allow to soak for several minutes.This should dissolve any mineral deposits that have built up
on the glass surface. A damp microfiber cloth should then be used to wipe over the surface. For extreme hard water areas we
recommended using undiluted vinegar every week or so as a cleaning option to reduce this build up on the surface, rather than
allowing the build up to continue over a long period of time.
Caution: Prohibited Products *Note these may damage the treatment and void any warranty
> Avoid the use of any abrasives or polishes including water spot removers, toothpaste, polishes, rough, or gritty substances
> Avoid the use of acids or alkalis that you would not want in contact with your skin for an extended period of time
> Avoid products such as Comet,Ajax, Jiff or Cerium Oxide which polish back the actual substrate
> Avoid the use of any harsh or chemical cleaners, with correct maintenance these are never required
Approved Cleaning Products
The below products have been tested for compatibility with EnduroShield, however there are no specific products that must be
used.We feel you should not be required to purchase extra products in order to keep your glass clean.With correct maintenance,
all you need for clean glass beyond 10 years is a squeegee,a mild liquid dish soap, and white vinegar.
Any product that does not fall into the prohibited categories listed above will be fine, and below is a short list of acceptable
products:
> Windex
> SprayWay (or other alcohol based foaming cleaners)
> Scrubbing Bubbles (or other automatic leave-to-dry daily shower cleaners)
> 7th Generation, Dawn (or other mild eco friendly cleaners)
> CLR (Calcium Lime Rust)
> Mr. Clean Magic Eraser (when damp)
It should be noted that with any cleaner used on the EnduroShield surface a thorough rinse with clean water should follow
immediately.Although these cleaners can be used, EnduroShield is designed to be an 'easy clean coating' that does not require
harsh or toxic cleaning chemicals to maintain the surface effectively.
If for any reason the recommended maintenance has not been followed for some time, just as it took time for the build up to
occur, it will take time to remove the debris from the protected glass surface. This can most commonly be achieved using
undiluted white vinegar dampened on a Magic Eraser, or CLR on a Magic Eraser. Depending on the severity of the build up this
may take multiple attempts, but once the glass is clean again it will perform like new. Should you have any queries regarding
the cleaning of your treated surfaces please contact EnduroShield.
tel: 805 617 4609
email: [email protected]
www.enduroshield.com
EnduroShield makes your cleaning easier and less frequent; however
it is recommended that you continue to clean the surfaces regularly.


•
•
•
•
•
Table of contents