7
Glastender, Inc. • 5400 North Michigan Road • Saginaw, MI • 48604-9780
800.748.0423 • 989.752.4275 • Fax 989.752.4444 • https://glastender.com
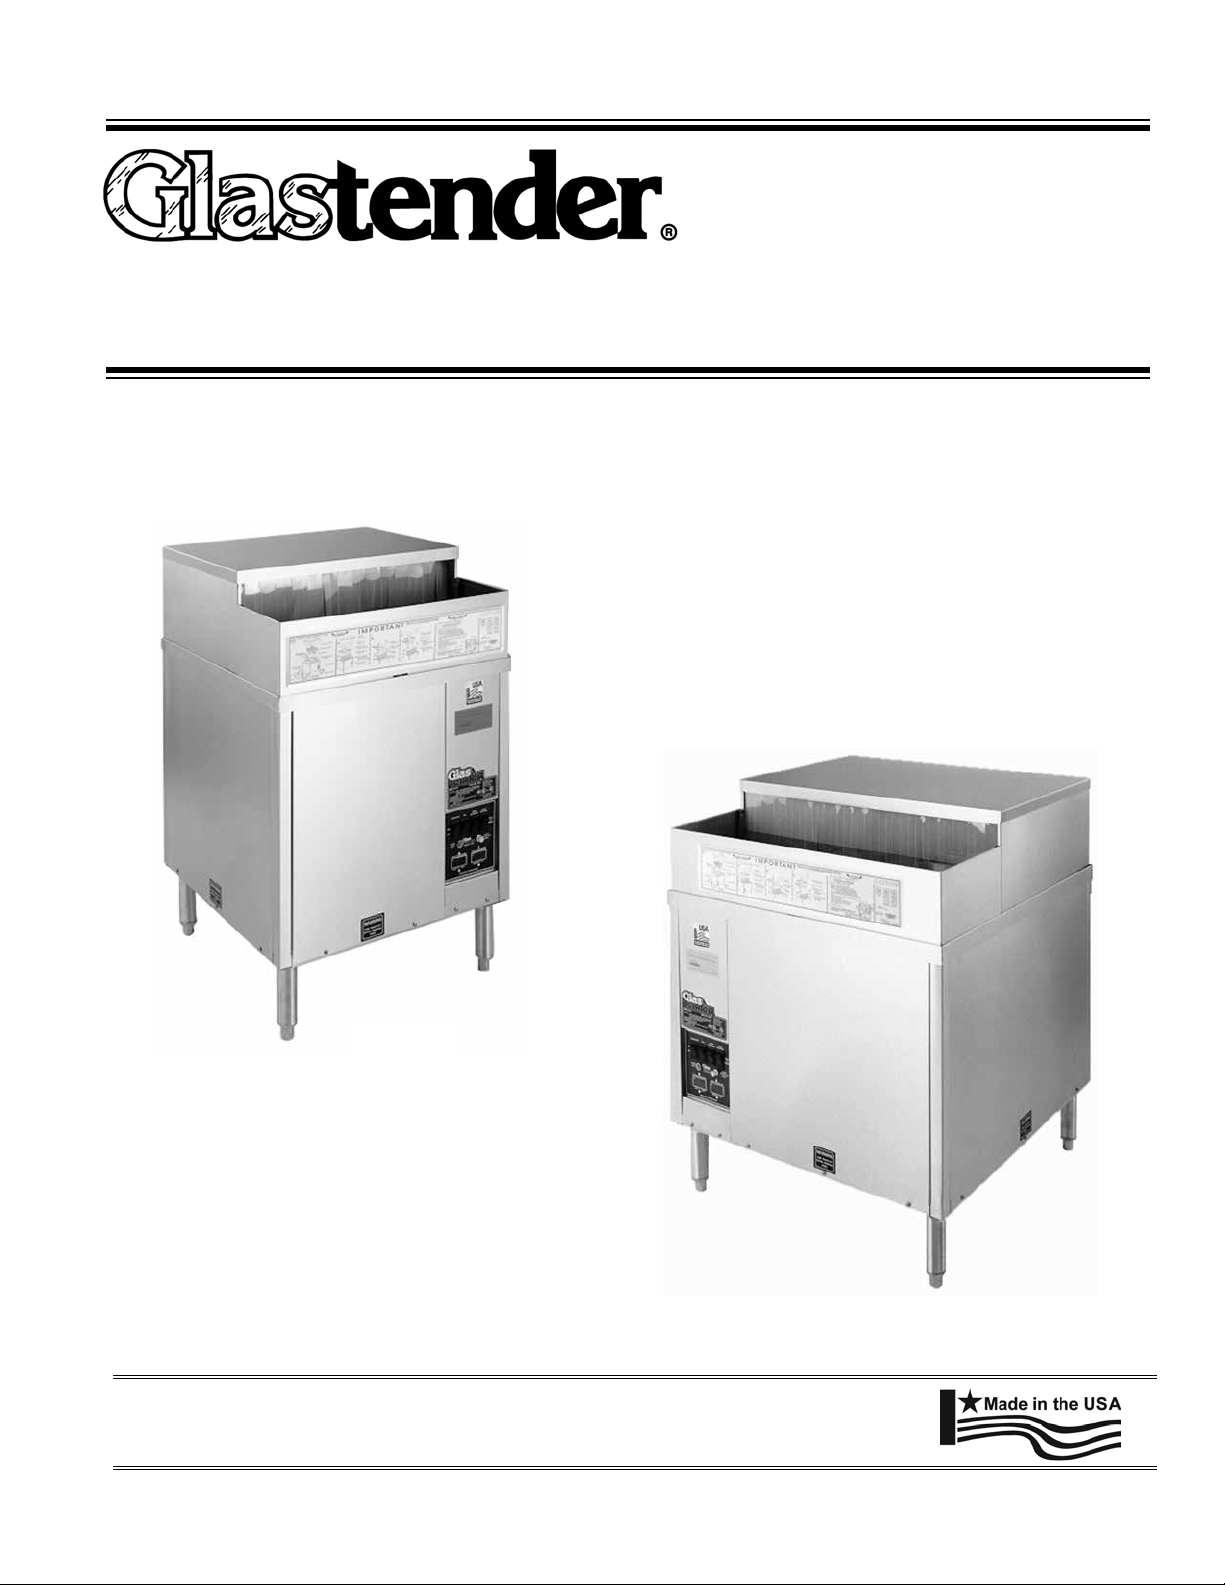
GT-24, GT-30
Utility Requirements and Connections
1. General Plumbing
(hot and cold water
required)
a. Use 3/8″O.D. copper to 3/8″FMPT adapter provided.
b. Minimum water pressure - 25 psi.
c. Maximum water pressure - 100 psi. Install water pressure regulator if line
pressure is over 100 psi. Water valve on unit has built-in line strainer and flow
control to provide consistent volume between 25 psi and 100 psi.
d. Install separate water shut-off valve for each connection.
e. The unit has built-in air gaps. Vacuum breakers are NOT required.
2. Hot water only a. Maximum temperature 150° F (66° C). Minimum temperature 130° F (54° C).
b. Initial fill 3.00 gallons (GT-24) or 3.50 gallons (GT-30).
c. Consumption - 1/4 gallon per minute during operation.
3. Cold water only a. Minimum temperature is 75° F (24° C) per FDA Ordinance and Code for Food
Service Establishments, Section 5-103(e)(2). Install hot/cold water mixing
valve if necessary.
b. Initial fill 2.25 gallons (GT-24) or 3.50 gallons (GT-30).
c. Consumption - two gallons per minute during operation.
4. Drain a. 1-1/2″tailpiece provided on unit.
b. Use open type floor drain for maximum drainage.
c. Two white plastic drain cocks extending below the bottom are for recirculating
pump drainage when required for pump replacement or winterizing. The drain
cocks are shipped in the closed position. No plumbing is required.
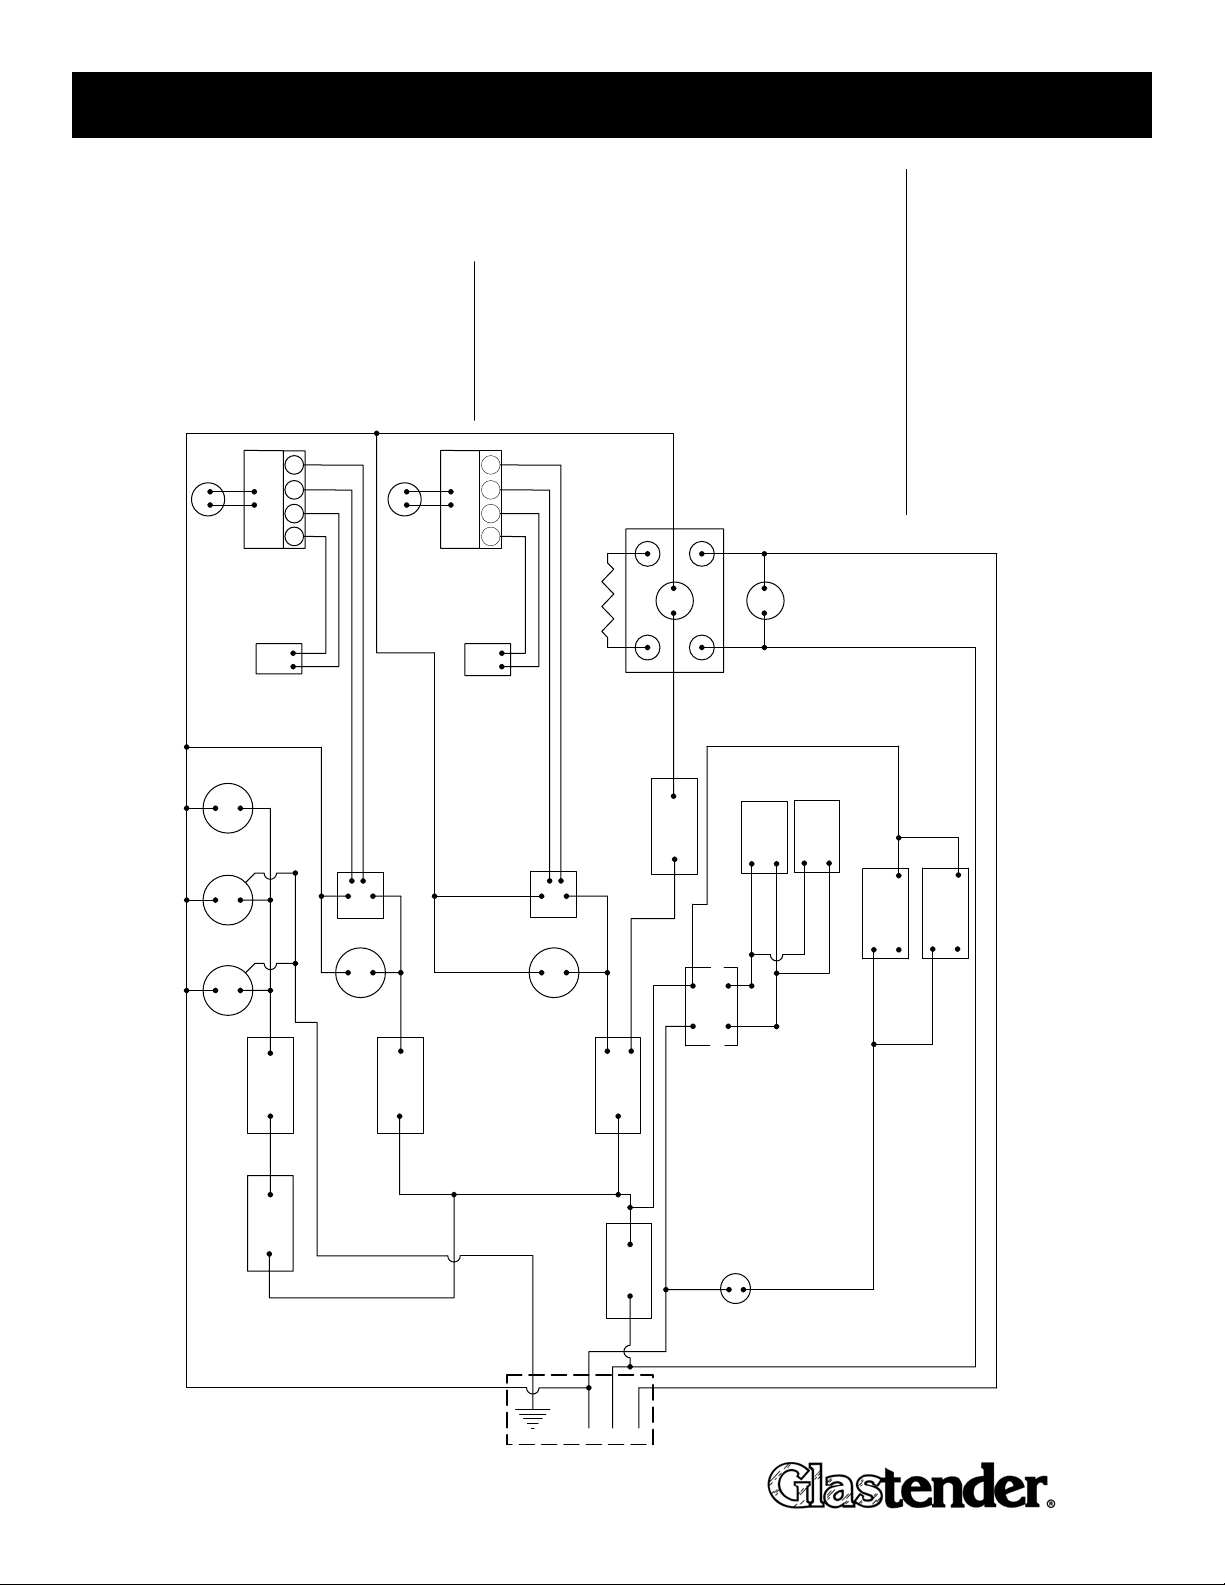
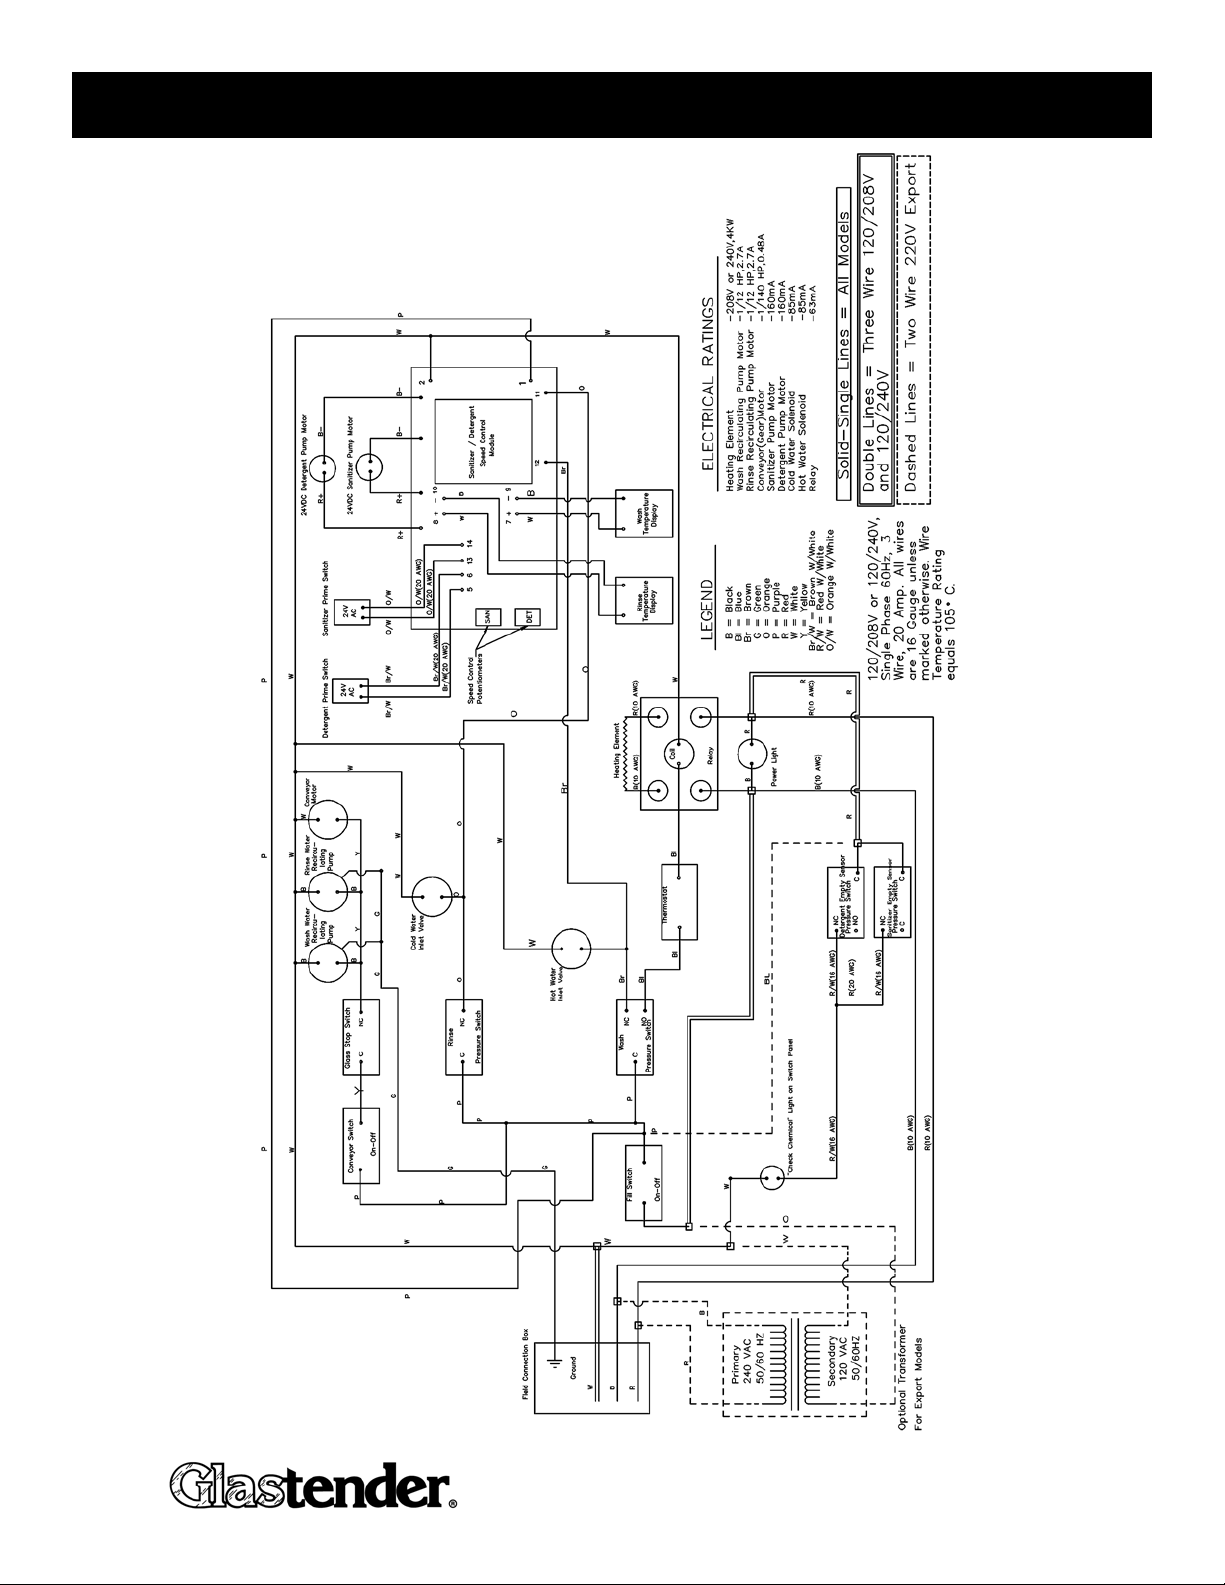
5. Electrical a. Specifications: 120/208-240V, single phase, 60 Hz., 3 wire (two hot and one
neutral), ground connection per local code (green wire), 20 amp for 240 volt or
30 amp for 208 volt (4 wires total). Unit will operate satisfactorily within 10% of
rated voltage.
b. A dedicated 20 Amp circuit is required [30 amp for 208V].
c. A power relay in the unit separates the high and low voltages and directs the
respective power to the electrical components. The heater and power light
operate on 208 volts or 240 volts as specified. All other components operate
on 120 volts.
6. Detergent a. An extra-heavy-duty, non-foaming, commercial liquid dishwashing detergent is
required. Adjust to .30% concentration.
b. The local chemical supplier should be consulted to match detergents with
local water conditions.
7. Sanitizer a. Liquid chlorine bleach (sodium hypochlorite - 5.25% solution). Adjust to 50
PPM.
b. Or low-sudsing iodine type sanitizer. Adjust to 12.5 PPM.
A. In all cases, consult local plumbing, electrical, and health codes for regulations
which may not be consistent with the above.
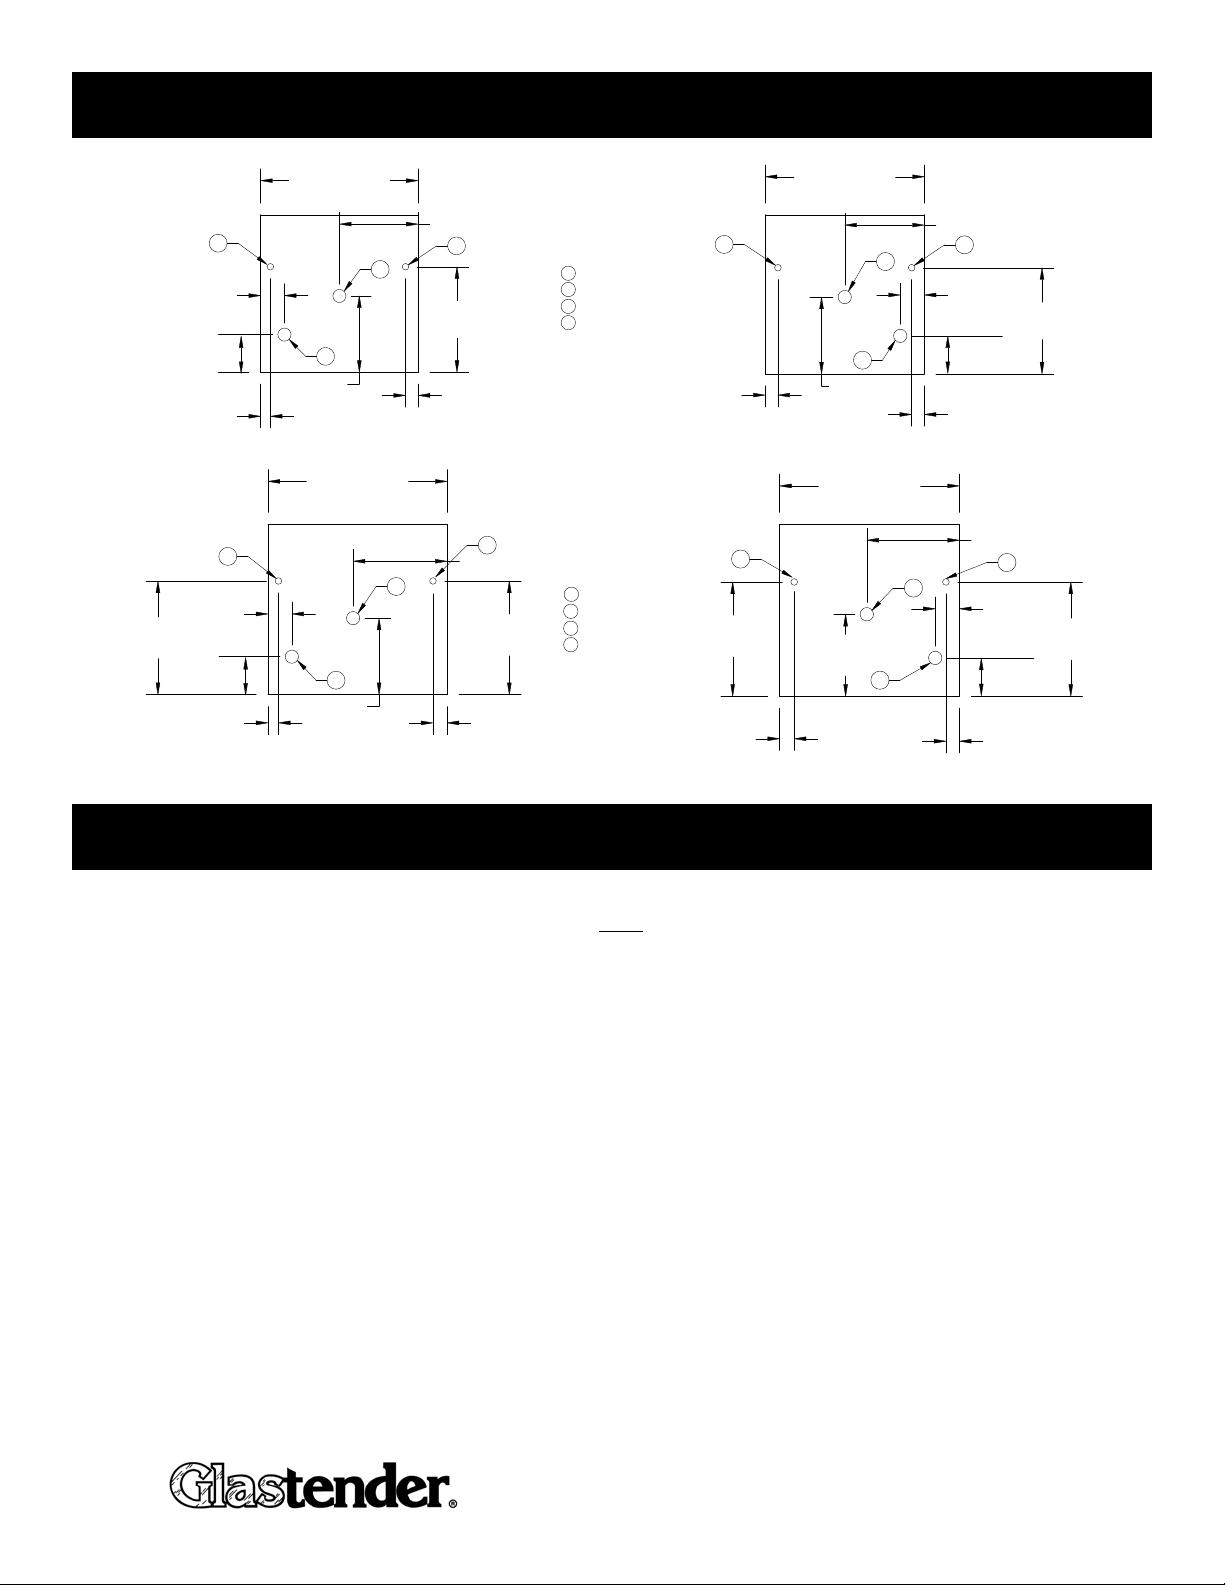
B. The utility connections are made up from the floor at the bottom of the unit
approximately 7″to 8″high.