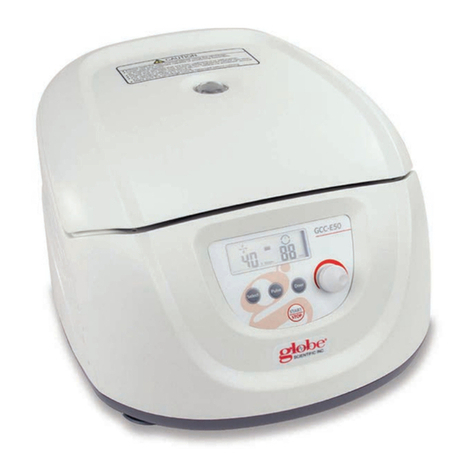
CONTROL PANEL
Starting the Unit:
IMPORTANT: Plug unit into appropriate main supply based
on the rated voltage.
• Press the power button and the display screen will light up.
• Press the speed buttons to adjust to the desired setting.
• Press the time buttons to adjust to the desired time setting. For
set times above 60 seconds, the “min” (minute) light will be lit.
Under 60 seconds, the “sec” (second) light will be lit.
• Press the “RUN/STOP” button to start the centrifuge.
Stopping the Unit:
There are three conditions under which the centrifuge will
stop running:
• When the set time runs out.
• Pressing the “RUN/STOP” button before the set time runs out.
• Opening the lid.
OPERATION
Error Indicator
Open Lid
Indicator
Speed Adjustment Time Adjustment
Seconds
Minutes
Run/Stop
GCC-SGuide19107
GCC-S / Standard
Clinical Centrifuge
Quick Start Guide
Rotor Tube Tubes Dimension Adapters Maximum Radius Maximum
Type Type Per Rotor (ø×L mm) Required Speed (rpm) (cm) RCF (×g)
15mLConical 8 17×120 None 4500 11 2490
1.5 - 5mL 12 13×82 CC-AD1 4500 9.8 2218
Vacuum CC-PLUG
4-7mL 13×106 CC-AD1 11 2490
Vacuum 12 16×75 CC-AD1 4500
CC-PLUG 9.8 2218
8.5-10mLVacuum 12 16×107 CC-AD1 4500 11 2490
2.7-3mL(EU) 12 11×66 CC-AD1 4500 9.8 2218
Collection CC-PLUG
7.5-8.2mL (EU) 12 15×92 CC-AD1 4500 11 2490
Collection
CC-R1
(Standard
Rotor)


